Most travel photos of food look the same. A blurry shot taken in a dark restaurant, a crowded table with chopsticks sticking out at weird angles, or a plate that looks nothing like what you actually ate. The difference between a photo that makes your friends hungry and one they scroll past often comes down to three things: light, context, and timing.
Capturing local dishes is the art of documenting authentic culinary experiences through visual storytelling. It’s not just about making the food look pretty; it’s about preserving the moment, the texture, and the atmosphere of where you are. Whether you’re standing in a bustling street market in Bangkok or sitting in a quiet bistro in Lyon, your camera needs to work as hard as your palate.
Why Context Matters More Than Composition
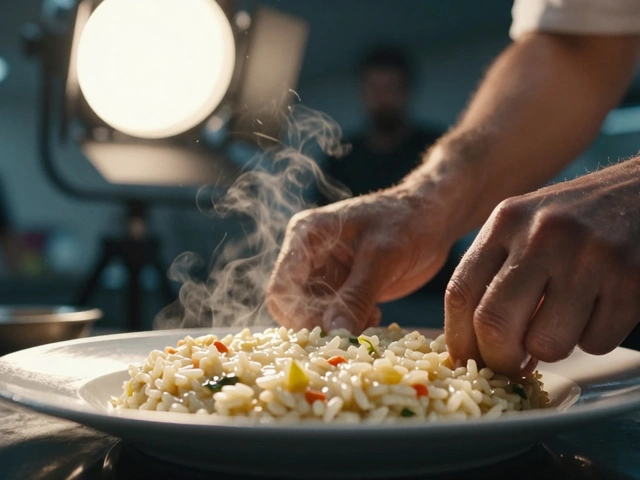
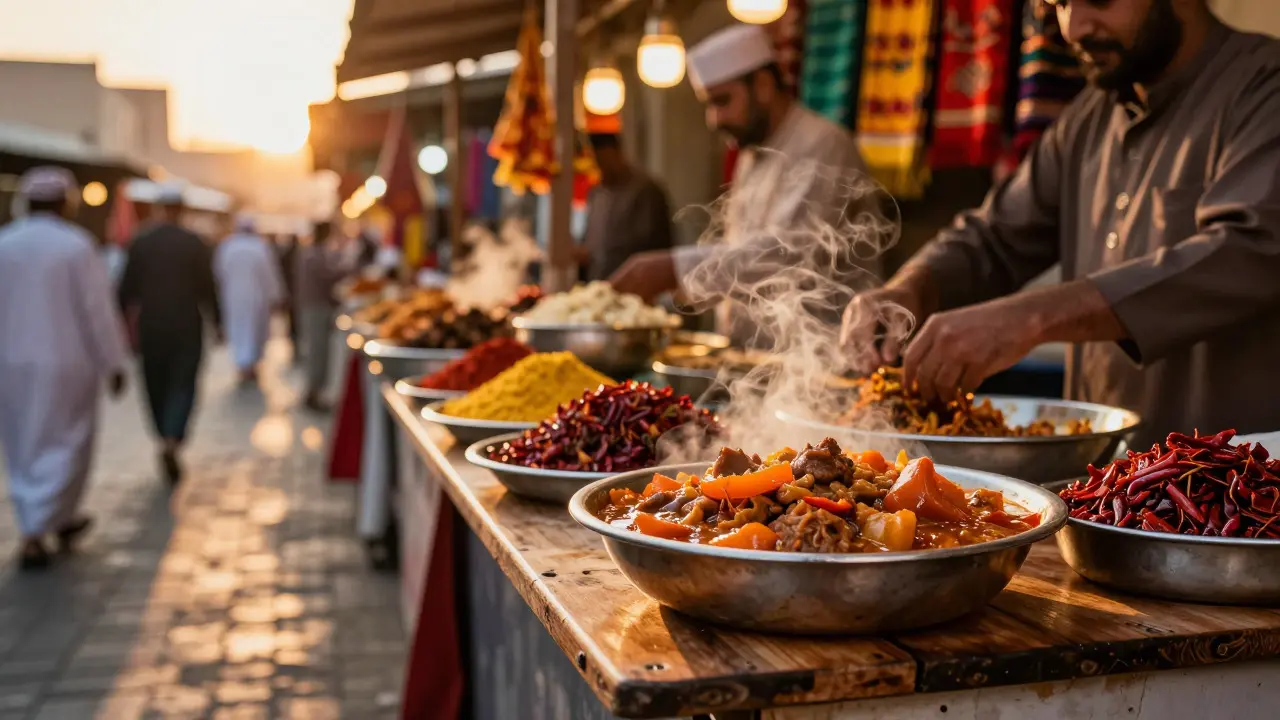
You’ve probably seen perfect food shots that feel sterile. They look like ads for a restaurant you’ll never visit. To fix this, you need to include the environment. This is where market finds come into play. Markets are chaotic, colorful, and full of life. They provide the background noise that tells a story. When you photograph a bowl of pho, don’t just frame the steam. Include the vendor’s hands, the steam rising from the pot behind them, or the worn wooden table. These details anchor the image in reality.
Think of your photo as a snapshot of a memory, not a catalog entry. If you’re eating in a noisy izakaya, let the blurred lights in the background suggest the energy of the room. If you’re in a sun-drenched piazza, use the shadows to create depth. The goal is to make the viewer smell the spices and hear the chatter. Without context, food photography is just a picture of a meal. With context, it becomes a travel story.
Mastering Natural Light in Unpredictable Settings
Flash kills the mood of most travel food photos. It flattens textures and creates harsh reflections on shiny plates. Instead, rely on natural light, which is ambient illumination from the sun or existing environmental sources. But natural light can be tricky when you’re moving around a city. Here is how to handle it:
- Golden Hour is your friend: Arrive at outdoor spots 30 minutes before sunset. The light is soft, warm, and directional. It highlights textures without creating deep, unflattering shadows.
- Avoid midday sun outdoors: Direct overhead sunlight creates contrast that is too high for most cameras to recover. Look for open shade, like under an awning or next to a building wall.
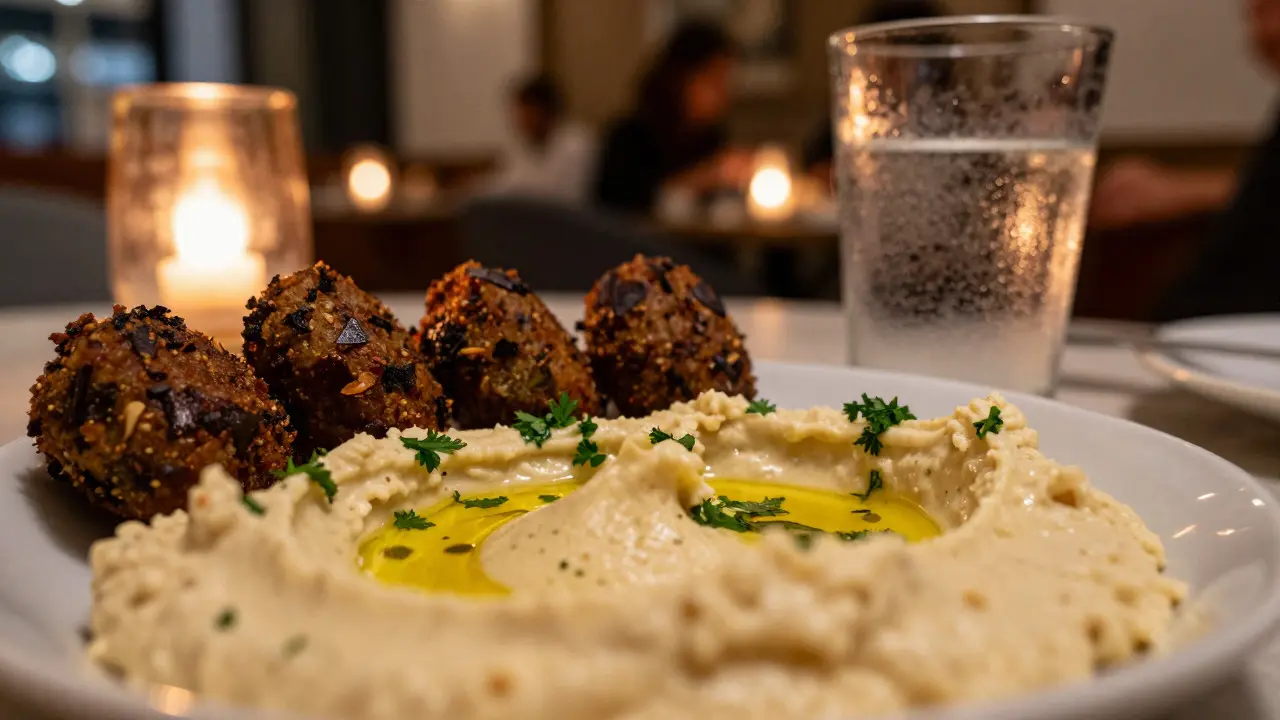
- Indoor lighting hacks: If you’re inside, sit near a window. If there’s no window, ask the server to turn off the main ceiling lights and keep the lamps on. Warm bulbs mimic candlelight and add intimacy to the shot.
If you’re shooting in a dim market stall, bump up your ISO. Modern cameras handle noise surprisingly well. A slightly grainy image with great color and mood is far better than a sharp, dark, and flat photo. Trust the sensor, not the flash.
Styling Your Shot Without a Studio
You won’t have a professional food styling team waiting for you in a street cart. But you can still apply basic principles. Styling isn’t about adding props; it’s about arranging what’s already there to look appealing.
Before the food arrives, clear the table. Remove ketchup bottles, napkin dispensers, and personal items like phones or wallets. You want the focus to be on the dish. Once the plate lands, take a second to adjust it. Rotate the plate so the garnish faces the camera. If there’s a sauce spill, wipe it gently. If the herbs look wilted, move them to the center where they look fresher.
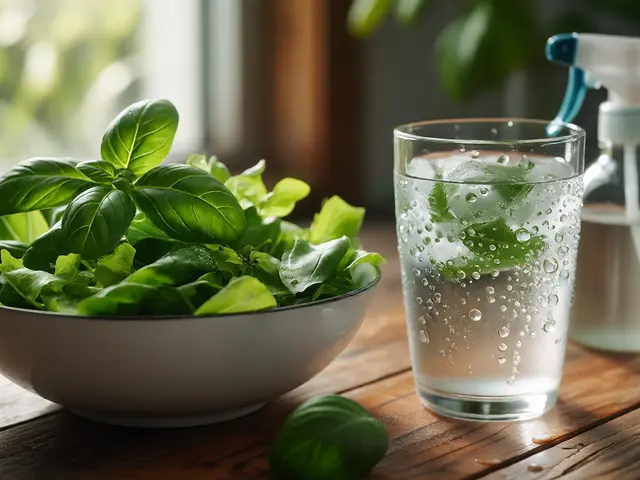
For drinks, condensation is your best friend. If the glass is dry, hold it over ice for a few seconds to fog it up. This adds a tactile quality to the image. Remember, you only have a few seconds before the food gets cold or the steam disappears. Be prepared. Have your camera ready, settings adjusted, and fingers hovering over the shutter button.
Choosing the Right Gear for Travel
You don’t need a heavy bag full of lenses. For travel food photography, versatility is key. Most photographers find that a single prime lens covers 90% of situations. A 50mm f/1.8 lens is the standard recommendation. It offers a field of view similar to human vision, allowing you to isolate the food from busy backgrounds using a shallow depth of field. The wide aperture lets you shoot in low light without raising the ISO too high.
If you prefer zooms, a 24-70mm f/2.8 is a solid choice, but it’s heavier. For those who want to go lighter, consider a mirrorless camera body with a compact kit lens. The size matters because you’ll be carrying this gear all day while walking. If you’re relying on a smartphone, ensure you’re using manual mode apps to control exposure and white balance. Auto modes often struggle with mixed lighting in restaurants, leading to yellow or green casts.
| Setup Type | Pros | Cons | Best For |
|---|---|---|---|
| Mirrorless + 50mm Prime | Lightweight, excellent low-light performance, beautiful bokeh | Limited focal length range | Bistros, cafes, indoor dining |
| DSLR + 24-70mm Zoom | Versatile, robust build, good battery life | Heavier, bulkier | Long trips, varied environments |
| Smartphone + Manual App | Always available, easy to share instantly | Limited dynamic range, smaller sensor | Quick snapshots, social media stories |
Capturing Motion and Texture
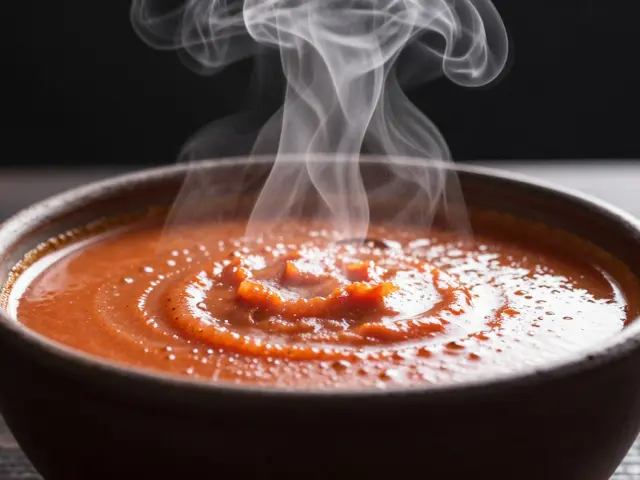
Food is alive. It steams, bubbles, drips, and shatters. Capturing these moments adds energy to your photos. To do this, you need to anticipate action. Watch the chef toss the salad. Wait for the pour of the wine. Click the shutter right as the liquid hits the glass. Use a faster shutter speed, around 1/250s or higher, to freeze the motion. If you want to show movement, like stirring soup, use a slower shutter speed, like 1/60s, and stabilize your hand by bracing against the table.
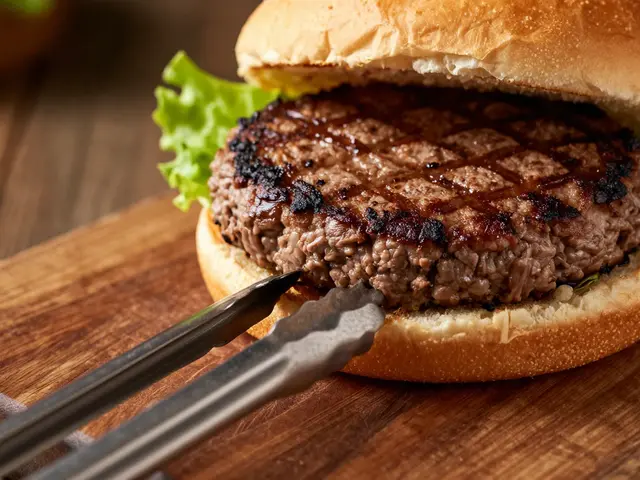
Texture is equally important. Close-ups of crispy skin, creamy sauces, or fresh herbs engage the viewer’s senses. Get close. Fill the frame with the detail. This type of shot works well as a secondary image in a gallery, providing a tactile counterpoint to the wider context shots. Mix wide environmental shots with tight detail shots to create a balanced narrative.
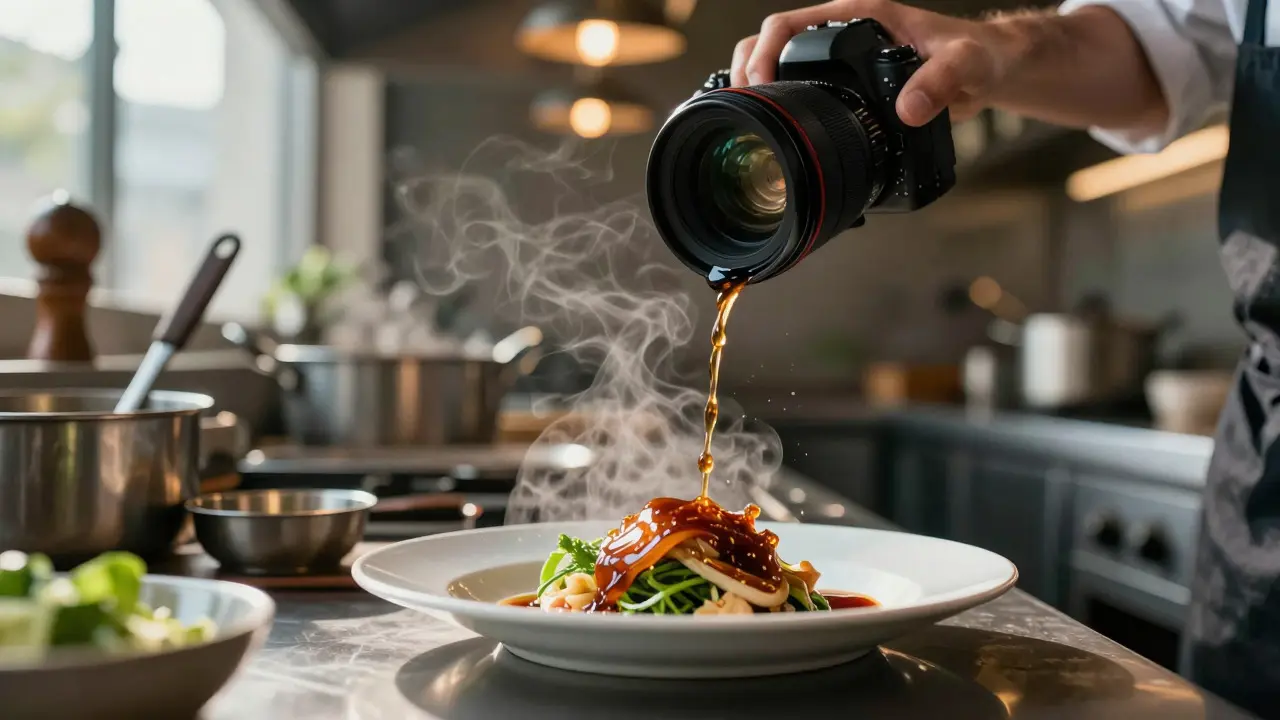
Post-Processing for Authenticity
Editing should enhance the scene, not fake it. Avoid heavy filters that change the color of the food. A steak shouldn’t look blue, and pasta shouldn’t look neon orange. Stick to subtle adjustments. Correct the white balance first. Then, adjust exposure and contrast to bring out the details. Increase clarity slightly to make textures pop, but don’t overdo it or the image will look gritty. Finally, crop the image to remove distractions. Tighter crops often feel more intimate and focused. Save your edits in RAW format if possible, as it gives you more flexibility to fix mistakes later.
Frequently Asked Questions
What is the best time of day to photograph street food?
Early morning or late evening are ideal. In the morning, you can capture the setup process and fresh ingredients. In the evening, the ambient lighting from stalls and streetlights creates a moody, atmospheric look. Midday is usually too bright and harsh for comfortable shooting.
Do I need a tripod for food photography while traveling?
Generally, no. Triods are bulky and slow you down. Instead, use natural stabilizers like tables, walls, or your own body. If you must use a support, a small beanbag or a flexible phone mount is much more practical for travel scenarios.
How do I handle mixed lighting in restaurants?
Mixed lighting often results in color cast issues. Set your white balance manually based on the dominant light source affecting the food. If the food is lit by warm bulbs, set WB to tungsten. If it’s near a window, set it to daylight. You can also shoot in RAW to correct colors easily in post-processing.
Is it rude to take photos of other people’s food?
It depends on the culture and setting. In many places, it’s common to snap a quick photo of your own meal. However, photographing strangers’ plates without permission can be intrusive. Always ask if you’re capturing someone else’s experience, especially in formal dining settings or small towns.
Which file format should I shoot in for best quality?
Shoot in RAW if your storage allows it. RAW files contain all the data from the sensor, giving you maximum flexibility to adjust exposure, white balance, and color in post-production. JPEG is fine for quick sharing, but it limits your editing capabilities significantly.