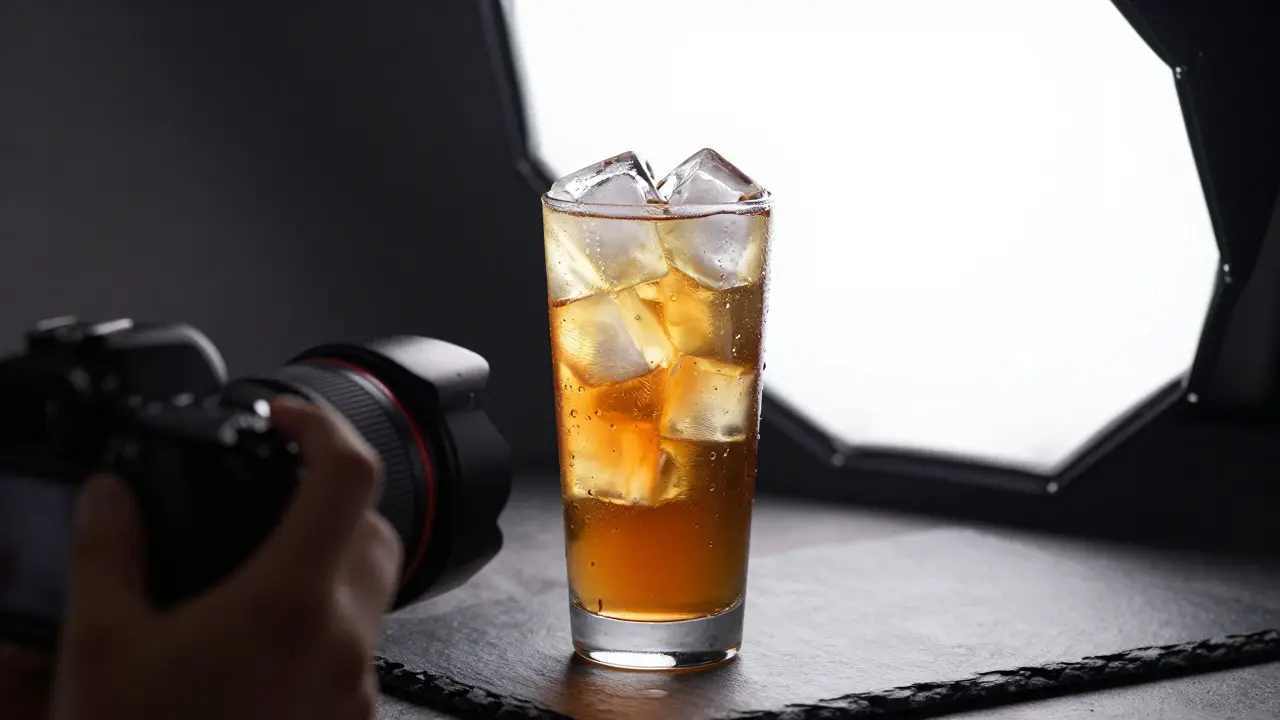
Ever tried to photograph a glass of iced tea, only to watch the cubes melt into a watery mess before you could capture the perfect shot? It’s a classic headache for any photographer working with chilled beverages. The solution isn’t just patience; it’s knowing which substitutes hold their shape long enough to look real. artificial ice and clever prop tricks are the backbone of professional beverage shoots, turning fleeting moments into lasting images.
You don’t need a lab to make convincing frozen water. You just need to understand the physics of melting and how materials interact with light. Real ice is transparent but often cloudy inside. It refracts light in complex ways that simple plastic cubes rarely mimic. By swapping out actual water for specific gels or additives, you gain control over the scene without sacrificing realism.
Why Real Ice Fails in Studio Settings
Real ice has a short lifespan under studio lights. Heat from lamps accelerates melting, creating condensation that can fog up lenses or ruin your backdrop. More importantly, real ice changes its appearance as it melts. The edges become rounded, and the transparency shifts. This makes lighting consistency difficult to maintain across multiple shots.
There is also the issue of weight and safety. A large bowl of real ice is heavy and slippery. If a model or assistant slips, the damage to equipment can be costly. Using substitutes reduces these risks while allowing you to shoot for hours without constantly replenishing the tray.
Gelatin Ice: The Standard for Transparency
Gelatin Ice is a mixture of unflavored gelatin and water that mimics the clarity and refraction of real frozen water. This is the go-to method for most high-end food stylists. The process involves dissolving gelatin powder in hot water, pouring it into molds, and letting it set in the freezer.
The key to making gelatin ice look authentic lies in the ratio. Too much gelatin makes the cubes opaque and rubbery. Too little, and they collapse under their own weight. A standard starting point is one envelope of unflavored gelatin per two cups of water. Adjust based on the size of your molds. Smaller cubes require a slightly higher concentration to maintain structural integrity.
When lighting gelatin ice, treat it like glass. Use softboxes to create smooth highlights rather than harsh reflections. Because gelatin is slightly more flexible than real ice, you can even bend thin sheets of it to create custom shapes that would be impossible with rigid frozen water.
Glycerin and Corn Syrup: The Melt-Proof Options
If you need something that never melts, Glycerin is a viscous liquid used in food styling to simulate slow-moving liquids or prevent evaporation. While not solid, glycerin is incredibly useful for creating the illusion of dripping condensation or wet surfaces that stay wet for hours.
Corn syrup serves a similar purpose. It is thicker than water and clearer than honey. When mixed with a small amount of water, it creates a fluid that moves slowly, perfect for capturing the moment a drink is poured. Unlike water, corn syrup doesn't evaporate quickly, so your setup remains consistent throughout the session.
For "ice" that needs to stay solid indefinitely, some stylists use clear acrylic blocks cut into cube shapes. These are lightweight and shatterproof. However, they lack the internal cloudiness of real ice. To fix this, you can place tiny air bubbles inside the acrylic using a vacuum chamber or simply accept the ultra-clear look, which works well for modern, minimalist aesthetics.
Creating Realistic Condensation and Frost
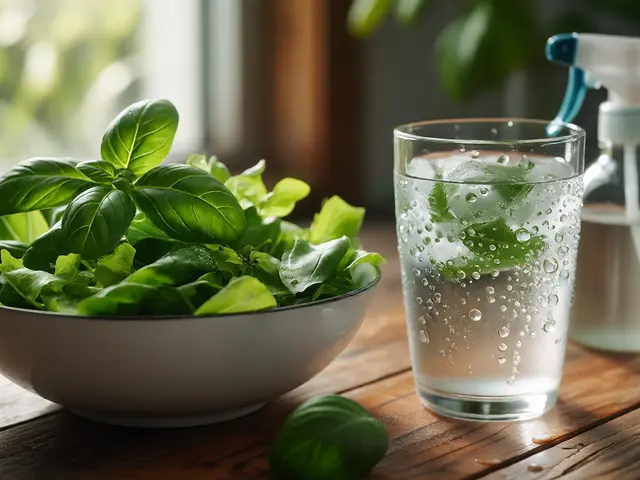
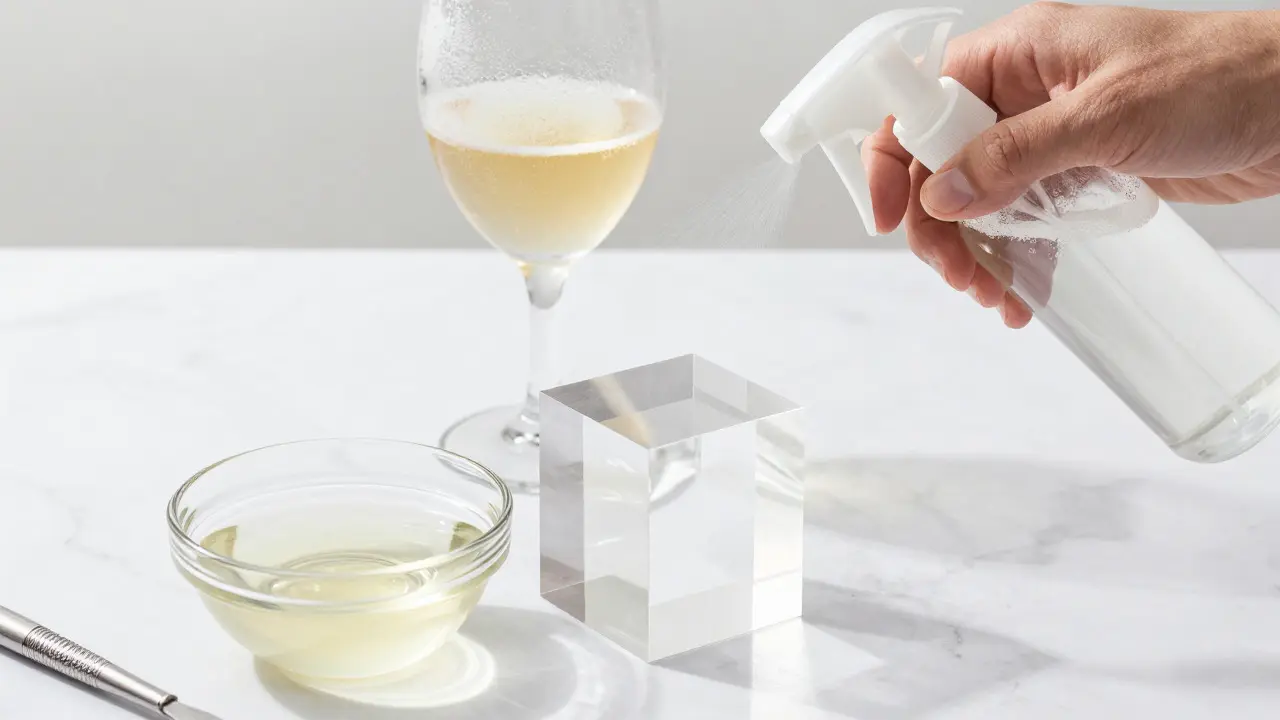
A cold drink looks wrong if the glass is dry. Condensation is a crucial detail that signals temperature. You can fake this easily using a spray bottle filled with a mixture of water and a drop of dish soap. The soap helps the droplets adhere to the glass surface, preventing them from sliding down too quickly.
For a frostier look, especially on beer or lager glasses, mix water with a small amount of glycerin and spray it onto the exterior. As the water evaporates, the glycerin leaves behind a textured, icy residue. This effect lasts much longer than real frost, which sublimates rapidly in warm studio environments.
Don't forget the interior of the glass. Real condensation forms on the inside as well. Spraying the inside with the same water-soap mixture adds depth to the image. Just be careful not to overspray, or you’ll end up with streaks that are hard to clean off between shots.
Prop Selection and Material Compatibility
Choosing the right props goes beyond just the ice. The vessel itself plays a huge role in how the substitute ice interacts with the viewer's eye. Thick-walled glassware distorts light differently than thin stemware. Always test your lighting setup with the final prop before freezing your substitutes.
Consider the background color too. Dark backgrounds make transparent ice pop by providing contrast. Light backgrounds can wash out subtle details in the ice structure. If you’re using acrylic blocks, a dark background helps hide the slight yellow tint that some plastics develop over time.
Here is a quick comparison of common substitutes to help you decide what fits your specific shoot:
| Substitute Type | Melting Point | Transparency Level | Best For | Preparation Time |
|---|---|---|---|---|
| Gelatin Ice | ~35°C (95°F) | High (with proper ratio) | Standard iced drinks | 4-6 hours (freezing) |
| Acrylic Blocks | N/A (Solid) | Very High | Long sessions, minimalism | Instant (pre-cut) |
| Glycerin Mix | N/A (Liquid) | Medium | Condensation, drips | Instant |
| Corn Syrup | N/A (Liquid) | High | Pouring actions | Instant |
Lighting Techniques for Transparent Objects
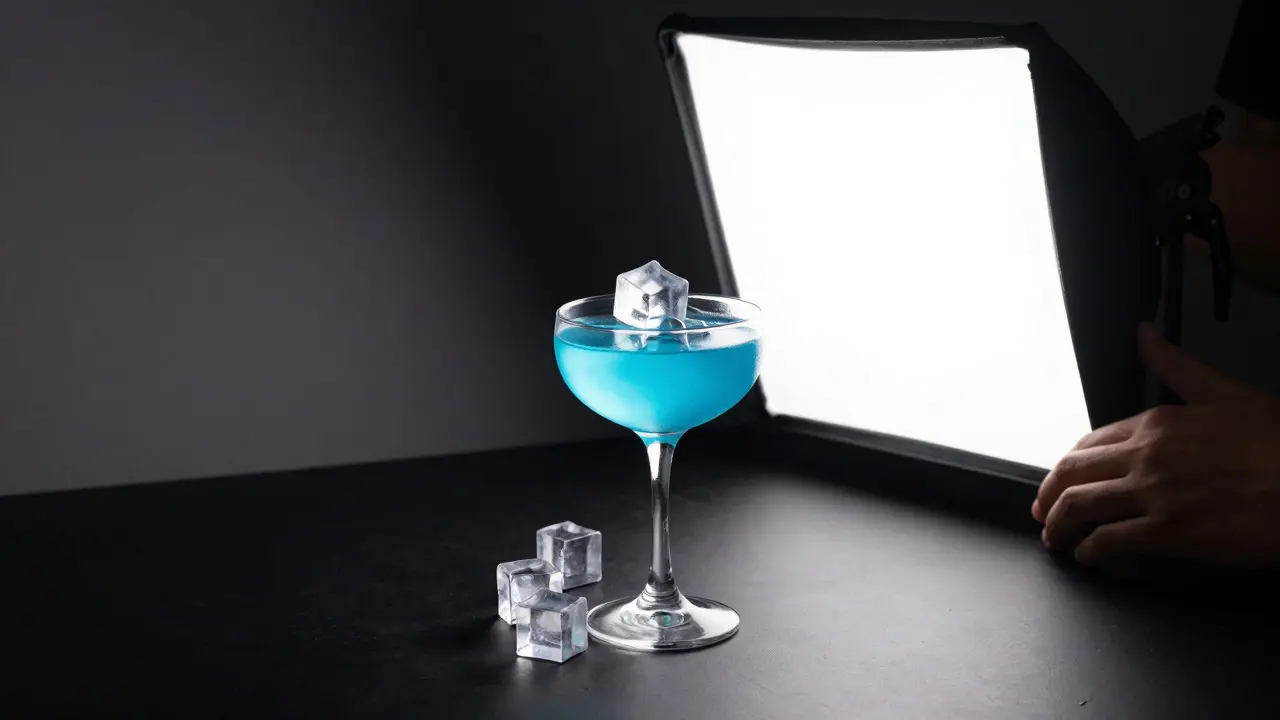
Lighting is where many photographers struggle with artificial ice. Because these substitutes are transparent, they rely entirely on reflected light to define their shape. Backlighting is your best friend here. Place a strong light source behind the subject to illuminate the ice from within. This highlights the internal structures and makes the gelatin or acrylic glow.
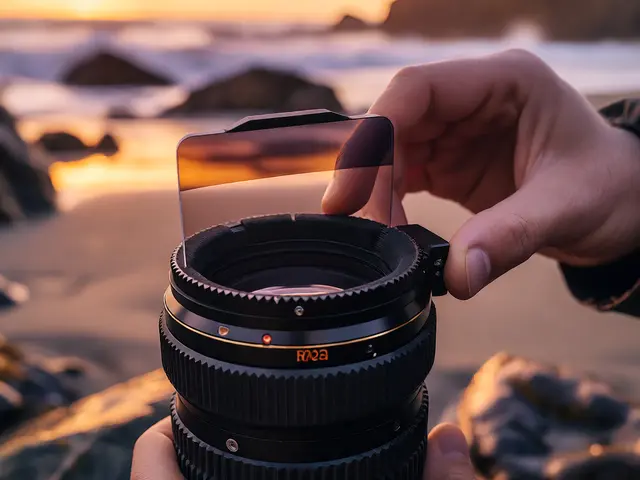
Use a polarizing filter on your lens to control reflections. This allows you to reduce glare on the glass surface while keeping the highlights on the ice sharp. Experiment with the angle of your lights. Moving a light even a few inches can dramatically change the appearance of the highlights on the ice cubes.
Softbox modifiers are essential for creating broad, smooth highlights. Hard lights create small, intense spots that can look unnatural unless you are going for a very specific, high-contrast style. Balance the intensity of the backlight with fill light from the front to ensure the rest of the composition remains visible.
Troubleshooting Common Issues
If your gelatin ice looks cloudy, check your water quality. Tap water contains minerals that can cause haze. Distilled water produces clearer results. Also, ensure your molds are perfectly clean. Any dust or residue will become trapped in the gelatin, creating imperfections that are magnified under close-up photography.
Cracking is another common problem. Gelatin ice can crack if it expands unevenly during freezing. To prevent this, pour the mixture slowly and avoid shaking the mold. Let it freeze at a consistent temperature. Rapid temperature changes can stress the material. If cracks do appear, you can sometimes repair them by lightly steaming the joint and pressing it back together, though prevention is always easier.
Finally, watch out for temperature drift. If your studio is too warm, even gelatin ice will start to soften. Keep your shooting area cool, or use fans to circulate air around the set. This keeps the substitutes firm and maintains the crisp edges that sell the illusion of coldness.
Frequently Asked Questions
Can I use regular plastic ice cubes?
You can, but they often look too uniform and lack the internal texture of real ice. They are best reserved for budget shoots or situations where extreme realism isn't required. For professional work, gelatin or acrylic is preferred.
How long does gelatin ice last in a hot studio?
In temperatures above 80°F (27°C), gelatin ice may begin to soften after 30-45 minutes. In cooler conditions, it can last several hours. Always have a backup batch ready in the freezer.
What is the best way to remove condensation from the lens?
Use a blower brush first to remove loose moisture. Then, gently wipe with a microfiber cloth. Avoid touching the lens element directly with your fingers, as oils can transfer and create smudges that are difficult to clean.
Does glycerin taste bad if it gets into the drink?
Glycerin is safe to consume in small amounts and has a mild, sweet taste. However, since it is primarily used for external effects, you usually don't need to worry about ingestion unless you are doing a live tasting session.
Can I reuse gelatin ice cubes?
Yes, if they haven't melted completely. You can pop them out, rinse them, and refreeze them. However, repeated freezing and thawing can degrade the clarity and structural integrity over time.