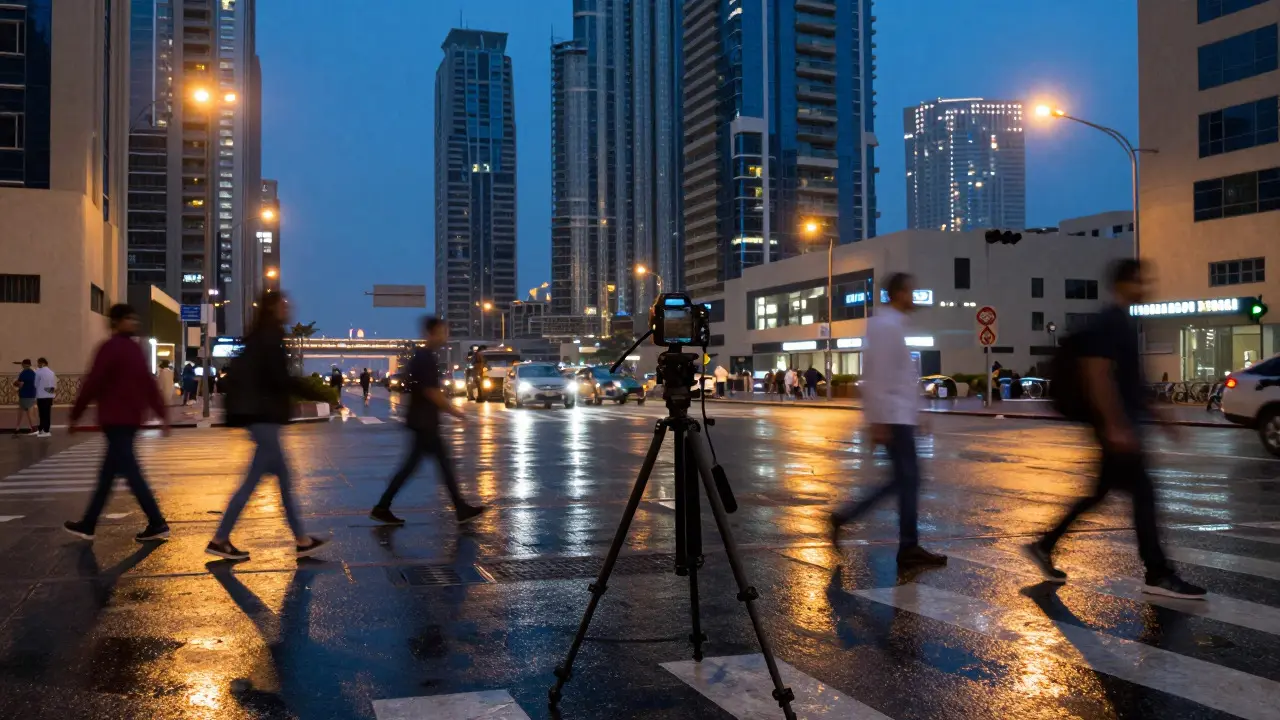
Ever watched a city at night and felt the chaos of traffic and people moving in perfect, chaotic harmony? That feeling is exactly what Slow Shutter Street Photography is all about. It’s not just about taking a blurry picture; it’s about controlling time itself to tell a story that a standard snapshot simply can’t capture. By slowing down your camera’s sensor, you transform fleeting moments into dynamic visual narratives where light becomes paint and movement becomes texture.
Why Slow Down When You Can Freeze Time?
Most street photographers are trained to freeze action. We chase the decisive moment, the sharp eye, the crisp detail. But sometimes, clarity isn't the point. Sometimes, the *feeling* of a place matters more than its exact state. When you use a slow shutter speed, you stop documenting a single instant and start capturing a duration. This shift changes how viewers perceive the scene. They don't just see a car; they see the path it took. They don't just see a pedestrian; they see the flow of the crowd.
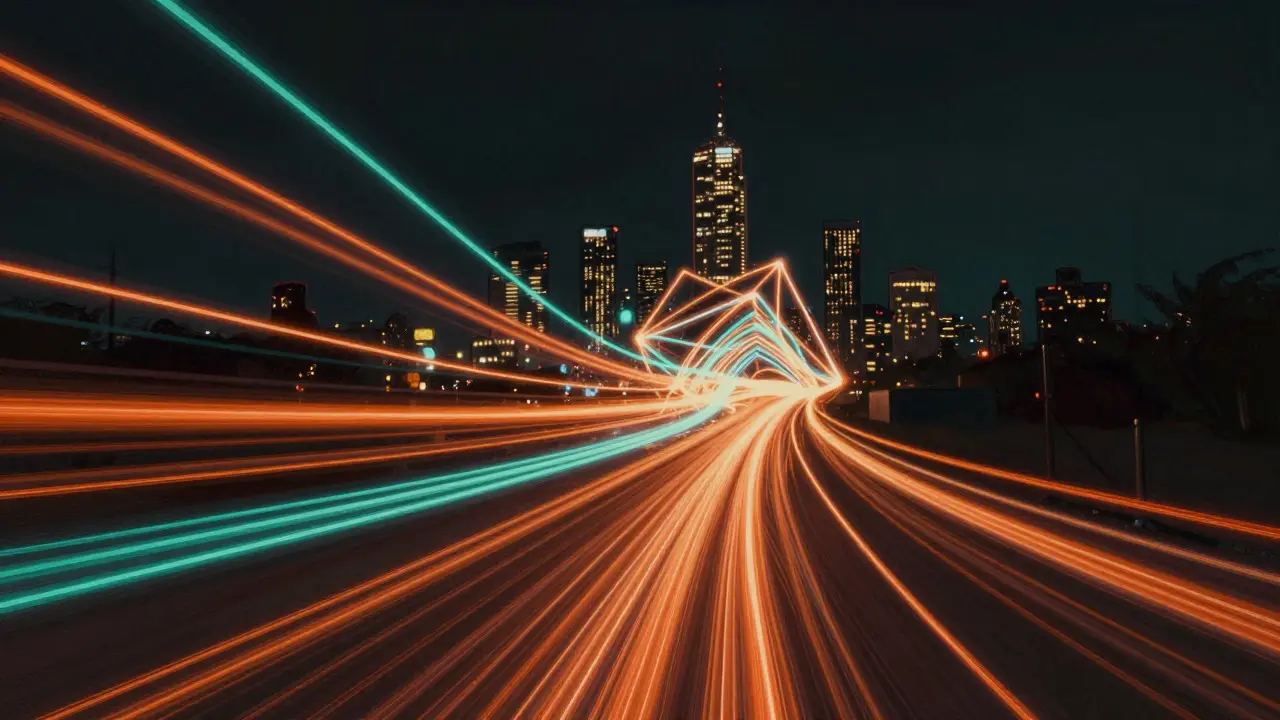
This technique relies on two distinct visual effects: Motion Blur and the smoothing or streaking of moving subjects against a static background. Then there are Light Trails and streaks of light created by moving light sources during a long exposure. Understanding the difference between these two is the first step to mastering the style. Motion blur softens edges and creates a sense of speed, while light trails create linear, glowing paths that guide the viewer's eye through the frame.
The Gear You Actually Need (And What You Don't)
A common misconception is that you need a $3,000 camera body to pull this off. You don't. Any modern digital camera with manual mode will work. However, three specific tools make the process significantly easier:
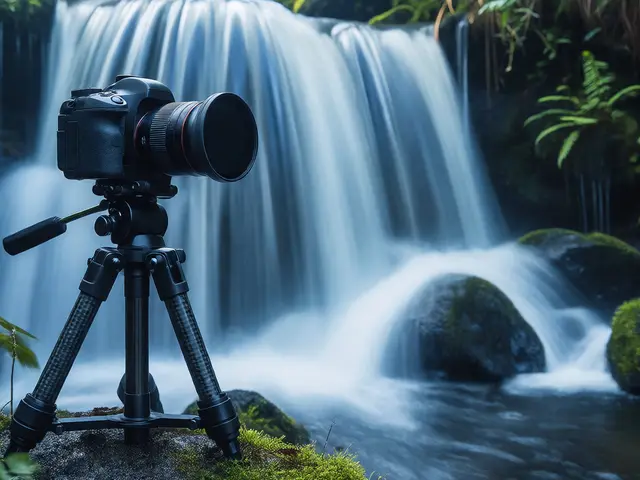
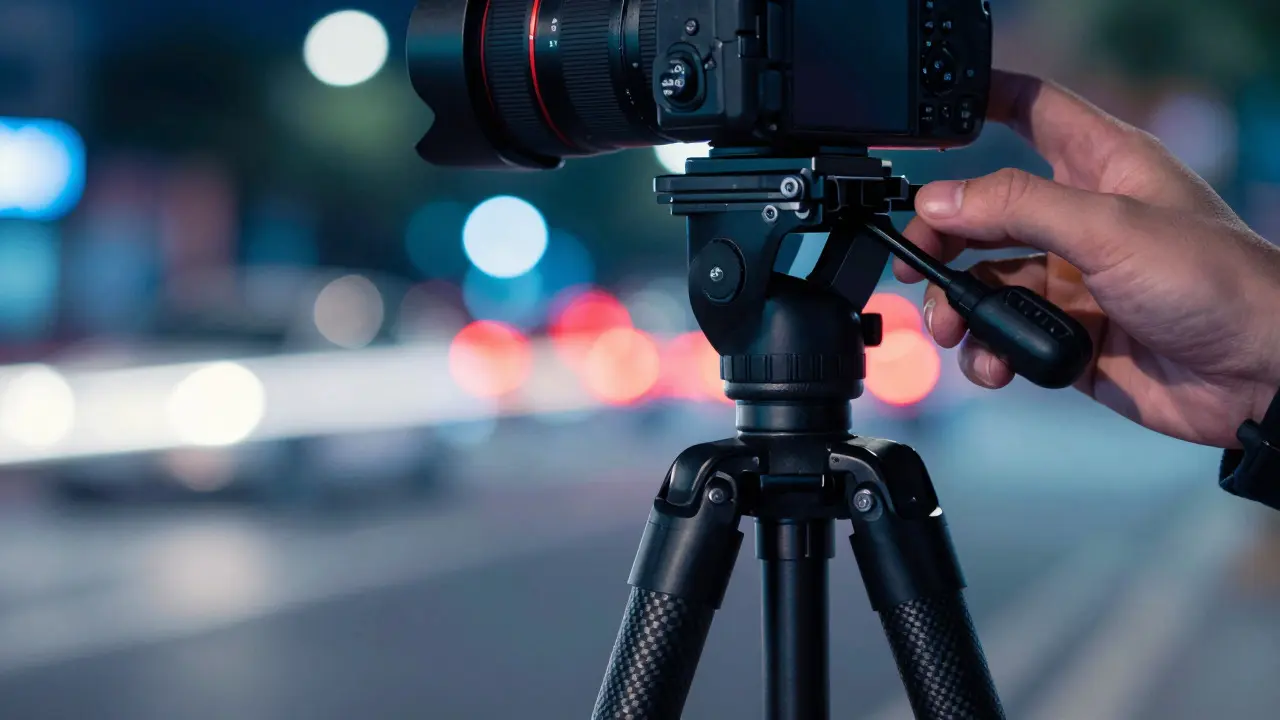
- A Sturdy Tripod: For exposures longer than 1/30th of a second, hand-holding becomes difficult without introducing unwanted camera shake. A tripod keeps the static elements-buildings, signs, pavement-sharp while everything else moves.
- A Remote Shutter Release or Intervalometer: Pressing the shutter button manually causes vibration. Even a tiny bump can ruin a long exposure. A remote release eliminates this variable entirely.
- Polarizing Filter (Optional but Useful): In daylight situations where you're trying to force a slower shutter, a polarizer helps cut glare from wet streets or windows, allowing you to close the aperture further without overexposing the sky.
Do you need a high-end lens? Not necessarily. A fast prime lens (like a 35mm f/1.4) is great for low-light conditions because it lets in more light, allowing you to keep your ISO low and your noise levels clean. But a versatile zoom lens like an 18-70mm works perfectly fine if you're careful with your settings.
Mastering the Exposure Triangle for Movement
To get motion blur, you need to manipulate the exposure triangle: Aperture, Shutter Speed, and ISO. The goal is to balance these three so that the image is properly exposed while maintaining the desired level of blur.
| Setting | Motion Blur (People/Cars) | Light Trails (Headlights/Taillights) |
|---|---|---|
| Shutter Speed | 1/15s to 1/2s | 2s to 30s+ |
| Aperture | f/8 to f/16 (for depth of field) | f/8 to f/11 (to avoid diffraction) |
| ISO | 100 to 400 (keep it low for quality) | 100 (minimum possible) |
| Stabilization | Tripod required for <1/15s | Tripod mandatory |
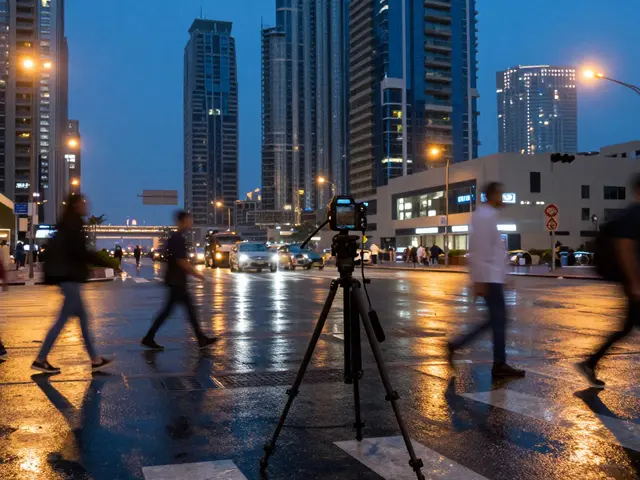
Notice the difference in shutter speeds. To blur a person walking across a crosswalk, you might only need 1/15th of a second. To create long, sweeping arcs of headlight beams, you need several seconds. This is why location choice matters as much as technical settings.
Choosing the Right Location and Time
Not every street corner is suitable for slow shutter photography. You need a scene that offers contrast between static and moving elements. Look for:
- Static Anchors: Buildings, bridges, statues, or storefronts that remain still. These provide the "ground" for the viewer's eye.
- Dynamic Flow: Busy intersections, elevated highways, or sidewalks with heavy foot traffic. The more consistent the movement, the smoother the trails or blurs will be.
- Light Sources: For light trails, you need bright, directional lights. Car headlights and taillights are the classic examples, but neon signs, streetlamps, and even bicycle reflectors can work if the exposure is long enough.
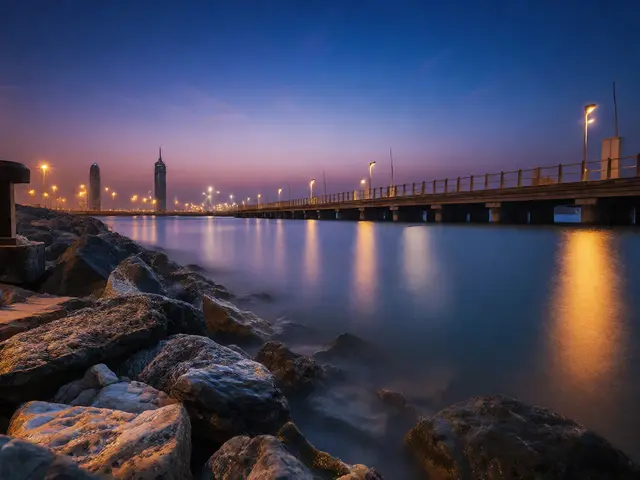
Timing is critical. Shoot during the "blue hour"-the period just after sunset when the sky is deep blue but ambient light is still present. This balances the brightness of artificial lights with the natural environment, preventing the lights from blowing out to pure white while keeping the shadows from becoming pitch black. Rainy nights are also goldmines. Wet asphalt acts like a mirror, reflecting the light trails and adding a layer of color and texture to the foreground.
Techniques for Handheld vs. Tripod Shots
While a tripod is the standard tool, some street photographers prefer to handhold their cameras to maintain mobility. If you choose to go handheld, here are the rules of thumb:
- Keep Shutter Speeds Above 1/15s: Below this, camera shake usually exceeds subject movement, resulting in a completely blurry image rather than selective motion blur.
- Breathe Out and Hold: Take a breath, exhale halfway, and press the shutter gently. This stabilizes your core and reduces tremor.
- Use Image Stabilization Wisely: Turn on in-body stabilization (IBIS) or lens stabilization (VR/IS) for shorter exposures. However, turn it OFF if you're using a tripod for exposures longer than 2 seconds, as the system can introduce micro-movements while trying to compensate for non-existent shake.
If you do use a tripod, remember to lock your tripod legs fully and tighten the ball head. A loose leg can cause subtle vibrations that ruin the sharpness of static objects. Additionally, enable "Mirror Lock-Up" if you have a DSLR, or use the electronic first curtain shutter if you have a mirrorless camera, to eliminate internal vibrations.
Post-Processing: Enhancing the Effect
Raw files from slow shutter shots often look flat. Post-processing is where you bring the mood to life. Here’s a basic workflow:
- White Balance Adjustment: Street scenes often have mixed lighting (warm sodium lamps, cool LED signs). Adjust the white balance to match the mood. Cooler tones feel modern and sterile; warmer tones feel nostalgic and inviting.
- Clarity and Dehaze: Slightly increasing clarity can help define the static elements against the blurred background. Be careful not to overdo it, or the image will look unnatural.
- Color Grading: Enhance the colors of the light trails. Teals and oranges are a popular combination for urban night shots, but don't be afraid to experiment with monochromatic looks or high-saturation neon palettes.
- Crop and Straighten: Long exposures can sometimes result in slight horizon tilts due to tripod instability. Use the crop tool to straighten vertical lines (buildings) and remove any distracting edges.
Finally, consider stacking multiple exposures. If you want extremely smooth light trails without excessive noise, take 3-5 shots of the same scene and blend them in post-production software. This averages out the random noise and creates a cleaner, more polished result.
Common Mistakes to Avoid
Even experienced photographers stumble with slow shutter techniques. Here are the most frequent pitfalls:
- Overexposing Highlights: Bright lights easily blow out to white. Use spot metering on the brightest light source and adjust exposure compensation to retain detail in the highlights.
- Ignoring Wind: On windy nights, flags, trees, and clothing move unpredictably. This can create chaotic blurs that distract from the main subject. Wait for calm periods or embrace the chaos if it fits the narrative.
- Too Much Blur: Sometimes, less is more. If the motion blur is so intense that the subject is unrecognizable, you may have lost the connection with the viewer. Aim for a balance where the movement is visible but the form is still discernible.
- Forgetting the Foreground: A strong foreground element (like a puddle, a bench, or a sign) anchors the composition. Without it, the image can feel floaty and disconnected.
Frequently Asked Questions
What is the best shutter speed for light trails?
There is no single "best" speed, but generally, 2 to 10 seconds is the sweet spot for car light trails. Shorter durations (under 2 seconds) create short dashes, while longer durations (over 10 seconds) can create solid lines that lose definition. Experiment with different lengths to find the rhythm that matches your scene.
Can I do slow shutter street photography in daylight?
Yes, but it requires reducing the amount of light entering the lens. Use a small aperture (f/16 or f/22), set ISO to 100, and use a neutral density (ND) filter. An ND8 or ND64 filter can allow you to extend shutter speeds to 1/2s or longer, even in bright midday sun. This is particularly effective for blurring crowds in plazas or parks.
How do I keep the background sharp while blurring the subject?
The key is relative movement. If the subject moves faster than the camera shakes, the subject will blur while the background remains relatively sharp. Using a tripod ensures the camera is stationary, making the subject's movement the primary source of blur. Additionally, focusing on the background or using a smaller aperture increases the depth of field, ensuring both near and far static elements stay in focus.
Do I need a tripod for all slow shutter shots?
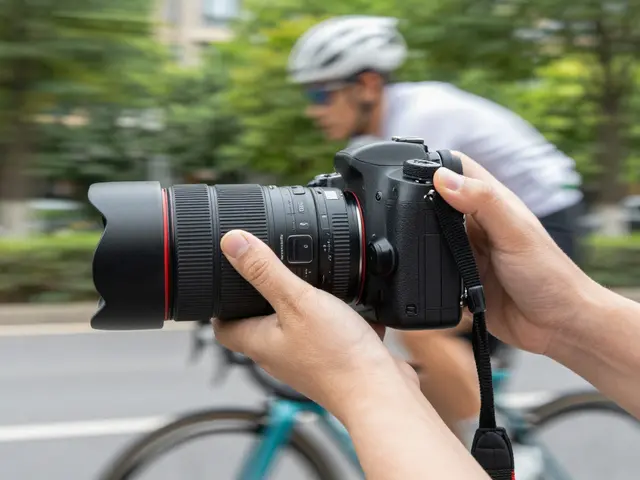
No. For shutter speeds between 1/15s and 1/8s, many photographers can handhold successfully, especially if they have good technique and image stabilization. However, for anything slower than 1/8s, a tripod is highly recommended to ensure the static elements remain crisp. The exception is intentional panning, where you move the camera along with the subject, creating a blurred background and a sharp subject.
What lens focal length is best for street motion blur?
A 35mm or 50mm lens is ideal for most street scenarios. These focal lengths provide a natural perspective that doesn't distort the scene too much, allowing you to capture context while isolating the movement. Wider lenses (16-24mm) exaggerate perspective and can make motion trails appear more dramatic, while telephoto lenses (85mm+) compress the scene and can make distant lights appear closer together.