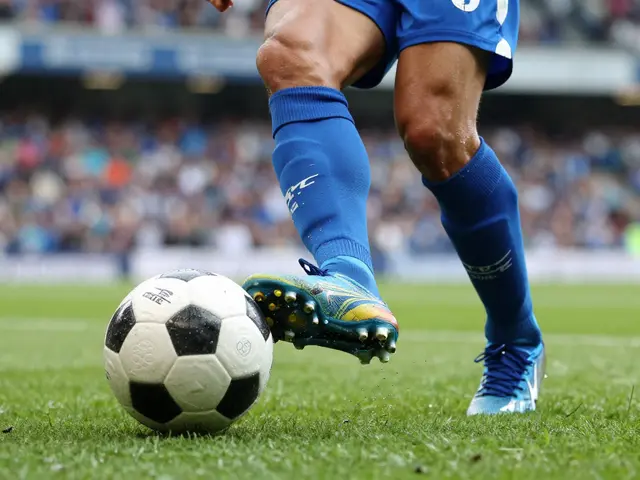
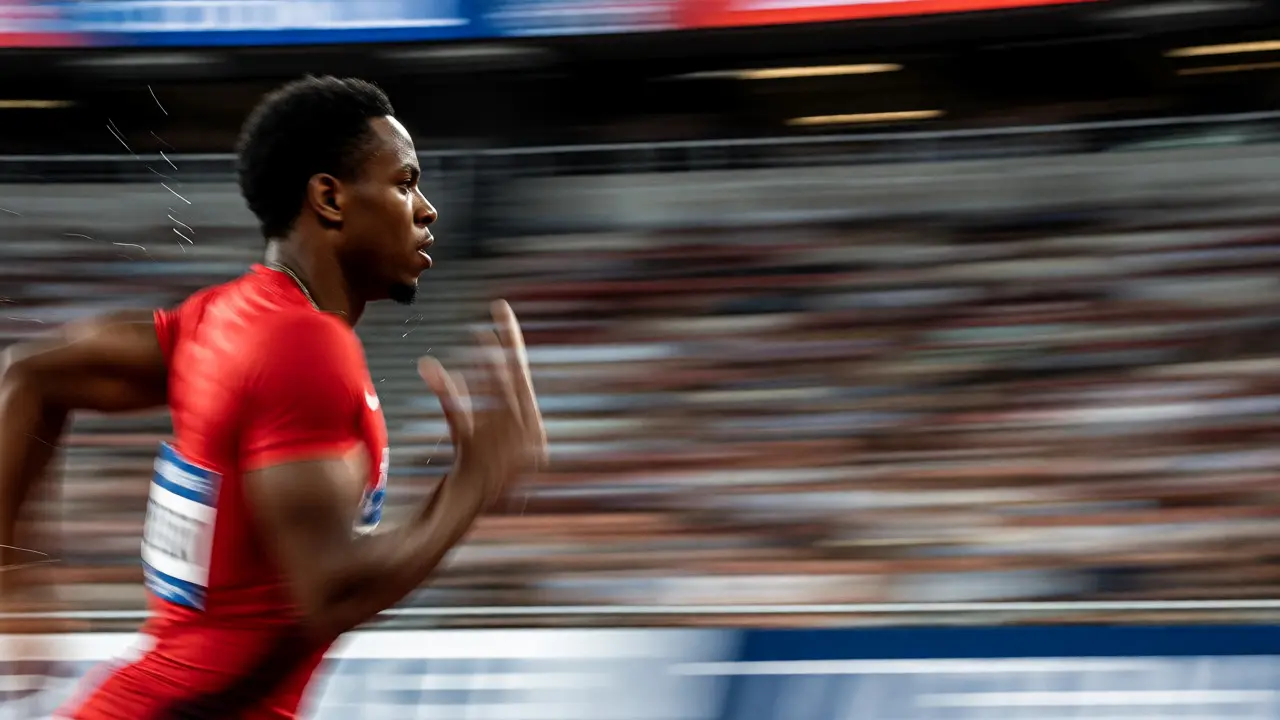
You know that feeling when you’re at a high school football game or watching your kid’s soccer match, and everything looks static? You snap a photo, check the screen, and it’s just... boring. The player is frozen mid-stride, but the energy is gone. It feels like a statue, not an athlete sprinting at full speed. That’s where panning comes in. It’s the one trick that separates amateur snapshots from professional-looking action shots. By moving your camera along with the subject while keeping the shutter open long enough to blur the background, you create a sense of speed that makes viewers feel the wind on their faces.
But here’s the catch: panning is hard. Really hard. If you move too slow, the subject blurs. If you move too fast, the background doesn’t blur enough. And if your focus misses by a millimeter, you get a blurry mess instead of a crisp athlete against a streaked backdrop. Most people give up after ten failed attempts. Don’t be most people. With the right setup and a few practice drills, you can nail this shot consistently. Let’s break down exactly how to do it without overcomplicating things.
Why Your Camera Settings Matter More Than Your Lens
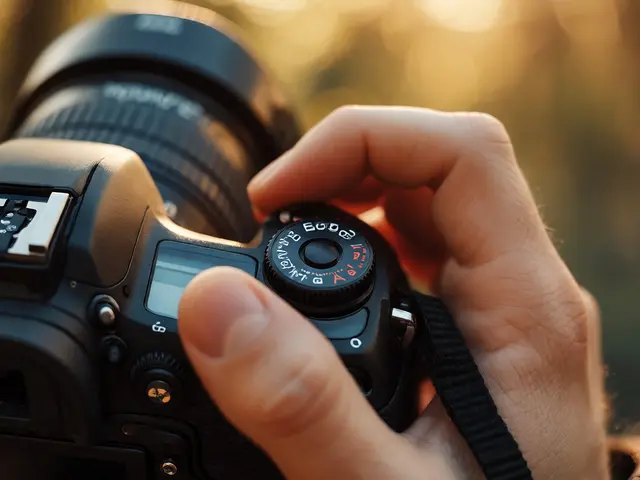
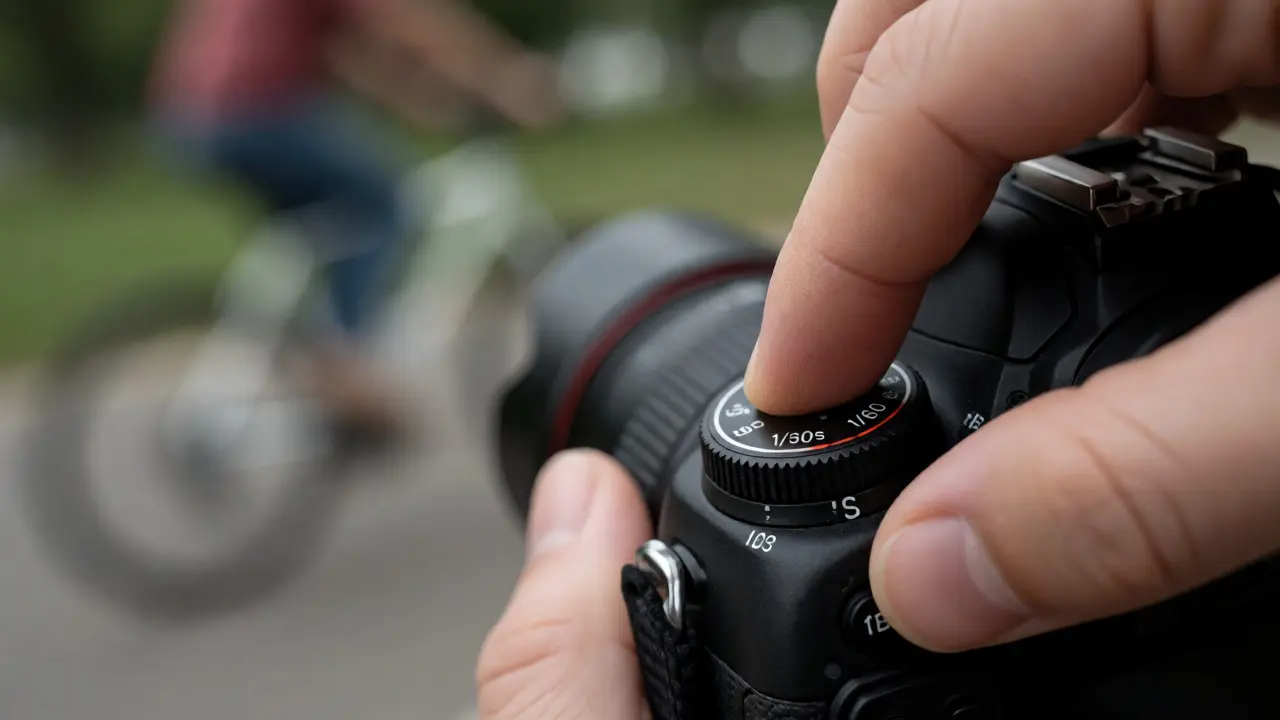
Before you even lift your camera, you need to dial in your exposure. This isn’t about getting the "perfect" light; it’s about controlling time. To get that smooth motion blur in the background, you need a slower shutter speed. For most sports, starting between 1/30s and 1/60s is your sweet spot. Too fast (like 1/500s), and you freeze everything, losing the motion effect. Too slow (like 1/15s), and even your steady hands will shake the whole image.
You might wonder, "How do I keep the subject sharp if the shutter is so slow?" That’s the magic of relative motion. Because you are moving your camera at the same speed as the runner, the runner stays relatively still in your viewfinder. The background, however, moves past you quickly, creating those horizontal streaks. But there’s a risk: hand shake. At 1/30s, your heartbeat can blur the image. So, brace yourself. Tuck your elbows in. Hold your breath right before you press the shutter. It sounds dramatic, but it works.
| Sport Type | Speed Level | Starting Shutter Speed | Focus Mode |
|---|---|---|---|
| Track & Field / Cycling | Very Fast | 1/60s - 1/80s | Continuous AF (AI Servo) |
| Soccer / Football | Fast | 1/30s - 1/50s | Continuous AF |
| Baseball / Softball | Moderate | 1/15s - 1/30s | Single Point AF |
| Cars / Motorcycles | Variable | 1/125s - 1/250s | Zone Focus |
Choosing the Right Gear Without Breaking the Bank
You don’t need a $10,000 body to pan well. In fact, many entry-level DSLRs handle panning better than some mirrorless cameras because they have less electronic lag. What you do need is a lens with decent autofocus tracking. Telephoto lenses, typically 70-200mm or 100-400mm, work best because they compress the background, making the blur look more dramatic. A wide-angle lens can work, but you have to get uncomfortably close to the action, which can be dangerous if you’re shooting cars or rugby players.
Stabilization is another factor. Many modern lenses have Vibration Reduction (VR) or Image Stabilization (IS). Here’s the pro tip: turn it off, or switch it to "Mode 2." Standard stabilization tries to stop all movement, including the intentional side-to-side motion you’re doing. Mode 2 usually detects horizontal panning and only stabilizes vertical shake. If your lens doesn’t have a mode selector, just turn IS off completely. Trust your arms-they’re stronger than you think.
The Step-by-Step Execution Process
Now that your camera is set, let’s talk about body mechanics. This is where most beginners fail. They try to twist their torso or move their feet too much. Instead, plant your feet shoulder-width apart. Keep your weight balanced. Your hips should act as a pivot point. Imagine you’re swinging a golf club-smooth, continuous rotation from the core, not just the arms.
- Track First: Before you take the shot, follow the athlete through your viewfinder. Get into rhythm with their speed. If they’re running left to right, start your camera movement before they enter your frame and continue after they leave.
- Press Halfway: Engage your autofocus. Use Back Button Focus if you have it-it decouples focusing from the shutter release, giving you more control.
- Shoot During Motion: Do not stop moving when you press the button. Press the shutter *while* you are still rotating. Think "shoot and swing," not "stop and shoot."
- Follow Through: Continue the motion until the shutter closes. This ensures the entire exposure duration captures the consistent relative speed needed for a sharp subject.
If you stop abruptly, you’ll get a blurred subject. Consistency is key. It feels awkward at first, like dancing with two left feet, but muscle memory kicks in after about fifty shots.
Fixing Common Panning Mistakes
So you’ve taken a hundred shots, and maybe ten are good. Why did the other ninety fail? Usually, it’s one of three things. First, your shutter speed was too slow for your focal length. Rule of thumb: if you’re using a 200mm lens, you need faster speeds than with a 50mm lens to minimize shake. Second, you weren’t parallel to the subject. If you’re standing directly in front of a runner, panning won’t work well because there’s no lateral movement relative to the camera. You need to be perpendicular to their path of travel.
Third, and this is big, poor lighting forces you to use higher ISOs or wider apertures, which can limit depth of field. If your aperture is f/2.8, your depth of field is razor-thin. If the runner leans forward or backward slightly, they fall out of focus. Try stopping down to f/5.6 or f/8. Yes, you lose some background blur isolation, but you gain a larger zone of sharpness, saving you from missing focus entirely.
Editing Tips to Enhance the Effect
Even great panning shots benefit from post-processing. Open your RAW files in Lightroom or Capture One. Start by adjusting the contrast. Panning shots often look flat because the motion blur reduces local contrast. Bump up the Clarity slider slightly (+10 to +15) to make the sharp subject pop against the soft background. Be careful not to overdo it, or the skin tones will look crunchy.
Next, check your alignment. Sometimes your horizon line tilts because you were leaning during the pan. Straighten it. A crooked horizon ruins the illusion of stability. Finally, consider cropping. Tightening the crop around the subject removes distracting elements in the corners and emphasizes the speed lines radiating outward. If the background has distracting colors, desaturate them slightly so the viewer’s eye goes straight to the athlete.
Practice Drills for Better Results
You don’t need a stadium full of athletes to practice. Go to a busy sidewalk or a park. Watch joggers or cyclists pass by. Set your camera to Shutter Priority (Tv or S mode) at 1/30s. Shoot twenty photos of each person passing. Review them immediately. Look for the ones where the face is sharp but the trees behind them are streaked. That’s your benchmark.
Once you’re comfortable with 1/30s, try going slower. Drop to 1/15s. Then 1/8s. You’ll find your personal limit-the slowest speed you can hold steady enough to keep a subject sharp. Knowing this number saves you time at actual events. You’ll know exactly what to expect when the pressure is on.
Do I need a monopod for panning?
A monopod can help reduce fatigue and stabilize vertical bounce, but it restricts horizontal movement if not used correctly. Ensure the monopod head allows free horizontal rotation. Many pros prefer handheld shooting for greater flexibility, especially when tracking erratic movements like basketball players. If you use a monopod, keep it loose enough to swing freely.
What autofocus mode is best for panning?
Continuous Autofocus (AF-C on Nikon/Sony, AI Servo on Canon) is essential. Single-point AF is also recommended because it locks onto a specific area (like the athlete's face) rather than hunting across the whole frame. Using a single point prevents the camera from grabbing onto a stationary background object accidentally.
Why is my subject blurry even though I'm panning?
This usually happens for two reasons: either your shutter speed is too slow for your hand stability, or you stopped moving your camera when pressing the shutter. Remember to "swing through" the shot. Also, check if your lens stabilization is fighting your movement; try turning it off to see if results improve.
Can I pan with a smartphone?
Yes, but it’s harder. Phones lack manual shutter speed controls in standard modes. Use "Pro" or "Manual" apps to set a low shutter speed (around 1/30s). Phone sensors are smaller, so noise increases at higher ISOs, but the computational photography features in newer models can sometimes assist with stabilization. Practice is key, as phone touch-shutters can cause shake.
Does flash work with panning?
Yes, using Rear Curtain Sync flash creates a stunning effect. The ambient light blurs the background during the long exposure, and the flash fires at the end of the exposure to freeze the subject sharply. This gives you a sharp subject with trailing motion blur, adding dynamic energy to the image. Just ensure your flash power is balanced with the ambient light.