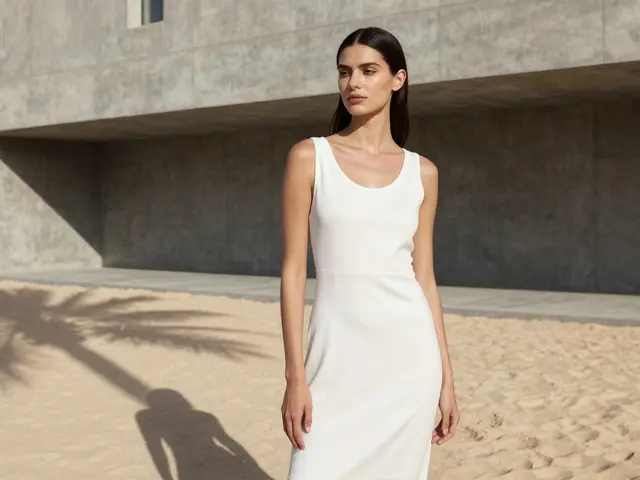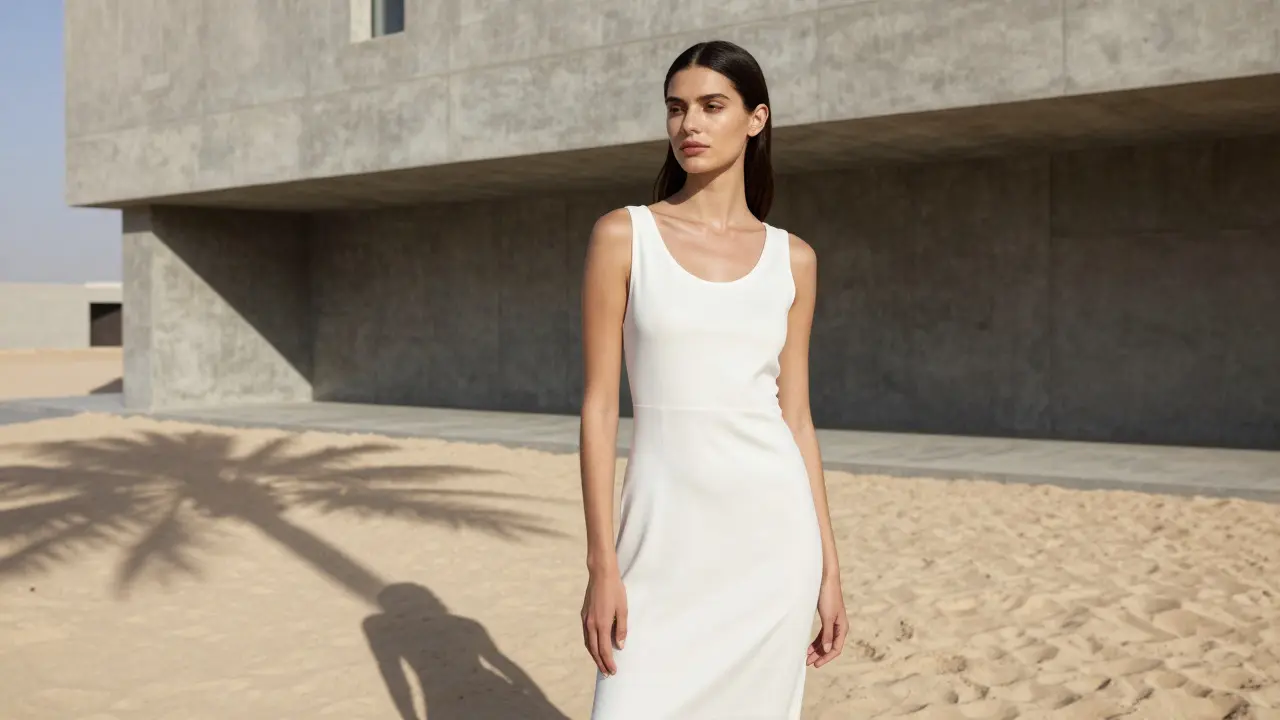
Standing in direct midday sun with a model wearing a white dress is a recipe for disaster. The shadows under the eyes are harsh, the highlights blow out instantly, and the skin tones look uneven. Yet, some photographers manage to capture dreamy, high-end editorial looks using nothing but the sun, a piece of foam board, and patience. The secret isn't magic; it's understanding how to manipulate natural light rather than just accepting what it gives you.
Most amateur fashion shoots fail because they treat sunlight as a fixed variable. You either shoot when it’s bright or you don’t. But professional shooters treat light like a fluid material. They move the subject into shade, bounce light back into shadows, or use the sun as a rim light to separate the model from the background. This guide breaks down the three core tools of natural light fashion photography: managing backlight, utilizing shade, and deploying reflectors effectively.
Understanding the Behavior of Natural Sunlight
Sunlight changes dramatically depending on the time of day and weather conditions. It is not a static source like a studio strobe. When planning a shoot, you must account for the color temperature and intensity of the light at your specific location.
- Golden Hour: Occurs roughly one hour after sunrise and one hour before sunset. The light is warm (around 3000K-4000K), soft, and directional. It creates long shadows and flatters almost all skin tones.
- Blue Hour: The period just before sunrise or just after sunset. The light is cool (6500K+), very soft, and diffuse. It is excellent for moody or futuristic aesthetics but requires higher ISO settings.
- Midday Sun: Harsh, overhead, and intense (5500K). It creates deep shadows under the eyes and nose. Avoid this unless you have strong diffusers or plan to work entirely in shade.
- Overcast Days: Nature’s giant softbox. The clouds scatter the light, creating even illumination with minimal shadows. It is ideal for true-to-life color reproduction but can feel flat without added contrast.
The key takeaway here is that "natural light" is not one thing. It is a spectrum of qualities. Your job is to match the quality of light to the mood of the garment and the story of the image.
Mastering Backlight for Separation and Glow
Backlighting is where many beginners struggle. If you place the sun directly behind your model, their face goes dark, and their hair might glow beautifully. This is often called the "halo effect." While dramatic, it is rarely usable for commercial fashion work where product details and facial expressions matter.
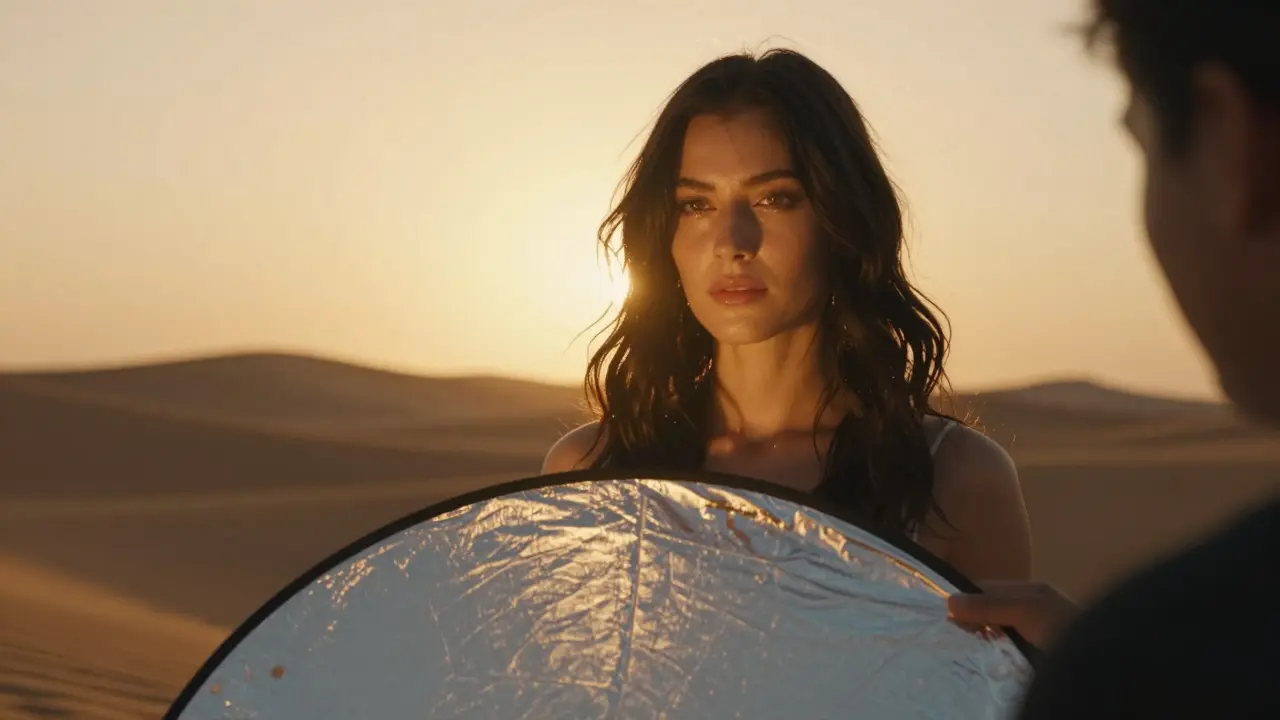
To make backlight work, you need to fill in the shadow side of the model. This is where the interplay between the sun and a reflector becomes critical. By positioning a reflector on the front-side of the model, you bounce the ambient light back onto their face. The result is a separation from the background caused by the rim light, while maintaining detail in the foreground.
- Position the model so the sun is slightly off-axis behind them (not directly over the head).
- Check the histogram on your camera to ensure the highlights aren't clipping.
- Use a silver or gold reflector to add warmth and brightness to the face.
- Adjust the angle of the reflector to control the size of the catchlights in the eyes.
This technique adds dimension. Without the reflected fill, the image looks like a silhouette. With it, you get a three-dimensional portrait with a cinematic edge.
Working in Shade: The Secret to Softness
If you are shooting during the harsh hours of 10 AM to 2 PM, do not fight the sun. Move into the shade. Open shade (next to a building or tree) provides soft, directional light without the harsh overhead shadows. Closed shade (deep inside a forest or alleyway) provides even, flat light.
In open shade, the direction of the light is still determined by the sun, but the intensity is reduced. This allows you to use lower apertures for shallow depth of field without worrying about blown-out highlights. It also makes skin textures smoother, which is crucial for beauty-focused fashion shots.
However, shade has its own pitfalls. The color temperature can shift if the surrounding environment reflects colored light (like green from trees or blue from concrete). Always check your white balance manually or use a gray card to ensure accurate colors. Additionally, be mindful of "dappled light" from leaves. While it can create interesting patterns, it often distracts from the clothing and needs to be avoided for clean editorial looks.
The Role of Reflectors in Modifying Light
A reflector is not just a piece of shiny cardboard. It is a tool for controlling the ratio of light between the lit side and the shadow side of your subject. In natural light photography, the dynamic range of the scene is often too wide for the camera sensor to capture both the bright background and the darker subject simultaneously.
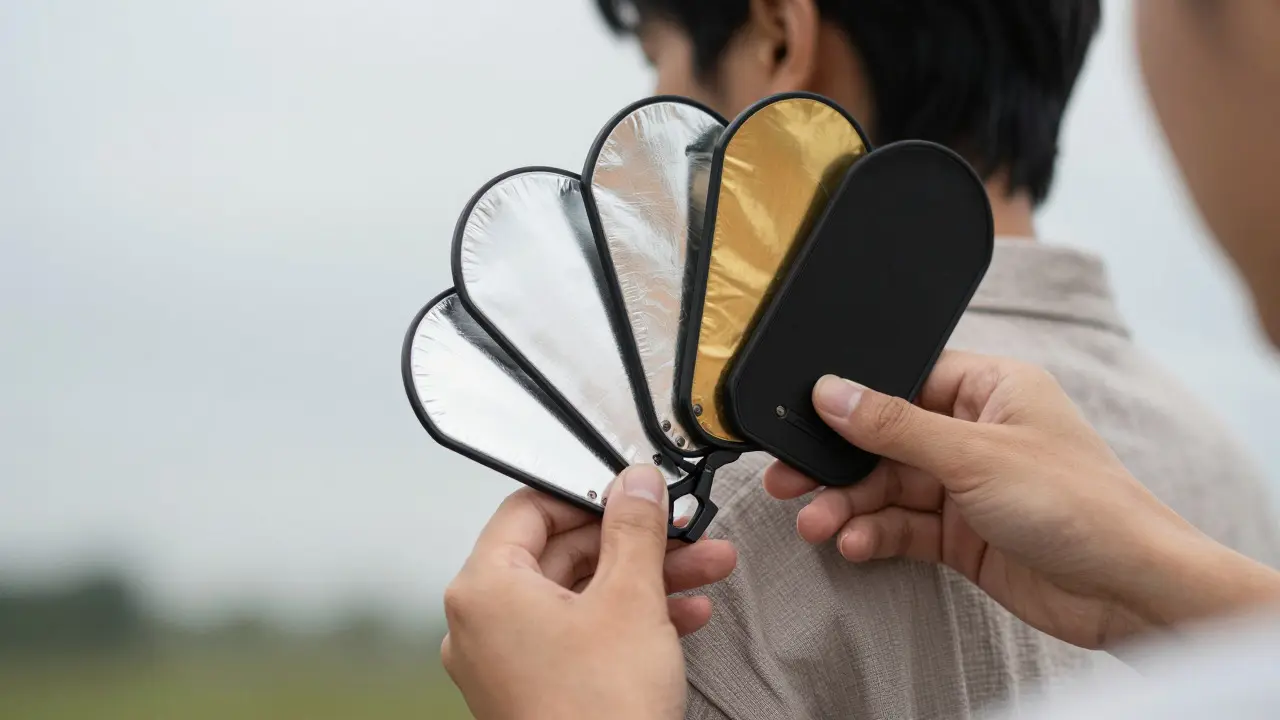
| Reflector Type | Light Quality | Best Use Case | Temperature Shift |
|---|---|---|---|
| Silver | Hard, Bright, High Contrast | Dramatic portraits, adding sparkle to eyes | Neutral (slightly cool) |
| Gold | Warm, Glowing, Romantic | Golden hour enhancement, autumn themes | Warm (+500K to +1000K) |
| White | Soft, Gentle, Natural | General fill light, reducing contrast gently | Neutral |
| Black | Absorbs Light, Deepens Shadows | Adding drama, preventing spill from bright backgrounds | N/A |
Choosing the right reflector depends on the desired aesthetic. For a fresh, clean look, white is usually the safest bet. If you want to emphasize the warmth of the setting sun, gold adds a subtle tint that enhances the golden hour glow. Silver is powerful but can look artificial if used too close to the lens or at too steep an angle.
Practical Workflow for On-Location Shoots
Knowing the theory is one thing; executing it on set is another. Here is a practical workflow that ensures you maximize your time outdoors.
- Scout the Location: Arrive early. Walk around with your camera and observe how the light moves across the area. Identify spots with consistent shade and areas where the sun will hit the model at different times.
- Set Up Your Kit: Bring a large reflector (at least 5x7 feet) for broad coverage and a smaller one (3x5 feet) for precise eye-level adjustments. A tripod for the reflector assistant can save energy during long sessions.
- Communicate with the Model: Explain why you are moving them. Models often prefer standing still, but shifting them two feet left or right can change the entire lighting setup. Clear communication prevents frustration.
- Monitor the Histogram: Do not rely solely on the LCD screen. Check the histogram to ensure you are not losing highlight detail in the sky or shadows in the fabric folds.
- Adapt to Weather Changes: Clouds move. If a cloud passes over the sun, the light drops significantly. Be ready to adjust your exposure settings or wait for the light to return. Overcast periods are great for candid moments.
This process requires flexibility. The best natural light images are often unplanned, resulting from quick adaptations to changing conditions.
Common Mistakes to Avoid
Even experienced photographers make errors when working with natural light. Being aware of these common pitfalls can save you hours in post-production.
- Ignoring Background Contrast: If the background is much brighter than the subject, the subject may appear underexposed. Use a black flag or move the subject closer to the background to reduce the contrast gap.
- Overusing Fill Light: Too much reflection can flatten the image, removing all sense of form and depth. Aim for a contrast ratio of 2:1 or 3:1 between the lit and shadow sides for a natural look.
- Forgetting About Wind: Wind affects fabric movement and can cause motion blur if your shutter speed is too slow. Increase your shutter speed to freeze the motion of clothes and hair.
- Shooting Against the Lens Flare: While some flare is artistic, excessive flare reduces contrast and clarity. Use a lens hood or reposition yourself to minimize unwanted internal reflections.
Equipment Recommendations
You do not need expensive gear to achieve professional results. However, having the right tools makes the process smoother.
- Camera Body: Any modern mirrorless or DSLR with good high-ISO performance. Look for sensors that handle noise well up to ISO 3200.
- Lenses: A fast prime lens (f/1.8 or f/1.4) is essential for isolating the subject in low-light situations. A 50mm or 85mm focal length is standard for portraits.
- Reflectors: A collapsible 5-in-1 reflector (white, silver, gold, black, diffusion) offers maximum versatility. Ensure the frame is sturdy enough to withstand wind.
- Tripod: Useful for holding the reflector steady or for longer exposures during blue hour.
Investing in a quality reflector pays off quickly. Cheap reflectors often have loose frames that rattle in the wind, distracting the model and breaking the flow of the shoot.
Post-Processing Considerations
Natural light photos require less retouching than studio shots, but they still need attention. Focus on correcting white balance shifts caused by mixed light sources. If you shot in shade next to a sunny area, the shadows might appear bluish while the highlights are warm. Adjust the temperature and tint sliders carefully to unify the look.
Also, pay attention to the skin tones. Natural light can sometimes make skin look sallow or overly red. Use selective color adjustments to normalize the hues. Finally, sharpen the image slightly to bring out the texture of the fabrics, but avoid over-sharpening which can introduce noise artifacts.
What is the best time of day for natural light fashion photography?
The golden hour, which occurs one hour after sunrise and one hour before sunset, is widely considered the best time. The light is soft, warm, and directional, flattering most subjects and minimizing harsh shadows.
Do I need a flash for outdoor fashion shoots?
Not necessarily. With proper use of reflectors and shade, you can achieve excellent results with natural light alone. However, a small speedlight can be useful for filling deep shadows or freezing motion in low-light conditions.
How do I prevent my model from squinting in bright light?
Move the model into the shade or position them so the sun is behind them or to the side. Using a diffuser panel between the sun and the model can also soften the light and reduce the urge to squint.
Which reflector color is best for summer shoots?
A white reflector is generally best for summer shoots as it provides neutral fill light without adding extra warmth. Gold reflectors can be used to enhance the warm tones of late afternoon light, but use them sparingly.
Can I use natural light for night fashion shoots?
Yes, by using the moon or city lights as primary sources. This is known as 'blue hour' or 'night mode' photography. You will need a stable tripod, a fast lens, and potentially higher ISO settings to capture the scene.