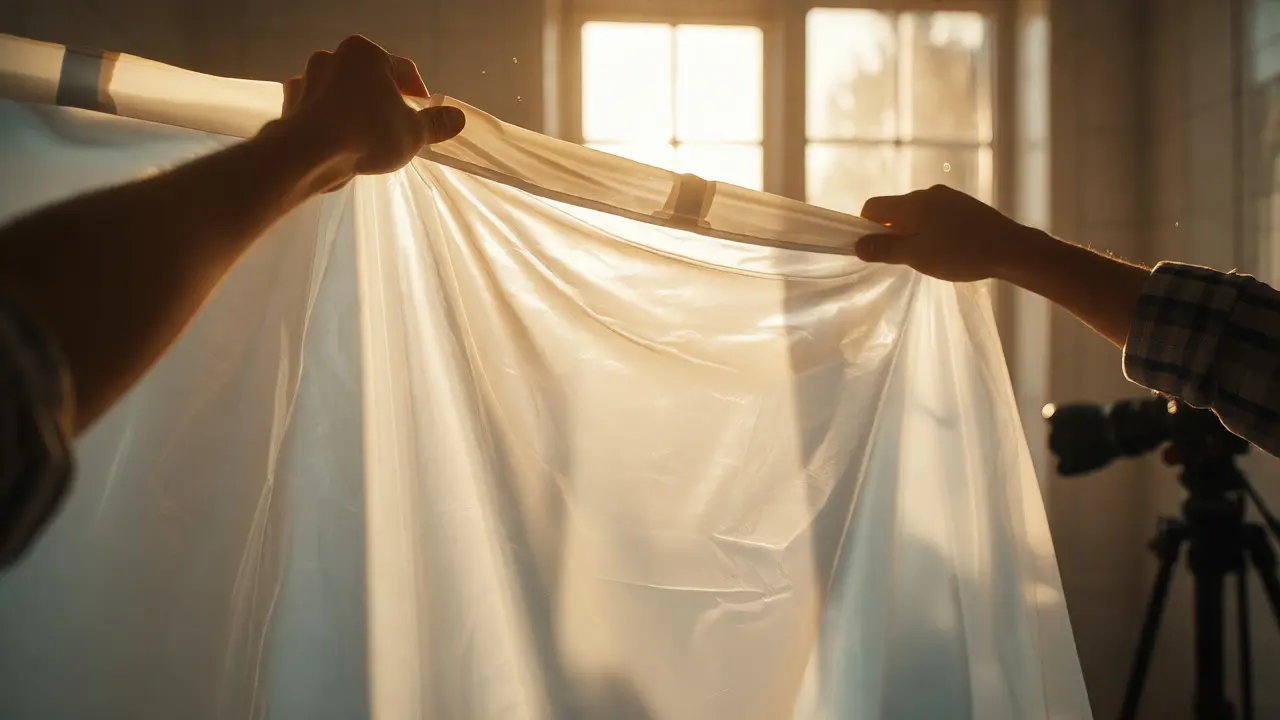
You’ve probably been there. You’re shooting a portrait near a window, the subject looks great, but then the sun shifts. Suddenly, you have harsh shadows cutting across their face and blown-out highlights on the forehead. It’s frustrating, especially when your professional studio strobes are either too expensive or just not practical for quick, on-location shoots. The good news? You don’t need a $500 softbox to fix this. In fact, some of the best diffusion tools cost less than your morning coffee.
Natural-light photography is all about working with what the environment gives you. While direct sunlight offers incredible intensity, it’s often too hard for flattering portraits or product shots. Diffusion is the process of scattering light rays to soften shadows and reduce contrast. By placing a translucent material between the light source and your subject, you spread out those intense beams. This creates a wraparound effect that smooths skin textures and eliminates unflattering squinting. The key is finding materials that diffuse effectively without killing too much light or casting an ugly color cast.
Why Your Window Light Needs Help
Let’s talk physics for a second-just the useful kind. Light behaves differently depending on its size relative to the subject. A small light source (like the sun or a bare bulb) creates hard, defined shadows. A large light source (like a cloudy sky or a big softbox) creates soft, gradual transitions. When you shoot indoors by a window, the glass acts as a barrier, but the sun itself is still a relatively small, distant point source compared to your subject’s face. That’s why the shadows under the nose and eyes look so sharp.
Adding a DIY softener increases the apparent size of the light source. If you hang a sheet of white fabric two feet away from the window, that fabric becomes the new "light source." Because it’s larger and closer to your subject than the sun is, the light wraps around them. This is crucial for achieving that professional, polished look without buying heavy equipment. Plus, controlling the distance allows you to tweak the hardness of the light dynamically. Move the diffuser closer to the window for softer, broader light; move it closer to the subject for more directional control.
The Magic of Shower Curtains
If you walk into any hardware store in Portland, you’ll find plastic shower curtains for under ten dollars. But not all shower curtains are created equal. You want a plain, white, matte finish. Avoid textured patterns, as they can create weird shadow artifacts. More importantly, avoid clear plastic. Clear plastic doesn’t diffuse; it just transmits light. You need something opaque enough to scatter the photons but thin enough to let plenty through.
Here’s the trick most people miss: layering. One layer might be too transparent, letting too much harsh sun through. Two layers might block too much light, forcing you to crank up your ISO and introduce noise. The sweet spot is often one layer of cheap plastic curtain combined with a thin white bedsheet. Or, if you’re lucky, you’ll find a single-layer curtain made of high-density polyethylene that hits that perfect balance. Test it first. Hold it up to the sun. If you can see the outline of the sun clearly, it’s too thin. If it glows evenly like a lantern, it’s perfect.
| Material | Light Loss (Stops) | Color Cast | Best For |
|---|---|---|---|
| White Bed Sheet | 1-2 stops | Neutral | Portraits, Skin Tones |
| Shower Curtain | 1 stop | Slight Blue/Warm | General Purpose, Outdoor |
| Parchment Paper | 2-3 stops | Warm/Yellow | Macro, Small Products |
| Tissue Paper | 1-4 stops (layered) | Neutral | Emergency Fixes, Flash |
Baking Supplies Are Secret Weapons
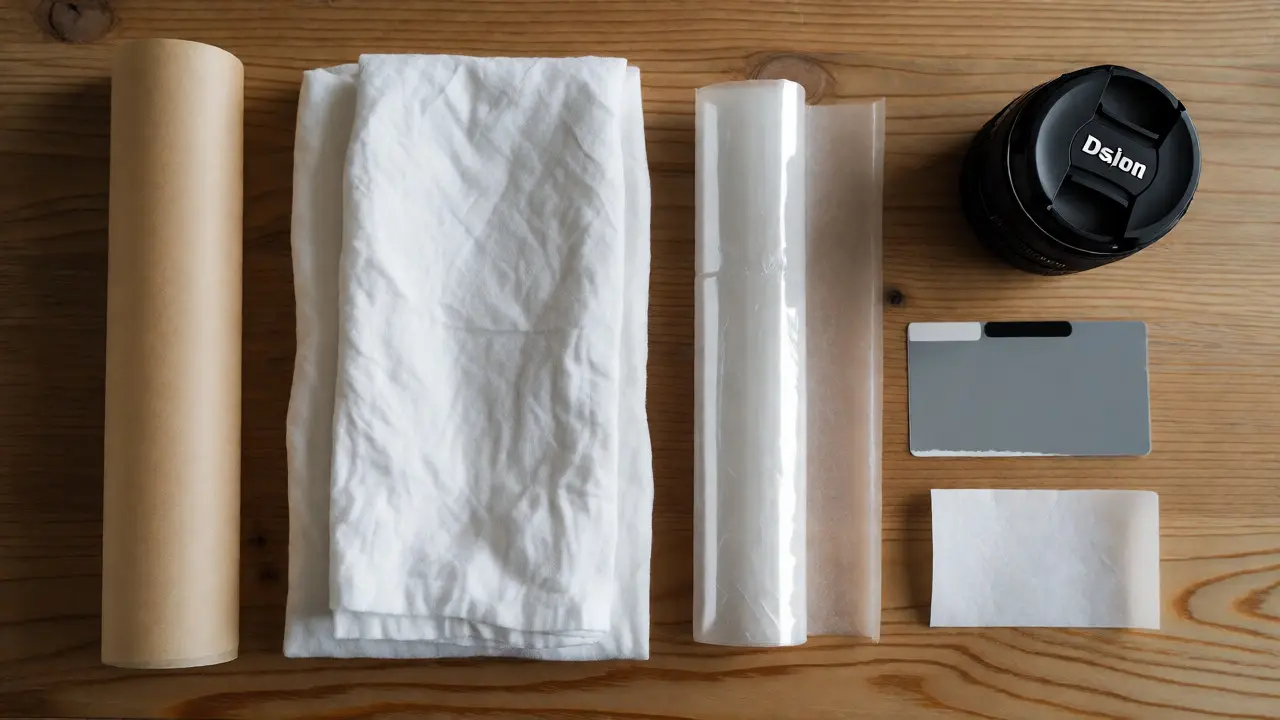
Who knew the baking aisle had better photography gear than the camera shop? Parchment paper is fantastic for macro photography or small product shots. It’s semi-translucent, heat-resistant, and surprisingly durable. Unlike tissue paper, which tears at the slightest breeze, parchment holds its shape. If you’re photographing jewelry or food on a table, taping a sheet of parchment over a window frame creates an instant light tent.
For flash photography, try using wax paper instead of parchment. Wax paper has a slightly higher transmission rate and adds a subtle warmth that can make skin tones look healthier in post-production. Just be careful with hot studio lights. While LED panels stay cool, old-school tungsten bulbs can scorch paper if placed too close. Always keep a hand’s width of space between the light source and your DIY modifier. If the paper starts to smell like burning toast, you’ve gone too far.
Bed Sheets and Blankets: The Heavy Hitters
When you need serious diffusion, nothing beats cotton. A clean, white bedsheet is the industry standard for a reason. It’s breathable, washable, and widely available. However, thickness matters. A thick quilt will block almost all light, while a thin summer sheet lets too much through. Look for medium-weight cotton percale. It provides consistent diffusion without significant color shifting.
One common mistake is wrinkling. Wrinkles create uneven light distribution, resulting in patchy shadows on your subject. Iron your sheets before shooting. Seriously. It takes five minutes and makes a huge difference. Alternatively, use a steamer. Steam relaxes the fibers and removes creases quickly. If you’re shooting outdoors and wind is an issue, clip the edges of the sheet to a stand or tree branch. Wind-blown diffusion looks chaotic and unpredictable, ruining the consistency of your shot sequence.
Controlling Color Temperature
Not all diffusers are neutral. Some plastics have a blue tint, others yellow. This affects your white balance. If you use a blue-tinted shower curtain, your images will look cold unless you adjust your camera settings. Most modern cameras handle this well in RAW format, but it’s easier to fix it physically. If you notice a strong color cast, add a corrective gel or simply switch materials.
Test your setup before the actual shoot. Take a gray card photo through your chosen diffuser. Check the histogram. Is one channel clipping? Adjust your exposure accordingly. Remember, every layer of diffusion reduces light intensity. You’ll likely need to open your aperture wider or slow down your shutter speed. If you’re handheld, watch out for motion blur. A tripod becomes your best friend when fighting for light with DIY modifiers.
Practical Setup Tips for Success
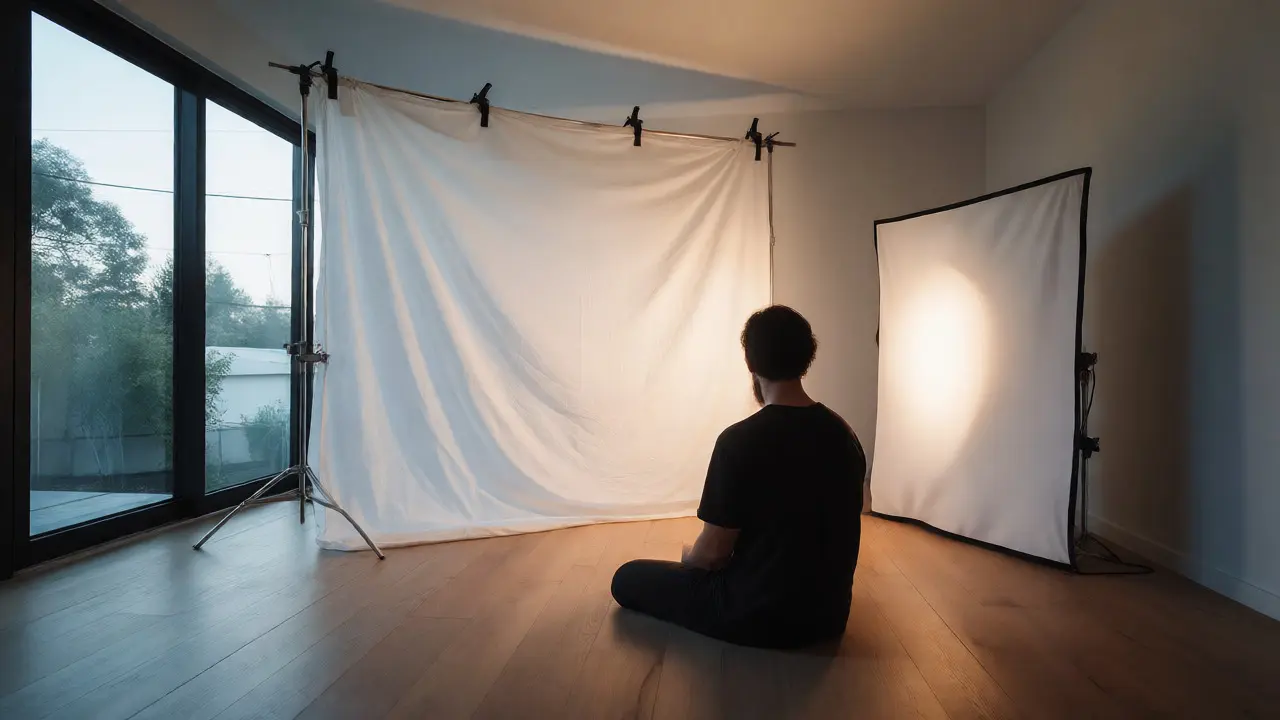
- Distance is Key: Place the diffuser closer to the light source (window) for softer, broader coverage. Place it closer to the subject for more contrast and directionality.
- Secure Everything: Use clamps, gaffer tape, or binder clips. Nothing ruins a take like a sheet sliding off a window frame mid-shot.
- Cleanliness Matters: Dust and fingerprints show up dramatically in backlit scenarios. Wipe down plastic diffusers regularly.
- Layer Wisely: Start with one layer. Add more only if necessary. Over-diffusing kills detail and requires high ISOs, introducing grain.
Consider portability. If you’re a travel photographer, carrying a full bedsheet is annoying. Instead, pack a collapsible reflector disc with a diffusion panel built-in. These pop-up discs are lightweight and fold flat. For emergency situations, a white t-shirt works wonders. Stretch it tight over a frame to remove wrinkles. Yes, really. A tight-fitting white tee over a window frame can save a wedding reception shot when the sun is blazing.
Avoiding Common Pitfalls
Don’t ignore the background. If you’re diffusing light on your subject, the background might become too dark or lose texture. Balance your composition. Sometimes, moving the subject further from the wall helps separate them from the background. Also, beware of mixed lighting. If you have daylight coming through a diffused window and incandescent bulbs inside, your colors will clash. Turn off artificial lights when relying on natural light, or gel your windows to match the interior temperature.
Finally, don’t underestimate the power of reflection. Diffusion softens light, but bounce cards fill shadows. Pair your DIY softener with a white foam board or a silver foil pan. Position the bounce card opposite the light source to lift shadows gently. This combination of diffusion and reflection mimics a three-point lighting setup for pennies.
Does diffusion reduce image sharpness?
Minimal diffusion materials like thin plastic or parchment do not significantly affect sharpness. Thicker fabrics may slightly soften micro-contrast, but this is often desirable for portraits as it smooths skin imperfections. Ensure your material is clean and free of dust to maintain clarity.
Can I use colored cloth for diffusion?
Yes, but it changes the mood. Red, blue, or green cloths act as gels, adding color to the light. White cloth maintains neutral tones. If you use colored fabric, ensure it is tightly woven to prevent light leaks that could cause uneven coloring.
How many stops of light do I lose with a shower curtain?
A standard white plastic shower curtain typically reduces light output by approximately one stop. Thicker materials or multiple layers can reduce light by two to three stops. Always meter your scene after setting up your diffuser to adjust exposure correctly.
Is tissue paper safe for studio lights?
Tissue paper is generally safe for LED lights, which run cool. For tungsten or halogen bulbs, keep the paper at least six inches away to prevent scorching or fire hazards. Parchment paper is more heat-resistant and safer for traditional hot lights.
What is the best DIY diffuser for outdoor portraits?
A portable pop-up diffusion disc is ideal for outdoors due to wind resistance and ease of setup. If improvising, a white bedsheet secured with weights or clamps works well, provided it is anchored against gusts. Plastic tarps are also effective but can be noisy in the wind.