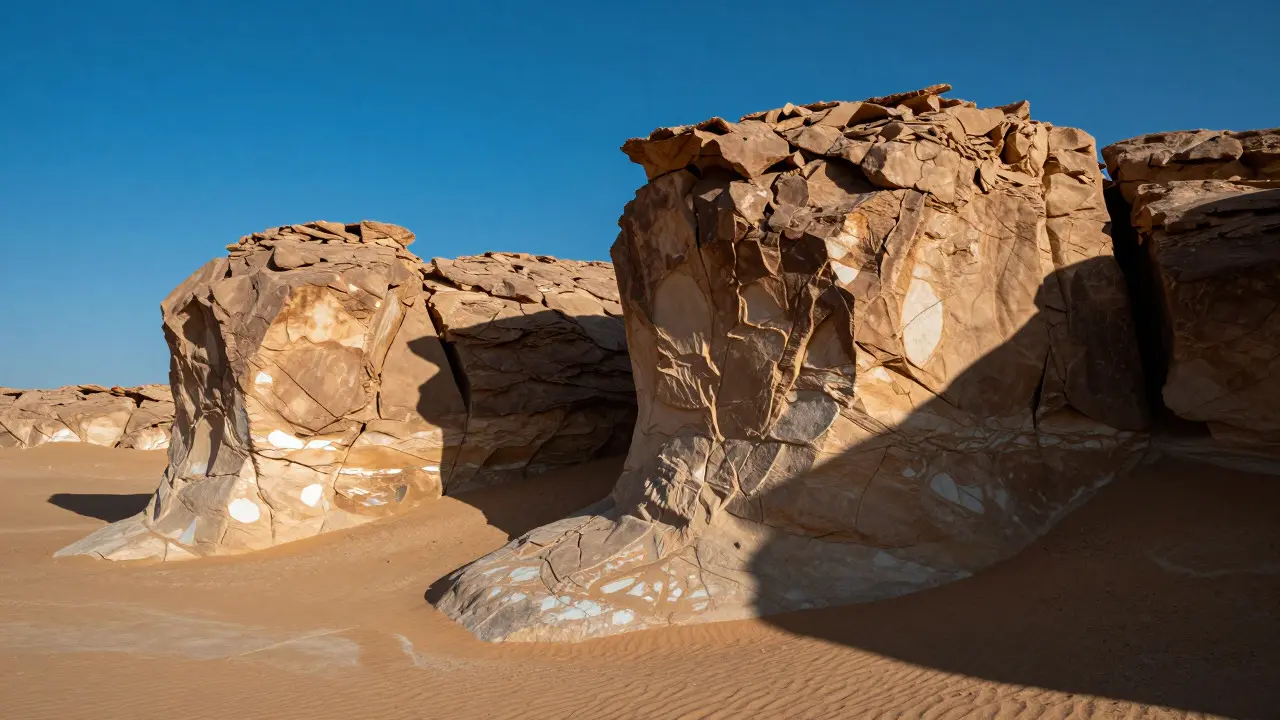
Most photographers hide indoors at noon. They wait for the "golden hour" or the blue twilight, believing that midday sun is a dead end for landscape photography. But what if you could turn that brutal, high-contrast light into your greatest asset? The harsh overhead sun isn't just an obstacle; it's a tool that reveals texture, creates dramatic shadows, and simplifies complex scenes in ways soft light never can. The problem isn't the light itself-it's how we react to it.
When the sun hits straight down, you face two immediate technical hurdles: blown-out highlights and crushed shadows. Your camera sensor struggles to capture detail in both the bright sky and the dark foreground simultaneously. This is where understanding dynamic range becomes critical. Modern sensors have improved significantly, but they still have limits. If you shoot in JPEG, you lose flexibility fast. Shooting in RAW gives you about one stop more latitude in shadows and highlights, which is often the difference between a usable image and a digital artifact.
Why Midday Light Works Better Than You Think
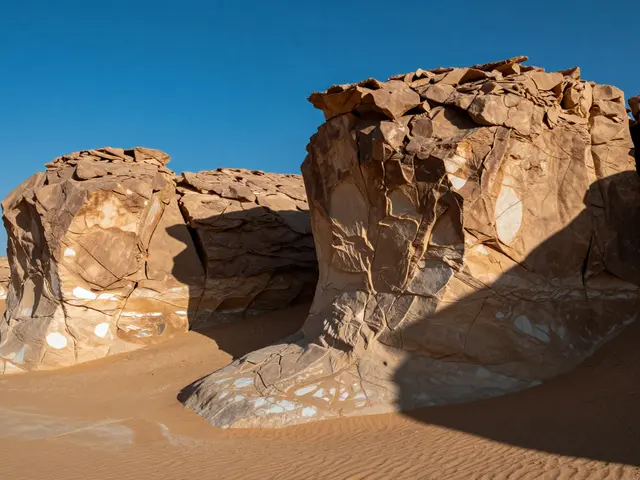
Soft light flatters everything, yes. It smooths out skin tones and makes flowers look dreamy. But for landscapes, soft light can sometimes make a scene feel flat. Harsh light acts like a spotlight. It carves out details. Think of a rocky cliff face. In diffuse light, it looks like a gray blob. Under direct midday sun, every crack, vein, and mineral deposit pops with contrast. The same applies to water. Overhead light turns the surface into a mirror, reflecting the sky and clouds with startling clarity.
This type of lighting also simplifies composition. Because shadows are short and fall directly beneath objects, you don't have to worry about long, distracting shadow lines cutting across your frame. This allows you to focus on color saturation. Colors appear more vivid under direct sunlight because there is less ambient fill light to wash them out. A red flower looks deeper; a green forest looks richer. You just need to manage the exposure carefully to keep those colors from clipping.
Technical Strategies for Controlling Exposure
The first rule of harsh light photography is to expose for the highlights. It is much easier to recover shadow detail in post-processing than to fix blown-out whites. Use your histogram as a guide. Keep the right side of the graph (the highlights) just below the edge. If you see pixels sticking to the far right, you're losing data. Underexpose by half a stop or even a full stop if the sky is extremely bright. You can always brighten the darker areas later without introducing too much noise, provided you haven't pushed the shadows too far.
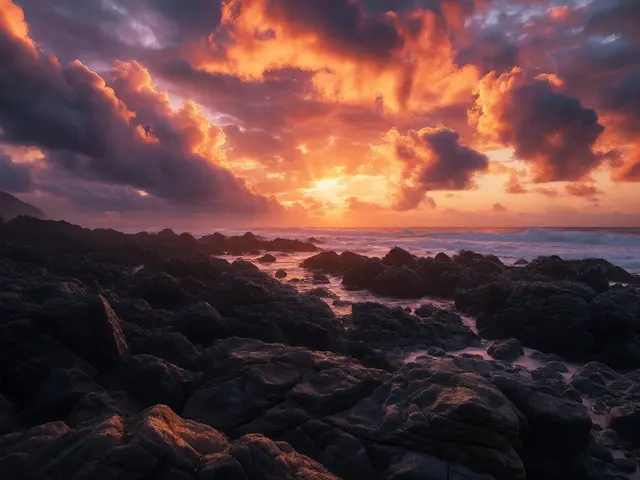
Bracketing is your best friend here. Set your camera to Auto Bracketing Mode (AEB) and take three shots: one at normal exposure, one underexposed, and one overexposed. This ensures you capture detail in both the darkest rocks and the brightest sky. Later, you can blend these images together using software like Adobe Lightroom or Photoshop. This technique, known as High Dynamic Range (HDR) processing, doesn't have to look artificial. When done subtly, it simply reveals the detail that was already there, just outside the single-exposure limit of your sensor.
- Use RAW format: Maximum flexibility for editing.
- Check the histogram: Ensure highlights aren't clipped.
- Bracket exposures: Capture a range of light levels.
- Lower ISO: Keep noise low to preserve texture.
Leveraging Shadows and Texture
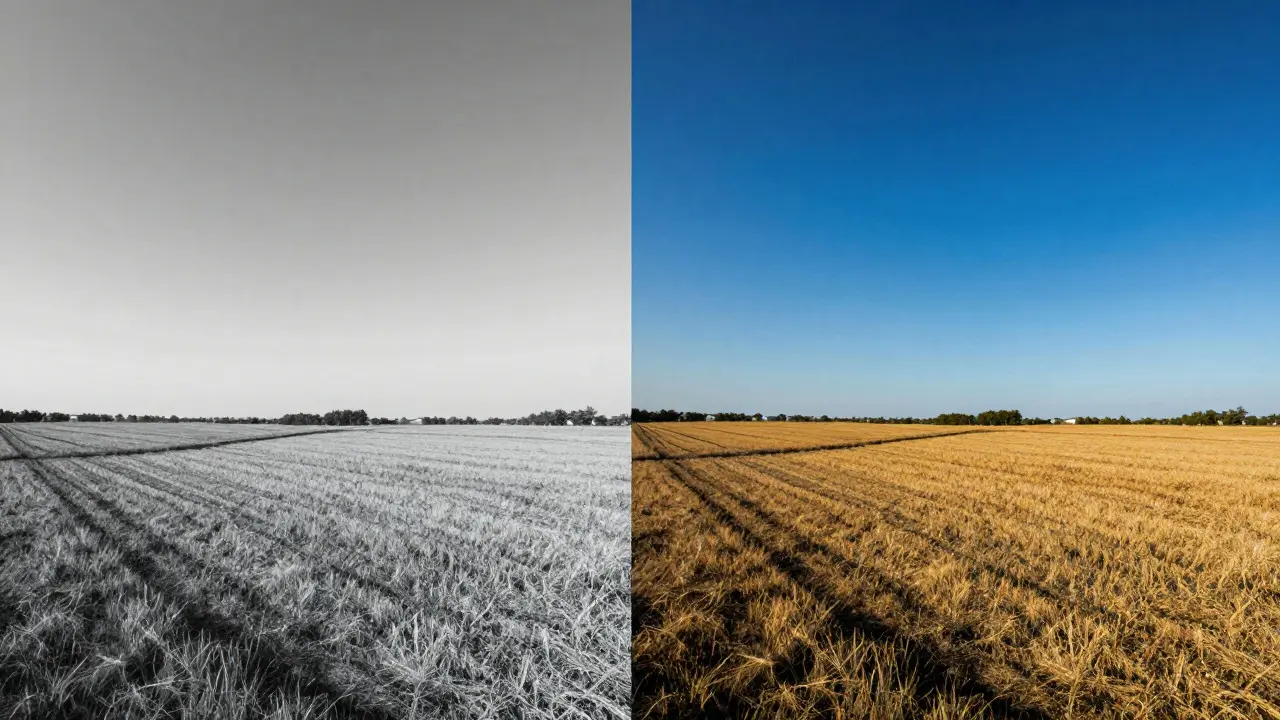
Instead of fighting the shadows, use them. Short, hard shadows create a graphic quality that adds depth to a two-dimensional photo. Look for patterns. Repeating shapes in sand dunes, ripples in water, or the grid-like structure of a field all become more pronounced under direct light. These patterns lead the eye through the frame and add visual interest.
Texture is the other major benefit. Harsh light rakes across surfaces, highlighting bumps and ridges. If you photograph a weathered tree trunk, the bark will look incredibly detailed. If you shoot a gravel road, every pebble stands out. To maximize this effect, get closer. Wide-angle lenses can exaggerate perspective, making textures feel larger and more immersive. Don't be afraid to fill the frame with a small section of a larger scene. Sometimes, a close-up of a rock formation under midday sun is more compelling than a wide shot of the whole mountain.

Composition Tricks for High Contrast Scenes
Composition changes when the light is harsh. Since the background can be very bright, you need strong foreground elements to anchor the image. Dark silhouettes work well here. A lone tree against a bright sky creates a powerful focal point. Alternatively, use deep colors. Blues and greens stand out sharply against neutral backgrounds. Avoid busy backgrounds that compete with your subject. Simplify your scene by moving slightly left or right until the distracting elements disappear.
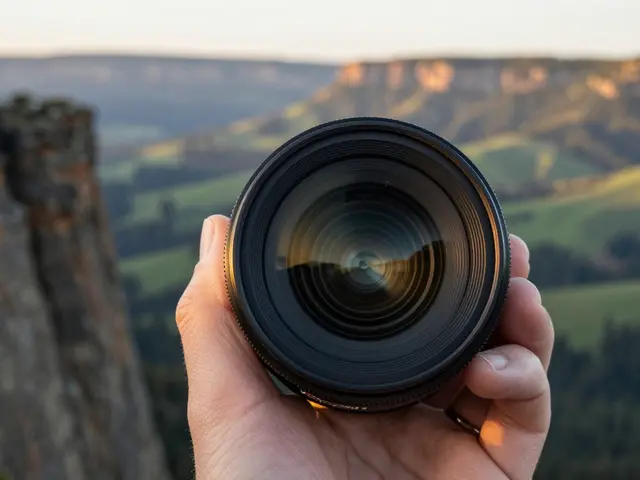
Another effective technique is to shoot into the sun. Yes, really. By placing the sun behind a subject, you create rim lighting that outlines the edges of trees, rocks, or mountains. This adds a sense of separation and drama. Be careful of lens flare, though. Use a lens hood and clean your lens regularly. A bit of controlled flare can add warmth and atmosphere, but uncontrolled flare reduces contrast and clarity.
| Lighting Condition | Dynamic Range Challenge | Best For | Key Technique |
|---|---|---|---|
| Golden Hour | Moderate | Soft portraits, gentle landscapes | Long exposures, warm tones |
| Midday Sun | High | Texture, patterns, vibrant colors | Exposing for highlights, bracketing |
| Overcast | Low | Moody scenes, uniform lighting | Focus on shape and form |
Post-Processing: Bringing Out the Details
Editing is where harsh light photos come alive. Start by adjusting the global exposure to bring up the overall brightness. Then, use local adjustments. In Lightroom, the Adjustment Brush or Radial Filter lets you darken specific areas or lighten others. Use the Shadows slider to recover detail in dark areas, but don't push it too far or you'll introduce color noise. The Whites slider helps control the brightness of the sky without affecting the entire image. Aim for a natural look. The goal is to show what the human eye sees, not to create a hyper-realistic fantasy.
If you used bracketed shots, merge them into an HDR file. Most modern editing software has automated tools for this. Once merged, adjust the tone mapping settings to reduce any halos around edges. Halos occur when the algorithm tries too hard to smooth transitions between light and dark areas. A subtle amount of tone compression usually yields the best results. Finally, sharpen the image. Harsh light enhances texture, so a good amount of sharpening brings out the fine details in rocks, leaves, and water.
Common Mistakes to Avoid
One common error is relying solely on auto-exposure. Cameras tend to average out the scene, resulting in a gray, flat image. Always switch to Manual mode or Aperture Priority with exposure compensation. Another mistake is ignoring white balance. Midday sun is very cool (blueish). While you can correct this in post, setting a custom white balance on-site ensures accurate colors from the start. Use a gray card or a neutral object to calibrate your camera. This saves time and prevents color casts that are hard to remove later.
Don't forget about heat. Midday sun means hot gear. Batteries drain faster in high temperatures. Keep spares in your bag, not in direct sunlight. Lens fogging can also occur if you move from a cold environment to a hot one. Let your equipment acclimate before shooting. And finally, stay hydrated. Standing in direct sun for hours takes a physical toll. Plan your shoots around breaks and shade. Good photography requires a clear head, and dehydration clouds judgment.
Frequently Asked Questions
Is midday sun bad for landscape photography?
No, it is challenging but highly effective for capturing texture and vibrant colors. With proper exposure techniques, it produces sharp, detailed images that soft light cannot achieve.
Should I use a polarizing filter in harsh light?
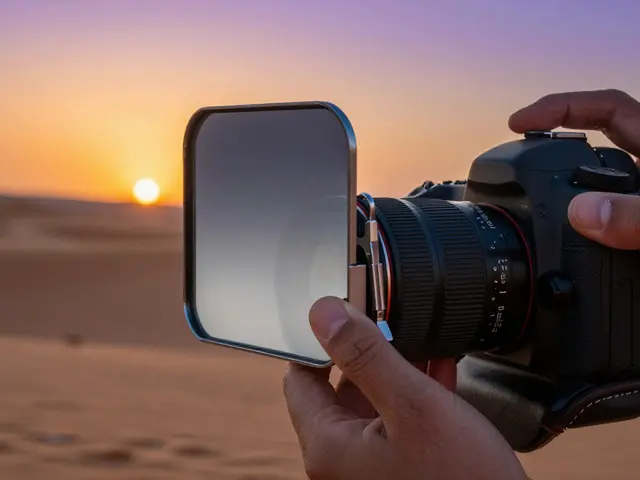
Yes, a circular polarizer helps reduce glare from non-metallic surfaces like water and leaves. It also deepens blue skies and increases color saturation. However, it cuts light by 1-2 stops, so you may need slower shutter speeds.
What aperture should I use for midday landscapes?
Typically, f/8 to f/11 provides a good balance of depth of field and optical sharpness. Avoid very small apertures like f/16 or f/22, as diffraction can soften the image, especially in high-contrast scenes where detail is key.
How do I prevent lens flare from the sun?
Use a lens hood and position the sun just outside the frame or behind a solid object. Clean your lens thoroughly, as smudges amplify flare. Some modern lenses handle internal reflections better, but no lens is immune to direct sunlight.
Can I edit away harsh shadows in post-production?
Partially. You can lift shadows in RAW files, but extreme contrast is difficult to fully flatten without losing punch. It is better to compose around shadows or use them creatively rather than trying to erase them completely.