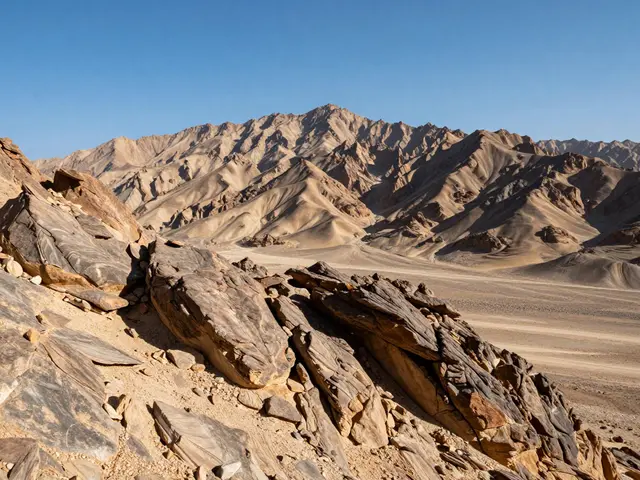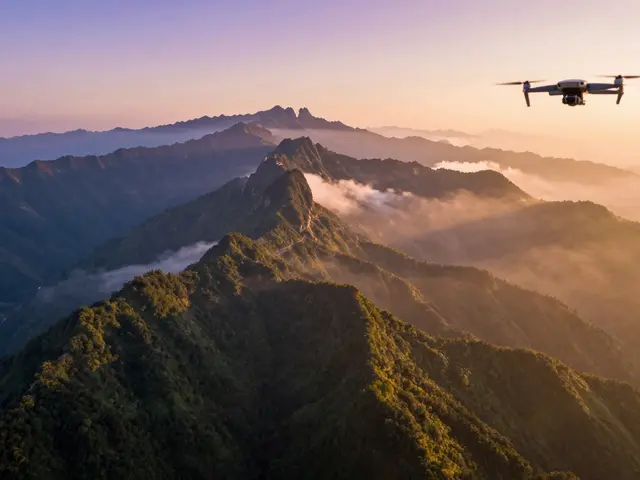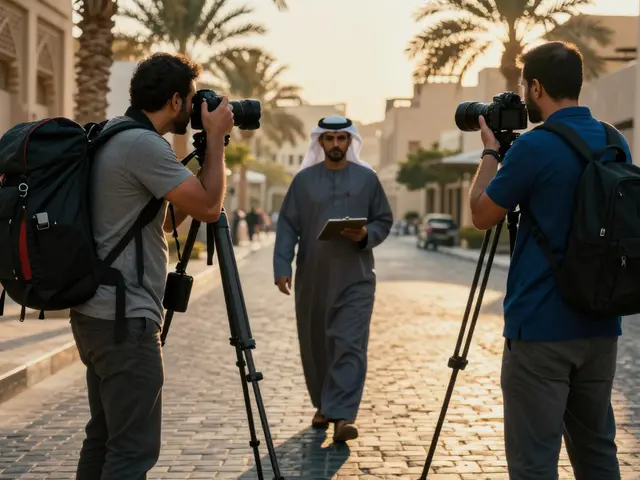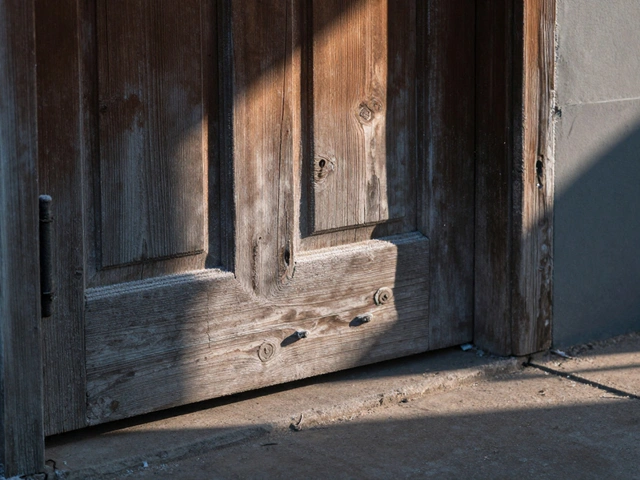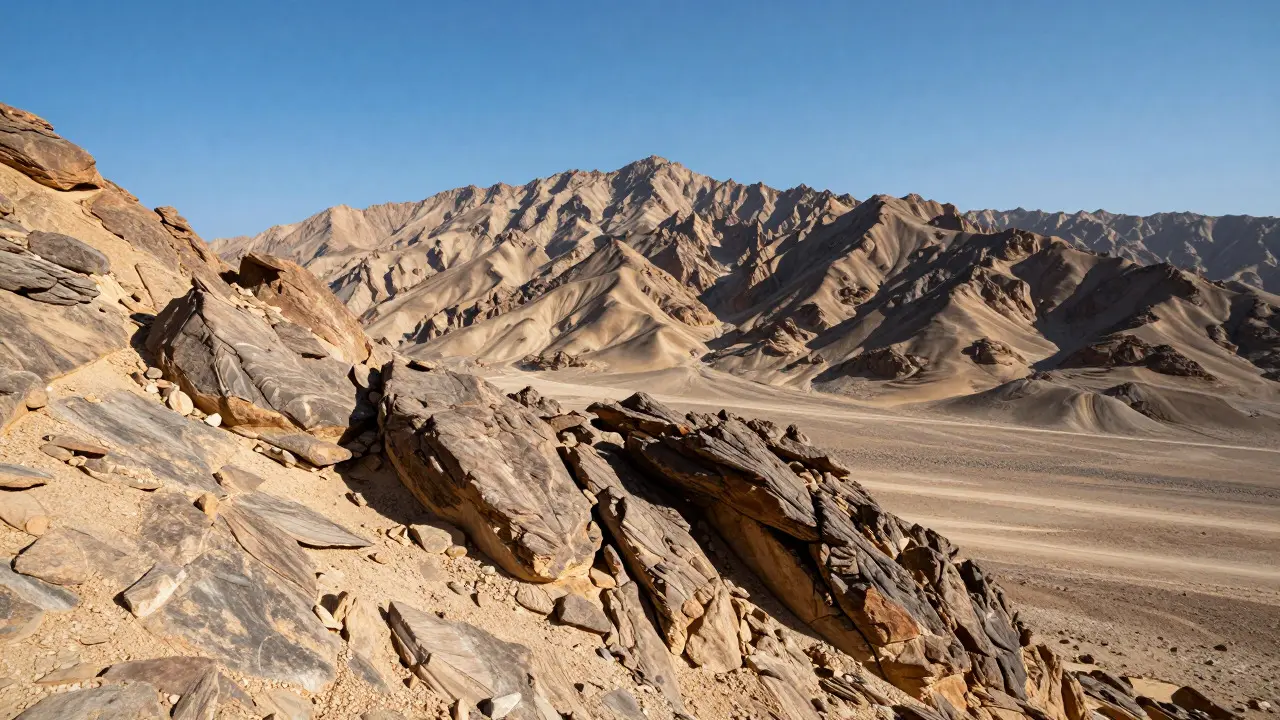
Ever stood in front of a breathtaking mountain range, only to realize your foreground rocks are sharp but the distant peaks are soft? Or maybe the opposite happened. You want everything from the blades of grass at your feet to the clouds above to be crisp. That is where focus stacking comes in. It is not magic; it is a methodical way to trick your camera into seeing more than it can in a single frame.
Most landscape photographers rely on small apertures like f/11 or f/16 to get maximum depth of field. But there is a catch. Diffraction kicks in at those settings, softening the image quality. Focus stacking solves this by letting you shoot at your lens’s sweet spot (often around f/5.6 or f/8) and combine multiple images in post-production. The result? A photo with razor-sharp detail from front to back, without the mushiness that comes from stopping down too far.
Why Standard Aperture Limits Fail
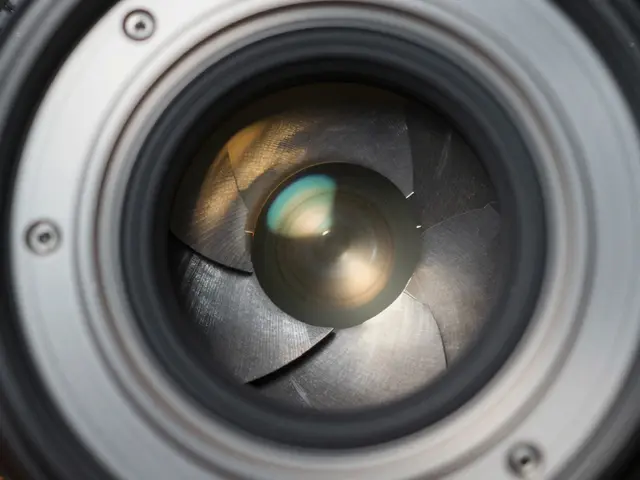
Your lens has a physical limit on how much light it lets through and how sharply it focuses. When you close the aperture to f/22, the hole becomes so tiny that light waves bend around the edges of the blades. This bending causes diffraction, which blurs fine details. It’s like looking through frosted glass. You gain focus distance, but you lose clarity.
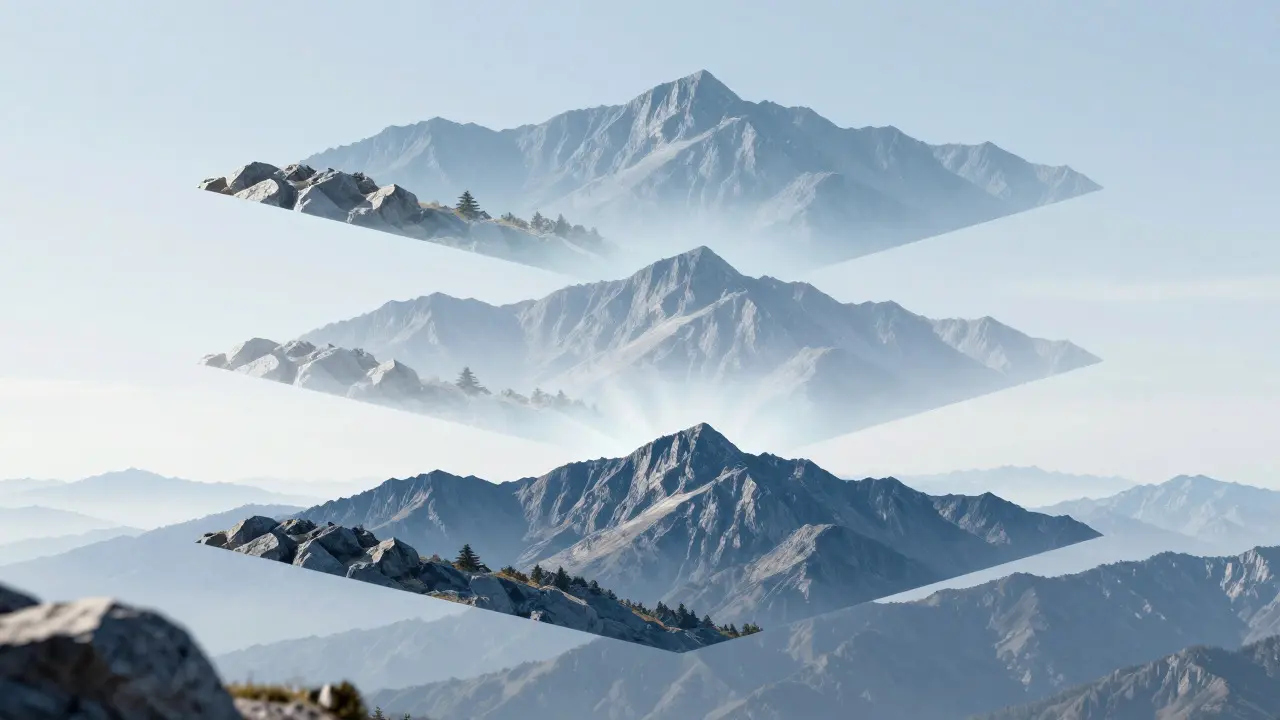
By using focus stacking, you bypass this trade-off. Instead of one shot at f/22, you take three or four shots at f/8. Each shot captures a different slice of the scene in perfect focus. When you merge them, you get the wide depth of field of f/22 with the optical sharpness of f/8. This technique is particularly powerful for macro work, but it is equally transformative for landscapes where hyperfocal distance isn’t enough.
The Gear You Actually Need
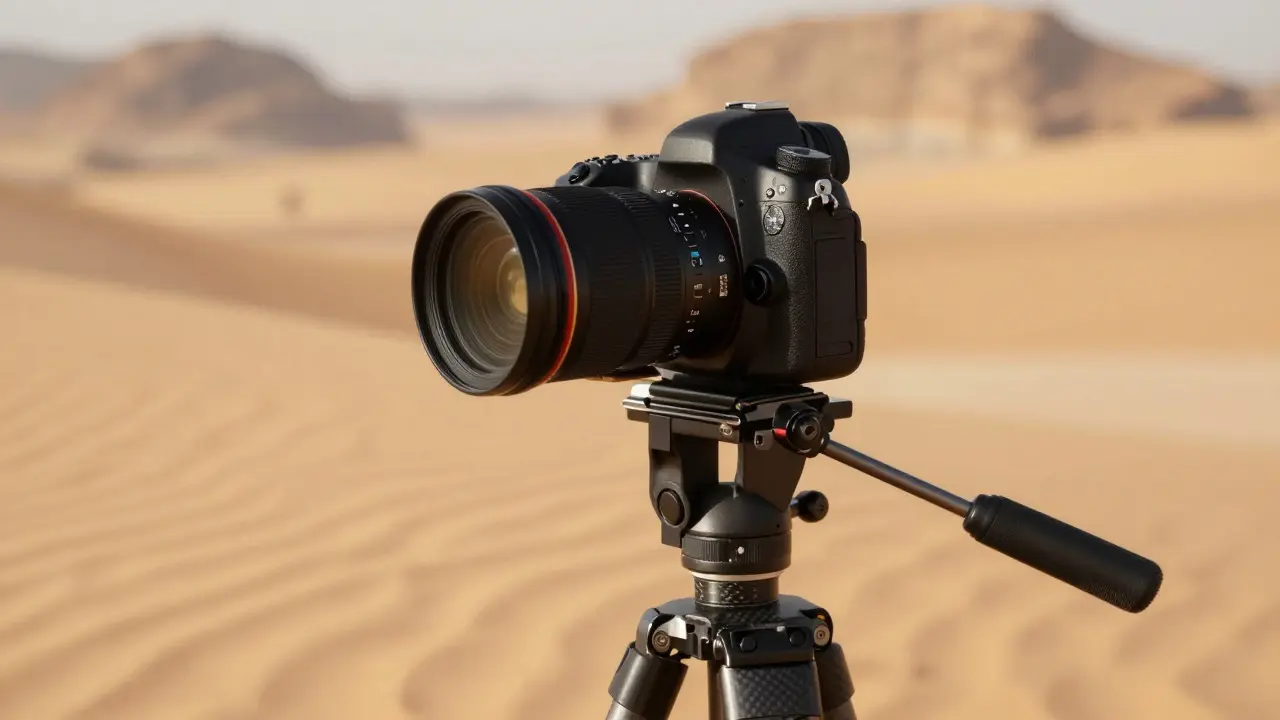
You don’t need expensive equipment to start, but stability is non-negotiable. If your camera moves between frames, the software will struggle to align the images, leading to ghosting artifacts.
- Tripod: A sturdy tripod is essential. Avoid flimsy setups that wobble when you touch the camera.
- Remote Shutter Release: Use a cable release or intervalometer to trigger the shutter without touching the body. This prevents micro-vibrations.
- Camera with Manual Mode: You need full control over focus, exposure, and white balance. Auto-focus modes will hunt between frames, ruining the stack.
- Software: Photoshop, Helicon Focus, or free alternatives like Zerene Stacker. Each has its strengths, but they all follow the same core logic.
Step-by-Step: Capturing the Stack
Here is how you execute a focus stack in the field. Follow these steps precisely to avoid headaches in post-processing.
- Set Your Base Exposure: Lock your ISO, shutter speed, and aperture. Do not let auto-exposure adjust between frames. Consistency is key for blending.
- Switch to Manual Focus: Autofocus is unpredictable. Switch to manual mode. Use live view if possible to zoom in on your nearest subject.
- Focus on the Foreground: Move the focus ring until the closest element in your composition is tack sharp. Take the first shot.
- Incremental Focus Shifts: Turn the focus ring slightly toward infinity. Repeat this process. For landscapes, you typically need 3 to 5 shots. For extreme close-ups, you might need 20 or more. The rule of thumb: move the focus just enough so the previous plane of focus is no longer sharp, but the new one is.
- Final Shot at Infinity: End your sequence focused on the horizon or sky. Ensure the last frame covers the entire background.
A pro tip: Keep your changes subtle. If you jump from the foreground to the mid-ground in one step, you might miss critical detail in between. Small, consistent increments yield smoother results.
Post-Processing: Merging Without Ghosting
Once you’re back home, the real work begins. You have a series of images that look identical except for their focus points. Now you need to blend them.
In Adobe Photoshop, go to File > Scripts > Load Files into Stack. Select your images and check "Attempt to Automatically Align Source Images." This helps if your tripod shifted slightly. Once loaded, select all layers and use Edit > Merge > Focus Stacks. Photoshop analyzes each pixel and picks the sharpest version from any layer.
However, moving elements like swaying leaves, flowing water, or birds can cause "ghosting"-double images or blurred streaks. To fix this, manually mask out the moving parts in the final merged image. Alternatively, use dedicated software like Helicon Focus, which offers better algorithms for handling motion and uneven lighting.
| Software | Best For | Cost | Learning Curve |
|---|---|---|---|
| Adobe Photoshop | Generalists already in Creative Cloud | Subscription-based | Moderate |
| Helicon Focus | Macro and complex stacks | One-time purchase | Steep initially, intuitive later |
| Zerene Stacker | Free alternative, good for beginners | Free / Paid upgrade | Low |
Common Pitfalls and How to Avoid Them
Even experienced photographers trip up here. Watch out for these issues:
- Exposure Variance: If the sun breaks through clouds between shots, your brightness levels will change. Use manual exposure or bracket carefully.
- Camera Movement: Wind can shake even a heavy tripod. Wait for lulls or add weight to the center column.
- Too Few Frames: Skipping focus increments creates gaps. If the transition looks abrupt, you didn’t take enough shots.
- Ignoring Lens Quality: Some lenses suffer from focus breathing (the field of view changes as you focus). Check your lens specs or test it beforehand.
When Focus Stacking Is Overkill
Not every landscape needs a stack. If you are shooting a wide vista with no distinct foreground elements, a single shot at f/11 might suffice. Focus stacking shines when you have strong foreground interest-rocks, flowers, textures-that demands pinpoint sharpness. It also excels in low-light situations where you can’t stop down further without raising ISO too high.
Think of it as a tool in your kit, not a mandatory step. Evaluate your scene. If the depth of field from a single shot meets your creative vision, keep it simple. If you want that hyper-realistic, every-detail-visible look, reach for the focus ring and take your time.
Frequently Asked Questions
How many photos do I need for a landscape focus stack?
For typical landscapes, 3 to 5 images are usually sufficient. Start with the foreground, then shift focus to the mid-ground, and finally to the background. Macro subjects may require 10 to 30+ images depending on the size of the subject.
Can I focus stack handheld?
It is possible but difficult. Handheld stacks often fail due to slight movements between frames, causing misalignment. If you must do it, use a fast shutter speed, hold your breath, and brace yourself against a stable object. However, a tripod is highly recommended for best results.
What is the difference between focus stacking and HDR?
HDR combines multiple exposures to capture a wider dynamic range (bright highlights and dark shadows). Focus stacking combines multiple focus points to extend depth of field. You can actually do both simultaneously by taking a grid of shots that vary in both exposure and focus, though this significantly increases file count and processing time.
Does focus stacking work with mirrorless cameras?
Yes, and mirrorless cameras are actually ideal for this. Many modern mirrorless bodies have excellent live view magnification, making it easier to see exactly where your focus point lands. They also tend to have quieter shutters, reducing vibration risk.
How do I handle moving water in a focus stack?
Moving water creates ghosting because it changes position between frames. In post-processing, use a layer mask to hide the water in the stacked layers and reveal the water from a single, well-exposed frame. Alternatively, use a faster shutter speed to freeze the water motion, though this may affect the aesthetic feel of the shot.