You’ve got the perfect moment. The light is golden, the subject is engaged, and you press the shutter. But when you zoom in on your screen, the eyes are soft. It’s a photographer’s nightmare. Most people blame their gear, but the truth is sharper: it’s usually about how you use Autofocus the system that automatically adjusts the lens to achieve sharp images. Understanding the difference between static and moving subjects, and knowing which mode to switch to, is the single biggest leap from amateur snapshots to professional-grade clarity.
This isn’t just about picking a setting on your dial. It’s about understanding how your camera thinks versus how reality moves. Whether you’re shooting street portraits in Portland or tracking a bird in flight, mastering these drills will save you from the "missed shot" panic. Let’s break down exactly how to lock onto your subject and keep them razor-sharp.
The Core Trio: One-Shot, AI Servo, and AI Focus
Every modern digital camera gives you three main autofocus modes. They sound similar, but they behave like different animals. Using the wrong one is like trying to catch a baseball with a butterfly net.
One-Shot AF also known as AF-S, this mode locks focus once the subject is acquired and does not adjust unless the button is released and pressed again is your go-to for anything that stands still. Think landscapes, studio portraits, or product photography. When you half-press the shutter, the camera hunts for contrast, finds it, and beeps. Done. If the subject moves even an inch after that beep, your photo will be out of focus. It’s rigid, predictable, and reliable for static scenes.
On the other end of the spectrum is AI Servo AF or AF-C, which continuously adjusts focus as long as the shutter button is held down, tracking moving subjects. This is essential for sports, wildlife, or kids running around. The camera doesn’t stop focusing; it predicts where the subject will be in the next millisecond. It’s noisy, constantly working, and can sometimes hunt if you lose the subject against a busy background. But for action, it’s non-negotiable.
Then there’s AI Focus AF a hybrid mode that starts in One-Shot and switches to AI Servo if it detects movement. Sounds convenient, right? In practice, most pros avoid it. Why? Because the transition can cause slight delays or focus breathing at the exact moment you want to shoot. It’s better to make the decision yourself than let the camera guess.
| Mode | Best For | Behavior | Risk Factor |
|---|---|---|---|
| One-Shot (AF-S) | Landscapes, Still Life, Posed Portraits | Locks focus once acquired | Subject moves after lock |
| AI Servo (AF-C) | Sports, Wildlife, Street Action | Continuously tracks motion | Hunting on low contrast |
| AI Focus (AF-A) | Mixed Scenarios (Beginner) | Switches between S and C | Unpredictable switching delay |
Back-Button Focusing: The Game Changer
If you only learn one technique from this article, make it Back-Button Focusing assigning the autofocus function to a button on the back of the camera rather than the shutter release. This separates the act of focusing from the act of taking the picture. Here’s why it matters: traditionally, holding the shutter button halfway keeps the camera focusing. If you want to recompose your shot (move the frame slightly without losing focus), you have to either stay perfectly still or risk the camera refocusing on something else.
With back-button focusing, you assign AF to the rear button (often labeled AE-L/AF-L). You press it once to lock focus, then release it. Now, you can recompose freely. Your focus stays locked until you press the button again. This is incredibly useful for portrait photographers who need to frame tightly or wildlife shooters waiting for a specific angle. It gives you total control over when the camera decides to think about focus.
To set this up, look for "Custom Functions" or "Buttons" in your camera menu. Disable "Shutter Button Half-Press" for AF, and enable "AF-On" or "AE-L/AF-L" for AF. It feels weird for the first week. Your thumb will feel lonely. But once you get used to it, going back to half-press feels clumsy and limiting.

Selecting the Right Focus Area
Choosing the mode is step one. Choosing *where* the camera looks is step two. Most cameras default to a wide area or automatic selection, where the camera picks what it thinks is important. Don’t trust it. The camera often focuses on the closest high-contrast object, which might be a branch in front of your subject, not the subject’s eye.
- Single Point: The gold standard for precision. You place a tiny crosshair exactly where you want focus-usually the nearest eye. This is mandatory for shallow depth-of-field shots where being off by a few millimeters ruins the image.
- Zone/Dynamic Area: Useful for erratic movement. You select a cluster of points. If the subject leaves the center point, the camera uses surrounding points to keep tracking. Great for birds or cars.
- Wide/Auto: Mostly for beginners or fast landscape shots where everything needs to be reasonably sharp. Avoid this for critical portraiture.
A pro tip for Single Point: Use the joystick or directional pad to move the focus point quickly. Practice moving it to the top-left corner while looking through the viewfinder. Muscle memory here saves seconds, and in photography, seconds mean missed moments.
Depth of Field and Aperture Choices
Focus accuracy means nothing if your Depth of Field the distance between the nearest and farthest objects that appear acceptably sharp is too narrow to keep the subject sharp. If you shoot portraits at f/1.8, your zone of sharpness might be thinner than a coin. If the subject leans forward, their nose goes soft.
For group shots, stop down to f/5.6 or f/8. This ensures everyone from the front row to the back row is in focus. For solo portraits, f/2.8 is often safer than f/1.4 because it gives you a little more margin for error if the subject shifts weight. Remember, smaller apertures (higher f-numbers) increase depth of field but require faster shutter speeds or higher ISO to maintain exposure.
Drills to Sharpen Your Skills
Reading about focus is easy. Doing it under pressure is hard. Try these three drills this weekend.
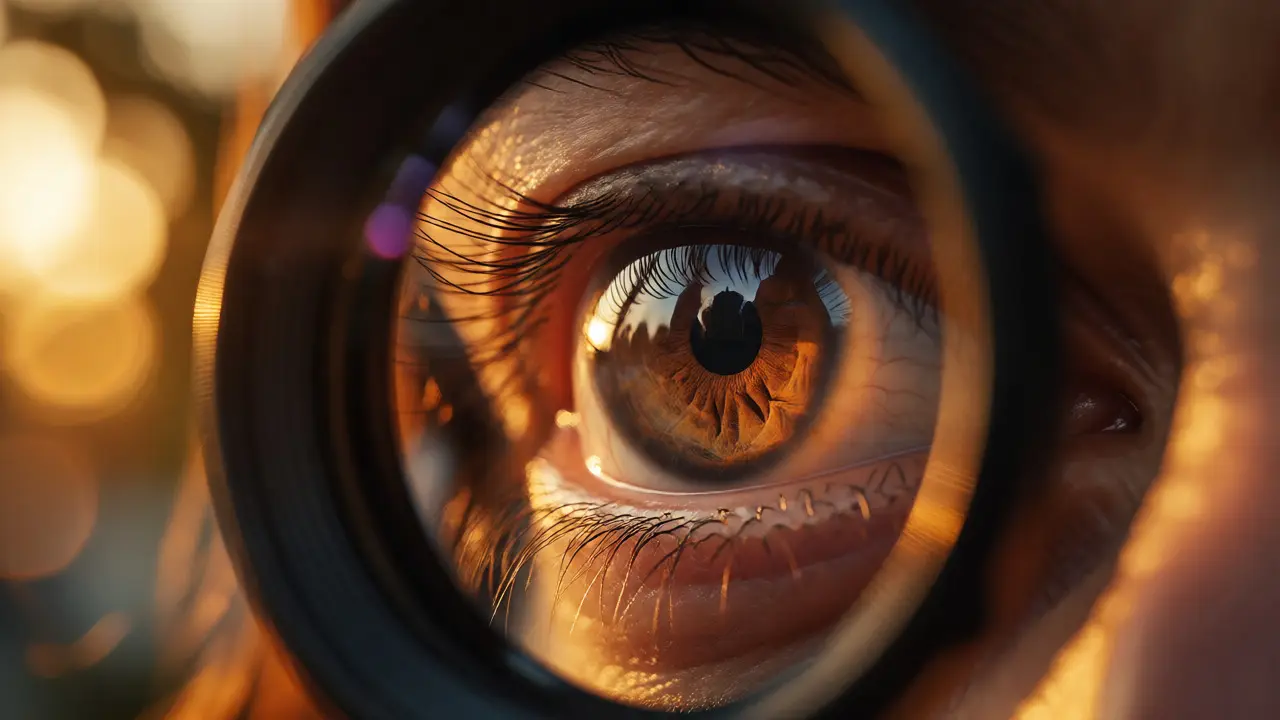
Drill 1: The Eye Lock Test. Set your camera to One-Shot AF and Single Point focus. Have a friend stand still. Place the focus point directly on their iris. Take ten shots. Zoom in 100% on your computer. Are the eyelashes crisp? If yes, you’re nailing it. If no, check your lens calibration or hand stability.
Drill 2: The Panning Run. Switch to AI Servo and Zone AF. Find a runner or cyclist. Track them smoothly as they pass you. Keep the focus point on their torso. Fire off bursts. Review the sequence. Did the focus track consistently, or did it jump to the background? This teaches you how your camera handles speed and contrast changes.
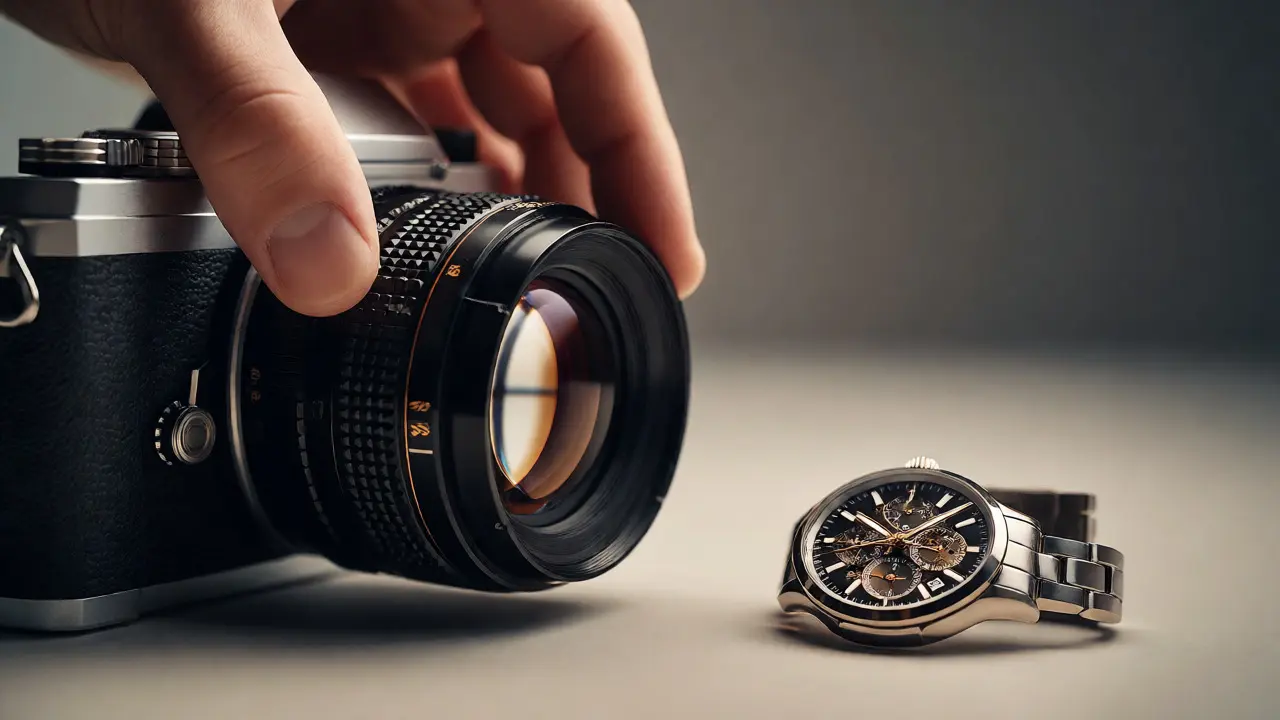
Drill 3: Recompose Chaos. Use Back-Button Focusing. Set a still life object on a table. Press the back button to focus on a specific detail, like a watch face. Release the button. Move the camera left, right, up, down. Shoot. Repeat ten times. Check if the focus stayed locked on the watch face despite your movement. This builds confidence in your manual control.
Troubleshooting Common Focus Failures
Even with the right settings, things go wrong. Here’s why.
Low Light Hunting: Autofocus relies on contrast. In dim rooms, there’s little contrast, so the lens racks back and forth. Solution: Turn on your camera’s AF assist beam, or shine a flashlight on the subject briefly to help the sensor lock, then turn it off before shooting.
Low Contrast Subjects: Shooting a white wall or a clear blue sky? There’s nothing to focus on. Solution: Focus on an edge or texture nearby, hold the back button to lock focus, then recompose to the empty space.
Front/Back Focus Issues: If all your shots are consistently soft in front of or behind the target, your lens might need micro-adjustment. Many DSLRs allow you to fine-tune AF for specific lenses in the menu. Mirrorless cameras rarely have this issue due to on-sensor phase detection.
Should I always use AI Servo?
No. AI Servo constantly searches for focus, which can drain battery and cause slight delays. For stationary subjects, One-Shot is faster and more accurate because it locks focus and stops working. Only use AI Servo when the subject is moving toward or away from you.
Why is my focus hitting the nose instead of the eyes?
This happens when using Auto Area AF or when the nose is closer to the lens than the eyes. Switch to Single Point AF and manually place the focus square directly over the eye. This forces the camera to prioritize the eye regardless of proximity.
Does back-button focusing work on all cameras?
Most mid-range and professional DSLRs and mirrorless cameras support it via custom menus. Entry-level models may lack this feature or label it differently. Check your manual for "AF-On," "AE-L/AF-L," or "Rear Dial" assignments.
How do I fix blurry photos in low light?
First, ensure your shutter speed is fast enough to prevent motion blur (rule of thumb: 1/focal length). Second, use a wider aperture to let in more light. Third, increase ISO. Finally, use a tripod or stabilize your elbows against your body. Autofocus struggles in dark, but motion blur is often the real culprit.
What is focus peaking?
Focus peaking is a feature common in mirrorless cameras and video mode. It highlights edges in the frame that are in focus with a colored overlay (red, yellow, or white). It helps confirm sharpness visually when using manual focus or verifying autofocus results.