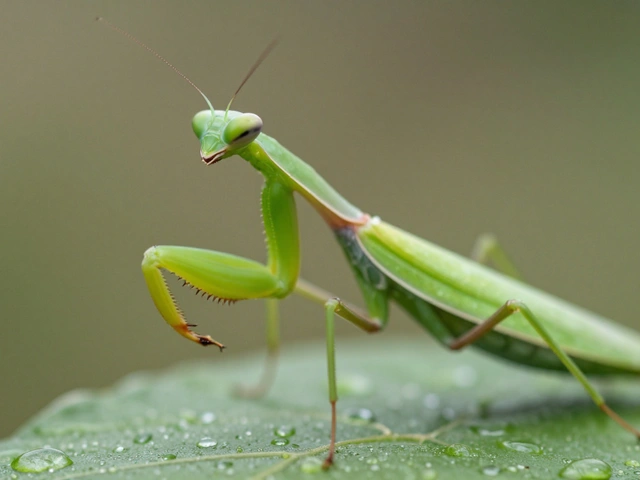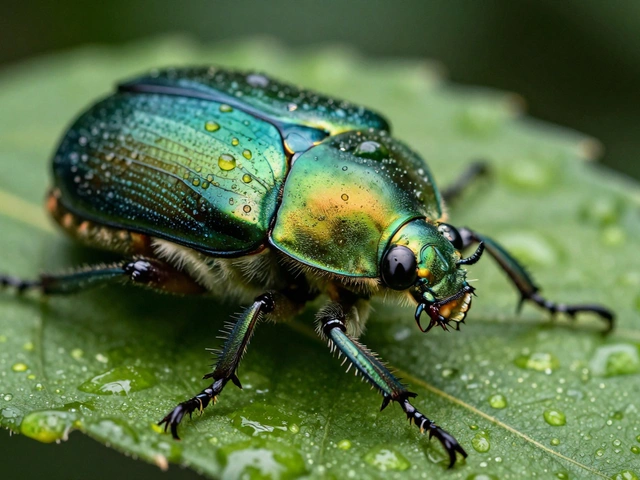
You know that frustrating moment when you zoom in on a macro shot of an insect's eye or a flower’s stamen, and half the subject is sharp while the other half looks like it was painted with Vaseline? That’s not your lens failing you. It’s physics. At high magnifications, depth of field becomes razor-thin-sometimes thinner than a human hair. You can’t just stop down to f/22 because diffraction turns everything into mush. So what do you do? You cheat.
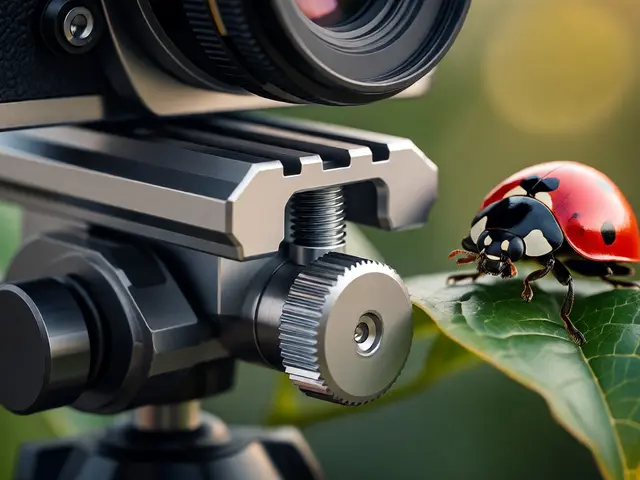
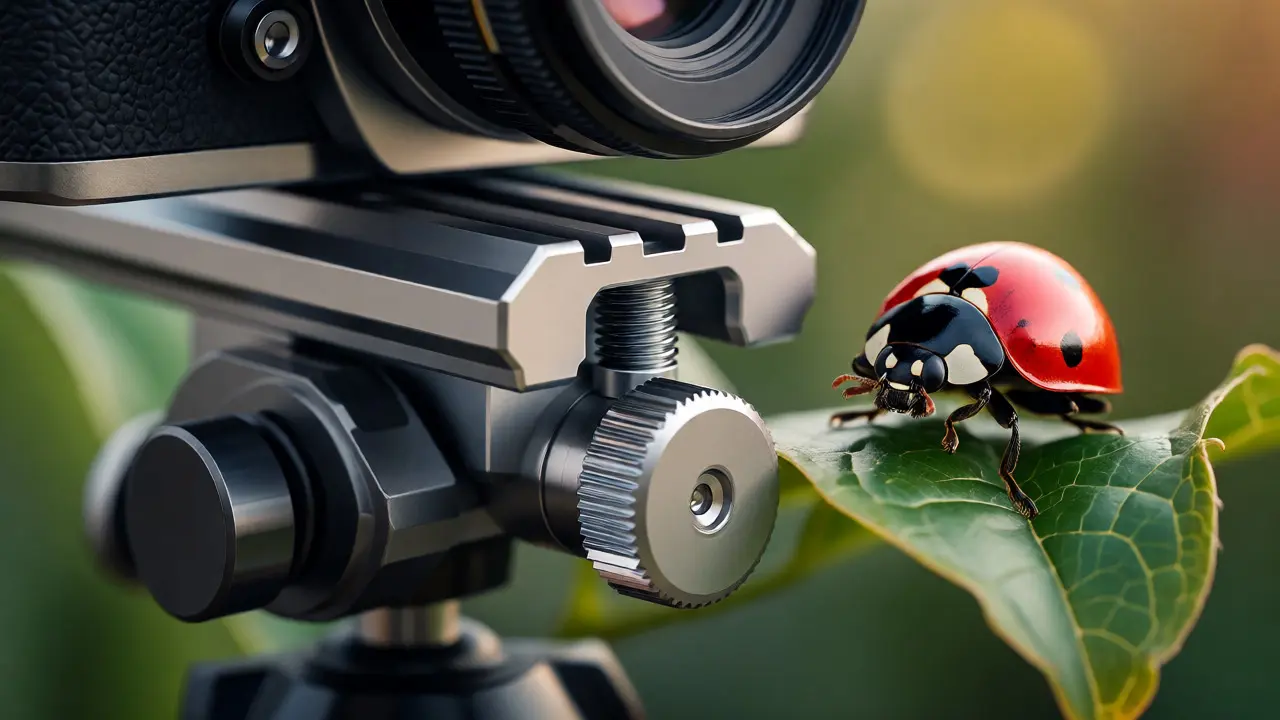
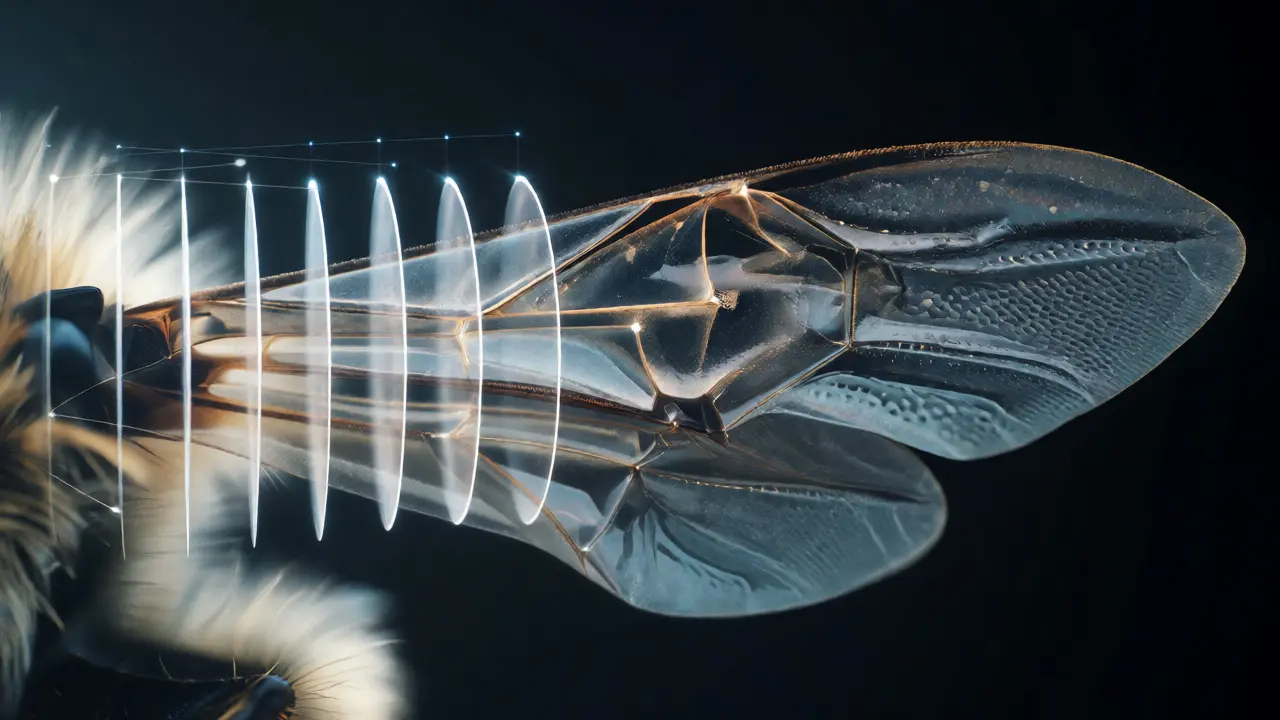
You take multiple photos at different focal planes and merge them. This process is called focus stacking, and it’s the secret sauce behind those hyper-realistic macro images you see on Instagram. But here’s the catch: doing this by hand is a nightmare. If you nudge the camera even a millimeter too far, your stack fails. That’s where a focus rail comes in. It’s a mechanical track that moves your camera forward or backward in precise, repeatable increments. No guessing. No shaky hands. Just clean, consistent data for your software to stitch together.
Why Your Hands Aren’t Good Enough
Let’s talk numbers. When you’re shooting at 1:1 magnification (life-size), the depth of field might be less than 0.5mm. To get a fully sharp image of a beetle 10mm long, you need about 20-30 shots. Each shot needs to advance the focus plane by roughly 0.3mm. Try moving your tripod legs by 0.3mm without disturbing the composition. Go ahead, try it. You’ll realize your breathing alone throws off the alignment. A manual focus rail solves this. It uses a fine-thread screw mechanism-often with a pitch of 0.5mm per rotation or finer-to move the camera plate along a rigid metal track. Some high-end rails offer micrometer adjustments, letting you dial in movements as small as 0.01mm. This precision ensures that each frame in your stack overlaps perfectly with the next, minimizing gaps and artifacts during post-processing.
Manual vs. Motorized: What Do You Actually Need?
This is the big question every macro shooter asks. Do you spend $100 on a sturdy manual rail or drop $800+ on a motorized unit controlled by an app?
If you’re shooting dead bugs pinned to a board or flowers in a windless greenhouse, a manual rail is plenty. You have time to crank the knob between shots. But if you’re dealing with living insects that twitch, or if you want to automate the entire capture sequence while you monitor exposure, motorization wins. Brands like Cognisys StackShot or Nital’s motorized units integrate directly with cameras via intervalometers, allowing you to set start point, end point, and step size once, then walk away.Feature Manual Rail Motorized Rail Precision High (with practice) Extremely High (automated) Speed Slow (manual cranking) Fast (preset steps) Cost $50 - $200 $400 - $1,500+ Portability Lightweight, compact Heavier, requires power Best For Static subjects, hobbyists Complex stacks, time-lapses, pros
The Workflow: From Setup to Stitch
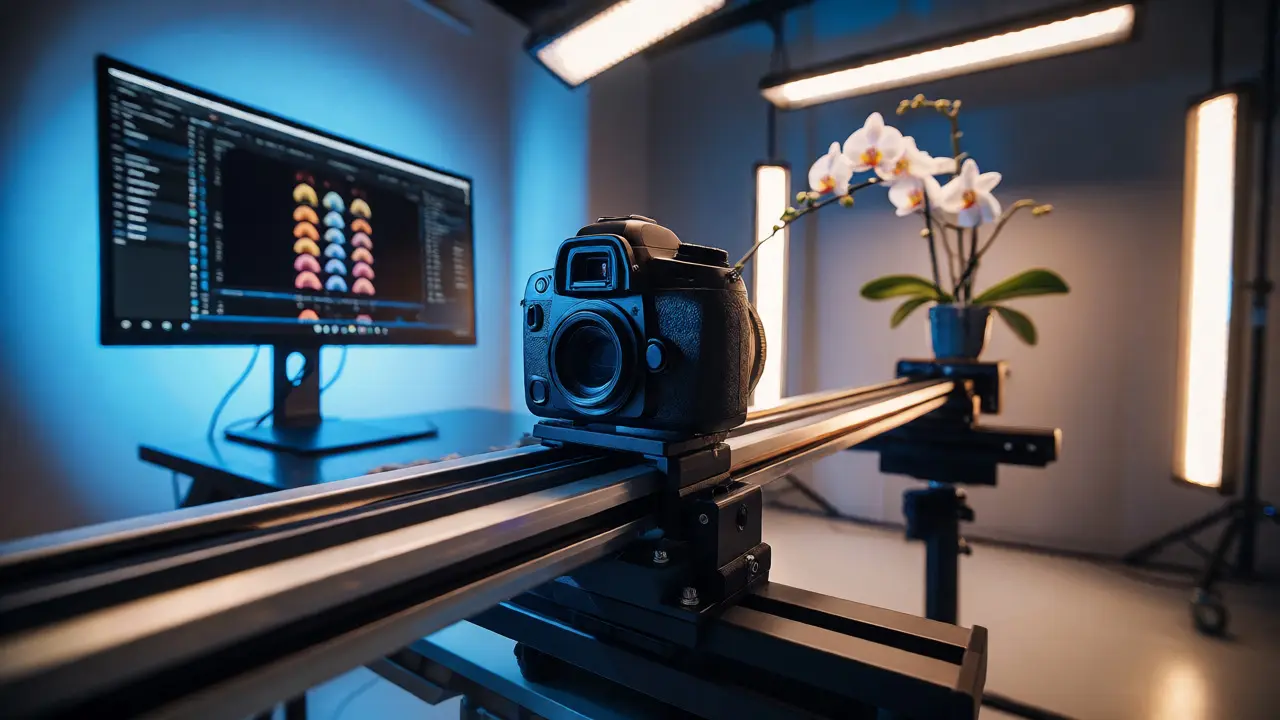
Using a focus rail isn’t just about buying gear; it’s about changing how you shoot. Here’s the routine I use in my Portland studio when photographing jewelry or intricate botanicals:
- Mount and Level: Attach the rail to your tripod head. Use a bubble level to ensure the rail is perfectly parallel to the sensor plane. If the rail tilts, your stack will shear, creating ghosting effects that are hard to fix.
- Set Magnification: Decide on your final crop. A higher magnification means more steps are needed. Keep your aperture around f/8 to f/11. Going narrower increases diffraction, which softens details despite having more depth of field.
- Determine Step Size: Calculate the required step size based on your aperture and magnification. A good rule of thumb: step size should be 1/3 to 1/2 of your calculated depth of field. If your DOF is 0.6mm, set your rail to move 0.2mm per shot.
- Capture Sequence: Start at the nearest point of interest. Fire a shot. Move the rail one step. Fire again. Repeat until you’ve passed the furthest point of interest by at least two frames.
- Post-Process: Import all RAW files into software like Helicon Focus or Adobe Photoshop. Align the layers (most modern software does this automatically) and blend them using depth map methods.
Pitfalls That Ruin Perfect Stacks
Even with a perfect rail, things go wrong. The most common enemy is vibration. If you bump the tripod mid-sequence, your alignment shifts. Always use a remote shutter release or your camera’s self-timer. Never touch the camera body after starting the sequence. Another issue is lighting changes. If clouds pass over the sun during a 5-minute outdoor stack, your brightness levels shift between frames. Software tries to compensate, but it often creates halos or color banding. Shoot outdoors only under stable light (overcast days are best) or use continuous LED lights powered by batteries. Finally, watch out for "focus breathing." Many lenses change their effective magnification slightly as they focus. On a focus rail, you aren’t focusing the lens; you’re moving the camera. Ensure your lens is set to manual focus and locked at infinity or a fixed distance so the optics don’t hunt or shift internally. This keeps the perspective consistent across all frames.
Choosing the Right Rail for Your Gear
Not all rails fit all cameras. Check the load capacity. A mirrorless body with a 100mm macro lens weighs maybe 1.5kg. A DSLR with a heavy telephoto macro might hit 3kg. Cheap plastic rails flex under weight, causing the camera to sag and lose alignment. Look for aluminum alloy construction with ball-bearing runners. Also consider the length of travel. Most standard rails offer 100-150mm of movement. Is that enough? For a small spider, yes. For a whole orchid branch? Maybe not. If you plan to shoot larger subjects, look for extended rails or modular systems that let you add sections. Remember, longer rails are heavier and harder to balance on smaller tripods.
Can I use a focus rail for non-macro photography?
Yes, absolutely. While primarily designed for macro, focus rails are excellent for product photography where you need extreme sharpness from front to back, such as jewelry, watches, or small electronics. They are also used in architectural interiors to create deep-focus composites, though handheld bracketing is often easier there due to the larger scale.
How many photos do I need for a good stack?
It depends entirely on your magnification and aperture. At 1:1 magnification with an aperture of f/8, you might need 15-20 shots. At 5:1 magnification, you could need 50+. The key is ensuring overlap. If you miss a spot, you get a blurry patch in the final image. It’s better to take too many shots than too few.
Do I need special software for focus stacking?
While some camera manufacturers offer built-in focus bracketing, dedicated software provides better control. Helicon Focus is widely regarded as the industry standard for its speed and handling of complex subjects. Adobe Photoshop has a built-in "Auto-Blend Layers" feature that works well for simpler stacks but can struggle with moving elements or complex textures.
What is the difference between moving the camera and moving the lens?
Moving the camera (via a focus rail) maintains the same perspective and magnification throughout the stack, which is ideal for stitching. Moving the lens (focus bracketing) changes the internal optical elements, which can cause slight perspective shifts known as "breathing," making alignment harder in post-production. For serious macro work, moving the camera is superior.
Is a motorized focus rail worth the investment for beginners?
Probably not initially. A quality manual rail costs significantly less and teaches you the fundamentals of depth of field and step sizing. Once you understand how many steps you need and how tedious manual cranking becomes, you can decide if automation saves you enough time to justify the cost. Start manual, upgrade later.