Ever look at a photo and feel like you're standing right there, peeking through a window? That feeling comes from a simple but powerful technique: framing within a frame. It’s not just about putting your subject inside a rectangle. It’s about using natural or man-made borders to guide the viewer’s eye, add layers, and create a sense of place. Whether you’re shooting street scenes, portraits, or landscapes, this method transforms flat images into immersive experiences.
Why This Technique Works on Your Brain
Human vision is wired to notice boundaries. When we see an object enclosed by another shape-like a face behind a fence or a car through a windshield-our brains instantly process two things: the subject and its context. This dual processing creates cognitive tension that keeps us looking longer. In photography, this means higher engagement and stronger emotional impact.
The core principle here is layering. You are stacking visual elements: the foreground frame, the midground subject, and often a background element. Each layer adds information. A bare portrait tells you who someone is. A portrait shot through a broken window tells you where they are, what their environment looks like, and perhaps even their state of mind. The frame isn’t just decoration; it’s narrative data.
Types of Frames You Can Use
You don’t need an actual picture frame. Nature and urban environments provide endless options. Here are the most effective categories:
- Architectural Openings Doors, windows, archways, and doorways that create rigid, geometric boundaries. These offer clean lines and strong symmetry.
- Natural Apertures Tree branches, cave mouths, foliage gaps, and rock formations that create organic, irregular shapes. These add texture and soften the image.
- Man-Made Barriers Fences, railings, grates, and mirrors that suggest separation or observation. These often imply a story about distance or privacy.
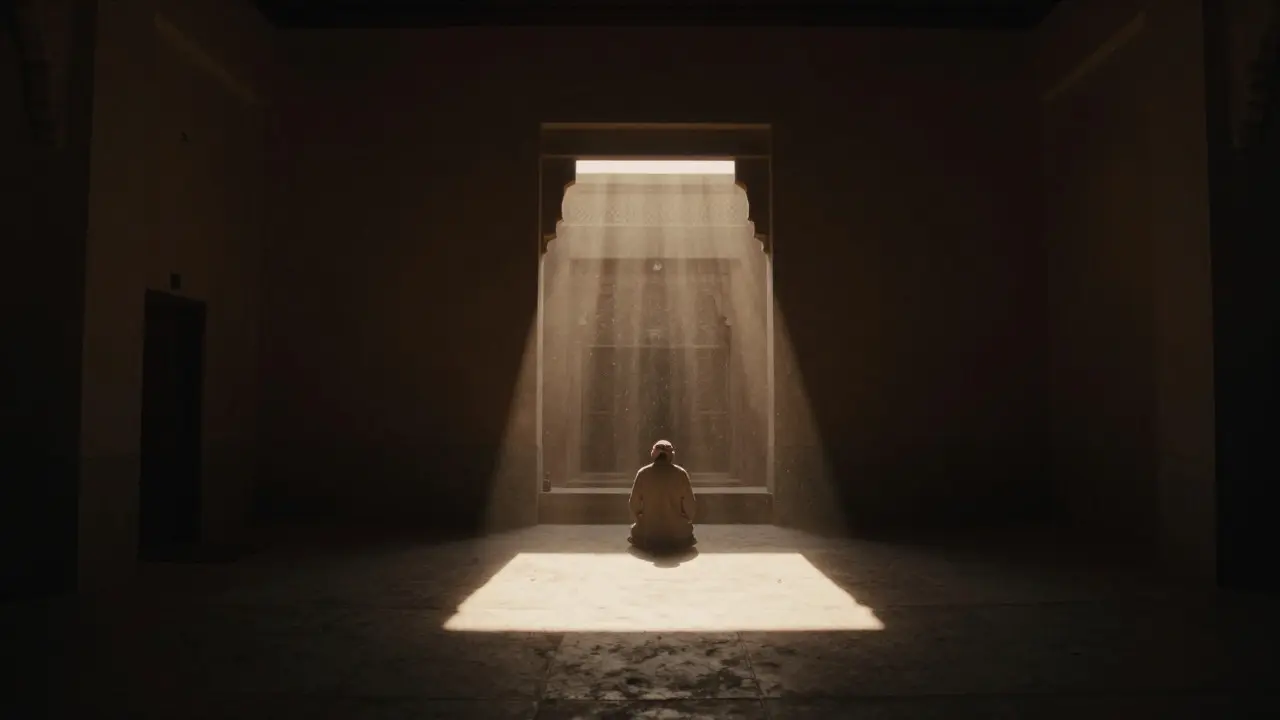
- Light and Shadow Beams of light cutting through darkness or shadows cast by objects acting as invisible frames. These are subtle but highly effective for mood.
How to Execute the Shot Step-by-Step
Getting the framing right requires more than just pointing the camera. Follow this workflow to ensure clarity and depth:
- Identify the Subject First. Don’t start with the frame. Find your main subject. Is it a person, a building, or an animal? Ensure it has enough contrast against its immediate background so it stands out once framed.
- Scout for Foreground Elements. Look around you for potential frames. Walk closer or further away. Change your angle. The best frames are often slightly off-center or tilted, adding dynamic energy rather than static stiffness.
- Manage Depth of Field. This is critical. If your frame is too sharp, it competes with the subject. Use a wider aperture (lower f-stop number) to blur the foreground frame slightly while keeping the subject crisp. Alternatively, use a smaller aperture (higher f-stop) if you want both the frame and subject in focus, which emphasizes the structural relationship between them.
- Check for Clutter. A frame should simplify the image, not complicate it. Remove distracting elements from the edges of the frame. Keep the border clean. If a branch hangs down awkwardly, crop it out or change your position.
- Adjust Exposure Carefully. Frames often contain dark shadows or bright highlights. Meter for your subject, not the frame. If the frame is very dark, underexposing it can make it disappear into blackness, creating a vignette effect. If it’s bright, be careful not to blow out the highlights in the frame while losing detail in the subject.
Lens Choice and Technical Settings
Your gear choice directly impacts how well the framing works. Wide-angle lenses (16mm to 35mm) are excellent for this technique because they exaggerate perspective. They make the foreground frame appear larger and closer, enhancing the sense of depth. Prime lenses like a 35mm f/1.8 allow you to get close to the frame while maintaining a shallow depth of field, blurring the surroundings beautifully.
Telephoto lenses (70mm and above) compress the scene. This flattens the layers, making the frame and subject appear closer together. Use telephotos when you want to isolate the subject tightly within a distant frame, such as shooting through a window across a street. However, you lose some of the dramatic spatial separation that wide angles provide.

Common Mistakes to Avoid
Even experienced photographers trip up on framing shots. Here are the pitfalls that ruin otherwise good compositions:
- The Frame Steals the Show. If the frame is too busy, colorful, or sharp, viewers will look at the border instead of the subject. Keep the frame neutral in color and slightly out of focus if possible.
- Too Much Empty Space. If the frame is huge and the subject is tiny, the image feels empty. Tighten the composition. The subject should occupy a significant portion of the inner space.
- Poor Lighting Balance. Shooting through a window on a sunny day often results in a silhouette. Use fill flash or reflectors to illuminate the subject if the outside is much brighter than the inside.
- Igoring the Background. The area behind the subject still matters. Even if the frame covers the edges, a messy background visible through the center distracts. Keep the midground clean.
Creative Variations to Try
Once you master the basics, experiment with these advanced concepts to push your creativity:
Double Framing. Use two frames. For example, shoot through a window that has a curtain, creating a frame within a frame. Or stand in a doorway and shoot through a tree branch outside. This adds multiple layers of depth and complexity.
Broken Frames. Don’t always use complete rectangles. Shoot through half a door, a torn wall, or a partial arch. Broken frames feel more candid and less staged. They suggest a fleeting moment observed from the edge.
Reflections as Frames. Use puddles, glass, or mirrors. The reflection acts as a secondary reality. The frame is the edge of the reflective surface. This technique adds surreal quality and allows you to combine two different scenes into one image.
Practical Examples from Real Scenarios
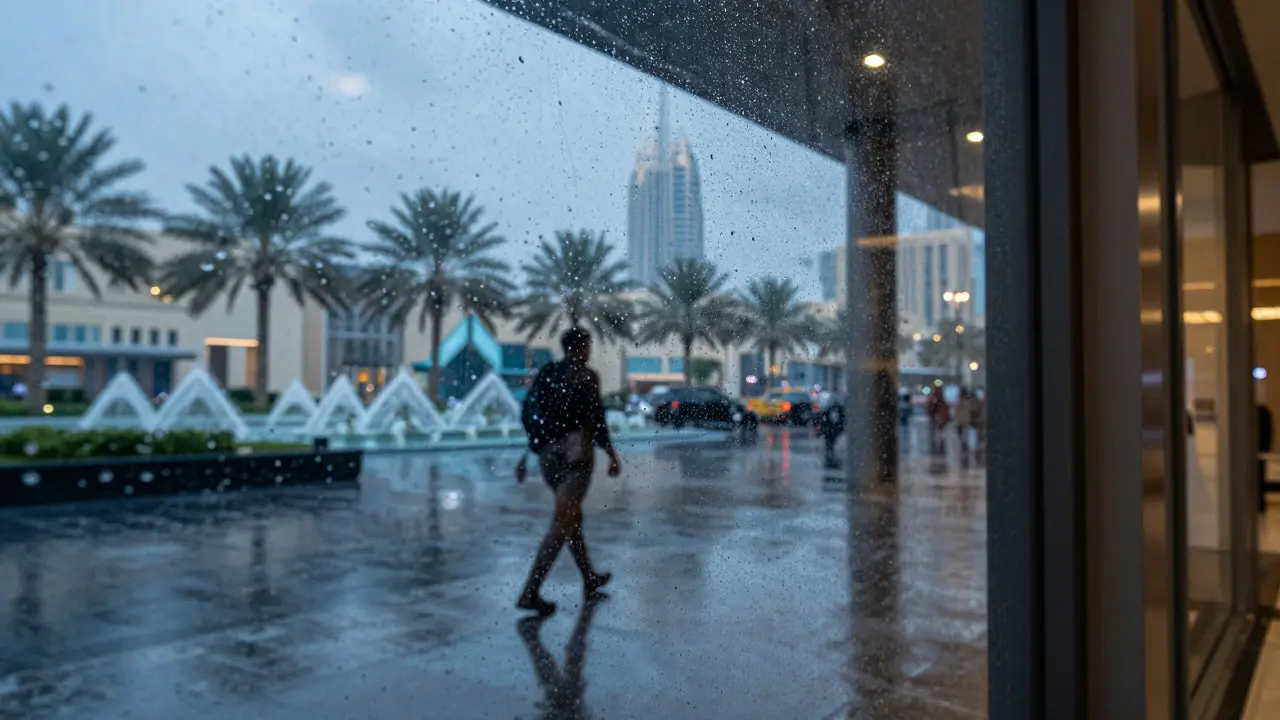
Imagine you’re in Portland, Oregon, on a rainy Tuesday. You’re near Pioneer Courthouse Square. Instead of shooting the fountain directly, you position yourself behind a wet glass storefront. The raindrops on the glass act as a textured foreground frame. The fountain is blurred in the background, but the reflection of a pedestrian walking by is sharp in the middle ground. The result is a moody, atmospheric image that captures the essence of the city’s weather without just showing a fountain.
Another scenario: You’re photographing a friend at a coffee shop. Rather than a standard portrait, you shoot through the gap in a wooden slat partition. The vertical lines of the wood create a rhythmic pattern that leads the eye to your friend’s face. The shallow depth of field blurs the slats nearest to the lens, creating a soft, bokeh-rich border. This makes the portrait feel intimate and hidden, as if you’re sharing a secret glance.
Editing Tips to Enhance the Effect
In post-production, you can refine the framing effect. Slightly darken the corners of the image to draw attention inward. Increase the contrast between the frame and the subject if the frame is too similar in tone. Use selective sharpening to keep the subject crisp while allowing the frame to remain soft. If the frame contains distracting colors, desaturate those specific areas using HSL sliders. The goal is always to support the subject, not overpower it.
When Not to Use Framing
This technique isn’t universal. Avoid framing when the subject needs to be isolated completely, such as in product photography where every detail must be visible. Also, avoid it if the environment is chaotic and lacks clear boundaries. If everything is cluttered, adding a frame will only increase visual noise. Reserve framing for moments where you want to emphasize context, mood, or the relationship between a subject and its surroundings.
Building a Portfolio with Layered Images
Consistently using framing within a frame helps develop a distinct visual style. Collectors and clients often seek photographers who can tell stories through composition, not just technical perfection. By mastering this technique, you move beyond capturing moments to constructing narratives. Each image becomes a window into a specific experience, inviting the viewer to step in and explore the layers themselves.
What is the best focal length for framing within a frame?
A 35mm lens is often considered ideal for framing shots because it offers a natural perspective and allows for a moderate depth of field. However, wide-angle lenses (16-24mm) are better for exaggerating depth, while telephoto lenses (85mm+) are better for compressing layers and isolating distant subjects.
Should the frame be in focus or blurry?
It depends on the desired effect. A blurry frame draws attention to the subject and creates a dreamy, soft look. A sharp frame emphasizes the structure and context, making the image feel more architectural or documentary. Generally, keeping the frame slightly softer than the subject is the safest approach to avoid distraction.
Can I use lighting as a frame?
Yes, light beams, shadows, and pools of illumination can act as invisible frames. For example, a beam of sunlight hitting a subject in a dark room creates a rectangular area of light that frames the subject. This technique is subtle but very effective for creating mood and drama.
How do I handle exposure when shooting through a window?
Meter for the subject, not the window. If the outside is bright and the inside is dark, you may need to use fill flash or a reflector to balance the exposure. Alternatively, accept the silhouette effect if it fits the mood of the photo. Check your histogram to ensure you aren't clipping highlights in the bright areas.
Does framing work in video photography?
Absolutely. Framing is a staple in cinematography. Directors use doors, windows, and props to control audience attention and convey character isolation or connection. In video, you can also slowly move the camera through the frame to reveal the subject dynamically, adding motion to the compositional concept.