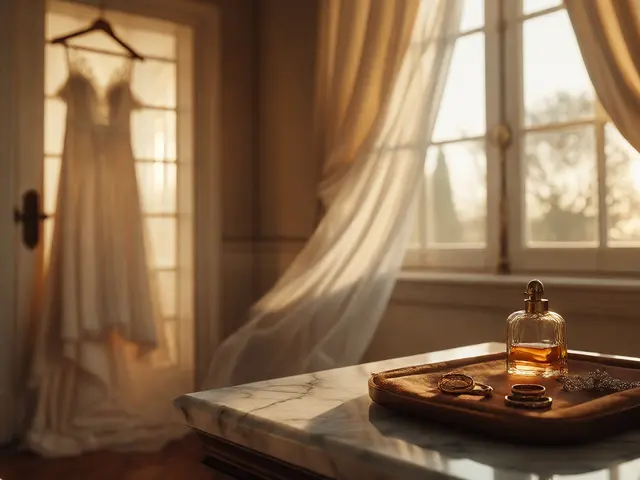
Most people think you need a $2,000 studio strobe kit to take professional-looking product shots. You don't. In fact, some of the most compelling images on high-end e-commerce sites are shot with nothing but sunlight and a piece of white foam board. Natural light product photography is the technique of using ambient daylight, primarily from windows, combined with reflectors to illuminate products without artificial flash units. It’s cheaper, faster to set up, and often produces softer, more flattering shadows than harsh electronic flashes.
But here is the catch: natural light is fickle. It changes every minute. The sun moves, clouds roll in, and your exposure shifts. If you haven’t figured out how to control this chaos, your photos will look inconsistent and amateurish. This guide breaks down exactly how to harness window light and use reflectors to create consistent, high-quality product images right in your home or small office.
Why Natural Light Wins for Small Businesses
Artificial lights require power, space, and technical knowledge to balance color temperature. Natural light, specifically diffuse daylight, offers a broad, soft source that mimics what our eyes see naturally. For products like skincare bottles, jewelry, or handmade goods, this softness reduces distracting glare and highlights texture rather than hiding it behind hotspots.
Cost is another factor. A basic speedlight costs $150-$300. A large window? Free. A homemade reflector? Maybe $5 for poster board. For startups testing their first batch of inventory, keeping overhead low while maintaining visual quality is crucial. Plus, there’s an emotional component. Buyers trust images that feel authentic. Over-processed, flash-lit photos can sometimes feel sterile or misleading, whereas natural light feels honest and approachable.
Finding Your Best Window
Not all windows are created equal. Before you buy any gear, spend a day observing the light in your workspace. You are looking for three things: size, direction, and diffusion.
Size matters: The larger the light source relative to your subject, the softer the shadows. A tiny skylight creates hard, dramatic shadows (like noon sun). A large sliding glass door creates gentle gradients. Aim for the biggest window available.
Direction matters: North-facing windows (in the Northern Hemisphere) provide consistent, cool-toned light throughout the day. South-facing windows get direct sun, which changes rapidly and can be too warm or harsh. East and West windows offer beautiful golden hour light but only for short bursts. If you want consistency, find a north-facing window or a shaded south-facing one.
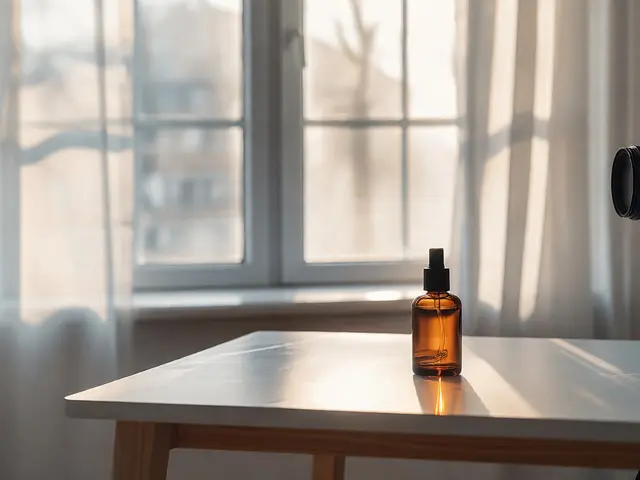
Diffusion is key: Direct sunlight is usually too strong for product details. It blows out highlights and crushes shadows. You need to diffuse it. Sheer curtains work, but they add color casts. A better option is a dedicated diffusion panel or even a white bedsheet taped over part of the window. This turns the sun into a giant softbox.
The Core Setup: Side Lighting
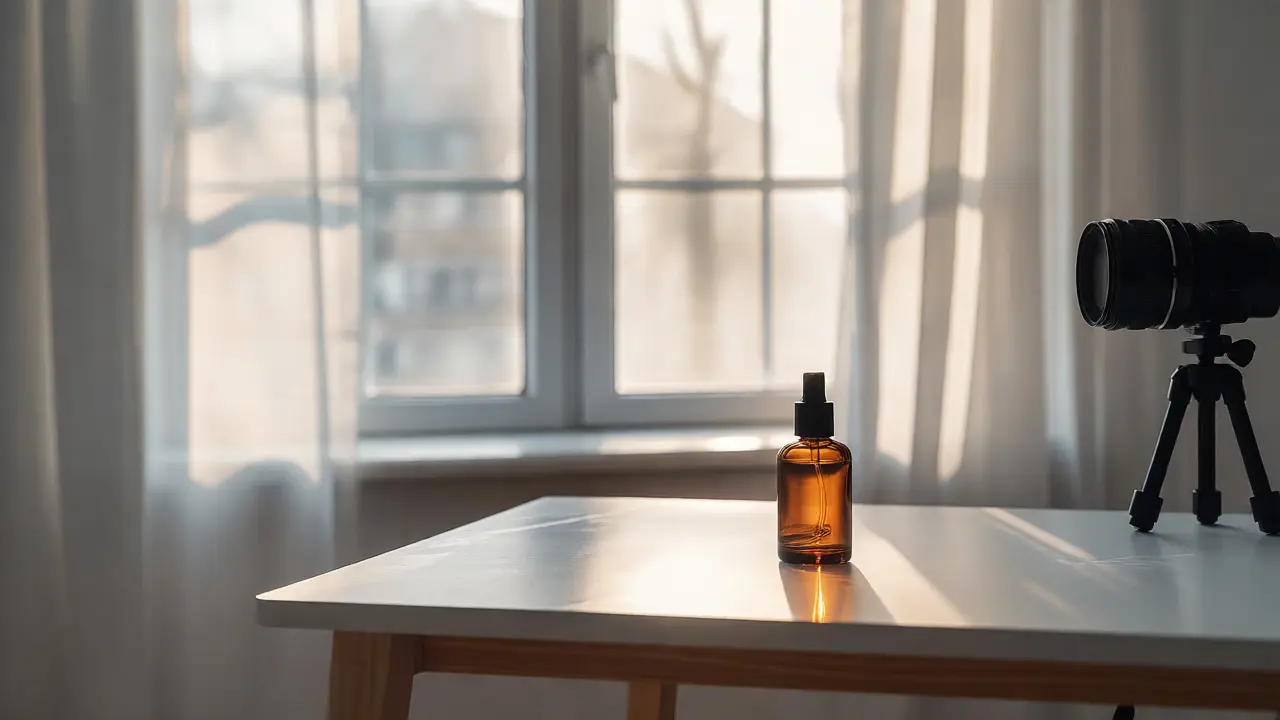
Once you’ve picked your spot, position your table perpendicular to the window. Place your product so the light hits it from the side (90 degrees). This is called side lighting. It reveals texture and depth, making objects look three-dimensional instead of flat.
If you place the product directly in front of the window (front lighting), the image looks flat and boring. If you put it between the camera and the window (backlighting), you’ll get a silhouette unless you’re very careful with exposure. Side lighting is the sweet spot for most e-commerce needs because it defines shape without creating overly complex shadow patterns.
Keep your camera stable. Use a tripod. Handheld shooting introduces blur, especially when you stop down the aperture for sharpness. A simple tabletop tripod works fine if you don’t have a full-sized one. Set your camera to Manual mode. Auto-exposure gets confused by bright windows and dark products, leading to underexposed subjects. Lock your ISO at 100 or 200 to keep noise low, adjust your shutter speed to get a proper exposure, and choose an aperture between f/8 and f/11 for good depth of field.
Mastering Reflectors: Filling the Shadows
Side lighting creates shadows on the opposite side of the product. These shadows can be too deep, hiding important details. That’s where reflectors come in. A reflector bounces light back onto the subject, lifting the shadows and adding dimension.
You don’t need expensive gear. Here’s a quick breakdown of common reflector types and when to use them:
| Reflector Type | Material | Best For | Effect |
|---|---|---|---|
| White Foam Board | Polystyrene sheet | General purpose, beginners | Soft, neutral fill; no color cast |
| Silver Foil | Mylar film on cardboard | Jewelry, metal, glass | Bright, specular highlights; adds "sparkle" |
| Gold Foil | Mylar film on cardboard | Warm tones, autumn themes | Adds warmth; can distort skin/product colors |
| Black Card | Matte black paper/board | Contrast enhancement | Absorbs light; deepens shadows for drama |
Start with white foam board. It’s cheap, easy to cut to size, and doesn’t change the color of your product. Hold it on the side opposite the window. Move it closer to increase the fill light, or further away to reduce it. Watch your histogram or screen preview. You want detail in the shadows, not pure black.
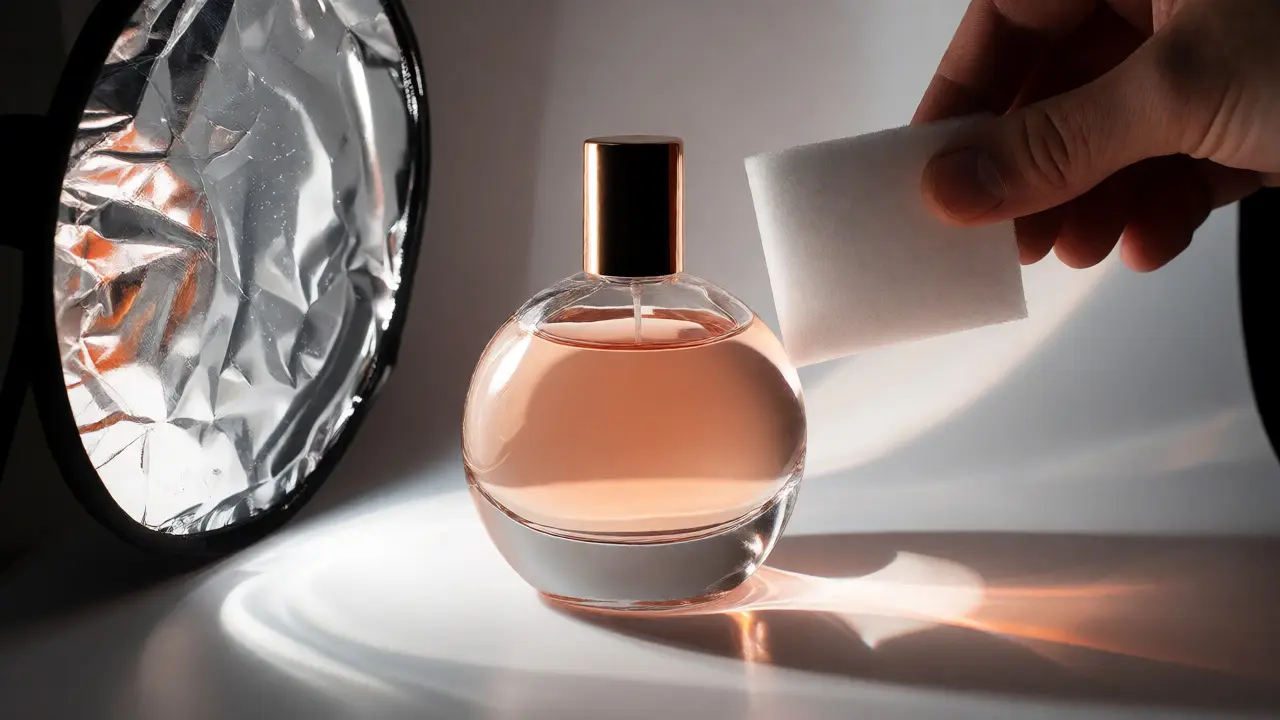
For shiny items like perfume bottles or watches, silver foil is superior. It reflects light more efficiently and creates crisp, defined reflections on curved surfaces. Just be careful-silver can create harsh hotspots if used too close. Diffuse it slightly with a thin layer of tissue paper if needed.
DIY Hacks for Better Control
Commercial photography gear is great, but you can build a professional setup for under $20. Here are three hacks I use constantly in my Portland studio.
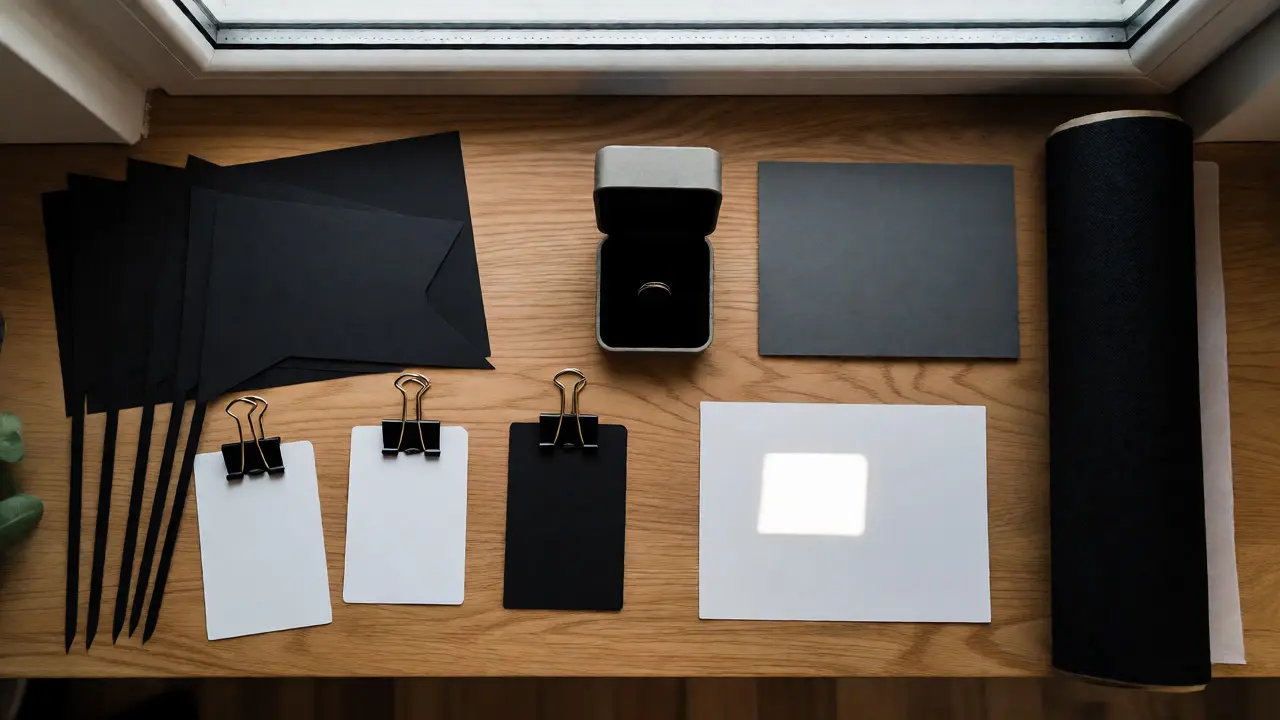
1. The Black Flag: Sometimes you have too much light spilling onto the background or hitting the lens, causing flare. Take a piece of black construction paper and tape it to a stand or hold it just outside the frame on the lit side. This blocks stray light and increases contrast. It’s essentially a negative fill.
2. The Seamless Backdrop Hack: Buy a large sheet of white poster board or craft paper. Tape one end to the wall above your table and let it curve down behind your product. This creates an infinite background effect without seams. Iron out wrinkles beforehand-they show up clearly in macro shots.
3. Bounce Cards: Cut small squares of white cardstock. Clip them to binder clips attached to stands. Position these near reflective products to add specific catchlights. For example, placing a small white card near a watch face creates a clean rectangular reflection that looks intentional and polished.
Dealing with Changing Light Conditions
The biggest headache with natural light is inconsistency. At 10 AM, the light might be perfect. By 10:15, a cloud passes, and everything drops two stops darker. Or worse, the sun angle shifts, changing the shadow length.
Here’s how to manage it:
- Bullet Time: Shoot quickly. Once you dial in your settings, shoot all angles of that product before moving to the next. Don’t wait around.
- Use a Gray Card: Include a gray card in one test shot per session. In post-production, you can click on the gray card to correct white balance instantly across all images, ensuring color consistency even if the light temp shifted slightly.
- Block Direct Sun: If direct sun hits your product, it’s game over for consistency. Use sheer curtains or a diffusion fabric to block direct rays entirely. You want indirect, bounced light.
- Check Your Histogram: Don’t rely solely on your camera screen. Bright screens lie. Check the histogram to ensure you aren’t clipping highlights (blown-out whites) or crushing shadows (pure blacks).
Post-Processing Tips for Natural Light Shots
Natural light photos often need slight adjustments to pop. Since the light is soft, contrast might be lower than you expect. In software like Adobe Lightroom or Capture One, gently boost the clarity and contrast sliders. Be subtle. Over-editing removes the organic feel that makes natural light appealing.
Watch your white balance. North-facing light tends to be blue. If your white products look bluish, shift the temperature slider toward yellow. Conversely, if you used gold reflectors, you might need to pull back saturation to avoid unnatural oranges.
Sharpening is critical for e-commerce. Because you likely stopped down to f/8 or higher, diffraction might have softened details slightly. Apply mild sharpening after resizing to final web dimensions. This ensures textures like fabric weave or leather grain remain visible.
Common Pitfalls to Avoid
Even experienced photographers make mistakes with window light. Here are the top three traps:
Ignoring Color Casts: Walls, floors, and furniture reflect light. A red rug can bounce red light onto a white vase. Neutralize this by using gray cards or adjusting white balance manually. Never trust auto-white-balance with mixed natural and reflected light.
Cutting Off Reflections: When shooting glossy items, your own reflection might appear in the product. Wear dark clothing. Use a remote shutter release or timer so you aren’t holding the camera. Some photographers cut a hole in a black card and poke the lens through to eliminate body reflections.
Inconsistent Backgrounds: If you move your table slightly, the background brightness changes. Mark your table and camera positions with tape on the floor. Precision repeatability saves hours in editing.
Do I need a special camera for natural light product photography?
No. Any interchangeable lens camera (DSLR or Mirrorless) works well, but even modern smartphones can produce excellent results if you lock focus and exposure. The key is controlling the light, not the sensor size. However, cameras with manual controls give you more precision over aperture and ISO, which helps maintain consistency across batches.
What time of day is best for window light?
Mid-morning to early afternoon is generally best for consistent, diffuse light. Early morning and late evening offer dramatic, warm light but change rapidly. If you have a north-facing window, you can shoot anytime during daylight hours with minimal variation. Avoid midday direct sun unless you heavily diffuse it, as shadows become harsh and unflattering.
Can I use LED lights instead of windows?
Yes, continuous LED panels are a great alternative, especially for video or if you lack a suitable window. Choose LEDs with a high CRI (Color Rendering Index) rating above 95 to ensure accurate colors. While they don’t replicate the dynamic range of sunlight perfectly, they offer total control over intensity and duration, solving the inconsistency problem of natural light.
How do I remove unwanted reflections from glass products?
Glass acts like a mirror. To minimize reflections, position the product so it reflects only the ceiling or a plain white area. You can also use polarizing filters on your lens to cut glare. Another trick is to surround the product with black flags (black paper) to prevent bright surroundings from reflecting on the surface, then use a small white card to create a single, controlled highlight.
Is natural light enough for jewelry photography?
It can be, but jewelry requires precise control. Macro lenses are essential to capture detail. Use small reflectors (bounce cards) to add sparkle points. Silver reflectors work best for diamonds and metals. Because jewelry is small, even slight changes in light angle drastically affect appearance. A combination of window light and multiple small reflectors often yields better results than a single large light source.