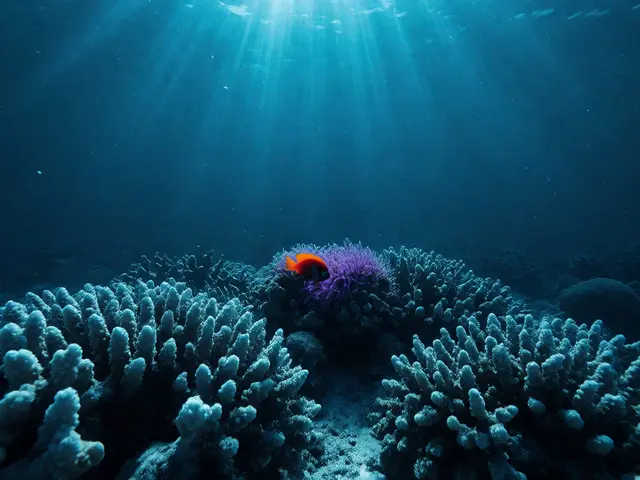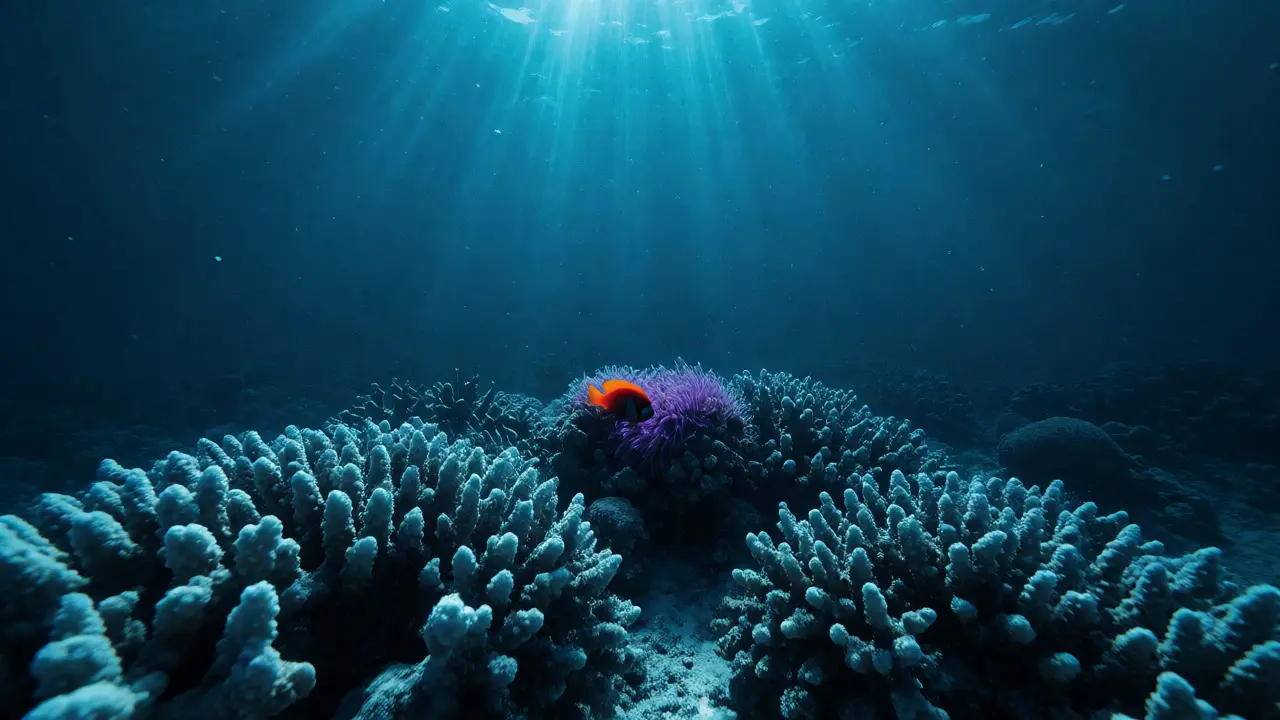
You’ve probably seen those photos where the ocean looks like a giant bowl of blue Jell-O. The fish are invisible, the coral is gone, and your subject looks like they’re holding their breath in a swimming pool at midnight. It’s frustrating because you know the reef was vibrant when you were there. You saw the orange clownfish against the purple anemone. So why does your camera keep turning everything into shades of cyan?
It’s not just your gear. It’s physics. Water steals color from light faster than it steals air from your lungs. Understanding white balance is the process of removing unrealistic color casts so that objects which appear white in person are rendered white in your photo is the single biggest lever you can pull to fix this. But doing it underwater isn’t as simple as picking a preset on your dial. You have to fight the water itself.
Why Water Eats Your Colors
Before you touch a setting, you need to understand what you’re fighting. Sunlight is made up of different wavelengths, each corresponding to a color. Red has long wavelengths; blue has short ones. Water acts like a filter that absorbs these wavelengths sequentially as depth increases.
Here’s the rough rule of thumb for tropical clear water:
- 5 meters (16 feet): Red starts disappearing.
- 10 meters (33 feet): Orange fades out.
- 15-20 meters (50-65 feet): Yellow vanishes.
- Below 20 meters: You’re mostly left with green and blue.
This means that at 20 meters, a bright red grouper doesn’t look red to your camera sensor. It looks black or dark gray. If you rely on your camera’s Auto White Balance (AWB), it sees all that missing red data and tries to compensate by adding blue. This often makes the image look even more unnatural and cold. To get true-to-life colors, you have to manually tell the camera what "white" looks like in that specific environment.
The Three Ways to Fix Color Casts
There are three main strategies for handling color underwater. Which one you choose depends on your lighting setup, your patience for editing, and whether you shoot JPEG or RAW.
| Method | Best For | Pros | Cons |
|---|---|---|---|
| Manual Presets (Cloudy/Sunny) | Quick shots, wide-angle landscapes | Fast, no gear needed | Inaccurate, relies on guesswork |
| Custom White Balance | Macro, technical diving, consistent light | Highly accurate, saves time in post | Requires stopping to take a reference shot |
| RAW + Post-Processing | Professional work, dynamic scenes | Total control, non-destructive | Time-consuming, requires software skills |
1. Manual Presets: The Quick Fix
If you’re shooting wide-angle landscapes and don’t want to fiddle with dials every five minutes, manual presets are your friend. Most cameras have icons for Sunny, Cloudy, Shade, and Incandescent. These aren’t just for weather; they adjust the color temperature (measured in Kelvin).
Sunny daylight is around 5500K. Underwater, especially deeper down, the ambient light is much cooler (bluer). To counteract this, you need to add warmth. Try setting your white balance to Cloudy (approx. 6000K) or Shade (approx. 7000K). This tells the camera to add yellow/orange tones to neutralize the blue water. It’s not perfect, but it gets you 80% of the way there without stopping your dive.
2. Custom White Balance: The Gold Standard
For serious photographers, custom white balance is non-negotiable. This method involves taking a photo of something truly white under the exact lighting conditions where you’ll be shooting. Your camera then uses that image to calculate the correct color balance for the rest of the dive.
But here’s the catch: you can’t just hold up a white piece of paper. Why? Because at 20 meters, there is almost no red light hitting that paper. If you point your camera at a white card, it sees gray-blue light and thinks, "Ah, the scene is blue," and adds orange. But since there’s no actual red information in the reflected light, the result is muddy and desaturated.
To do this right, you need a source of full-spectrum light. This is where strobes come in.
3. Using Strobes for Accurate WB
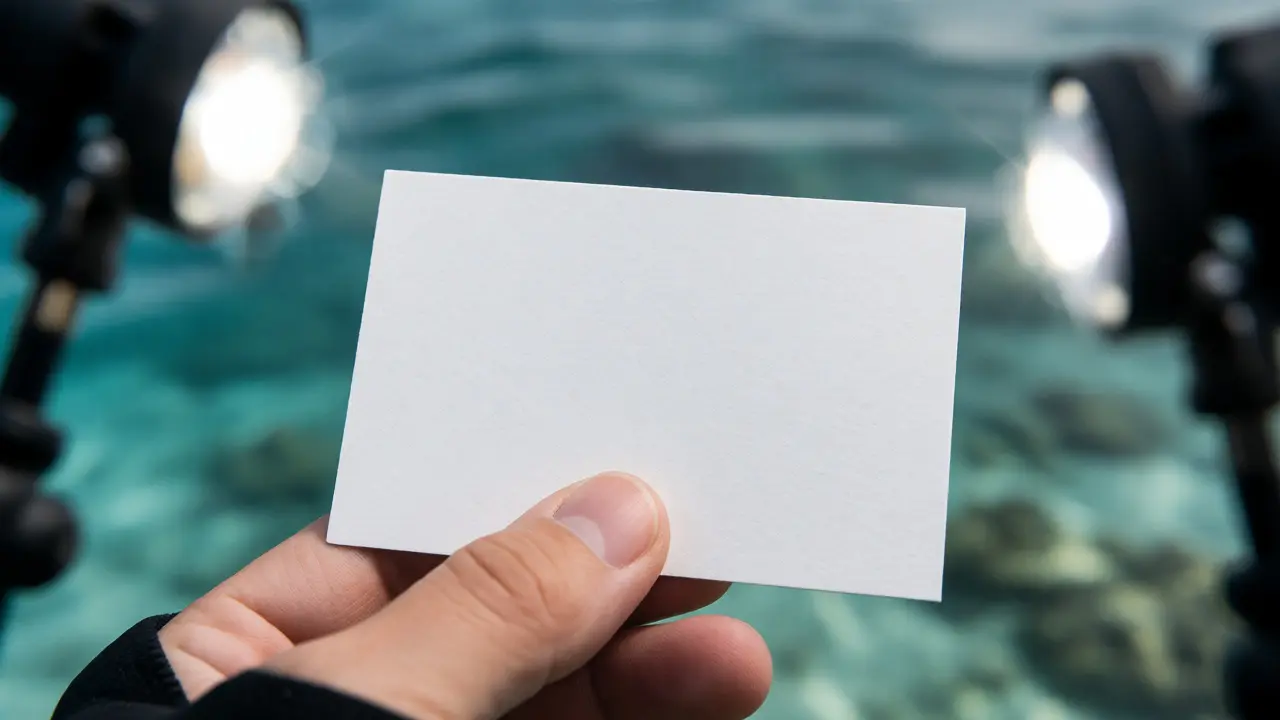
If you use external strobes, you have a massive advantage. Strobes emit a full spectrum of light, including red. When you fire a strobe at a white reference card, the card reflects that full spectrum back to your lens. Now, your camera can accurately determine what white looks like.
Here is the step-by-step workflow for custom WB with strobes:
- Set your strobes to a medium power (not full blast, to avoid overexposure).
- Hold a white reference card (or a clean white glove) about 30-50 cm from your port.
- Fire the strobes and take a photo of the card. Ensure it fills most of the frame but isn’t blown out.
- Go into your camera menu and select "Custom White Balance" or "Set from Image."
- Select the photo of the white card.
- Your camera now knows exactly how to render colors in that specific depth and turbidity.
Repeat this whenever you change depth significantly (every 5 meters) or if the sun breaks through the clouds. Yes, it’s tedious. But looking at a playback screen where the colors pop instantly is worth every second of hassle.
The Role of Light Sources and Color Temperature
Color temperature is measured in Kelvin (K). Lower numbers are warmer (orange/red); higher numbers are cooler (blue). Standard daylight is ~5500K. Tungsten bulbs are ~3200K. Clear blue sky can be ~10,000K.
Underwater, the ambient light shifts rapidly toward the high end of the scale. At the surface, it might be 5500K. At 10 meters, it could be 7000K+. At 30 meters, it might hit 9000K or higher depending on water clarity.
When you mix ambient light with artificial strobe light, things get tricky. Strobe color temperature is usually fixed around 5500K-5600K. If you set your custom WB based on strobe light, but you also have significant ambient light coming in (say, you’re shooting wide-angle near the surface), you might get a mismatch. The parts lit by the strobe will look natural, while the background lit by ambient light will look too blue.
This is why many pros recommend balancing for the ambient light if you’re shooting wide-angle, and letting the strobes provide the punch. Or, conversely, using gels on your strobes to match the ambient color temperature if you want a seamless blend. But for most hobbyists, sticking to custom WB with strobes for macro and manual presets for wide-angle is the most practical approach.
Editing RAW Files: Where the Magic Happens
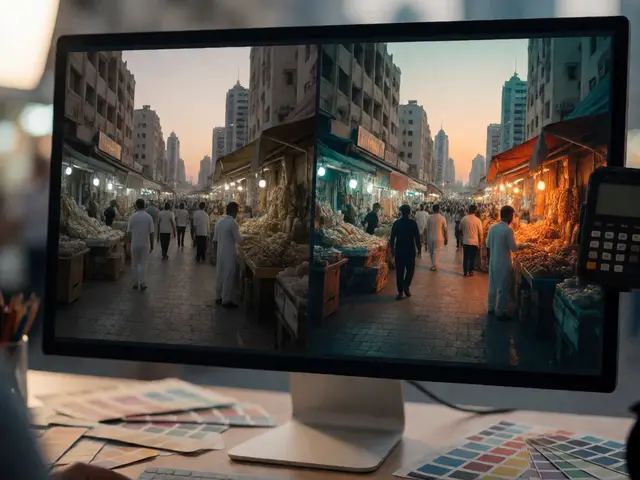
No matter how good your in-camera settings are, shooting in RAW gives you the ultimate safety net. RAW files retain all the color data captured by the sensor, allowing you to adjust white balance non-destructively in post-production software like Adobe Lightroom or Capture One.
When editing underwater RAW files, don’t just click "Auto." That button is designed for terrestrial photography and will often make your blues too deep and your greens too neon. Instead, try this workflow:
- Start with Temp: Slide the temperature slider to the right (warmer) until the whites look neutral. Don’t worry if the image looks slightly orange at first.
- Adjust Tint: Underwater, you often need to push the tint slider toward magenta to counteract the green cast found in many coastal waters. In clear tropical water, you might need less tint adjustment.
- Use the Eyedropper: Click the eyedropper tool on a part of the image that should be white or mid-gray (like a diver’s fin strap or a sandy patch). This forces the software to calculate the balance based on that specific pixel.
- HSL Panel: This is your secret weapon. Select the HSL (Hue, Saturation, Luminance) panel. Increase the saturation of the Reds and Oranges. Shift the Hue of the Yellows slightly toward Orange. This brings back the vibrancy that water stole.
Remember, you can’t create red light that wasn’t recorded. If you shot at 40 meters with no strobes, there is literally no red data in the file. No amount of editing will bring back a vivid red grouper. It will always look muddy. This reinforces why getting the exposure and lighting right underwater is more critical than in land photography.
Troubleshooting Common Color Issues
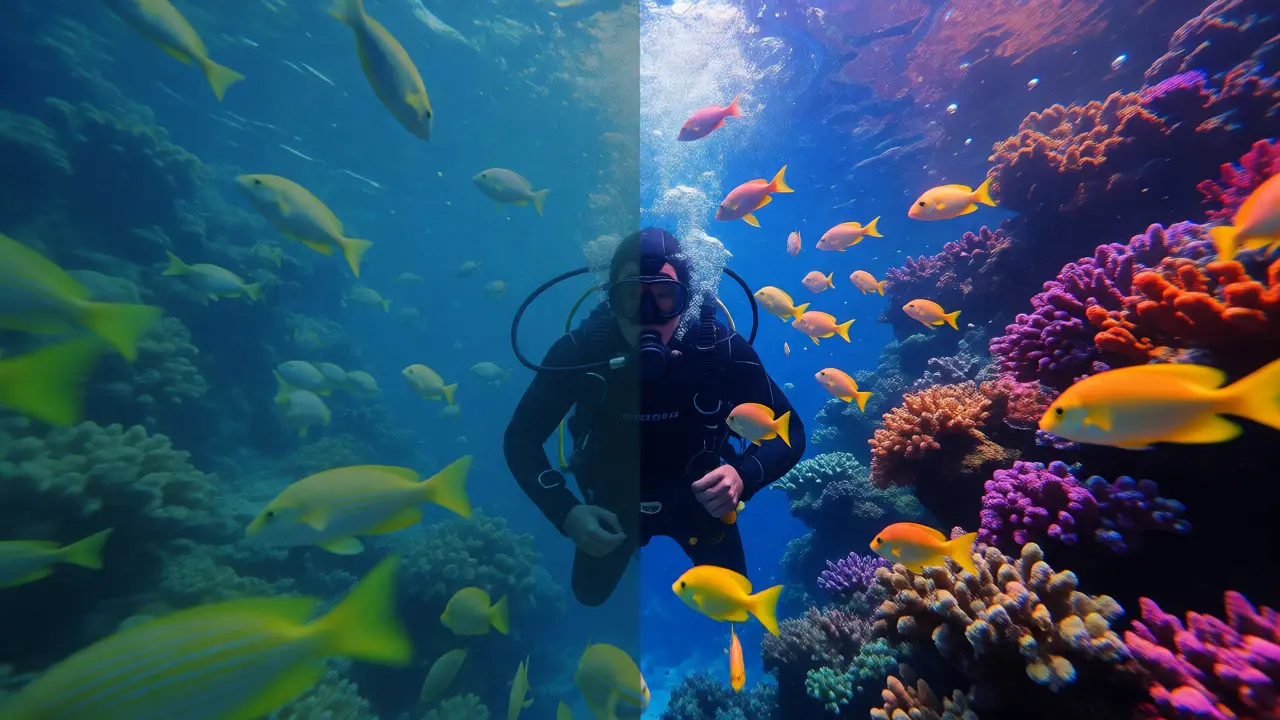
Even with the best techniques, you’ll run into problems. Here’s how to diagnose them quickly.
The Problem: Everything looks Green.
The Cause: Algae or particulate matter in the water scattering green light. Common in temperate waters like the Pacific Northwest or UK.
The Fix: Push your white balance temperature higher (add warmth) and shift tint toward magenta. In post, desaturate the green channel slightly.
The Problem: Skin tones look sickly or blue.
The Cause: Relying on AWB at depth. The camera is over-compensating for the blue ambient light.
The Fix: Use custom WB with a strobe-lit white card. If shooting video, lock your WB manually before the dive starts.
The Problem: Background is blue, foreground is orange.
The Cause: Mismatch between strobe light (warm/neutral) and ambient light (cool/blue) combined with incorrect WB setting.
The Fix: Decide which light source is dominant. If the background matters more, balance for ambient. If the subject matters more, balance for strobes. Accept the contrast-it’s part of the underwater aesthetic.
Final Thoughts on Gear and Practice
You don’t need the most expensive housing to get great color. You need discipline. Carry a small, foldable white card. Keep it dry in a ziplock bag when not in use. Take the extra ten seconds to set your custom WB. It feels annoying when you’re trying to chase a turtle, but it saves you hours of staring at blue blobs in Lightroom later.
And remember, practice makes perfect. Every dive site has different water characteristics. A site in Kona, Hawaii, behaves differently than a site in Monterey, California. Test your settings early in the dive. Shoot a test frame, check the histogram and the colors, and adjust. Over time, you’ll develop an intuition for how much warmth your camera needs at different depths. That intuition is worth more than any preset.
Can I just use Auto White Balance underwater?
You can, but it rarely produces optimal results. Auto White Balance tends to interpret the lack of red light as a blue color cast and adds excessive orange/yellow, resulting in unnatural skin tones and muddy backgrounds. Manual or Custom White Balance provides far superior accuracy.
Do I need a strobe to set Custom White Balance?
Not strictly, but it is highly recommended. Without a strobe, there is very little red light at depth to reflect off a white card. The camera may struggle to find a true white reference, leading to inaccurate corrections. A strobe provides the full-spectrum light necessary for precise calibration.
What happens if I shoot JPEG instead of RAW?
If you shoot JPEG, the camera processes the color data immediately. If your white balance is wrong, correcting it in post-production is difficult and can degrade image quality. Shooting RAW allows you to adjust white balance non-destructively after the dive, giving you much more flexibility to fix color casts.
How often should I reset my Custom White Balance?
Reset it whenever you change depth significantly (approximately every 5 meters or 15 feet), when cloud cover changes the ambient light intensity, or when moving from shaded areas to open sunlight. Water clarity and suspended particles also affect light quality, so monitor your images frequently.
Does water depth affect white balance?
Yes, dramatically. As depth increases, water absorbs longer wavelengths of light (red, orange, yellow). This shifts the available light spectrum toward blue and green. Therefore, the color temperature of the ambient light becomes cooler (higher Kelvin value) as you go deeper, requiring warmer white balance settings to compensate.