You’ve probably been there. You’re in the middle of a studio shoot, the lighting is perfect, the model is relaxed, and you just hit that shutter button. But instead of seeing your image pop up on the big monitor for the client to approve, you’re stuck waiting for an SD card transfer or squinting at the tiny back screen of your camera. That friction kills momentum. It breaks the creative flow. Tethered shooting isn’t just a luxury for high-end fashion shoots; it’s the single best way to speed up your post-production and keep clients happy during the session. The question isn’t whether you should do it-it’s how to set it up so it doesn’t crash halfway through.
Why Bother With Tethering?
Let’s be real about the benefits. When you shoot tethered, images go straight from your camera to your computer via USB or Wi-Fi. This means instant review. You can check focus, exposure, and composition at full size immediately. If something looks off, you fix it before moving to the next pose. No reshoots later. Plus, when working with clients, they see the results instantly. They don’t have to imagine what the photo looks like; they see it. This builds trust and speeds up approval times dramatically. It also protects your data. Since files are written directly to your drive (and often backed up simultaneously), you reduce the risk of losing shots if a memory card fails mid-shoot.
The Hardware Foundation
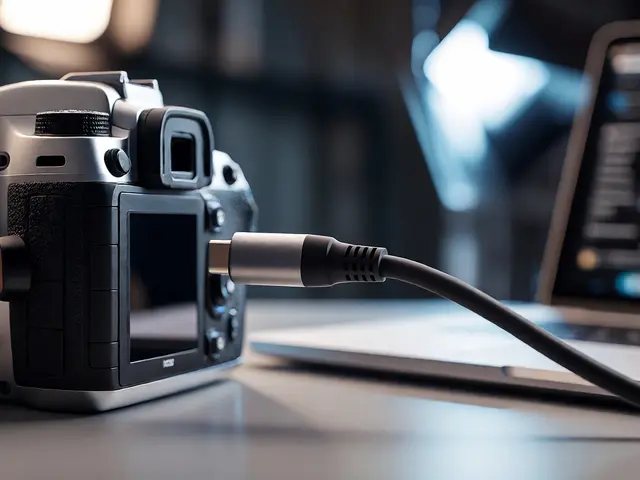
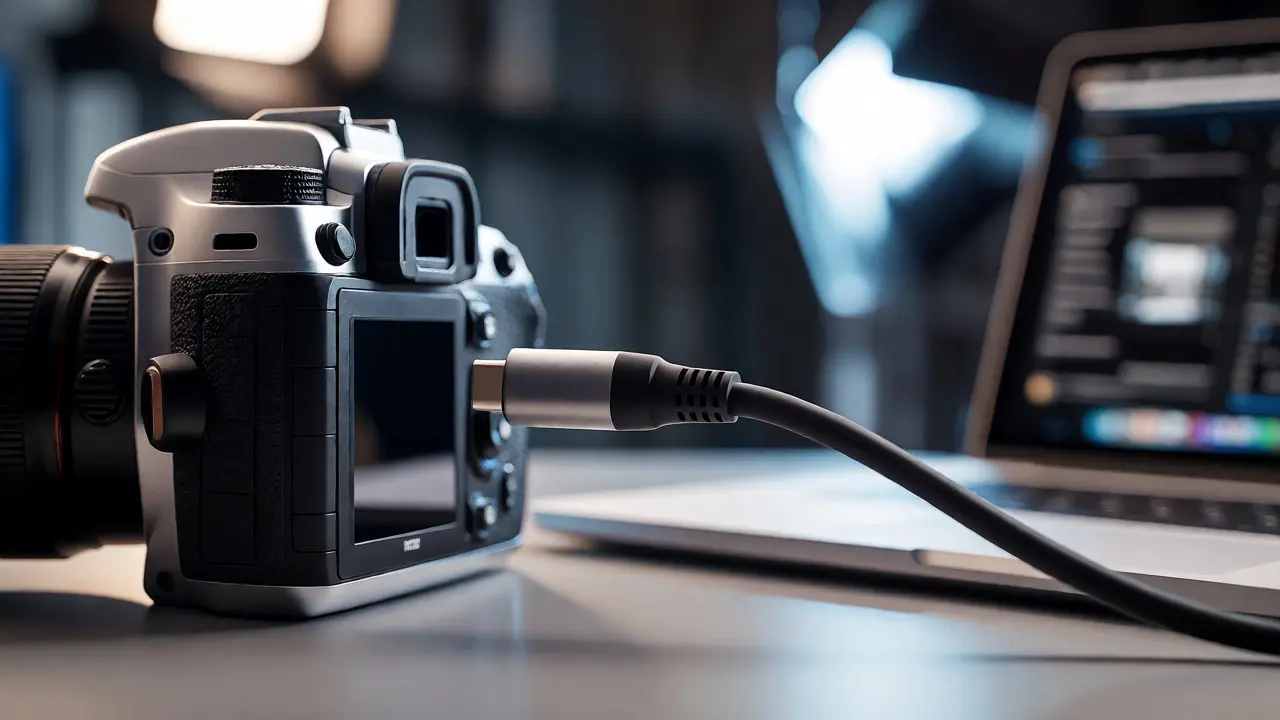
Before you open any software, get your cables right. Most people blame software crashes on bad connections, but usually, it’s the cable. Cheap third-party USB-C or Lightning cables often fail under sustained data transfer loads. Invest in a high-quality, shielded cable from the manufacturer or a reputable brand like ProGrade or OWC. Length matters too. Keep it short-under 10 feet (3 meters) if possible. Longer cables need active signal boosters, which introduce latency and potential dropouts. If you must go longer, use fiber-optic USB cables, not standard copper ones.
Your computer needs to handle the load. Tethering writes large RAW files continuously. A slow hard drive will bottleneck this process. Use an SSD for your capture folder. Ideally, this is a separate drive from your OS and main library. This separation prevents system slowdowns when the disk spikes during burst mode shooting. Also, disable sleep mode on your laptop. There’s nothing worse than watching your screen go dark because your computer decided to nap while you were setting up lights.
Capture One: The Studio Standard
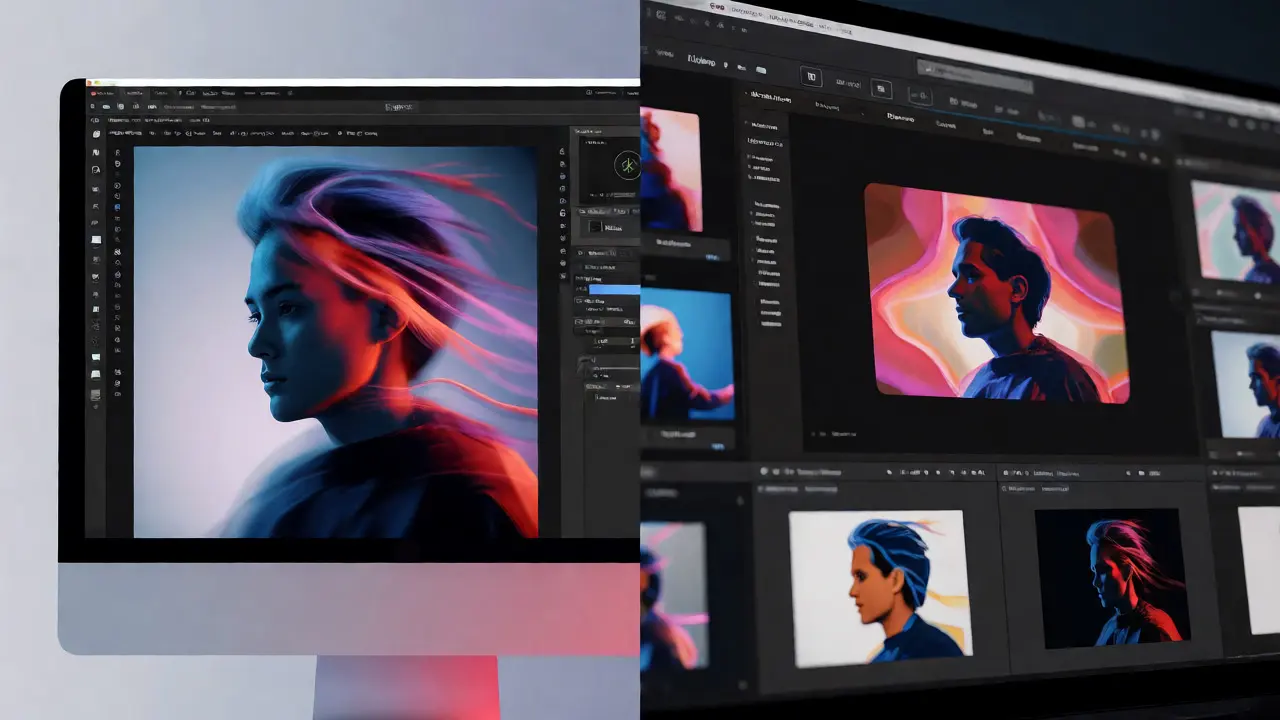
Capture One is widely considered the gold standard for tethered workflows, especially in commercial and portrait photography. Its architecture is built specifically for this task. Unlike general-purpose editors, Capture One manages the live view and file import pipeline more efficiently. To set it up, connect your camera and launch the application. Go to the "Capture" tab and select "Auto Import." Choose your destination folder carefully here. Create a session-based structure rather than using a catalog if you want isolated projects. Sessions are self-contained folders containing images, previews, and adjustments. This makes archiving a specific shoot incredibly easy.
One killer feature in Capture One is its ability to apply styles or presets automatically upon import. You can set it so that every image coming in gets a basic contrast curve or a specific color profile applied instantly. This saves massive amounts of time in post. However, be careful with heavy presets. If your preset requires complex masking calculations, it might slow down the write speed. Stick to global adjustments for live tethering. Save local retouching for after the shoot.
Lightroom Classic: The Accessible Alternative
Lightroom Classic has improved its tethering capabilities significantly in recent years, but it still feels like a bolt-on feature compared to Capture One’s native integration. The biggest hurdle is performance. Lightroom creates previews for every imported image by default. During a fast-paced shoot, generating 1:1 previews for hundreds of images can cause the interface to stutter. To mitigate this, go to Edit > Preferences > General and set "Standard Preview Size" to fit your screen resolution. Do not enable "Build 1:1 Previews" for tethered sessions unless you absolutely need pixel-peeping precision on site.
Another critical tip for Lightroom users: turn off "Write Changes into XMP Sidecars" during the shoot. Writing metadata sidecar files for every shot adds I/O overhead. Let Lightroom manage changes internally in the catalog, then export metadata later. Also, ensure your catalog is stored locally, not on a network drive. Network latency causes timeouts and disconnects. If you’re on Windows, make sure the WIA driver isn’t conflicting with Adobe’s proprietary driver. Uninstall unnecessary camera drivers if you encounter recognition issues.
Capture One vs. Lightroom: Which Should You Use?
Choosing between these two depends on your budget and workflow priorities. Capture One offers superior tethering stability and faster raw rendering, but it comes with a higher price tag and a steeper learning curve. Lightroom is cheaper (subscription-based) and integrates seamlessly if you already live in the Adobe ecosystem. For most hobbyists, Lightroom is sufficient. For professionals doing high-volume studio work, Capture One pays for itself in time saved.
| Feature | Capture One | Lightroom Classic |
|---|---|---|
| Stability | High (dedicated engine) | Moderate (resource-heavy) |
| Live View Latency | Low (<0.5s typical) | Moderate (1-2s typical) |
| Auto-Presets | Native support | Via import settings |
| Cost | Perpetual or Subscription ($24+/mo) | Subscription only ($9.99+/mo) |
| File Structure | Sessions (folder-based) | Catalog (database-based) |
Common Pitfalls and Fixes
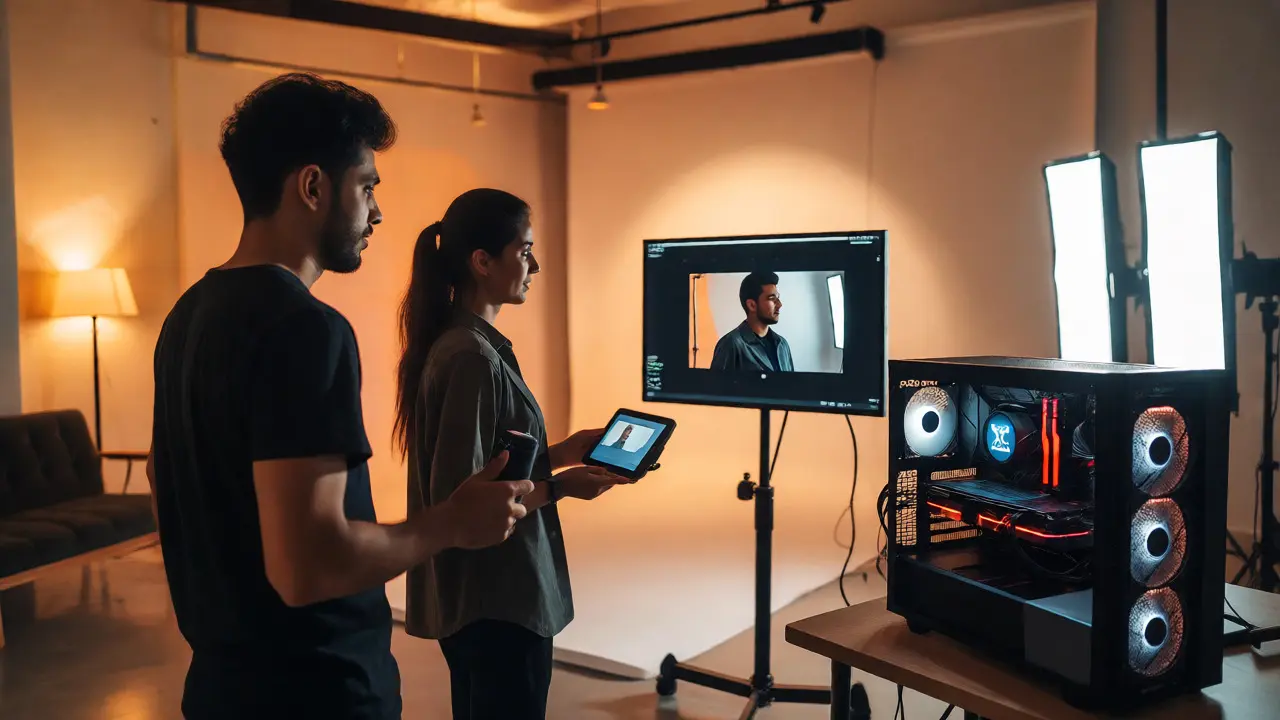
Disconnects are the enemy. If your camera stops responding, check power management settings first. On macOS, disable "App Nap" for your editing software. On Windows, go to Device Manager, find your camera under Portable Devices, right-click Properties, and uncheck "Allow the computer to turn off this device to save power." This simple tweak solves 80% of random disconnect issues.
Another common issue is battery drain. Some cameras draw significant power from the USB port even when turned off, draining your laptop battery rapidly. Use a powered USB hub if you notice your laptop struggling to maintain charge during long sessions. Also, always format cards in-camera before starting. Don’t reuse cards from previous shoots without formatting; residual data can confuse the tethering protocol.
Next Steps for Your Setup
Start small. Try tethering one shoot with your current gear. Note where the bottlenecks are. Is it the cable length? The computer speed? The software lag? Once you identify the weak link, upgrade that component. Consider adding a wireless transmitter if you need mobility away from the desk, though wired remains more reliable for critical focus checks. Remember, the goal isn’t just to move files; it’s to create a seamless feedback loop that lets you focus on the art, not the tech.
Can I tether wirelessly?
Yes, many modern cameras support Wi-Fi tethering via apps like Canon Camera Connect or Nikon SnapBridge. However, wireless tethering is slower and less stable than USB. It’s great for casual reviews or moving around a room, but for professional studio work requiring instant feedback, a physical cable is still recommended due to lower latency and reliability.
Does tethering damage my camera sensor?
No, tethering does not damage your sensor. The sensor captures light regardless of where the data goes. However, keeping the camera plugged in for extended periods can generate heat. Ensure your camera has adequate ventilation and avoid covering vents with blankets or clothing during long shoots.
What happens if my computer crashes during a shoot?
Most cameras continue writing to the memory card even if the connection to the computer drops. So, you won’t lose the images captured during the crash. Once the computer restarts, reconnect the cable. The software may prompt you to import remaining files from the card. Always keep the memory card in until you’ve verified all files are safely on your drive.
Is Capture One better than Lightroom for tethering?
Generally, yes. Capture One was designed with tethering as a core feature, offering faster response times, more stable connections, and better handling of large batches of images. Lightroom is capable but can suffer from lag and occasional disconnects, especially on older hardware. If tethering is a daily part of your job, Capture One is usually worth the extra cost.
Do I need a specific USB hub?
Not necessarily, but a powered USB hub is highly recommended if you’re connecting multiple devices (camera, external drive, mouse). Unpowered hubs split bandwidth and power, which can lead to inconsistent transfers. Look for hubs with individual power switches for each port to easily reset connections if needed.