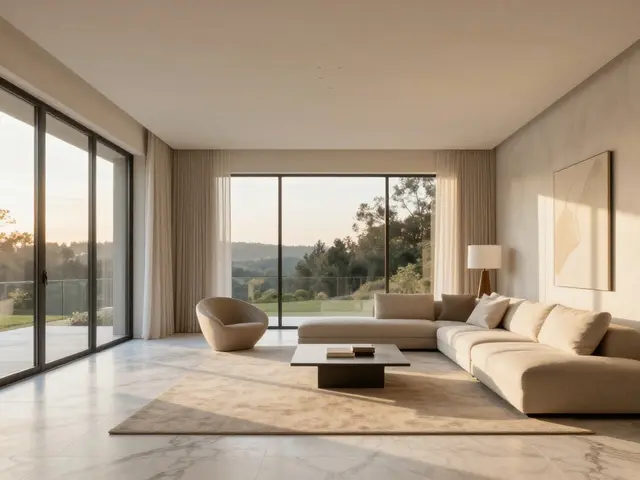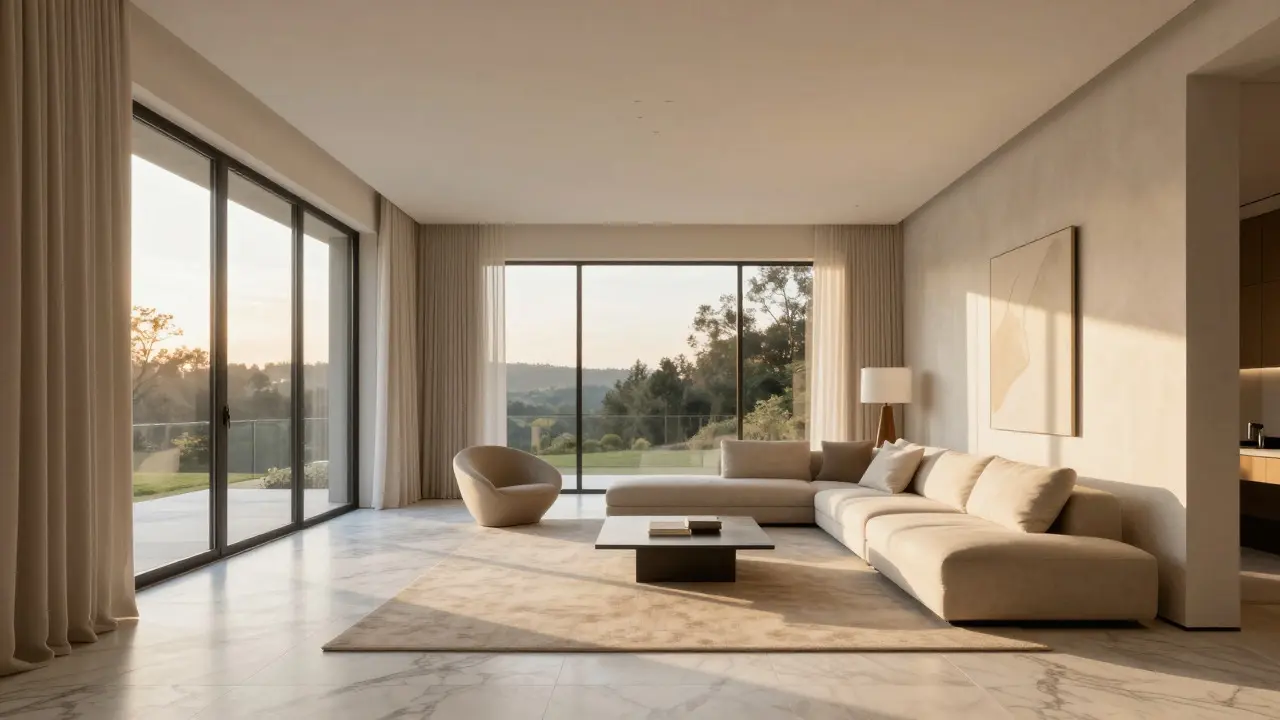
Imagine scrolling through a listing of a $10 million waterfront villa. The first image shows a cluttered living room with harsh shadows and a washed-out sky. You close the tab within seconds. Now imagine the same property, but the photos reveal sweeping views, curated minimalist decor, and natural light that feels like it’s pouring in from every angle. That is the power of luxury real estate photography. It isn’t just about taking pictures; it’s about crafting a visual narrative that justifies a premium price tag before a buyer even steps foot inside.
In the high-end market, buyers are not just looking for square footage. They are buying a lifestyle. Your images need to communicate exclusivity, craftsmanship, and tranquility. If your photos look like they belong in a mid-range apartment complex, you risk losing serious offers to competitors who understand the subtle art of premium presentation.
The Psychology of Luxury Imagery
Luxury is subjective, but visually, it follows specific patterns. In standard residential photography, the goal is often to show space and utility. In luxury photography, the goal is to evoke emotion and aspiration. Buyers at this level are accustomed to high-quality design. They notice details that average buyers might miss. A crooked picture frame or a dust bunny on a marble floor can signal neglect, which is a red flag in a $5 million home.
Color grading plays a massive role here. Unlike commercial advertising where saturation might be cranked up to pop, luxury interiors benefit from balanced, neutral tones. You want the materials to look authentic. Wood should look like wood, stone should look cool and solid, and fabrics should feel soft. Over-editing creates a fake, plastic look that cheapens the property. Aim for a clean, airy aesthetic that allows the architecture to breathe.
Mastering Natural Light and Timing
Light is the most expensive tool in your kit, yet it costs nothing if you use it correctly. For luxury homes, natural light is non-negotiable. Artificial lighting, no matter how professional, rarely captures the depth and warmth of sunlight. However, timing is everything. Shooting during the "golden hour"-the first hour after sunrise or the last hour before sunset-provides soft, directional light that flatters almost any interior.
But what happens when the sun hits a west-facing window at 4 PM? Harsh shadows and blown-out highlights can ruin a shot. This is where understanding the sun’s path becomes critical. Before you shoot, check the compass direction of each room. If a room gets direct sun at noon, you might need to wait until late afternoon or early morning to capture it without overexposure. Using a graduated neutral density filter can help balance the exposure between bright windows and darker corners, preserving detail in both areas.
Staging and Decluttering: The Art of Subtraction
"Less is more" is the golden rule of luxury staging. In a standard home, you might leave a few personal items to make it feel lived-in. In a luxury home, you strip it back to the essentials. Think of it as museum curation. Every object must have a purpose. A single high-end vase on a console table looks intentional. Five knick-knacks look messy.
- Remove all personal items: Family photos, trophies, and religious symbols distract from the space itself.
- Standardize colors: Use white linens, neutral pillows, and clear glassware. This creates a cohesive palette that lets the architecture shine.
- Hide appliances: Even high-end kitchens can look busy with dishwashers full or coffee makers on counters. Clear the counters completely.
- Fix small imperfections: Tighten loose cabinet handles, replace burnt-out bulbs, and ensure blinds are aligned perfectly.
Staging isn’t just about adding furniture; it’s about removing distractions. If a room feels empty, add one statement piece-a large abstract painting or a sculptural chair. But never fill a room just because it feels void. Negative space is a feature of luxury design, not a bug.
Technical Execution: Gear and Settings
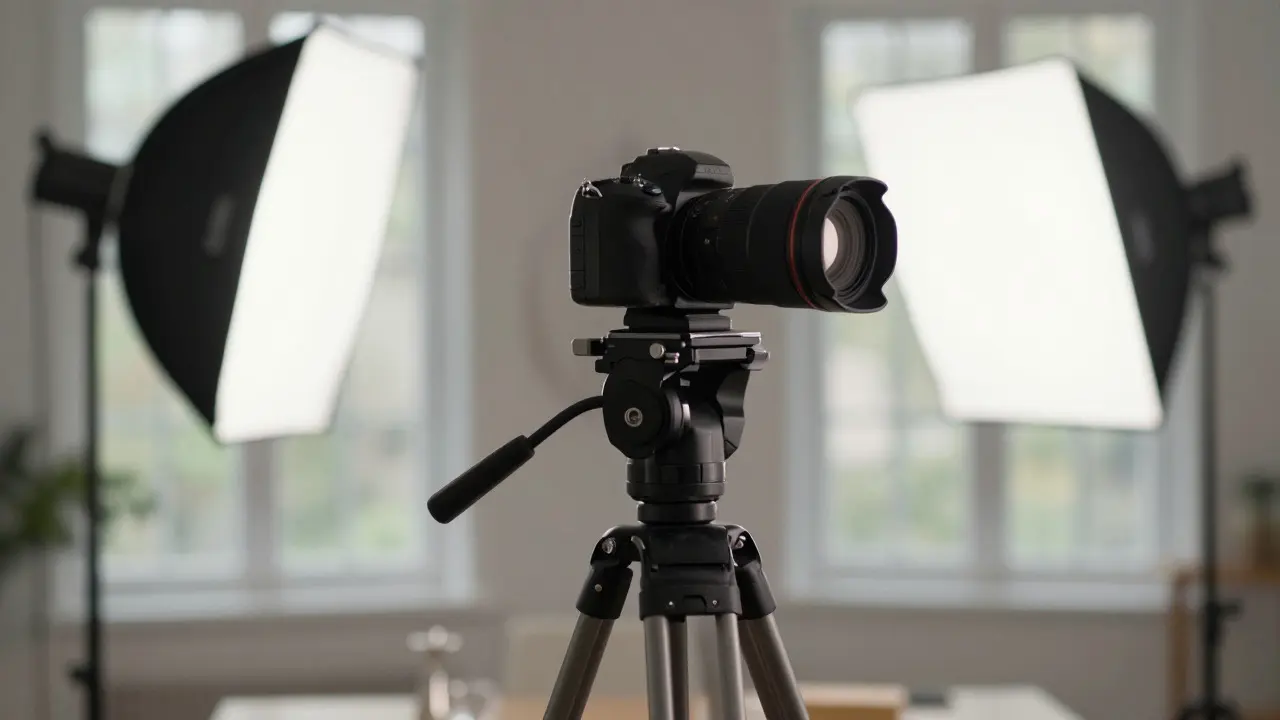
You don’t need the most expensive camera in the world, but you do need control. A full-frame mirrorless or DSLR body paired with a wide-angle lens (typically 16mm to 24mm) is the standard setup. However, lens choice matters more than sensor size. A good 16mm lens has less distortion than a cheap 14mm. Distortion makes vertical lines bow outward, making rooms look warped and unprofessional. Always keep your camera level using a tripod and a bubble level.
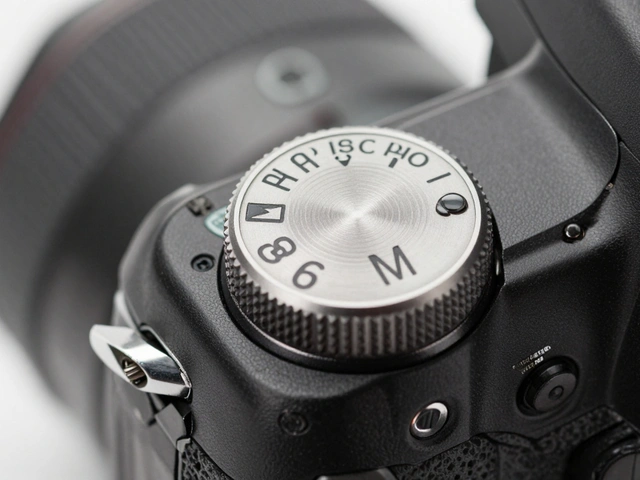
When shooting interiors, aperture priority mode can be tricky because you need deep depth of field to keep the entire room sharp. Usually, an f/8 or f/11 setting works well. But watch out for diffraction at higher apertures; f/16 can soften the image. ISO should stay as low as possible (ISO 100-400) to maintain image quality. Shutter speed will vary based on light conditions, but since you’re on a tripod, you can afford slower speeds without motion blur.
| Element | Standard Residential | Luxury Property |
|---|---|---|
| Staging Density | Moderate, lived-in feel | Minimalist, curated, museum-like |
| Color Grading | Bright, saturated, warm | Neutral, balanced, true-to-life |
| Lens Choice | Ultra-wide (14-16mm) | Controlled wide (16-24mm) with minimal distortion |
| Viewpoint | Eye-level or slightly low | Elevated (3-4 feet) for architectural context |
| Editing Focus | Exposure correction, white balance | Perspective correction, color harmony, texture enhancement |
Composition: Leading Lines and Perspective
Composition in luxury photography is about guiding the viewer’s eye. Use leading lines-hallways, staircases, long tables-to draw attention toward the focal point of the room. Avoid cutting off important architectural elements like doorframes or columns. Rule of thirds is still useful, but in wide-angle shots, centering key features often works better to emphasize symmetry and balance.
One common mistake is shooting from too low an angle. This exaggerates the height of ceilings but distorts the floor, making it look larger than it is. Instead, hold your camera at about 3 to 4 feet off the ground. This perspective mimics human eye level while keeping vertical lines straight. It also allows you to include more of the ceiling and upper walls, which adds a sense of grandeur to the space.
Post-Production: Enhancing Without Exaggerating
Raw files are flat by design. Post-production is where you bring the image to life. Start with global adjustments: correct white balance, adjust exposure, and fix contrast. Then move to local adjustments. Dodge and burn techniques can subtly highlight textures in wood or stone. Increase clarity slightly to bring out details in fabric or leather, but don’t overdo it or the image will look gritty.
Sky replacement is controversial. In some markets, it’s expected; in others, it’s seen as deceptive. If you replace a gray sky with a blue one, make sure the transition is seamless. Match the color temperature of the new sky to the interior lighting. A mismatched sky can make the whole photo look amateurish. Alternatively, use a polarizing filter on location to deepen the blue naturally, reducing the need for heavy editing later.
Common Pitfalls to Avoid
Even experienced photographers make mistakes in the luxury sector. Here are the top three to watch out for:
- Ignoring Reflections: Large windows and mirrors reflect the photographer, the tripod, and sometimes the clutter you thought you hid. Check every reflection before clicking the shutter. Move around the room to find angles that eliminate unwanted reflections.
- Over-Correcting Distortion: While straightening vertical lines is essential, over-correcting can make rooms look boxy and unnatural. Use software tools carefully and zoom in to check for warping.
- Neglecting the Exterior: The curb shot sets the tone. Ensure the lawn is mowed, the driveway is swept, and the house number is visible. A dirty exterior contradicts the pristine interior.
Frequently Asked Questions
What is the best time of day for luxury real estate photography?
The best times are typically early morning (shortly after sunrise) or late afternoon (before sunset). These periods offer soft, directional light that minimizes harsh shadows and provides a warm, inviting atmosphere. Midday sun can create high contrast and blown-out highlights, especially in rooms with large windows.
Do I need HDR for luxury interiors?
HDR can be useful for balancing bright windows and dark interiors, but it is not always necessary. Modern cameras have excellent dynamic range. Often, a single RAW file combined with careful post-processing yields more natural results than an HDR blend, which can sometimes look artificial if not done correctly. Use HDR only when the dynamic range exceeds your camera’s capabilities.
How many photos should a luxury listing include?
There is no fixed number, but quality over quantity is key. Typically, 15 to 25 high-quality images cover the main living areas, kitchen, primary suite, bathrooms, and unique features. Include 2-3 exterior shots and 1-2 aerial/drone shots if permitted. Avoid repetitive angles of similar spaces unless there is a distinct difference in view or layout.
Should I use flash in luxury real estate photography?
Generally, no. Flash tends to flatten the scene and create harsh reflections on glossy surfaces. Natural light is preferred for its depth and warmth. If you must use flash due to poor lighting conditions, use it as a fill light with a softbox to mimic natural diffusion. Avoid direct flash, which creates hard shadows and an unflattering look.
How important is drone photography for luxury homes?
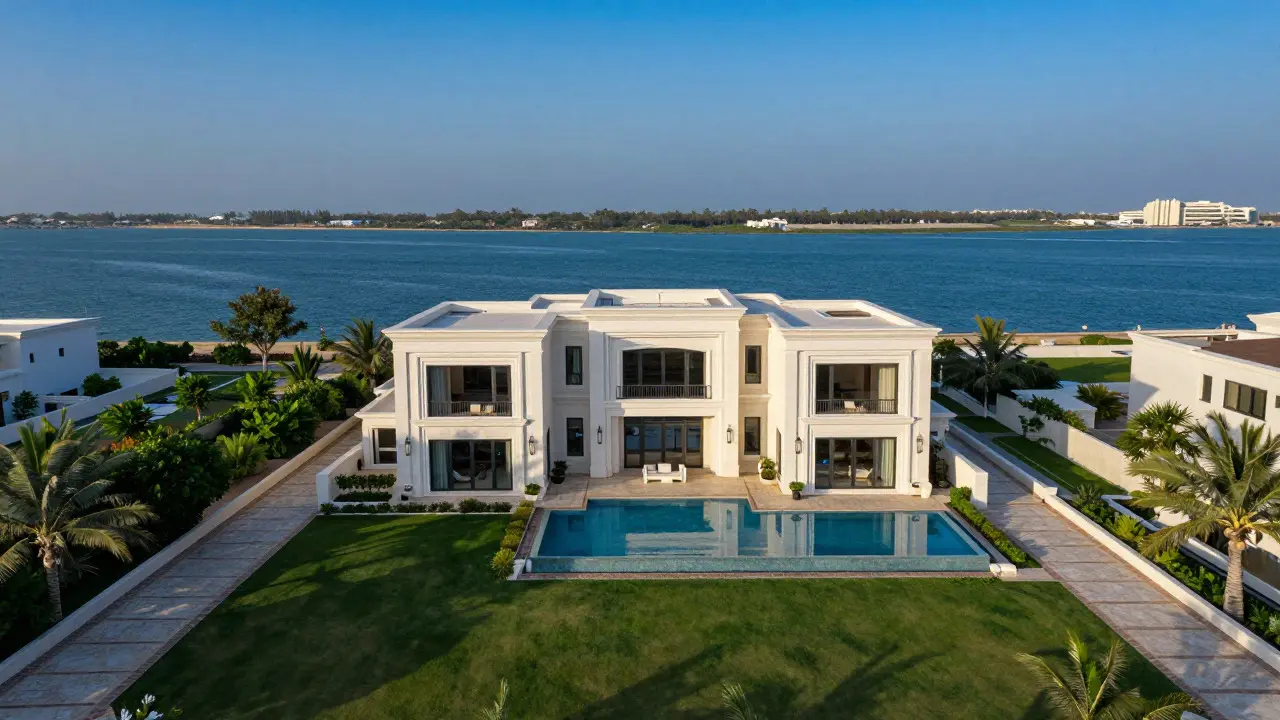
Drone photography is highly valuable for showing scale, location, and surrounding amenities like pools, gardens, or waterfront access. It provides context that ground-level shots cannot. However, ensure you have proper FAA certification (Part 107 in the US) and permission from the homeowners. A well-composed aerial shot can significantly increase engagement and perceived value.