When you point your camera at a snowy landscape, your camera doesn’t see what you see. It sees a bright, reflective field that tricks its meter into thinking the scene is overexposed. The result? Gray, lifeless snow. No texture. No depth. Just flat, dull white. And if you leave white balance on auto, your snow might turn blue, yellow, or even grayish - completely losing the crisp, cool tone that makes winter landscapes magical.
Why Snow Lies to Your Camera
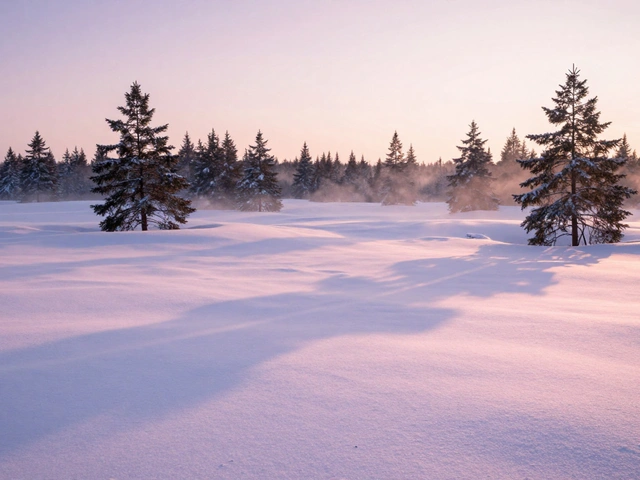
Snow reflects nearly 90% of the light that hits it. That’s why it looks so bright to your eyes. But your camera’s metering system is designed for average scenes - not blinding white expanses. When the meter sees all that brightness, it tries to bring the exposure down to what it thinks is “normal.” That means it underexposes the scene. The snow turns gray. Shadows vanish. Rocks and trees become muddy blobs. You end up with a photo that looks nothing like the scene you stood in.White balance is even trickier. Snow doesn’t have a fixed color. It picks up the tone of the light around it. Under a clear blue sky, it looks cool and crisp. At sunrise, it glows pink. In overcast conditions, it turns gray. If your camera’s white balance guesses wrong - and it often does - you lose those subtle shifts that give your photo depth and mood.
Set White Balance Right: Daylight or Shade?
Forget Auto White Balance when shooting snow. It’s the #1 reason photos look unnatural. Instead, start with Daylight white balance. This setting assumes the light is around 5200K - the color temperature of direct sunlight. On a bright, clear day, this gives you neutral, clean whites. No blue. No yellow. Just accurate snow.But what if you’re shooting in the shade? Or under heavy clouds? That’s where Shade white balance shines. It adds a touch of warmth (around 7000K) to counteract the natural blue cast of shaded snow. This doesn’t make the snow look warm - it makes it look natural. The blue tones stay, but they’re balanced. You get more separation between snow, shadows, and sky.
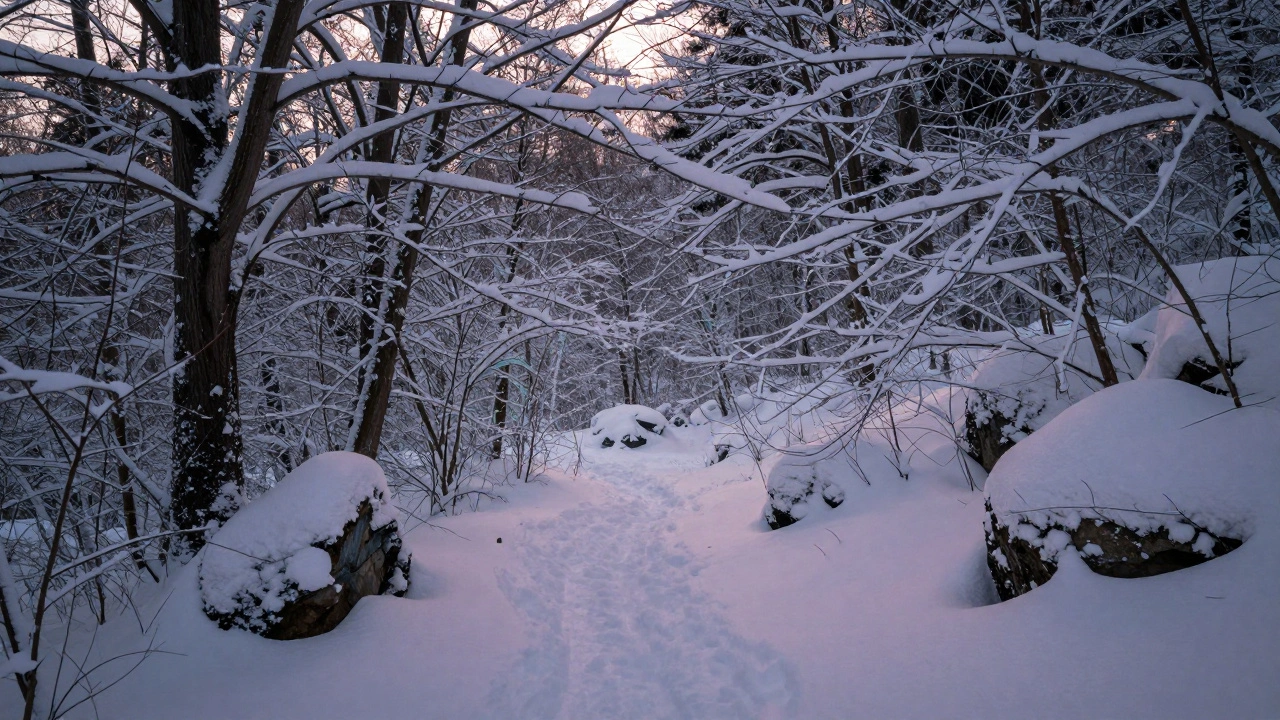
Pro tip: If you’re shooting at sunrise or sunset and the sky has pink or purple tones, stick with Daylight. If you crank the white balance too warm to “fix” the blue, you’ll kill those delicate colors. The goal isn’t to remove color - it’s to preserve it.
Shoot in RAW - Always
If you’re not shooting in RAW, you’re leaving control on the table. JPEGs lock in white balance and exposure at the moment you take the shot. No room to fix mistakes. RAW files, on the other hand, record all the color and brightness data your sensor sees. That means you can adjust white balance later - without losing quality.In post-processing, open your RAW file in software like Affinity Photo 2.0. Use the White Balance Picker tool. Click on an area of snow that should be pure white - not shadowed, not blown out. The software recalculates the entire image based on that reference. You’ll instantly see shadows regain detail and colors snap back into place.
Don’t overdo it. A slight tweak is all you need. If you push the temperature slider all the way to +100, you’ll end up with orange snow. That’s not natural. That’s wrong. Aim for subtlety. Snow should feel cold, not warm.
Exposure: Expose to the Right
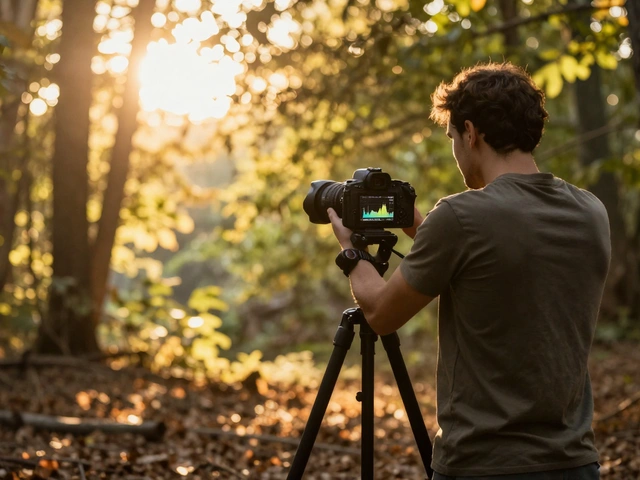
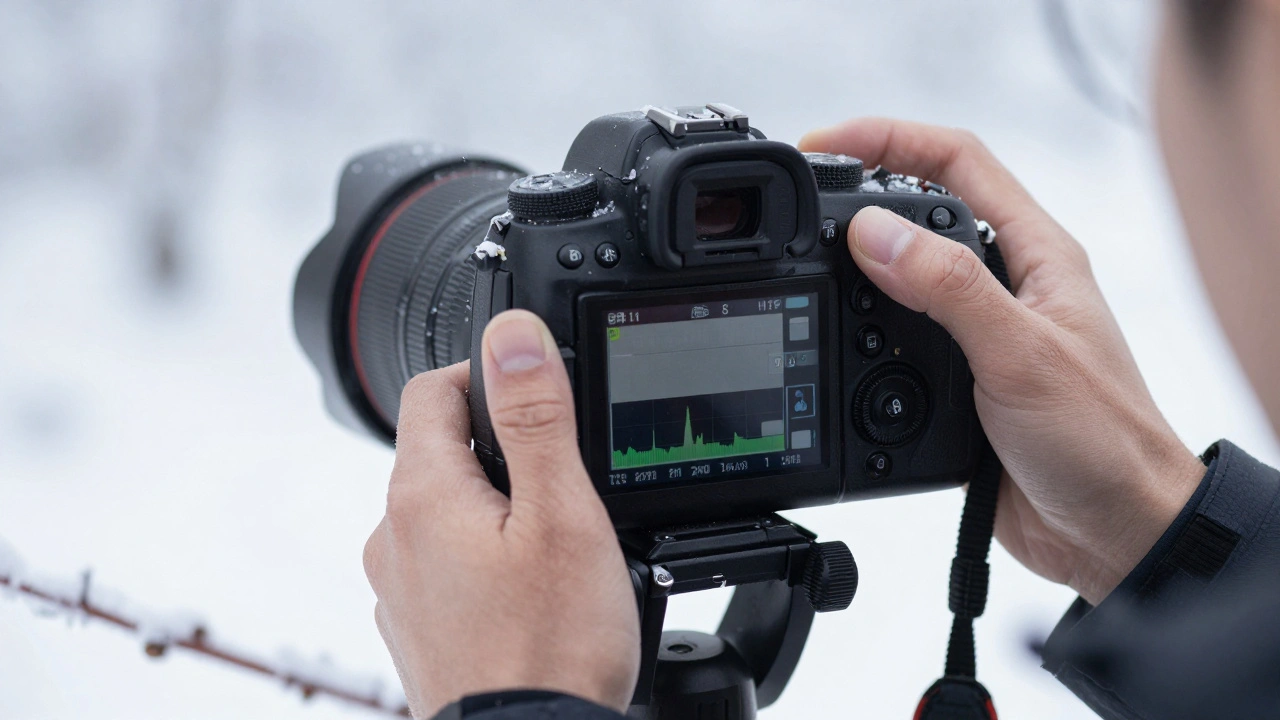
The histogram is your best friend in snow photography. Forget what the LCD screen tells you. It’s often too bright or too dark to trust. Look at the histogram instead.Here’s the rule: Expose as close to the right as possible without clipping. That means you want the histogram’s data to hug the right edge - but not spill over. If the right side is cut off, you’ve lost highlight detail. Snow becomes pure white with no texture. You can’t recover that.
Use spot metering or highlight priority mode if your camera has it. Point the meter at the brightest part of the snow, not the whole scene. Then, add +1 to +2 stops of exposure compensation. This tells the camera: “I know this is bright. Don’t underexpose it.”
Test it. Take three shots: one at +0, one at +1, one at +2. Check the histogram on each. The one where the snow data sits just before the right edge? That’s your keeper.
Falling Snow? Use Long Exposure
Falling snowflakes are tiny, fast-moving objects. If you shoot them with a normal shutter speed, they’ll look like frozen dots - distracting, not beautiful. To make them look like soft streaks, use a slow shutter speed.Set your camera to shutter priority or manual mode. Try 1/4 to 1/2 second. Use a tripod. The snowflakes will blur into gentle motion trails, giving your photo a sense of movement and quiet energy.
But here’s the catch: longer exposures mean more light. And snow is already bright. That’s where a neutral density (ND) filter helps. A 10-stop ND filter cuts light dramatically, letting you use slow shutter speeds even in bright daylight. You can get silky snow streaks without blowing out the highlights.
Color Tweaks in Post: Go Beyond White Balance
After fixing white balance and exposure, go deeper. Use a Color Balance Adjustment Layer. To make the snow feel colder, nudge the Cyan/Red slider slightly to the left and the Yellow/Blue slider to the right. You’re not adding blue - you’re reducing warmth. The snow stays white, but it feels crisp, not dull.Use a Selective Color adjustment to target Neutrals and Whites. Reduce the magenta and yellow slightly. Add a touch of cyan. This enhances the natural coolness without making the snow look artificial.
Don’t forget shadows. Snow isn’t just bright - it has depth. Lift the shadows just a bit to reveal texture in trees, rocks, and branches. This creates dimension. Without it, your image looks flat.
Focus in Snow: Manual Is Your Friend
Auto-focus struggles in snow. White on white confuses the contrast-detection system. You’ll get hunting, missed focus, or blurry foregrounds.Switch to manual focus. Pick a point - maybe a rock, a branch, or a patch of dark bark. Focus there. Then take multiple shots: one focused on the foreground, one on the middle ground, one on the background. Blend them later in post-processing using focus stacking. This gives you razor-sharp detail from front to back.
Or, if you’re shooting wide open (f/2.8 or lower), use hyperfocal distance. Focus about one-third into the scene. That keeps both near and far elements acceptably sharp.
Final Rule: Preserve the Light
The most important thing in snowy landscape photography isn’t the settings. It’s the light. Snow doesn’t just reflect light - it transforms it. A sunrise over snow isn’t just bright - it’s glowing. A stormy sky isn’t gray - it’s moody, layered, and alive.Don’t try to “correct” every color. Don’t remove every hint of blue. Don’t over-warm the scene to make it “look nice.” Snow photography isn’t about perfection. It’s about truth. Let the light speak. Your job is to capture it - not fix it.
Use Daylight white balance. Expose for the highlights. Shoot RAW. Use a tripod. Take multiple exposures. Edit with care. And above all - trust your eyes. If it looks right to you, it probably is.