Photography filters aren’t just accessories-they’re optical components that directly affect image quality. A dusty, smudged, or oxidized filter can ruin sharpness, introduce flare, or even change color balance. Yet most photographers treat them like disposable items, cleaning them roughly or ignoring them until problems show up in their photos. The truth? Proper filter care is one of the simplest ways to protect your gear and keep your images sharp, clear, and consistent.
Why Filter Maintenance Matters
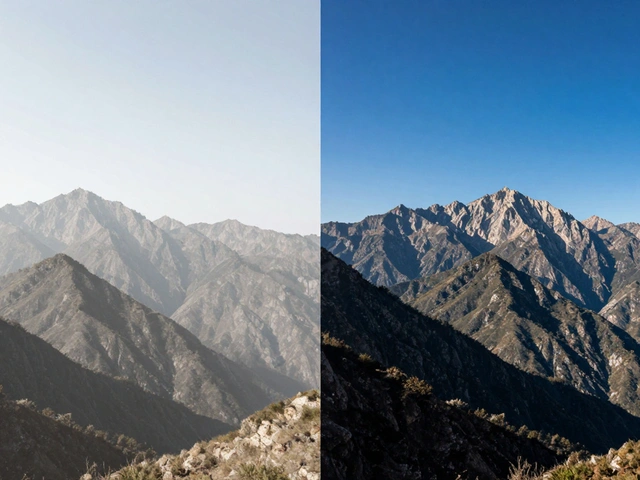
Your lens filter sits right in front of the glass elements that focus light onto your sensor. That means every fingerprint, grain of sand, or drop of saltwater that lands on it doesn’t just sit there-it interferes with the light path. Over time, oxidation, sticky residues from pollen or ocean spray, or even cleaning too aggressively can degrade the filter’s coating or surface. This isn’t just about looks. It’s about performance. A degraded filter can cause color shifts, reduced contrast, or ghosting in backlit scenes. And if you’re shooting UV or infrared photography, even minor surface damage can throw off your entire exposure.When to Clean Your Filters
Don’t clean your filters every time you take them out. That’s the biggest mistake. Every wipe carries a tiny risk of scratching the surface, especially if dust is still stuck on it. Instead, follow this rule: clean only when you see a problem. If your images look hazy, or you notice smudges when you hold the filter up to the light, then it’s time. For most shooters, that means cleaning every 3 to 6 months. But if you shoot at the beach, in dusty deserts, or in humid rainforests, you might need to check every month.How to Clean Different Types of Filters
Not all filters are the same. Cleaning a UV filter is different from cleaning a dichroic filter, and both are different from an uncoated blue filter used in UV photography. Here’s how to handle each:Uncoated Filters (Especially Blue and Blue-Green)
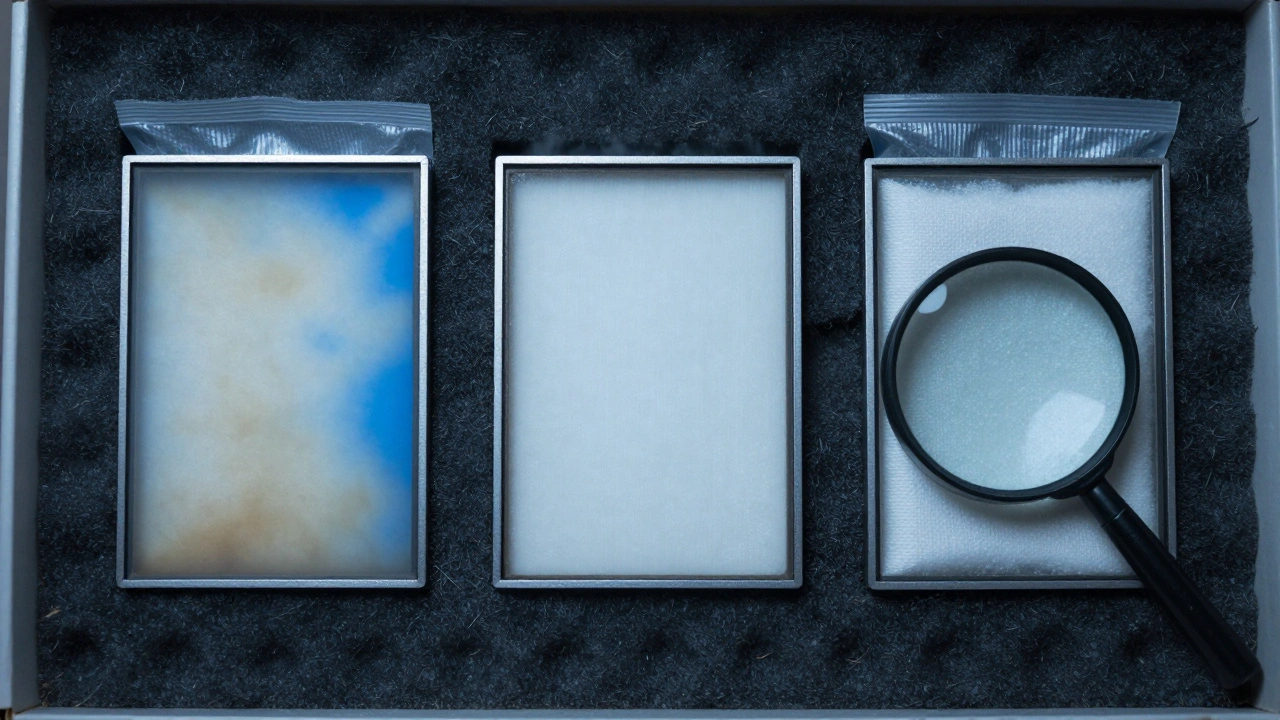
These are common in scientific and UV photography. They’re more vulnerable to oxidation, especially if stored for long periods. If you see a cloudy, hazy film on the surface-especially after months in a sealed case-it’s likely oxidation. You have two options:- Hydrogen peroxide bath: Soak the filter overnight in 3% hydrogen peroxide. Then rinse thoroughly with distilled water and let it air dry flat on a lint-free cloth. This works well for flat, single-piece filters.
- Cerium oxide paste: Apply a tiny dab to a soft cotton cloth and polish gently in small circles. This is the best method if your filter is glued together (stacked), because it doesn’t risk seeping into the bond. After polishing, wipe off the paste with a dry microfiber cloth-no rinsing needed.
Coated Filters (UV, CPL, ND, etc.)
Most consumer filters have anti-reflective coatings. These are delicate. Never use hydrogen peroxide, Windex, or soap here. Even isopropyl alcohol can damage some coatings over time. Instead:- Use a dedicated filter cleaner like Formula MC a multi-coated filter and lens cleaner developed for professional photographers. It removes fingerprints, pollen, and sticky residues without harming coatings.
- If you don’t have that, use reagent-grade isopropyl alcohol (90% or higher) with a drop of de-ionized water. Avoid tap water-it leaves mineral streaks.
- Never use paper towels, tissues, or old T-shirts. They scratch.
Dichroic Filters
These are used for color separation in scientific, studio, or infrared work. They can be tricky because some have hard coatings, others don’t. If you’re not sure, treat them like coated filters. Some photographers report success with isopropyl alcohol or even mild soap, but that’s risky. Stick to dry methods first: use a blower, then a clean microfiber cloth. If you must wet clean, use a drop of Formula MC and a single-use lens tissue.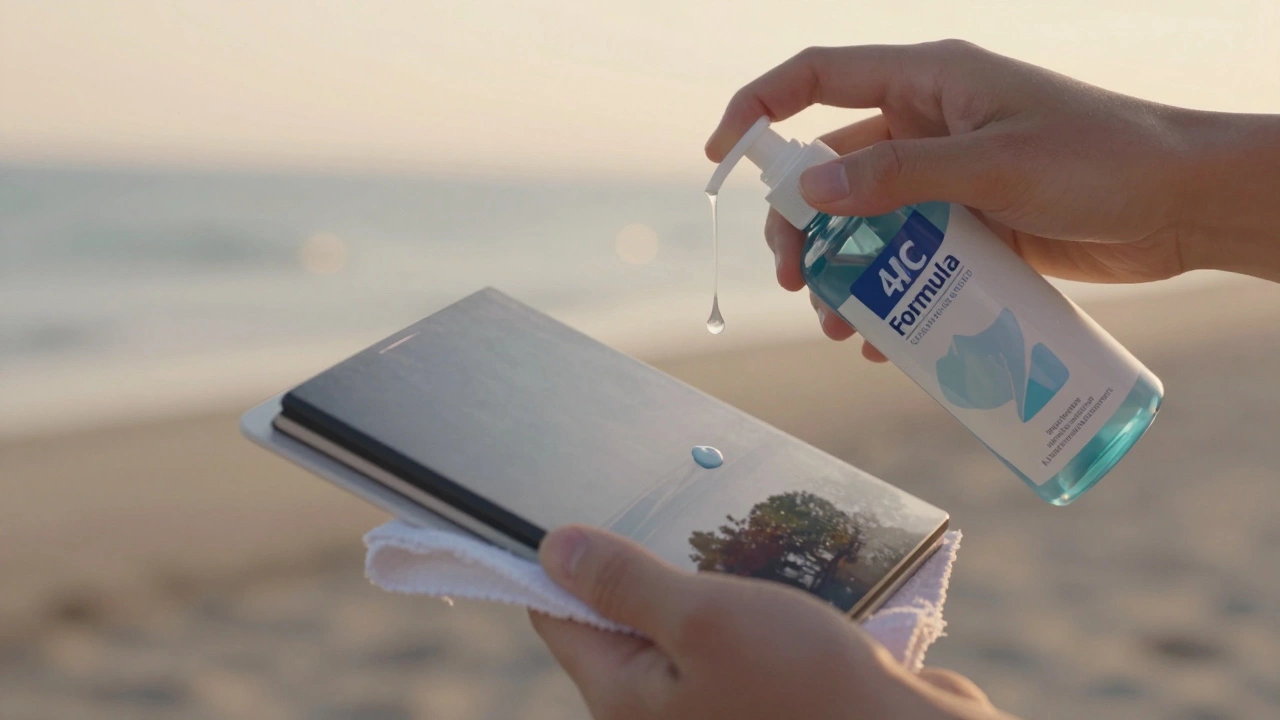
The Three-Step Cleaning Process
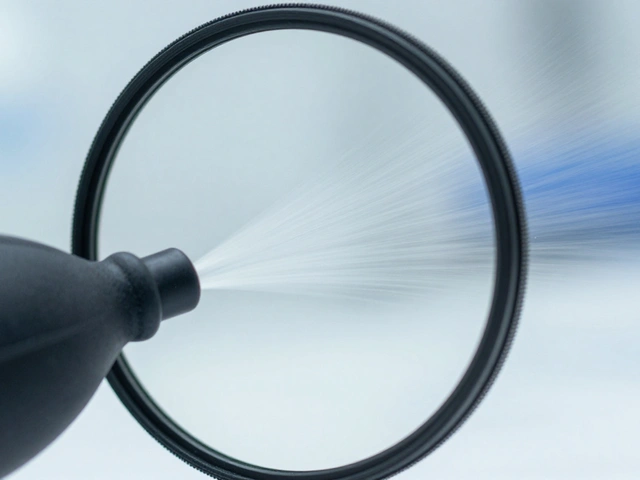
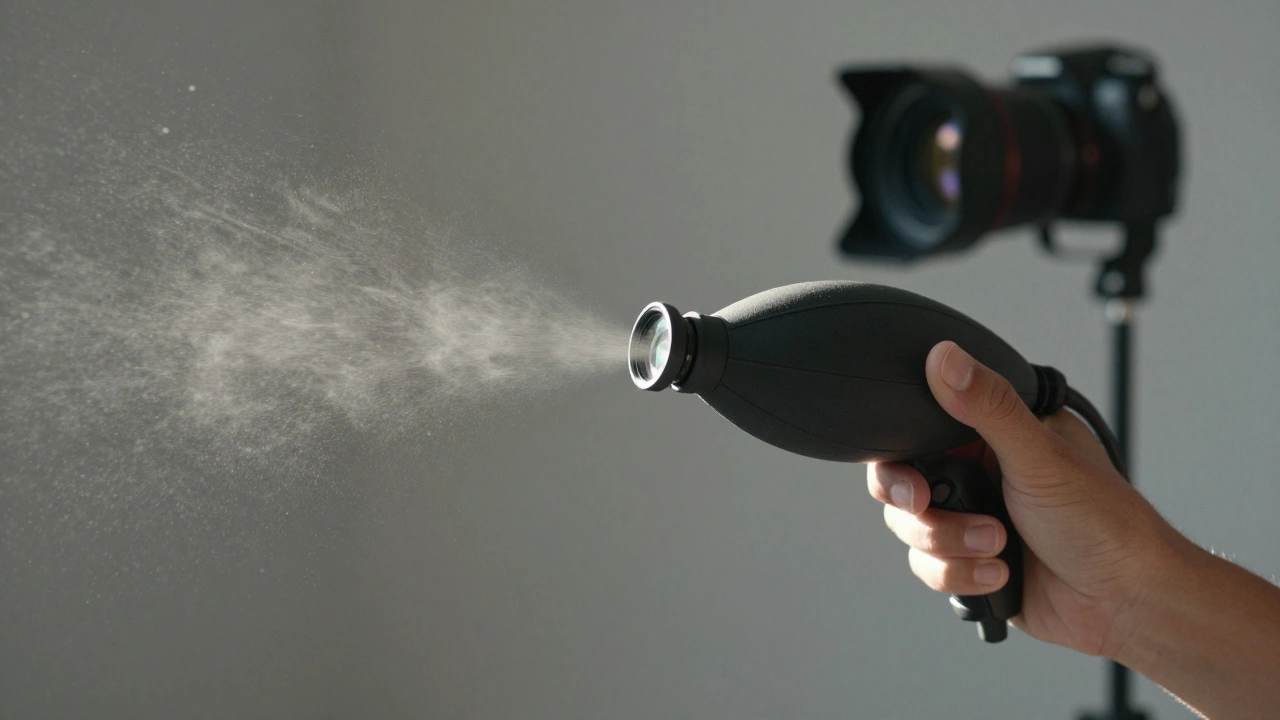
No matter what filter you’re cleaning, follow this sequence. Skipping steps causes scratches.- Remove dust first: Use a rocket blower a handheld air blower designed for camera equipment. Don’t use a brush yet. Dust particles are harder than glass. If you rub them with a cloth, you’ll scratch the surface. Blow gently from a few inches away.
- Apply cleaner to cloth, not filter: Put 2-3 drops of cleaner on a lens tissue or microfiber cloth. Never spray directly on the filter. Wetting the surface can let liquid seep into edges or mounts.
- Clean in circles, from center out: Gently wipe in concentric circles, starting at the center and moving outward. This pushes debris away from the optical center where image quality matters most. Use light pressure-no scrubbing. Finish with a dry section of the cloth or a fresh lens tissue to remove any streaks.
Protecting Filters Before They Get Dirty
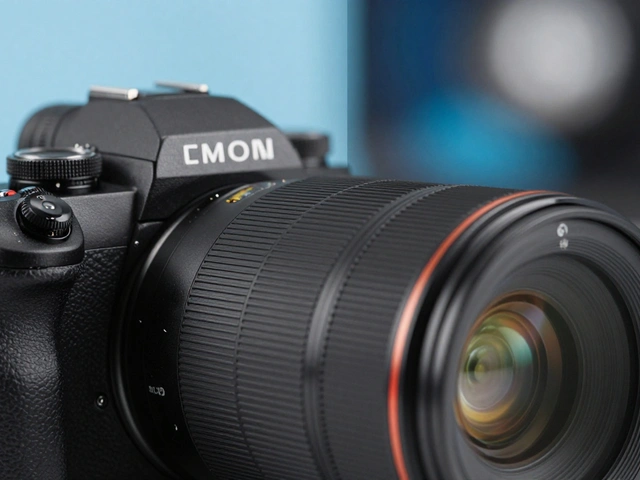
The best cleaning is no cleaning. That’s why many pros leave a UV filter on their lens all the time. It’s cheap insurance. A $20 UV filter takes the abuse so your $1,200 lens doesn’t have to. Just make sure you clean the UV filter regularly using the same method above. Also:- Store filters in hard cases with foam inserts-not loose in a bag.
- Keep them away from salt air. If you shoot near the ocean, rinse your filters with fresh water after use, then dry them completely before storing.
- Never touch the glass with your fingers. Use gloves or handle only by the edges.
- If you use a filter holder system (like for ND grads), clean the metal rails and contacts every few months with a dry microfiber cloth. Use a separate cloth for metal parts-metal dust can transfer to glass.
What NOT to Use
Some things you might think are safe are actually dangerous:- Windex: Contains ammonia. It strips coatings over time.
- Household cleaners: Even "glass cleaner" can leave oily residues.
- Microfiber cloths treated with fabric softener: Softener leaves a film that causes streaks. Wash your cloths with unscented detergent only.
- Tap water: Minerals leave spots. Use distilled or de-ionized water if rinsing.
- Old or dirty cloths: Reusing a cloth without washing it is like sanding your filter with fine grit.
Special Cases: Beach, Salt, and Alcohol Exposure
If you shoot at the coast or use alcohol-based solutions (like for infrared work), salt and alcohol residue can eat through coatings. After exposure:- Dampen a microfiber cloth with fresh water and gently wipe the filter surface.
- Let it air dry completely before storing.
- Check for white residue. If you see it, use a drop of Formula MC and a lens tissue.
Don’t wait for haze to appear. Salt damage starts invisible and gets worse with time.
Filter Storage: The Silent Killer
A filter left in a drawer, in a camera bag, or even in a sealed case can still degrade. Oxidation doesn’t need air-it can happen in vacuum-sealed boxes. Uncoated blue filters, in particular, show signs after just one year of storage. To prevent this:- Store filters in a dry, cool place. A dehumidifier box in your gear closet helps.
- Use silica gel packs in your filter case. Replace them every 6 months.
- Label your cases with dates. If a filter hasn’t been used in over a year, inspect it before use.
Final Rule: Less Cleaning = Longer Life
Every time you touch a filter, you risk damage. Even the gentlest cleaning with the best tools can wear down coatings over hundreds of uses. That’s why the smartest photographers clean as little as possible. Use lens hoods. Keep caps on. Store filters properly. And only clean when you *know* it’s dirty-not just because it looks a little dusty.Filters last decades if treated right. But they can be ruined in a single careless wipe. Treat them like the precision optics they are. Your images will thank you.
Can I use alcohol to clean my lens filter?
Only if it’s a coated filter and you use reagent-grade isopropyl alcohol (90% or higher). Never use rubbing alcohol from the drugstore-it has additives that can damage coatings. For uncoated filters, alcohol won’t remove oxidation, and it’s not recommended as a first choice. Always test on a small area first.
Should I leave a UV filter on my lens all the time?
Yes, if you want to protect your lens. A UV filter is inexpensive compared to lens repairs. Just make sure you clean it regularly and use a high-quality one with multi-coating. Cheap filters can cause flare or reduce sharpness, so don’t go for the cheapest option.
How often should I replace my cleaning cloths?
Microfiber cloths last for years if washed properly-use unscented detergent and no fabric softener. But lens tissue should be discarded after one use. Reusing it can transfer dirt back onto your filter. Keep at least three clean cloths on hand and rotate them.
Can I clean a filter while it’s still on the lens?
Yes, if you’re careful. Use a blower first to remove dust, then a slightly damp microfiber cloth with gentle circular motions. Avoid pressing hard or letting liquid drip down into the lens mount. But removing the filter gives you better access and reduces risk.
What’s the best way to store filters long-term?
Store them in hard cases with individual foam slots. Keep them away from humidity. Add silica gel packs and check them every 6 months. Avoid plastic bags-they trap moisture. If you’re storing uncoated filters, consider a dry box with a slight temperature control, especially if you live in a humid climate.