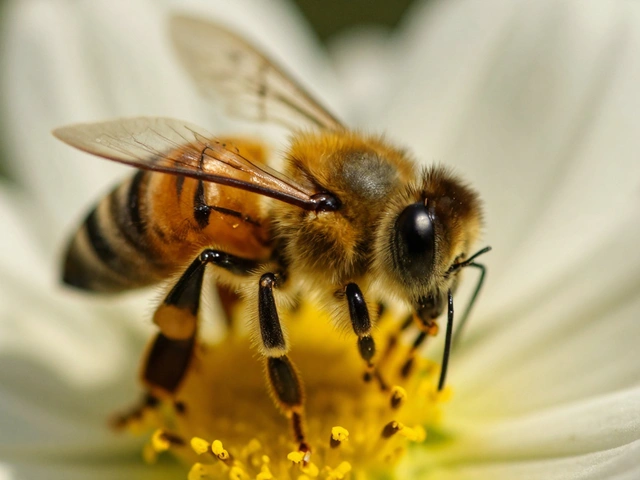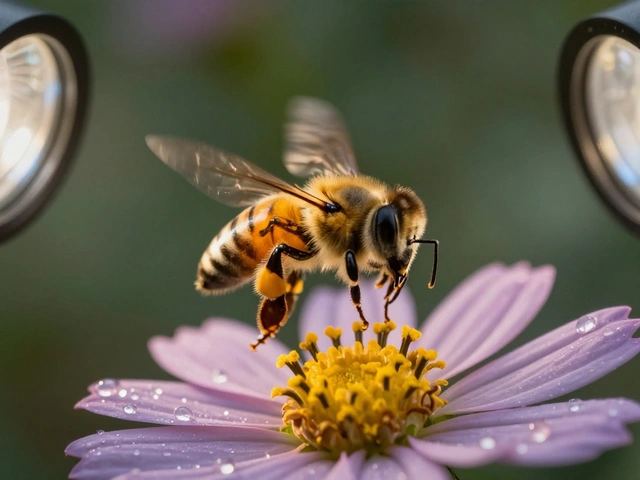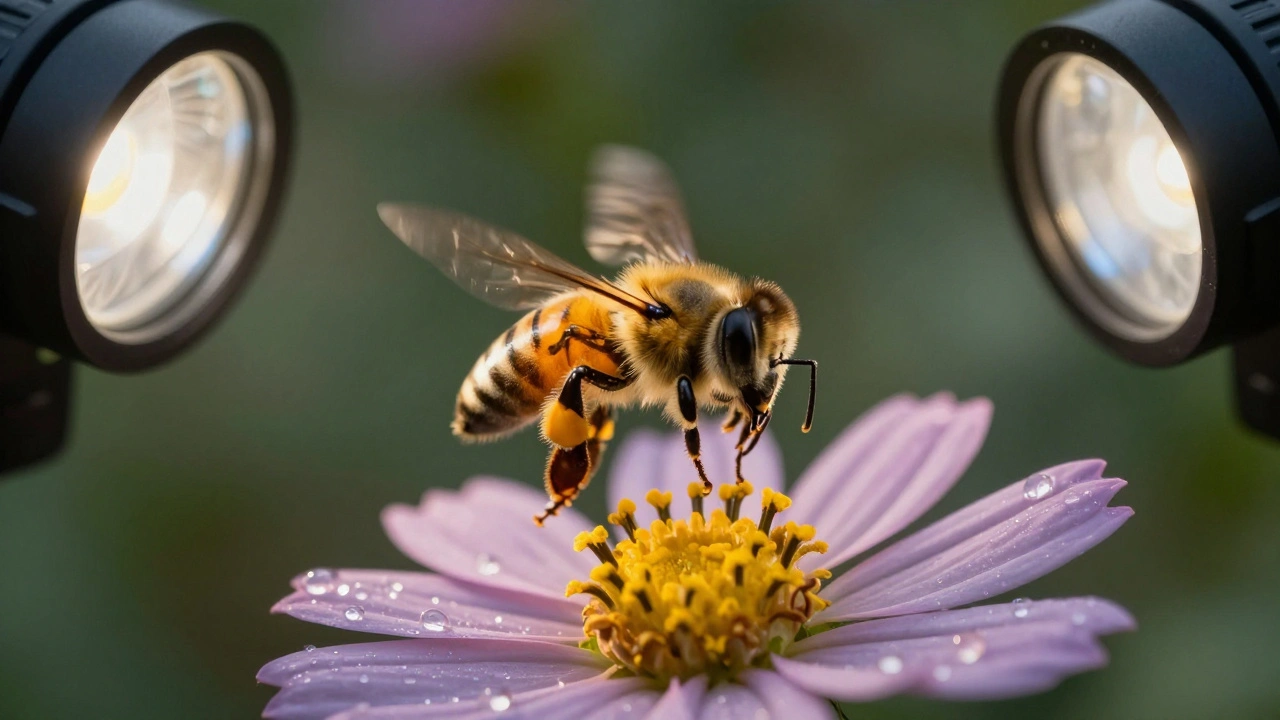
When you see a bee hovering over a flower, its wings blurred with motion, and every tiny hair on its body sharply defined-you’re not just watching video. You’re watching macro video. This isn’t just zooming in. It’s about capturing the invisible world at life-size or larger, with motion, texture, and detail that still photos can’t fully show. But getting it right? That’s where most people fail. It’s not about having the best camera. It’s about understanding how light, focus, and movement work together when you’re filming something smaller than your thumbnail.
Why Macro Video Is Different From Macro Photography
Macro photography lets you freeze a single moment. A spider’s web glistening with dew. A ladybug’s shell reflecting sunlight. You set your shot, take the picture, and move on. Macro video? You have to hold that moment for five seconds, ten seconds, maybe a full minute. And every tiny shake, every flicker of light, every shift in focus becomes painfully obvious. The biggest difference? Depth of field. At 1:1 magnification (meaning the subject appears life-size on your sensor), your focus zone might be as thin as a grain of sand. If you’re filming a beetle’s head, the antennae might be sharp, but its eyes are blurry. The legs? Out of focus. In photography, you can just take another shot. In video, you’re stuck with what you captured. That’s why you can’t just use the same settings you’d use for macro stills. Wide apertures like f/2.8? They’ll give you dreamy bokeh-but you’ll lose half your subject. You need f/16, f/22, even f/32 to get enough of the subject in focus. But here’s the catch: smaller apertures mean less light. And video needs constant light. No strobes. No flashes. You need steady, powerful illumination that doesn’t overheat your subject or wash out the colors.Lighting: The Hidden Killer of Macro Video
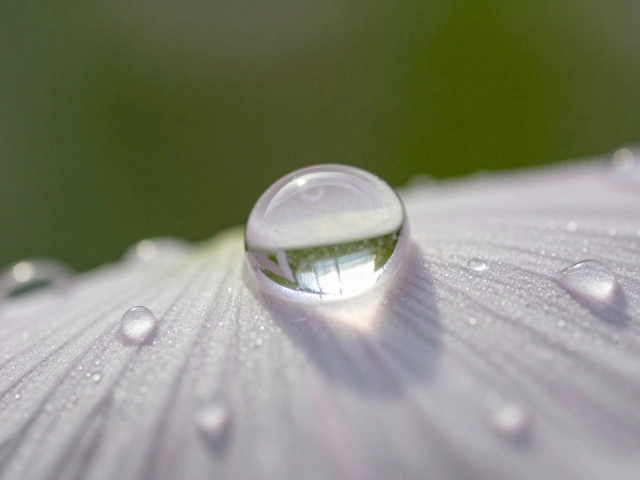
Most beginners think, “I’ll just use my room light.” That’s how you end up with footage that flickers, shifts color, or looks flat. Macro video lighting isn’t about brightness-it’s about control. The best setups use twin LED panels mounted on either side of the lens. This is called cross lighting. One light comes from the left, the other from the right. You adjust the intensity of each to sculpt shadows and highlights. A dragonfly’s wings? You want the light to catch the thin membrane, not just glow through it. A dewdrop on a petal? You need a rim of light to define its curve, not blind it. LEDs are ideal because they run cool and stay consistent. You can dial in 5600K for daylight or 3200K for warmer tones. No color shifts. No overheating. And you don’t need to blast 1000 watts of light-just enough to expose properly at f/22 with a slow shutter speed (usually 1/50 or 1/60 for 24/30fps video). Avoid ring lights. They create flat, shadowless images. Macro video thrives on dimension. You want to see texture, not just a glowing blob.Stabilization: No Shaky Hands Allowed
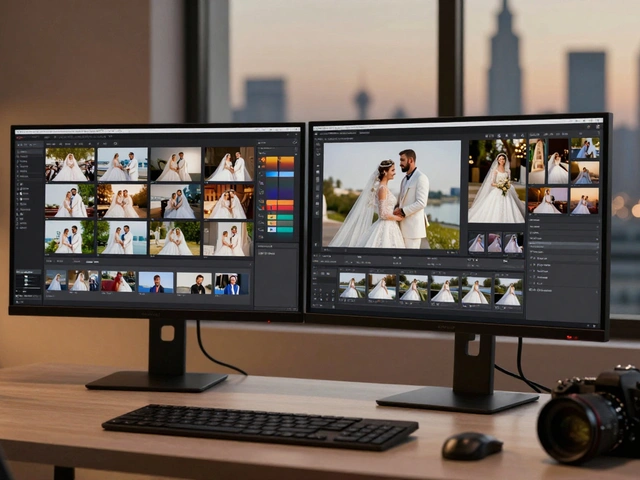
If you’ve ever tried to film a close-up of an ant walking across a leaf while holding the camera, you know why this matters. Even a 1-millimeter movement looks like a earthquake in macro video. Your hand tremor? Amplified. A breeze? Catastrophic. You need a tripod-not just any tripod. A video tripod with a smooth center column that lets you make micro-adjustments in height without jolting the camera. A fluid head helps, but even a sturdy ball head with a locking knob will do if you’re careful. In-body image stabilization (IBIS) can help, but it’s not magic. Some cameras record stabilization data, which software like Adobe Premiere or DaVinci Resolve can use to smooth out footage after the fact. But don’t rely on it. Better to lock the camera down than fix it later. If you must hand-hold (say, following a flying insect), tuck your elbows into your ribs. Breathe slowly. Use the camera’s electronic viewfinder, not the screen. Your eyes and body become part of the stabilizing system.Focus: Manual Is Your Best Friend
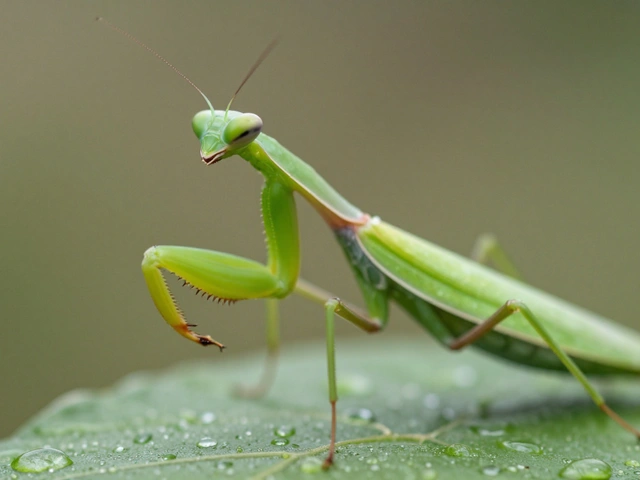
Autofocus? Forget it. In macro video, autofocus hunts. It jumps. It misses. It gets distracted by dust on the lens. You need full manual control. Use focus peaking. It’s a feature on most mirrorless cameras that highlights sharp areas in color-red, yellow, or blue. As you turn the focus ring, the peaking shows you exactly where the focus lands. It’s like a cheat code for precision. For subjects with depth-say, a caterpillar with a head, body, and tail-you can’t get it all in focus at once. That’s where focus stacking comes in. You record a sequence of shots, each with a slightly different focus point, then use software to merge them into one perfectly sharp video clip. It’s time-consuming, but it works. DaVinci Resolve and Adobe After Effects both support this now.
Lens Choices and Magnification
You don’t need a 180mm macro lens to start. In fact, a 100mm macro is ideal for most situations. It gives you enough working distance to set up lights without blocking them. An 180mm? Great for skittish insects, but you’ll lose depth perception. The subject looks flat, like a painting. Shorter lenses, like 60mm, force you closer. That’s risky-your lens might cast a shadow, or you might scare off your subject. But it gives you more depth in the frame. You see the world around the insect, not just the insect itself. Extension tubes? They’re cheap. They increase magnification by moving the lens farther from the sensor. But they kill light. You’ll need twice as much illumination. They’re great for static subjects-like a flower or a watch mechanism-but not for moving ones. Close-up filters? They screw onto the front of your lens and act like magnifying glasses. They’re not as sharp as true macro lenses, but they’re affordable. If you’re just testing the waters, start here.Composition: It’s Not Just About the Subject
In macro video, composition isn’t optional-it’s survival. Use the rule of thirds. Place the subject’s eye along the upper third line. Let the body flow into the frame. Leave space in front of a moving subject-like a bee flying toward the lens-so the viewer doesn’t feel claustrophobic. Leading lines matter. A vein in a leaf, a trail of pollen, the curve of a petal-they guide the viewer’s eye. They turn a random close-up into a story. Backgrounds? Blur them. But choose them wisely. A green background makes a red ladybug pop. A dark background makes a translucent moth glow. Don’t just let the background happen. Pick it. Try unusual angles. Get low. Shoot upward through grass. Go overhead. Look down on a spider’s web like it’s a cathedral. Change the perspective, and you change the emotion.Setting Up Your Gear: A Practical Checklist
- Mount your camera on a solid tripod with a smooth center column.
- Use a 60mm or 100mm macro lens-start here.
- Attach twin LED lights on either side of the lens, angled at 45 degrees.
- Set your aperture between f/16 and f/22.
- Use manual focus with focus peaking enabled.
- Set shutter speed to double your frame rate (e.g., 1/50 for 24fps).
- Turn on IBIS if your camera has it.
- Clean your lens thoroughly. Dust looks like boulders at this magnification.
- Record in 4K. You’ll need the resolution for cropping and stabilization later.

What Not to Do
Don’t use long lenses (180mm+) just because you think they’re “better.” They make your footage feel distant. Macro is about intimacy. Get close. Don’t rely on auto exposure. Your subject might move into shadow or light. Lock your exposure manually. Don’t film in direct sunlight. It’s too harsh. It creates hot spots and unpredictable shadows. Use diffused light-softbox, white cloth, or even a white sheet between the sun and your subject. Don’t rush. Macro video is slow. You’ll spend 20 minutes waiting for one 5-second clip. That’s normal. Patience isn’t optional-it’s your most important tool.Who Uses This? Real-World Applications
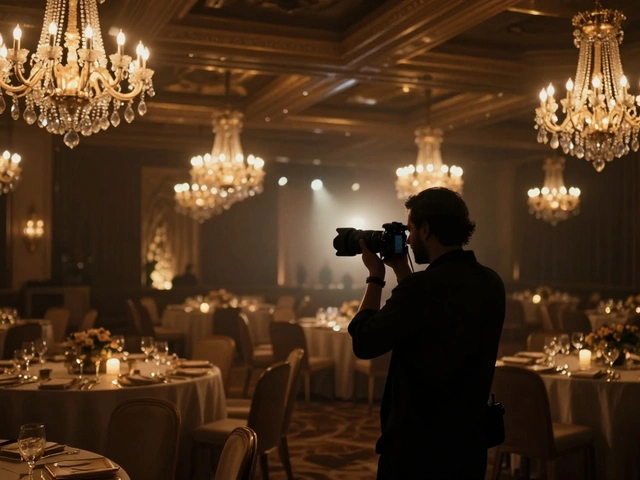
Wildlife filmmakers use macro video to show insect behavior no one’s ever seen. A honeybee’s tongue unfurling to sip nectar. A mite crawling across a flower petal. These shots make documentaries unforgettable. Commercial brands use it to sell products. A watchmaker films the gears of a mechanical movement. A cosmetic company shows how a serum spreads across skin at 1:1 scale. It’s not just pretty-it’s proof. Scientists use it to document plant cell growth, fungal spores, even tiny fractures in materials. It’s not art. It’s data. And it’s powerful.The Future Is Here
Newer cameras now auto-stack focus in real time. Some can record stabilization metadata so software smooths out motion after the fact. LED lights are getting smaller, brighter, and more color-accurate. You don’t need a $5,000 rig anymore. A $1,000 mirrorless camera, a $200 macro lens, and a $150 LED kit can get you stunning results. But the core hasn’t changed. It’s still about light, focus, and stillness. Master those, and you’ll see the world in a way most people never will.Can I use my smartphone for macro video?
Yes, but with limits. Most smartphones have a macro mode, but they’re limited to 1:4 or 1:5 magnification-not true 1:1. Lighting is tricky because you can’t attach external LEDs easily. Focus is unreliable. You’ll get decent results for casual use, but for professional work-like documentaries or product shots-you’ll need a dedicated camera and lens system.
Do I need a 4K camera for macro video?
Highly recommended. Macro footage is full of fine detail. Recording in 4K gives you room to crop, stabilize, and zoom in without losing sharpness. Even if you deliver in 1080p, shooting in 4K gives you better quality when you downscale. It’s insurance against motion blur and focus errors.
What’s the best aperture for macro video?
Between f/16 and f/22. Wider apertures (f/2.8-f/8) give you shallow focus, which looks pretty but leaves parts of your subject blurry. Smaller apertures (f/22-f/32) increase depth of field but require more light. f/16-f/22 strikes the best balance for most situations. Test your setup at each setting to see what works for your subject.
Can I use natural light for macro video?
Yes, but only with diffusion. Direct sunlight is too harsh. Use a white sheet or diffuser to soften the light. Shoot in the golden hour (early morning or late afternoon) for warmer tones. Avoid midday sun-it flattens texture and creates unflattering highlights. Even then, you’ll likely need reflectors or a small LED to fill in shadows.
Why does my macro video look shaky even with a tripod?
Check your setup. Is the tripod on a solid surface? A wobbly table or floor will transmit vibrations. Is the center column locked? Is the camera mount tight? Even a slight tilt can cause drift. Also, wind, footsteps, or even your own breathing can shake the rig. Try placing sandbags on the tripod legs or using a remote shutter release to avoid touching the camera during recording.