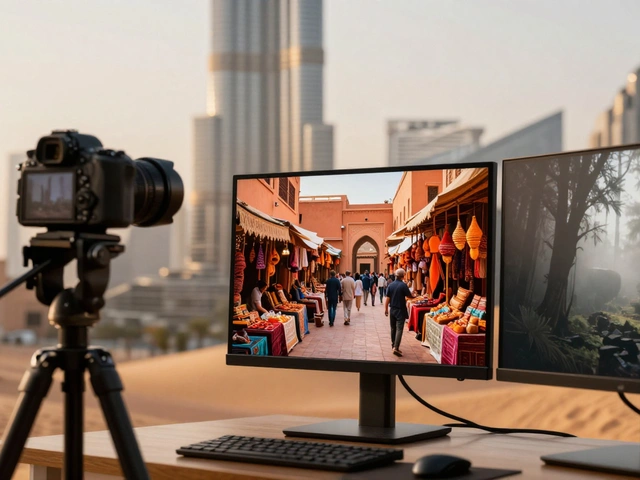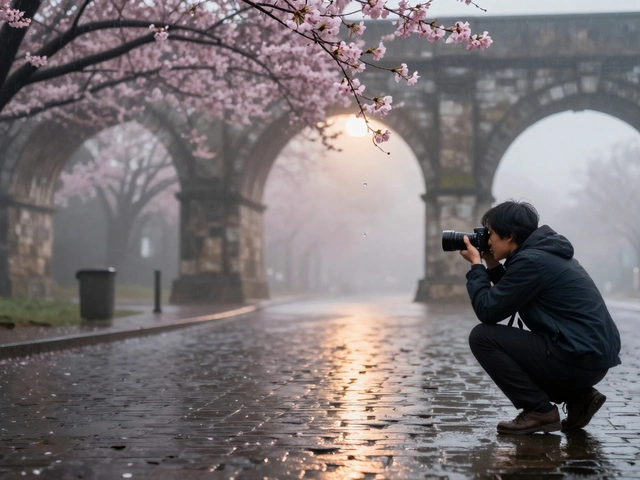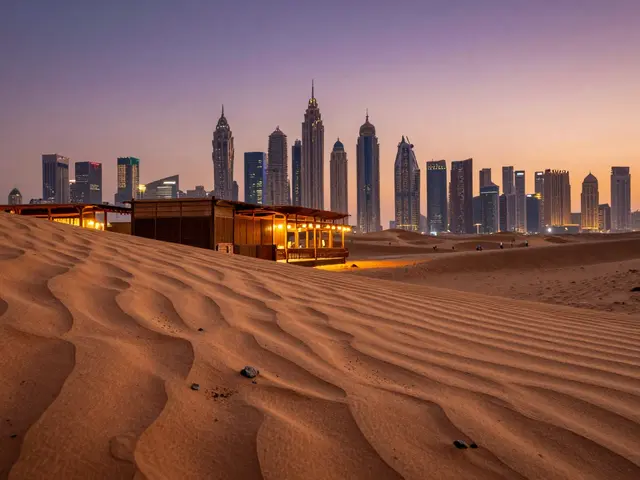
Most people think travel photography is about the sunset over the ocean or a smiling local in a market. But some of the most powerful images you can capture are silent. They are made of stone, steel, glass, and history. When you photograph architecture is the art and science of designing buildings and structures that reflect human culture, function, and aesthetics. It’s not just about taking a picture of a building; it’s about telling the story of who lived there, what they believed, and how they shaped their world.
If you’ve ever stood in front of a Gothic cathedral or a modernist skyscraper and felt a bit overwhelmed by where to point your lens, you’re not alone. The challenge isn’t technical-it’s interpretive. How do you show the soul of a place through its walls? This guide breaks down how to blend visual technique with cultural understanding to create images that resonate long after the viewer scrolls past.
Understanding the Story Behind the Structure
Before you even pick up your camera, take a moment to look. Really look. Architecture is a frozen language. Every arch, window, and material choice communicates something about the era and culture that built it. A crumbling brick wall in a European city center tells a different story than the sleek aluminum facade of a tech hub in Silicon Valley.
To capture this, you need to understand three key elements:
- Historical Context: When was it built? Who built it? Was it a home, a temple, or a prison? Knowing the purpose helps you frame the mood.
- Cultural Symbolism: Colors, shapes, and materials often carry specific meanings. For example, white marble might symbolize purity in one culture but wealth in another.
- Current Use: Is the site abandoned, active, or restored? The presence (or absence) of people changes the narrative entirely.
For instance, if you’re shooting an old industrial factory now converted into apartments, the contrast between the rusted iron beams and the clean, modern interiors tells a story of adaptation and renewal. That tension is what makes the photo interesting. Without that context, it’s just a building.
Composing for Depth and Perspective
Architecture photography is all about lines. Verticals, horizontals, and diagonals guide the eye. Your job is to manage those lines so they lead the viewer exactly where you want them to go.
Here are four compositional strategies that work specifically for buildings:
- The Leading Line: Use streets, pathways, or architectural features like cornices to draw the eye toward the main subject. A cobblestone street narrowing into the distance creates natural depth.
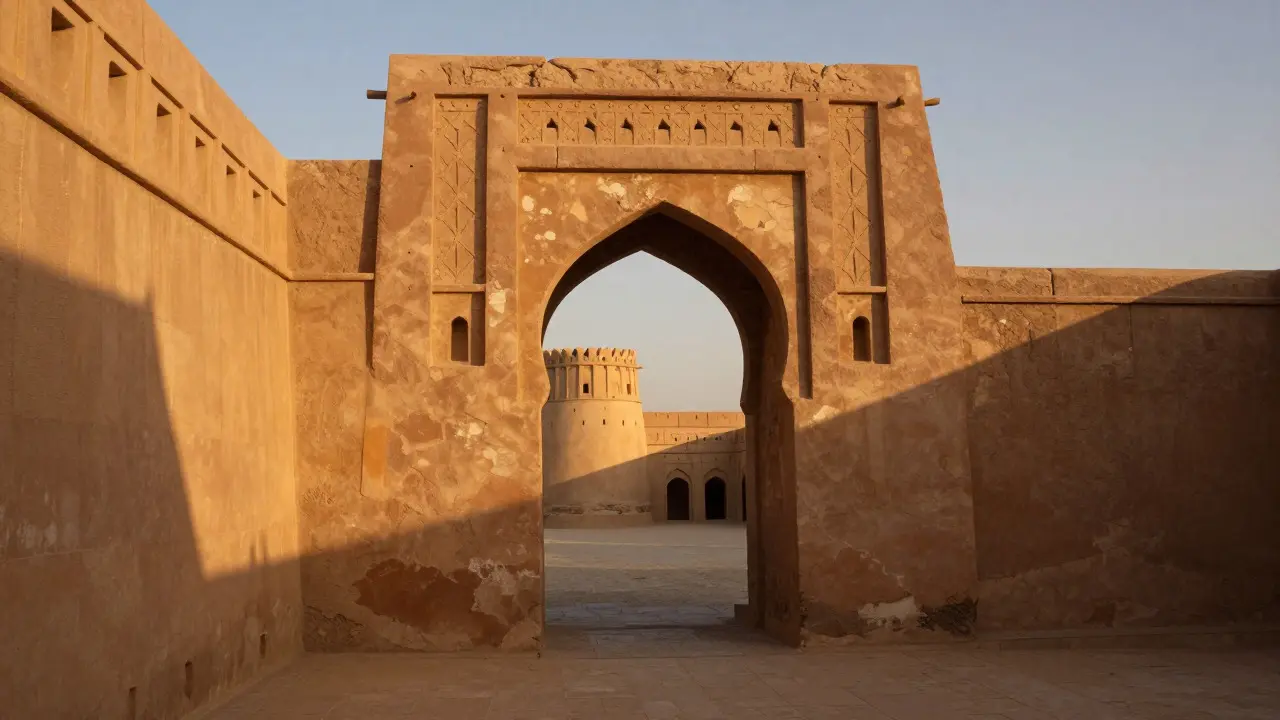
- Frame Within a Frame: Shoot through an archway, a doorway, or a window. This adds layers to your image and focuses attention on the central structure.
- Symmetry and Balance: Many historical sites are designed with symmetry in mind. Find the center axis and shoot straight on. This creates a sense of order and grandeur, perfect for palaces or government buildings.
- Negative Space: Don’t fill every inch of the frame. Leave room for sky or open ground. This gives the building room to breathe and emphasizes its scale.
One common mistake is ignoring the horizon line. If your verticals aren’t straight, the building looks tilted and unstable. You don’t always need to correct this in post-processing; sometimes a slight tilt adds dynamism. But for formal shots of historical landmarks, keep those lines sharp and true.
Lighting: The Make-or-Break Factor
Light changes how we perceive texture, color, and mood. In architecture photography, you have two main allies: golden hour and blue hour.
Golden Hour (the first and last hour of daylight) provides warm, soft light that flatters stone and brick. It casts long shadows that reveal the texture of rough surfaces. If you’re shooting a sandstone castle, golden hour will bring out every crack and chip in a way that midday sun would flatten.
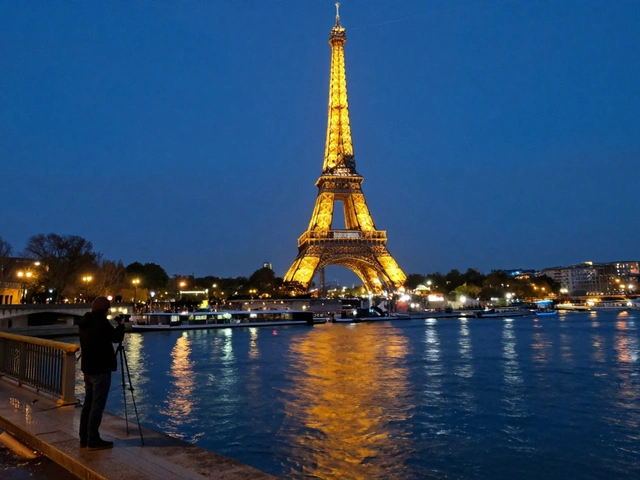
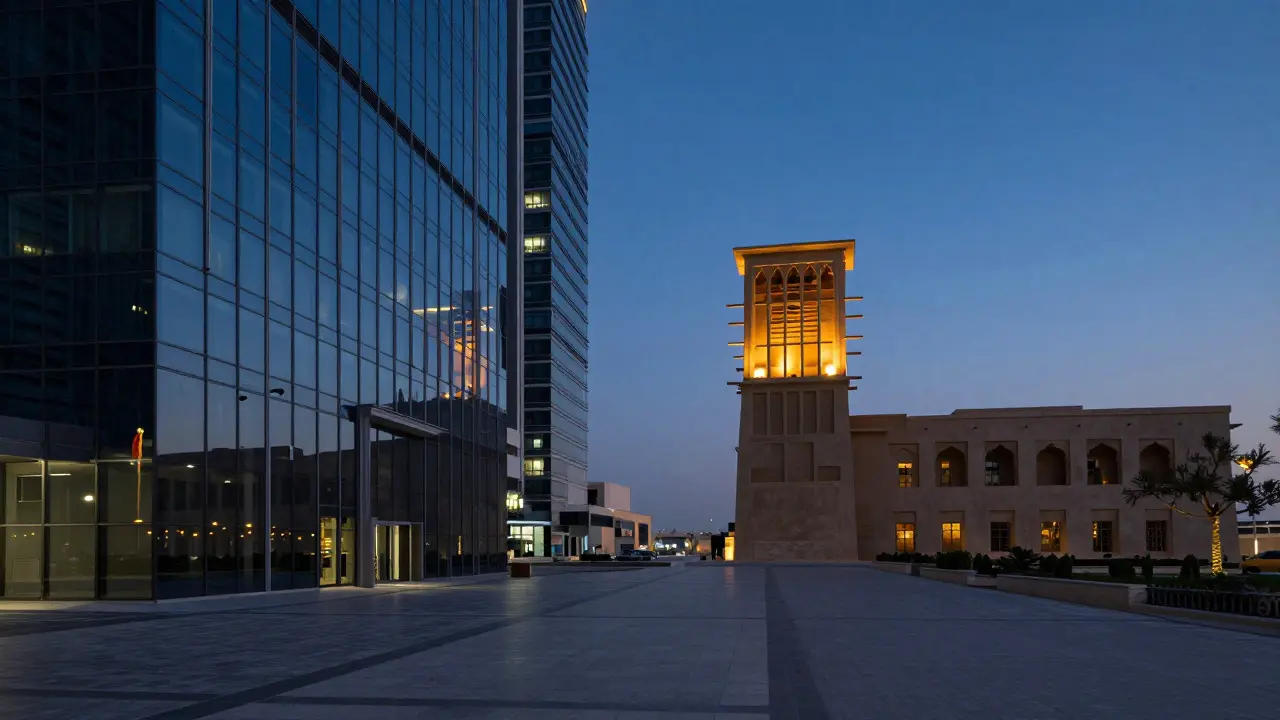
Blue Hour (the period just before sunrise or after sunset when the sky is deep blue) is magical for illuminated buildings. The cool ambient light contrasts beautifully with the warm artificial lights from windows and streetlamps. This time is ideal for cityscapes and modern structures with glass facades.
Avoid harsh midday sun unless you’re going for a high-contrast, graphic style. Direct overhead light eliminates shadows, making buildings look flat and two-dimensional. If you must shoot at noon, look for shaded areas or use the shadows cast by other structures to create your own lighting conditions.
Integrating Culture and People
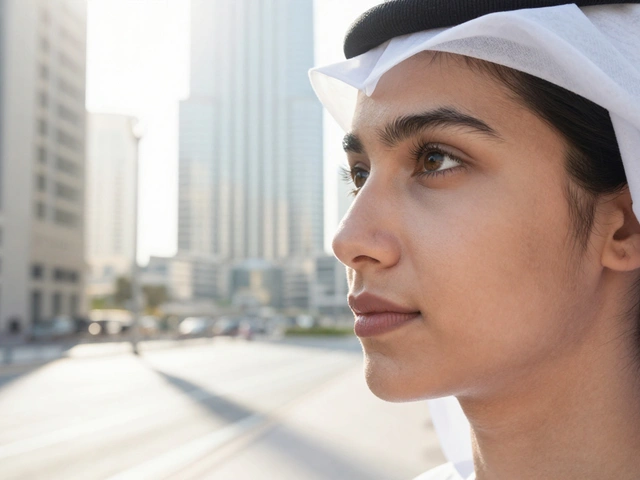
A building without people can feel sterile. Adding human elements provides scale and life. But be careful. You don’t want the person to distract from the architecture. Instead, use them to anchor the scene.
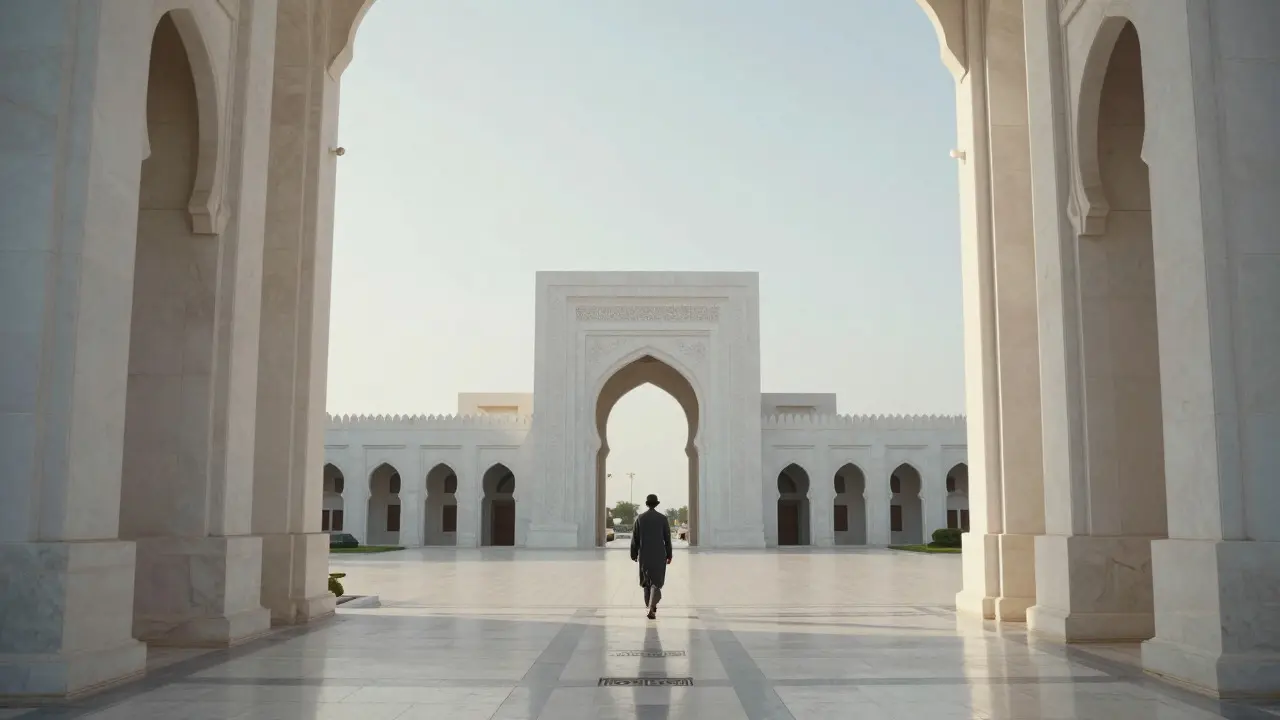
Think about the relationship between the human figure and the structure. Are they walking away, looking up, or interacting with the space? A single figure in a vast plaza emphasizes the enormity of the architecture. A group of tourists pointing at a detail highlights the educational aspect of the site.
Cultural accuracy matters here too. If you’re photographing a religious site, respect the customs. Some places require modest dress or prohibit photography in certain areas. Doing your research shows respect and often grants you access to better angles or moments. A local guide can often point out hidden details-a carved statue, a faded mural, or a specific angle that locals know but visitors miss.
Technical Settings for Sharp Results
While creative vision is paramount, solid technical execution ensures your photos look professional. Here’s a quick checklist for shooting architecture:
- Lens Choice: A wide-angle lens (16-35mm on full-frame) is essential for capturing the scale of large buildings. However, beware of distortion. Keep important vertical lines near the edges of the frame to minimize bowing.
- Aperture: Use a small aperture (f/8 to f/11) for maximum depth of field. This keeps both the foreground details and the background sky sharp.
- ISO: Keep ISO low (100-400) to minimize noise. Since you’ll likely be using slower shutter speeds, a tripod is non-negotiable.
- Shutter Speed: Adjust based on light. In bright conditions, you might need a fast shutter speed. In dim settings, you may need several seconds. Use a remote trigger or the camera’s self-timer to avoid shake.
If you’re shooting in mixed lighting-like inside a museum with dark corners and bright windows-consider bracketing exposures. Take three shots at different exposure levels and blend them in post-processing. This technique, known as High Dynamic Range (HDR), recovers details in both shadows and highlights.
Post-Processing: Enhancing, Not Overdoing
Editing is where you finalize the mood. For architectural photos, restraint is key. The goal is to enhance reality, not create a fantasy.
Start by correcting perspective. Most editing software has tools to straighten verticals and fix keystone distortion. This step is crucial for making buildings look stable and imposing. Next, adjust the white balance to match the time of day. Golden hour shots should lean warm; blue hour shots should lean cool.
Be gentle with saturation. Oversaturated skies can look unnatural and distract from the subtle tones of the building materials. Instead, focus on clarity and texture. Boosting clarity slightly can make stone and wood grain pop without looking artificial.
Finally, crop strategically. Remove distracting elements from the edges-a trash can, a power line, or a partial sign. A clean frame directs all attention to the architecture itself.
Common Mistakes to Avoid
Even experienced photographers trip up on these issues. Watch out for:
- Ignoring the Sky: A plain, gray sky can kill a good shot. If the sky is boring, consider cropping it out or using a gradient filter to darken it. Alternatively, wait for clouds to add interest.
- Too Close: Getting too close to a detail can lose the context of the whole building. Step back. Show the relationship between the part and the whole.
- Static Angles: Don’t just stand in the middle of the street. Move around. Get low, get high, find reflections in puddles or windows. Unique angles tell unique stories.
Remember, the best travel photographs evoke emotion. They make the viewer feel the weight of history, the joy of discovery, or the awe of human achievement. By combining technical skill with cultural awareness, you turn a simple snapshot into a meaningful piece of art.
What is the best lens for architectural travel photography?
A wide-angle zoom lens, typically ranging from 16mm to 35mm on a full-frame camera, is generally considered the best choice. It allows you to capture the scale of large structures while maintaining enough flexibility to isolate details. Prime lenses like a 24mm or 28mm are also excellent for sharper images and wider apertures, though they lack the versatility of a zoom.
How do I deal with distorted vertical lines in building photos?
Distortion happens when you tilt your camera up to fit a tall building in the frame. To fix this, you can use a Tilt-Shift lens which physically shifts the lens to keep lines straight. Alternatively, most modern cameras and editing software have perspective correction tools that digitally straighten the lines. Another technique is to shoot from a higher vantage point, reducing the need to tilt the camera upward.
Is HDR necessary for shooting architecture?
HDR is not strictly necessary, but it is highly useful in high-contrast scenes, such as shooting a dark interior against a bright exterior or a shadowed building against a bright sky. By blending multiple exposures, you retain detail in both the darkest shadows and the brightest highlights. However, for evenly lit scenes or artistic black-and-white conversions, standard single-exposure shots are often sufficient and more natural-looking.
When is the best time of day to photograph historical sites?
The best times are during the 'golden hours' (shortly after sunrise and shortly before sunset) and the 'blue hour' (just before sunrise and just after sunset). These periods offer soft, directional light that enhances textures and colors. Midday light is harsh and flattening, while late afternoon can create strong shadows that might obscure details. Always check the sun's position relative to the building to ensure the facade is well-lit.
How can I include people in architectural photos without distracting from the building?
Use people as scale references or narrative elements rather than subjects. Place them in the lower third of the frame or within a smaller portion of the composition. Ensure they are engaged in an activity related to the location, such as walking, reading, or observing. Avoid placing them directly in the center of the main architectural feature. Long exposures can also be used to blur moving crowds, creating a ghostly effect that emphasizes the permanence of the structure against the transience of people.