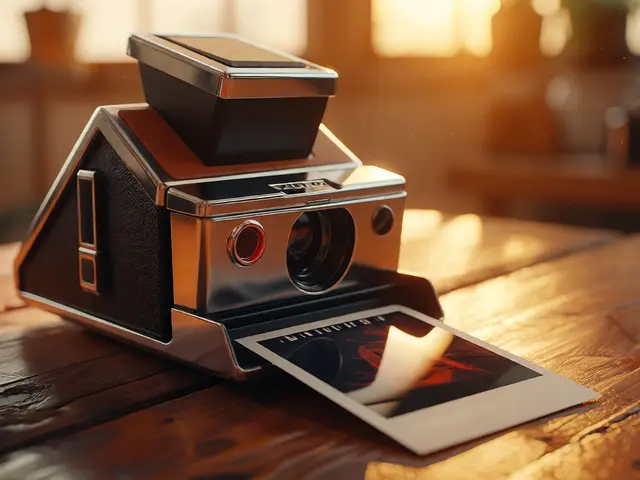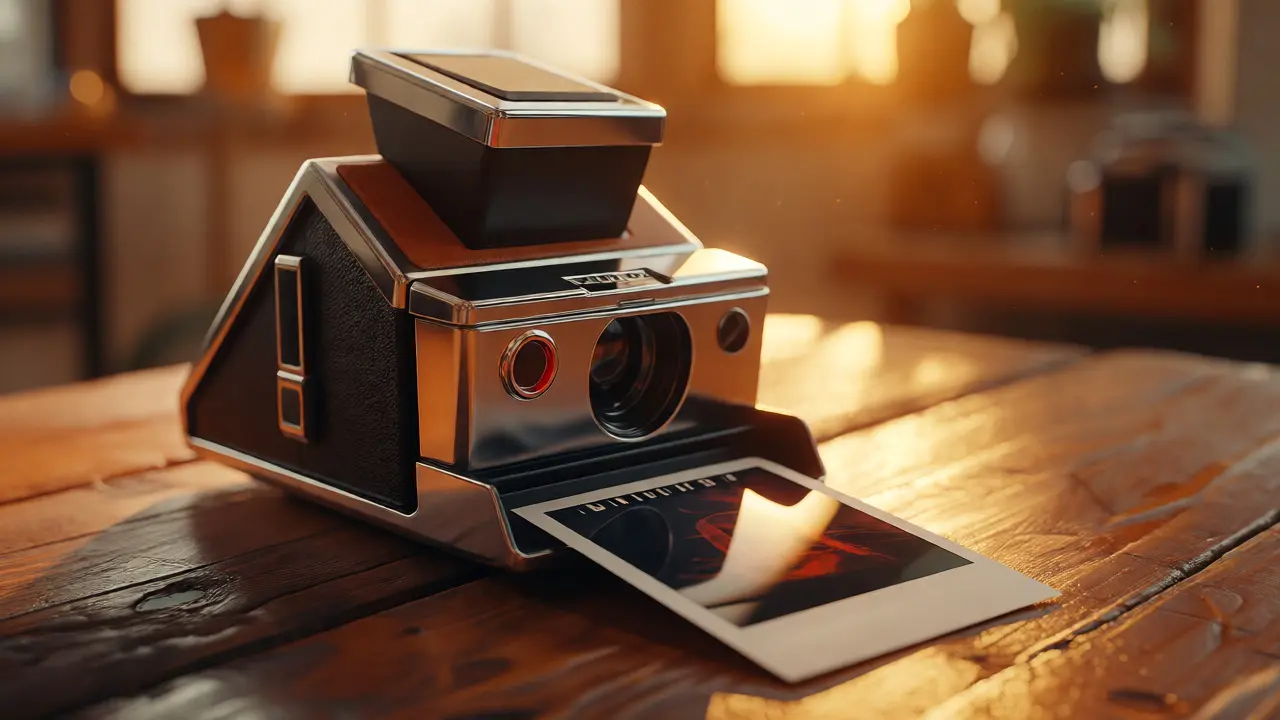
There is a specific kind of panic that hits you the moment you press the shutter button on an instant camera. You can’t check the LCD screen. You can’t delete the bad shots. You have one chance to get it right before the chemical reaction locks in your memory forever. If you’ve ever felt that rush, you’re already hooked on instant film photography, a medium where imperfection isn’t a bug-it’s the feature.
For years, people thought instant cameras were just toys for parties or retro gimmicks. But look at what’s happening in 2026. The resurgence of analog isn’t slowing down; it’s evolving. Whether you are shooting with a classic Polaroid SX-70 or the modern Fujifilm Instax Mini, the core challenge remains the same: light control. Unlike digital sensors that can fake dynamic range through HDR stacking, instant film has a very narrow latitude. It blows out highlights easily and crushes shadows into muddy blacks if you aren’t careful.
| Format | Film Size (mm) | Image Area (mm) | Best For | Aesthetic Vibe |
|---|---|---|---|---|
| Instax Mini | 54 x 86 | 46 x 62 | Candid portraits, street snaps | Bright, saturated, playful |
| Instax Square | 62 x 62 | 48 x 48 | Social media feeds, balanced composition | Modern, clean, versatile |
| Instax Wide | 108 x 86 | 99 x 62 | Landscape, group shots | Epic, panoramic feel |
| Polaroid i-Type | 88 x 107 | 79 x 79 | Artistic projects, vintage look | Nostalgic, grainy, warm tones |
Understanding the Light Meter (or Lack Thereof)
Most entry-level instant cameras, like the Fujifilm Instax Mini 12, have automatic exposure systems that work surprisingly well but fail in tricky lighting. They tend to overexpose bright scenes because they try to lift the shadows. If you are shooting outdoors on a sunny day, your subject might look washed out. Here is a quick fix: use the "High Key" mode if available, or simply step back from direct sunlight. The sun acts as a massive reflector, bouncing light off concrete and buildings, which confuses the meter.
If you own a more advanced model like the Polaroid Now+, you have manual controls for brightness. This is your best friend. Start by dialing the exposure compensation down by one stop (-1) when shooting in bright daylight. Why? Because instant film handles underexposure better than overexposure. A slightly dark photo retains color saturation and contrast. A blown-out photo looks flat and lifeless.
Composition Rules That Actually Work
Digital photographers often crop later. Instant shooters don’t have that luxury. What you see in the viewfinder is exactly what you get. This forces you to be disciplined. One common mistake beginners make is standing too close. The minimum focus distance on most mini-format cameras is around 30-50 cm. Get closer than that, and your subject becomes a blur of flesh-colored pixels.
- The Rule of Thirds: Even with small frames, placing eyes on the upper third line makes portraits pop. Don’t center everything unless you want a formal, symmetrical look.
- Mind the Border: Remember that the white border takes up about 20% of the total card size. If you fill the frame edge-to-edge, you lose context. Leave some negative space.
- Vertical vs. Horizontal: Most people shoot horizontally by default. Try rotating your camera. Vertical frames force you to simplify the background, which is crucial since instant lenses often struggle with busy details.
Mastering Flash Technique
Flash is the enemy of natural-looking instant photos, yet it is also the savior in low light. Built-in flashes on instant cameras are harsh. They create those dreaded "red-eye" effects and flatten facial features. If you must use flash indoors, bounce it. How? Hold a small piece of white paper or a business card near the flash unit, angling it toward the ceiling. This diffuses the light, making it softer and more flattering.
Another trick: move closer to your subject when using flash. The inverse square law applies here-light intensity drops rapidly with distance. At 2 meters, the flash might barely reach your subject’s face while blowing out their nose. At 1 meter, the light is even. Also, avoid shooting glass windows or mirrors directly with flash on. You will just photograph your own reflection instead of the scene behind the glass.
Developing and Handling Your Prints
You pressed the shutter. The camera whirred. The film ejected. Now what? Do not shake it like a Polaroid picture from the 80s commercials. Shaking doesn’t help development; it can actually introduce dust or damage the fragile emulsion while it sets. Instead, place the print face-down on a dark surface immediately after ejection. Light exposure during the first few minutes can affect the final image quality.
Temperature matters. In Portland, where I live, autumn mornings can drop below 10°C (50°F). Cold slows down the chemical reaction. If you shoot in winter, keep the ejected prints inside your jacket pocket against your body heat. Warmth accelerates development and ensures consistent colors. Conversely, in hot summer weather, keep them cool to prevent overheating artifacts.
Creative Manipulations and Emulsion Lifts
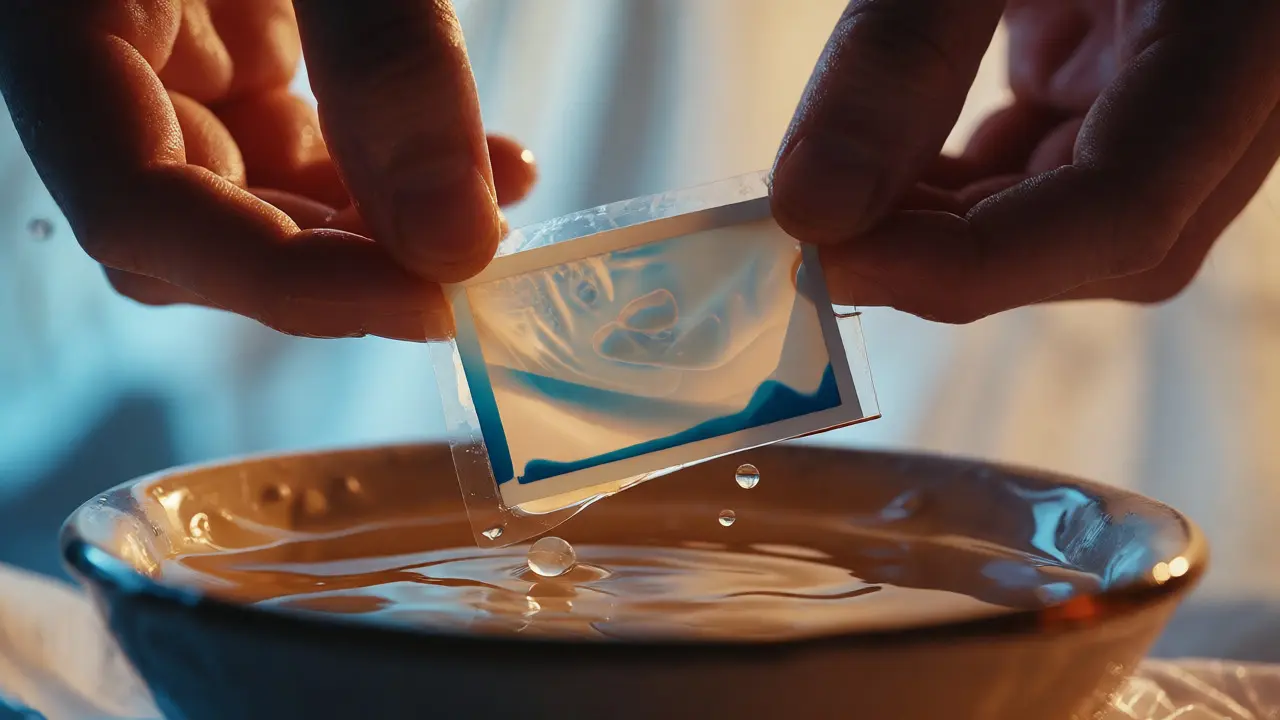
Once the image develops, the fun really begins. Instant film allows for physical manipulation that digital files can’t match. The most popular technique is the emulsion lift. Soak your developed print in warm water (not hot!) for 10-15 minutes until the image layer separates from the plastic backing. Carefully peel off the backing, leaving only the floating image. You can then transfer this thin, translucent layer onto another surface-like a notebook page, canvas, or even skin.
This process destroys the original structure, so practice on failed shots first. Another simple trick is scratching the emulsion with a needle or pin while the film is still developing. This creates intentional lines and textures, adding a gritty, artistic feel to otherwise boring shots.
Troubleshooting Common Issues
Even experienced shooters get weird results sometimes. Here is how to diagnose them:
- All White Photos: Usually means the film cartridge was exposed to light before loading, or the camera’s shutter didn’t close properly. Check the battery level; weak batteries cause shutter malfunctions.
- Dark Corners (Vignetting): Normal for wide-angle lenses on compact bodies. If it’s excessive, ensure your finger isn’t blocking the lens corner.
- Streaks or Lines: Often caused by dirty rollers inside the camera. Clean them gently with a lint-free cloth and isopropyl alcohol.
- Color Casts: Yellow or green tints often indicate expired film or improper storage. Always store unopened packs in a refrigerator (not freezer) at 4-10°C.
Instant photography isn’t about perfection. It’s about capturing a moment with texture, weight, and presence. When you hold a physical photo in your hand, you connect with the memory differently than scrolling through thousands of digital thumbnails. Embrace the mistakes. Sometimes the blurry, overexposed shot captures the energy of a night out better than any sharp, perfectly lit digital file ever could.
Can I reuse Polaroid film cartridges?
No, each cartridge contains a specific number of exposures (usually 8 or 10) and is sealed to protect the chemicals. Once empty, it cannot be refilled reliably without specialized equipment and risks leaking developer fluid.
Why do my Instax photos come out too dark?
This usually happens in low-light conditions where the automatic flash fails to compensate fully. Try moving closer to your subject, using the 'Max Brightness' setting if your camera supports it, or ensuring the battery is fresh, as weak power reduces flash intensity.
How long does instant film last?
Unopened film typically lasts 12-18 months past its expiration date if stored correctly in a fridge. After opening the pack, you should use all sheets within a few days to weeks, depending on humidity and temperature, to avoid color shifts.
Is Polaroid film compatible with Fujifilm Instax cameras?
Generally, no. Polaroid uses i-Type or SX-70 format films, while Fujifilm uses Instax Mini, Square, or Wide formats. These have different dimensions and chemical compositions. However, adapters exist for some older Polaroid cameras to accept certain Fuji films, but native compatibility is rare.
What is the best way to scan instant photos?
Use a flatbed scanner rather than a smartphone app for highest fidelity. Place the photo face down on the glass to minimize glare. If using a phone, shoot in RAW mode and use a polarizing filter to reduce reflections from the glossy surface.