Imagine capturing a massive shipwreck, but without a human figure in the frame, the viewer has no clue if it's a toy model or a 500-foot titan. This is the magic of adding people to your shots. Underwater photography is the art of capturing images beneath the water's surface, combining scuba diving skills with technical camera mastery. While most people chase the rarest nudibranch or a passing shark, adding a dive buddy to your composition transforms a simple nature shot into a story about exploration and scale.
The Key Takeaways
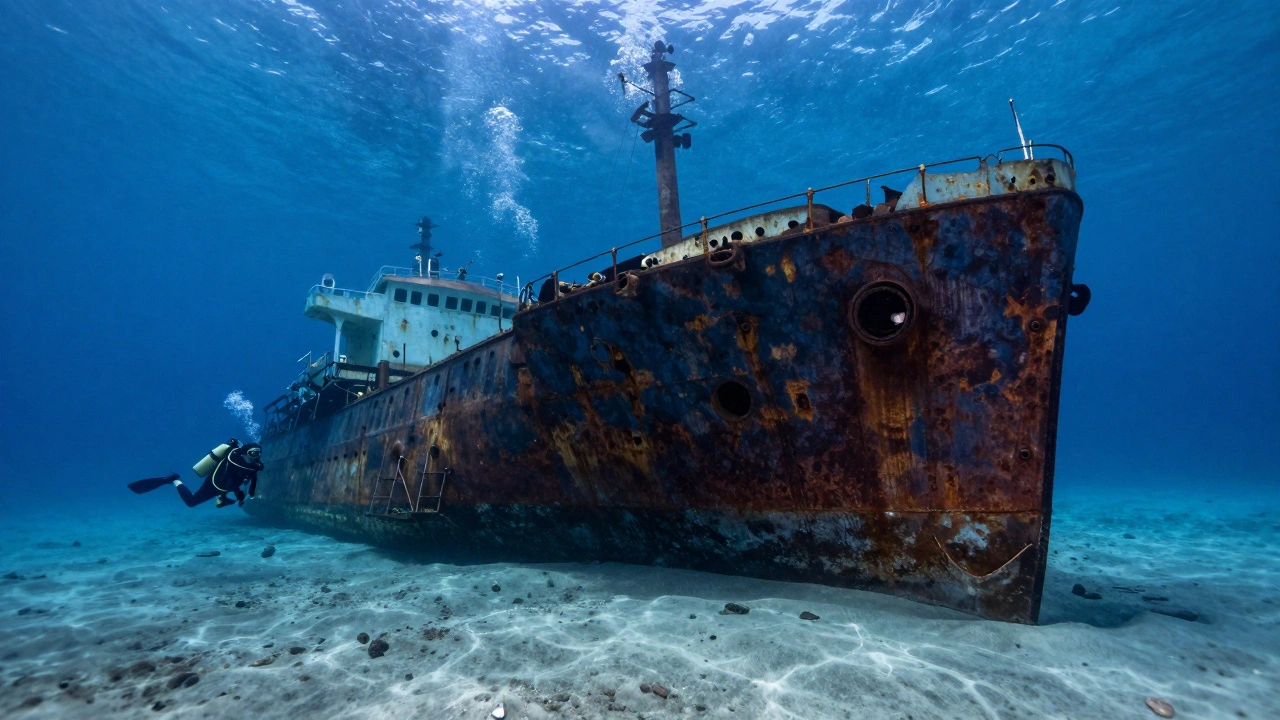
- Divers provide a vital sense of scale for large environments like wrecks and reefs.
- Directing your buddy to look at the subject, rather than the lens, creates a natural feel.
- Lighting equipment, even when not needed for visibility, adds visual interest to the subject.
- Mastering buoyancy is a prerequisite for getting the right angles without damaging the reef.
Why Put People in Your Underwater Shots?
Adding a human element does more than just prove you were there. First, it establishes scale. In a vast blue void or a sprawling coral garden, a diver acts as a visual ruler. When you place a buddy near a giant whale shark, the viewer immediately feels the magnitude of the animal. Without that reference, the image often loses its impact.
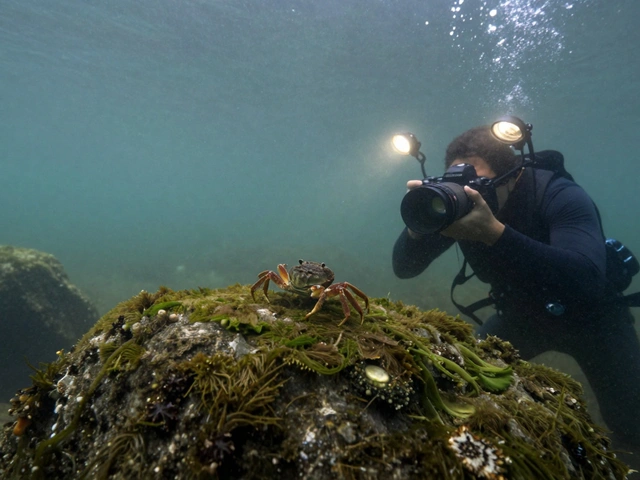
Second, it introduces interaction. A photo of a diver curiously observing a sea turtle is far more compelling than a photo of just the turtle. It adds a narrative layer-curiosity, awe, or companionship-that makes the image relatable to people who aren't divers. You're not just documenting marine life; you're documenting the human experience of discovering it.
Coordinating with Your Dive Buddy
You can't exactly shout directions when you're 60 feet down. Successful shots start on the boat. You need to agree on specific hand signals for "move left," "stay still," or "look that way" before you even hit the water. If you try to wing it underwater, you'll spend half your air time gesturing wildly while your buddy looks confused.
Positioning is everything. A subtle shift in where your buddy stands-whether they are horizontal, vertical, or rotated-completely changes the vibe of the photo. Avoid the "passport photo" look where the diver just stares at the camera. Instead, direct them to focus on the subject. If the subject is right in front of the lens, tell your buddy to look slightly past the camera. This captures the light in their eyes and their genuine interest in the scene without the awkwardness of direct eye contact.
Mastering the Technical Side of Human Subjects
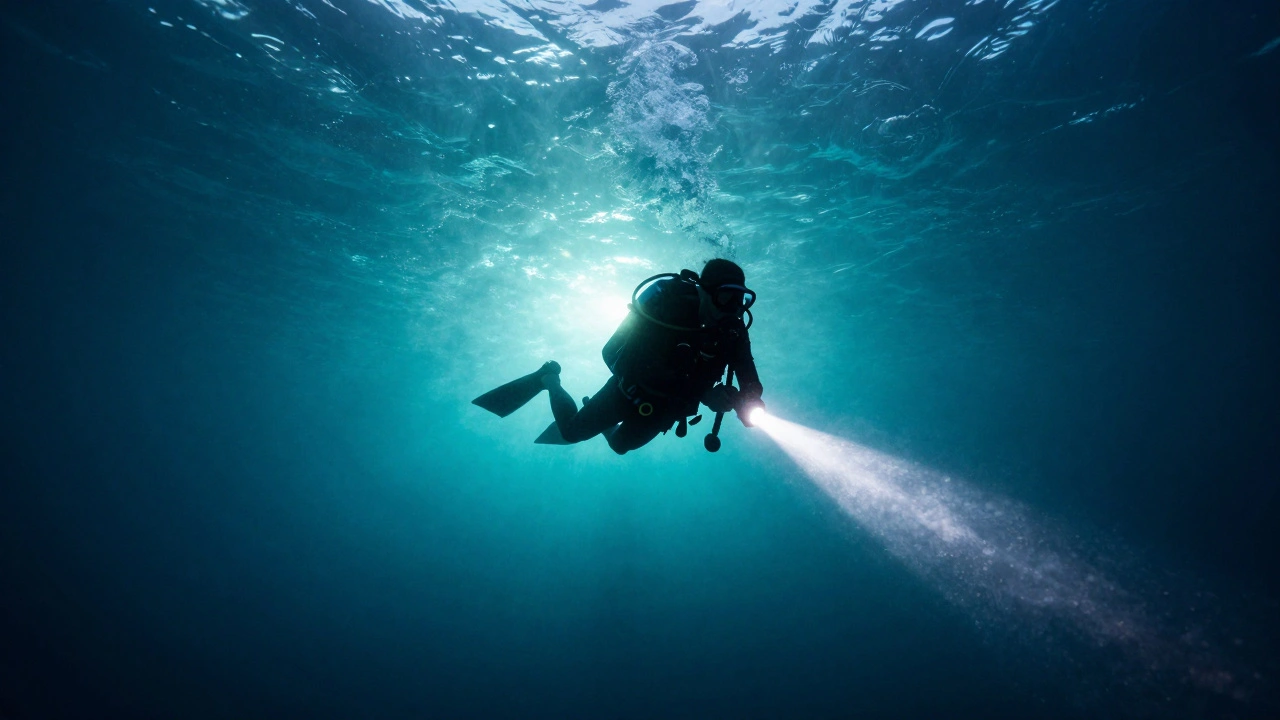
Lighting is where you can get creative. Interestingly, a diver holding a dive light is often more visually appealing than a diver without one. Even if the water is crystal clear and you don't need the light for visibility, the beam of light creates leading lines and a sense of purpose in the frame. It tells the viewer that the diver is searching or exploring.
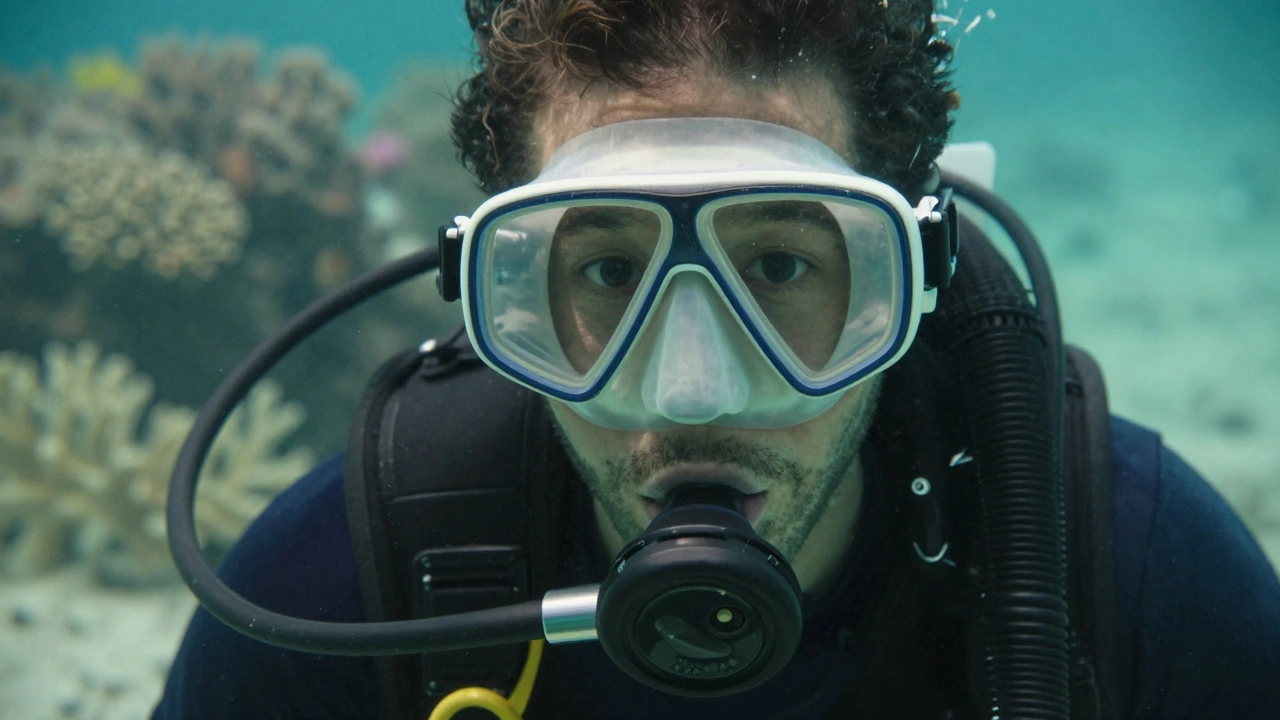
Depending on your goal, you'll want to switch between different styles. Wide-angle photography is the gold standard for including divers. It allows you to capture the person and their environment in one go, making it perfect for reefs and shipwrecks. If you want something more intimate, try a portrait style. Get close, ensure the eyes are sharp, and focus on the expression of the diver. This shifts the story from "look at this place" to "look at this person's joy."
| Style | Primary Goal | Best For | Key Technique |
|---|---|---|---|
| Wide-Angle | Context and Scale | Wrecks, Reefs, Large Animals | Shooting slightly upward |
| Portrait | Emotion and Intimacy | Dive Buddies, Instructors | Close proximity, eye focus |
| Silhouette | Graphic Contrast | Sun-lit shallows | Backlighting against the surface |
The Importance of Background and Depth
A common mistake is focusing so much on the diver that you forget what's behind them. A cluttered background can swallow your subject. To make a diver pop, look for contrasting backgrounds. Deep blue water is a classic choice because it isolates the subject and makes the colors of the dive gear stand out.
In muck diving-where you're searching for tiny creatures in sandy, gray environments-it's easy to get tunnel vision. Don't just shoot the tiny shrimp; pull back. Including a diver's hand or a silhouette in the background of a muck shot can prevent the image from looking like a random photo of mud. It adds a human element to an otherwise uninspiring landscape.
For a more professional look, play with the depth of field. By using a shallow depth of field, you can keep the diver in crisp focus while letting the background blur into a soft wash of color. This removes distractions and gives the image a natural, cinematic feel that draws the eye exactly where you want it.
Diving Skills: The Invisible Foundation
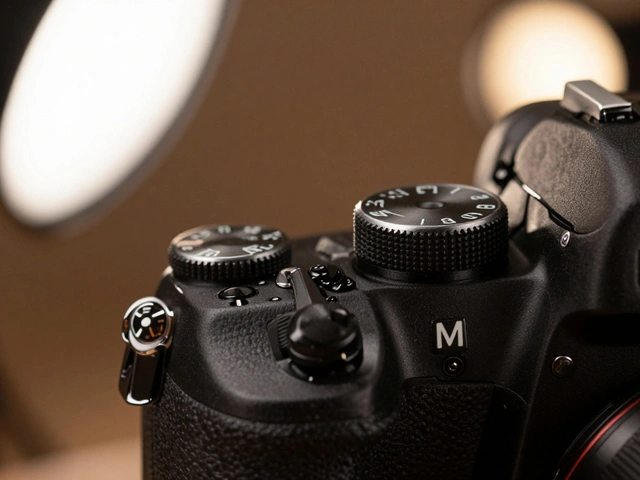
You can have the most expensive Nauticam housing in the world, but it doesn't matter if you can't stay still. Buoyancy control is the most critical skill for any underwater photographer. If you're struggling to maintain your depth, your photos will be tilted, and you'll likely kick up sand or damage coral, which is a nightmare for both the environment and your visibility.
Once the act of breathing and floating becomes automatic, your brain can finally stop worrying about survival and start thinking about art. Master your finning techniques so you can glide into position without creating a cloud of silt. The best shots happen when the photographer is completely relaxed, allowing them to focus on the geometry of the shot rather than the struggle of staying level.
Experimenting with Gear and Lenses
While most people reach for a standard wide lens, don't be afraid to break the rules. Try getting as close as possible to your subject with a wide-angle lens to create a distorted, immersive perspective. Some pros use fisheye lenses to capture a massive amount of the scene, wrapping the environment around the diver.
If you're feeling adventurous, look into vintage lenses. They aren't as sharp as modern glass, but they often provide a dreamy, ethereal quality that suits the floating nature of diving. Whether you're using a high-end mirrorless system or an action camera, the goal is the same: create a connection between the human and the ocean.
Should my dive buddy look at the camera?
Generally, no. Having a diver look directly at the camera can feel staged or like a snapshot. For a more professional and storytelling feel, have them look at the marine life or the environment. If you want their eyes in the shot, position them to look just to the side of the lens.
How do I prevent my diver from looking too small in wide shots?
It's a balance. If the goal is to show the scale of a shipwreck, the diver should be small. However, if the diver is the primary subject, use a "medium-wide" composition where the diver occupies about one-third of the frame, ensuring they are clearly identifiable while still showing the surrounding environment.
What is the best way to direct a buddy underwater?
Pre-dive briefing is key. Establish clear, simple hand signals for directions. Once underwater, use exaggerated gestures to indicate where they should move or where they should look. Patience is vital; give them time to adjust their buoyancy before snapping the photo.
Does lighting really matter if the water is clear?
Yes, but not always for visibility. Using a light source can create visual interest, add a "search-and-discovery" vibe to the composition, and help fill in shadows on the diver's face that are caused by the surface light coming from above.
Which lens is best for including people in shots?
Wide-angle lenses are typically the best choice because they allow you to capture the diver and the expansive underwater scenery. Fisheye lenses are also great for creating a sense of immersion, while a standard zoom can work for more intimate portraits.
Next Steps for Your Next Dive
If you've only been taking photos of fish, try this on your next trip: pick one buddy and dedicate a few minutes to capturing their interaction with the reef. Start by practicing your buoyancy until you can hover perfectly still, then experiment with shooting upward toward the surface to get a bright, clean background. Don't be afraid to move your buddy around-small adjustments in their angle can be the difference between a boring photo and a portfolio piece.