Underwater, colors vanish before your eyes. Red disappears first, then orange, then yellow-by 30 feet down, everything looks blue or green. Even if you’re shooting right next to a bright coral reef or a school of yellow tangs, your camera will capture muted, washed-out tones. That’s not because your gear is broken. It’s because water eats light. And without a reference, your camera has no idea what white actually looks like down there.
Why Your Underwater Photos Look Wrong
Your camera’s auto white balance works great on land. It sees a white shirt, a piece of paper, or a cloudy sky and adjusts the color temperature to make everything look natural. But underwater? There’s no white. The water filters out red wavelengths, leaving only blue and green light. Your camera thinks the whole scene is cool-toned, so it tries to compensate by adding even more blue. The result? A photo of a vibrant sea turtle that looks like it’s been dipped in ink. This isn’t just a problem for amateurs. Even pros who shoot with high-end housings and strobes struggle if they don’t set a custom white balance. You can’t rely on the "Underwater" preset mode-it’s a band-aid, not a fix. It helps a little in shallow water, but it’s not smart enough to adapt to changing depth, cloud cover, or water clarity. That’s where a white balance card comes in.What a White Balance Card Actually Does
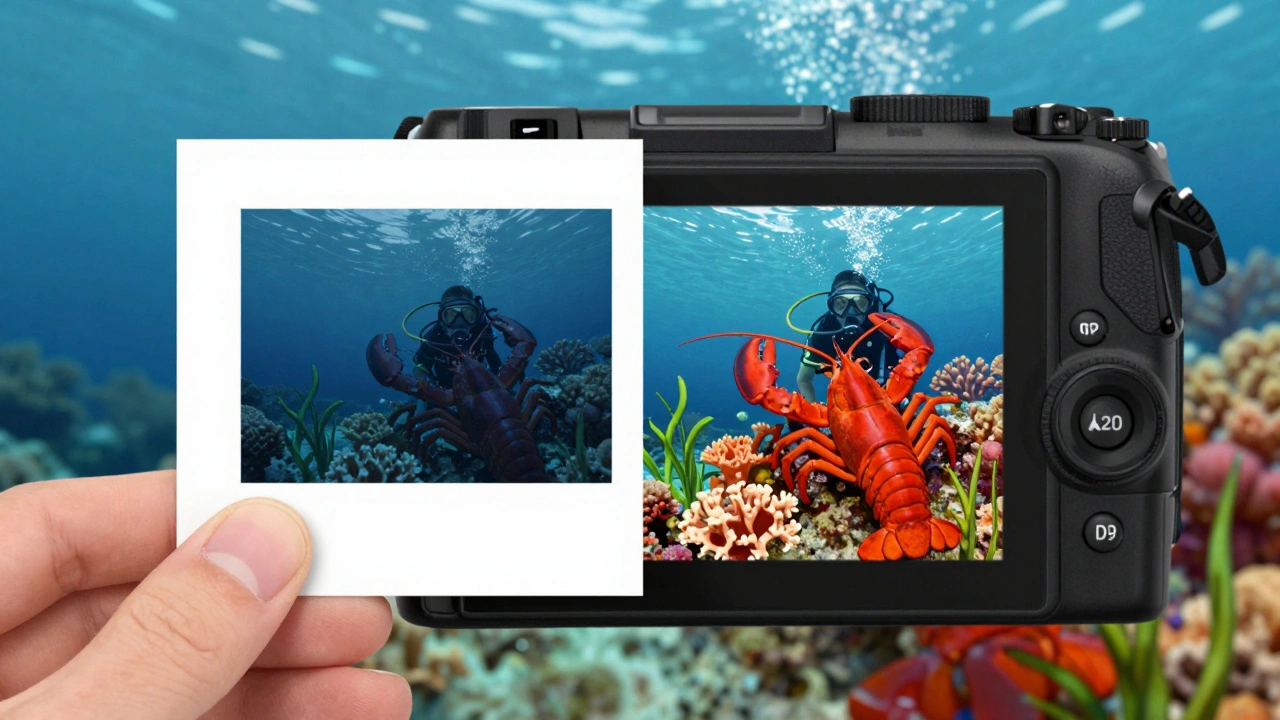
A white balance card is a simple tool: a small, durable plastic card, usually 18% grey or pure white. It doesn’t correct color. It doesn’t add light. It gives your camera a clear, reliable answer to the question: What is white here, right now? When you hold the card in front of your lens, fill the frame with it, and take a reference shot, your camera records exactly how the light is behaving at that exact depth and moment. Then, when you tell your camera to use that shot as a custom white balance, it recalibrates every pixel in every frame that follows. Suddenly, the red of a lobster, the orange of a sponge, the green of seagrass-they all snap back into place. It’s not magic. It’s math. Water absorbs wavelengths at predictable rates. At 10 feet, you lose about 50% of red light. At 30 feet, you’ve lost nearly all of it. A white balance card tells your camera: "This is what white looks like at 22 feet right now." And that’s enough to reverse the color shift.How to Use a White Balance Card Correctly
Using one isn’t complicated, but there are rules. Skip them, and you’ll get worse results than if you’d left the camera on auto.- Set your exposure first. Adjust aperture, shutter speed, and ISO for the scene. Don’t change these after you set white balance.
- Hold the card 3 feet in front of your lens. Too close, and the light won’t match the rest of the scene. Too far, and the card gets too small in frame.
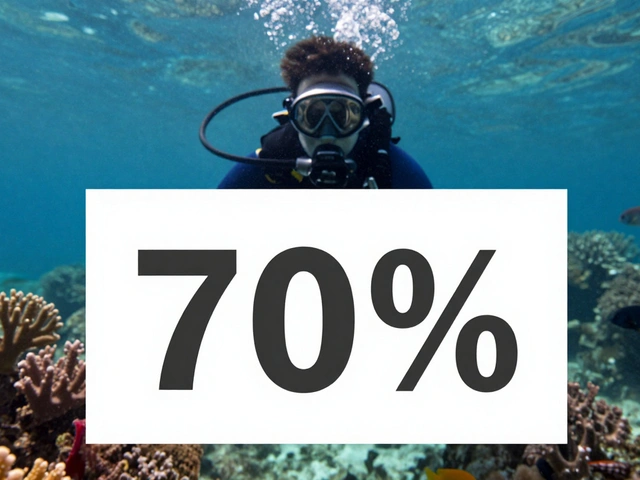
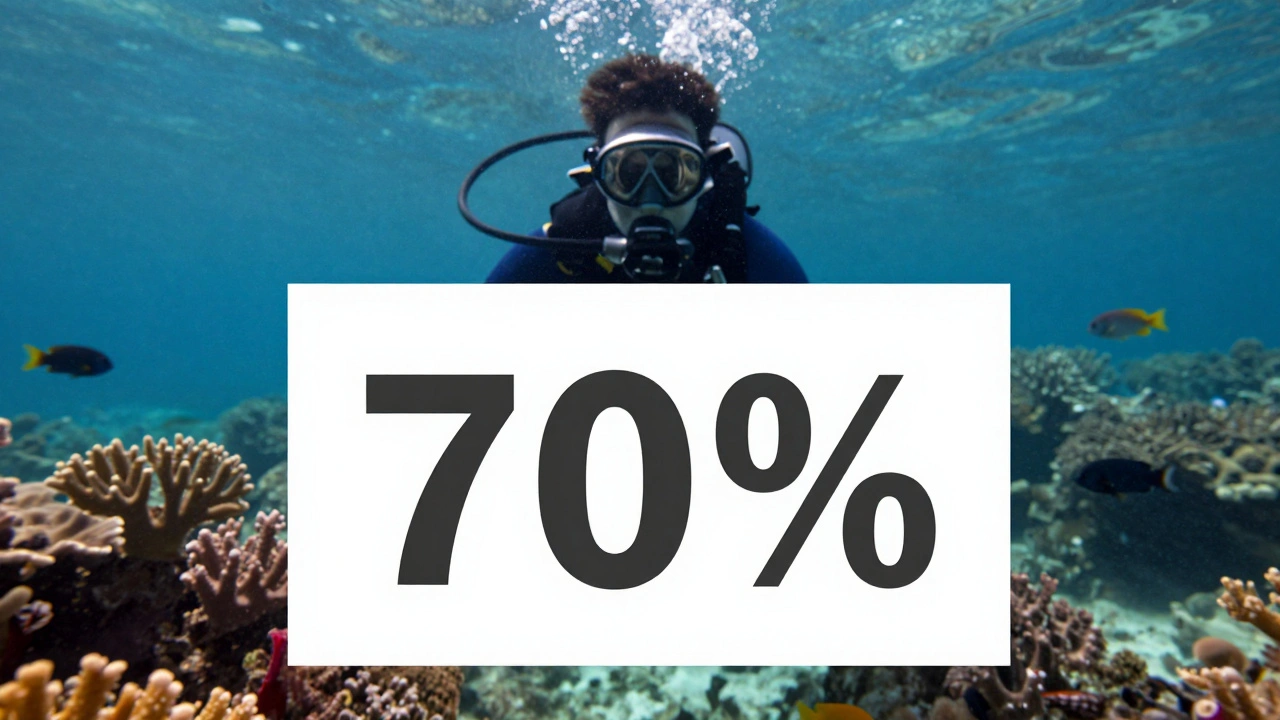
- Make sure the card fills at least 70% of the frame. No shadows. No reflections. No bubbles on the card.
- Take one photo. That’s your reference.
- Go into your camera’s menu, find "Custom White Balance," select the photo you just took, and confirm.
- Start shooting. Your colors will now be accurate for this depth and light condition.
What Happens If You Don’t Use One
You’ll end up with one of two problems:- Too blue: Your footage looks like it was shot in a swimming pool. Details are lost. Colors are dull. You’ll spend hours in editing trying to pull back reds and oranges-only to find your video is in H.264, and there’s no recovery room.
- Too red: You set white balance underwater, then switched to flash or strobes and forgot to reset. Now your coral looks like it’s glowing in a neon sign. That’s because strobes emit full-spectrum light, and your camera thinks everything should be cool. The result? A red explosion that looks unnatural.
Alternatives-And Why They Fail
People try to improvise. They use their hand. A white dive slate. A scuba tank. Sand. A buddy’s fins. These sometimes work. But they’re risky. Your hand? It’s not neutral. Skin reflects a little red. A white tank? It might be faded. Sand? It’s often greenish from algae. Fins? They’re not pure white-they’re designed to be durable, not color-accurate. A proper white balance card is manufactured to reflect exactly 18% grey or 100% white across the full spectrum. It’s tested under studio lighting. It doesn’t change with time or saltwater. It’s the only tool that gives you consistent, repeatable results.Smartphones and Apps Can Help-But Not Enough
If you’re shooting with an iPhone or Android in a waterproof housing, apps like ProCamera, Camera+, or Sealive let you adjust Kelvin values manually. That’s great. You can dial in 5500K for sunny conditions or 7000K for deeper water. But here’s the catch: you’re guessing. You don’t know the exact color temperature of the light at your depth. A white balance card gives you the real number. Apps give you a guess based on a guess. For casual shots, it’s fine. For serious work? You need the card.RAW Files Are Your Safety Net
If you shoot in RAW, you have room to fix mistakes. You can tweak white balance in Lightroom or Capture One after the dive. But that’s not a replacement. It’s insurance. Why? Because RAW files are huge. You’ll fill memory cards faster. You’ll need a better computer to edit. And if you’re shooting video? Most underwater cameras don’t record RAW video. So if you’re doing video, you have one shot to get it right. Even with RAW, setting a custom white balance on the dive saves you hours in post. You’ll still need to tweak, but you won’t be starting from blue.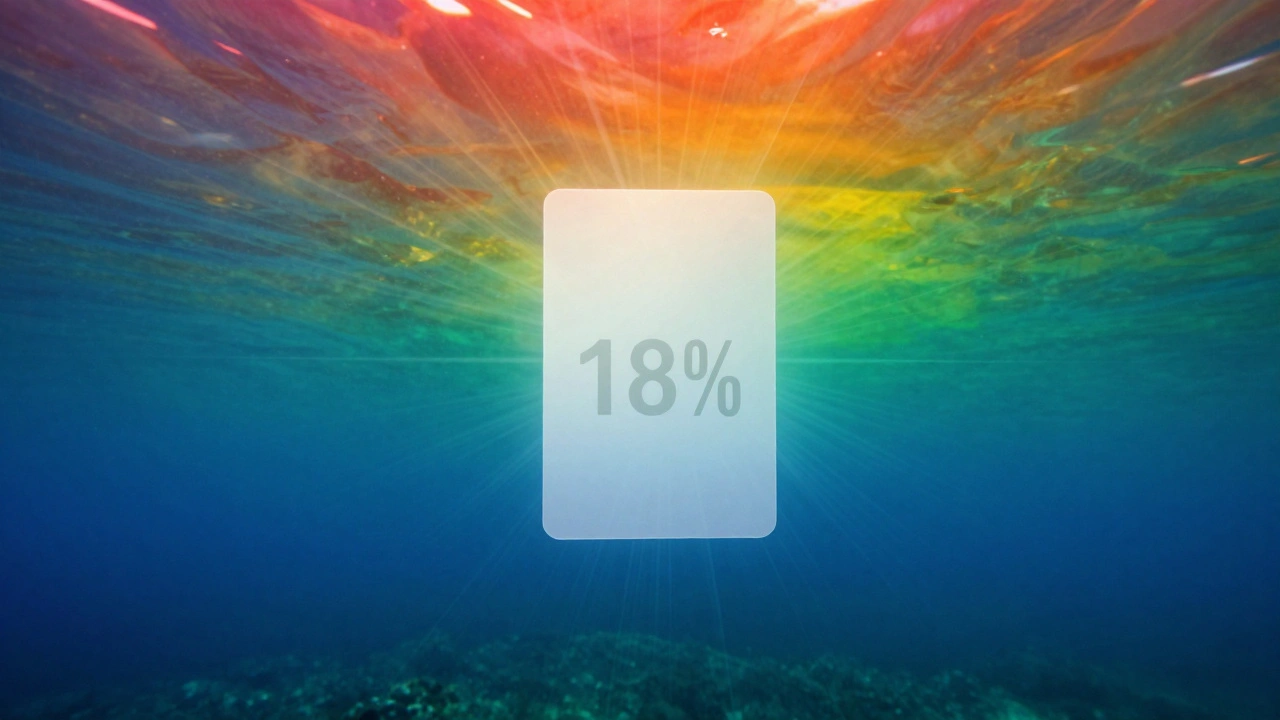
When to Reset Your White Balance
You don’t need to reset it every foot. But you can’t ignore depth changes.- Change depth by 10-15 feet? Reset.
- Clouds roll in? Reset.
- Move from sunlit surface to shadow of a wreck? Reset.
- Switch from ambient light to strobes? Reset.
- Start a new dive? Always reset.
Combine With Filters and Lights
A white balance card works best when paired with other tools. At depths beyond 40 feet, even the best custom white balance can’t fully restore reds. That’s where color correction filters come in. A red filter screws onto your lens and adds back the wavelengths water stole. But you still need to set white balance after putting it on. Otherwise, you’ll get muddy orange. Strobes? They’re full-spectrum. Use auto white balance with them. But if you’re mixing ambient light and strobes? Set white balance using the card under ambient light, then turn on the strobe. The card gives you a baseline. The strobe fills in the missing colors.Final Rule: Always Have One
You don’t need a fancy card. A simple plastic one, tethered to your BCD or housing, costs under $15. It lasts years. It fits in a pocket. It’s lighter than your dive log. If you shoot underwater-still or video-this isn’t optional. It’s the difference between a photo that looks like a scene from a nature documentary and one that looks like a blurry, blue mess. Your camera doesn’t see color the way you do. It needs a reference. And the only thing that gives it that reference? A white balance card.Do I need a white balance card if I use strobes?
No, not if you’re only using strobes. Strobes emit full-spectrum light, so your camera’s auto white balance will work fine. But if you’re mixing strobes with ambient light-like shooting near a reef with sunlight peeking through-you should still use a white balance card to set the baseline. Otherwise, your colors will look inconsistent.
Can I use a white sheet of paper instead of a card?
Don’t. Regular paper reflects light unevenly and often has a slight blue or yellow tint. It’s not color-accurate. Plus, it gets soggy underwater. White balance cards are made from plastic that stays stable in saltwater and reflects neutral tones. Paper is a temporary fix at best.
Why is my white balance still off after using the card?
You probably changed depth, lighting, or added a filter without resetting. Or your card wasn’t properly lit-maybe it was in shadow, or you had bubbles on it. Always check: the card must be fully visible, evenly lit, and fill most of the frame. If you moved, reset. If you changed gear, reset.
Do I need a white balance card for video?
Yes-more than for stills. Video doesn’t let you fix color later. Once you record, the color cast is baked in. If you skip white balance, your entire clip will look unnatural. Professionals reset their white balance every 1-2 meters of depth change during video shoots. It’s not optional.
What’s the best brand for white balance cards?
Brands like Sea & Sea, Ikelite, and Nauticam make durable, saltwater-resistant cards. But even a generic 18% grey card from a photography store works fine. The key isn’t the brand-it’s that you use one consistently. A $10 card used every dive is better than a $50 card left at home.