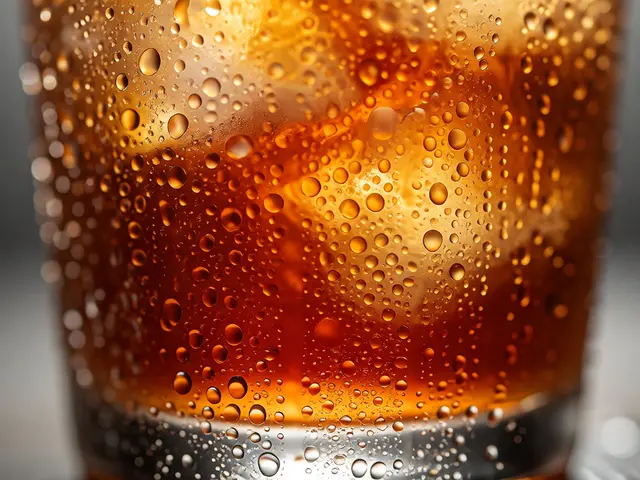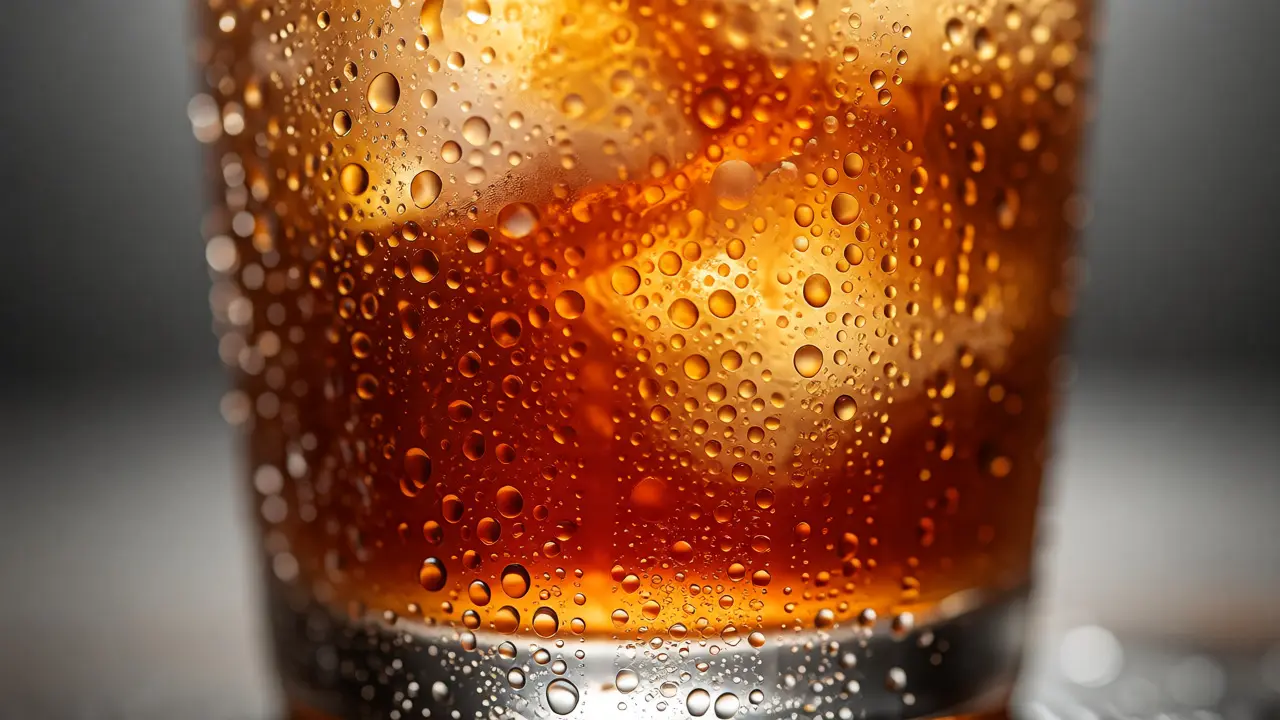
You know that feeling when you order a cold beer or a refreshing lemonade, and the first thing you do isn't take a sip? You stare at it. The water droplets clinging to the side of the glass catch the light, making the drink look impossibly crisp. That visual cue triggers a physiological response before your tongue even touches the liquid. If your beverage photography looks flat, dry, or like something from a stock photo archive, you're missing this critical layer of sensory appeal.
Capturing drinks appetizingly isn't just about pointing a camera at a glass. It's a mix of chemistry, physics, and careful staging. You need to master two specific elements: realistic condensation and strategic lighting (the "glow"). Get these wrong, and your cocktail looks warm and unappealing. Get them right, and viewers can practically taste the ice.
Why Your Drinks Look Warm and Unappetizing
The biggest mistake photographers make is shooting beverages that have already sat out for ten minutes. By then, the ice has melted, diluting the color and clarity. Worse, any natural condensation has evaporated or run down the glass in ugly streaks. A drink without condensation on a hot day feels fake. Our brains associate moisture on the outside of a container with cold temperature inside. No moisture equals no chill.
But you can't just spray water on the glass and hope for the best. Plain water runs off quickly, leaving large, irregular drops that look messy rather than fresh. You need a solution that mimics the slow-forming beads of true condensation. This is where food styling tricks come into play, specifically using glycerin-based sprays or hair products to create lasting texture.
Mastering the Art of Fake Condensation
Real condensation takes time to form, and by the time it does, your drink might be diluted. For commercial shoots or high-quality social media posts, you rarely use real condensation alone. Instead, you create it artificially. Here’s what works best:
- Glycerin and Water Mix: A 50/50 mixture of glycerin and water sprayed onto the exterior of the glass creates tiny, uniform droplets that stay put for hours. Glycerin is thick enough to resist gravity, so the drops don't slide down immediately.
- Hairspray: Yes, really. A fine mist of hairspray from a distance creates a matte finish that holds small droplets well. It’s less glossy than glycerin but great for a frosted look.
- Vegetable Oil: For a heavier, more dramatic drip effect, a thin coat of vegetable oil can hold larger water beads. Use sparingly, as it can look greasy if overdone.
To apply this correctly, wipe the glass completely clean and dry first. Any residue will cause the water to bead unevenly. Spray your mixture lightly, then use a cotton swab to dab individual spots if you want to control exactly where the droplets land. Focus on the lower half of the glass where condensation naturally pools. Too much on top looks unnatural because heat rises, keeping the upper part drier.
Lighting Techniques for the Perfect Glow
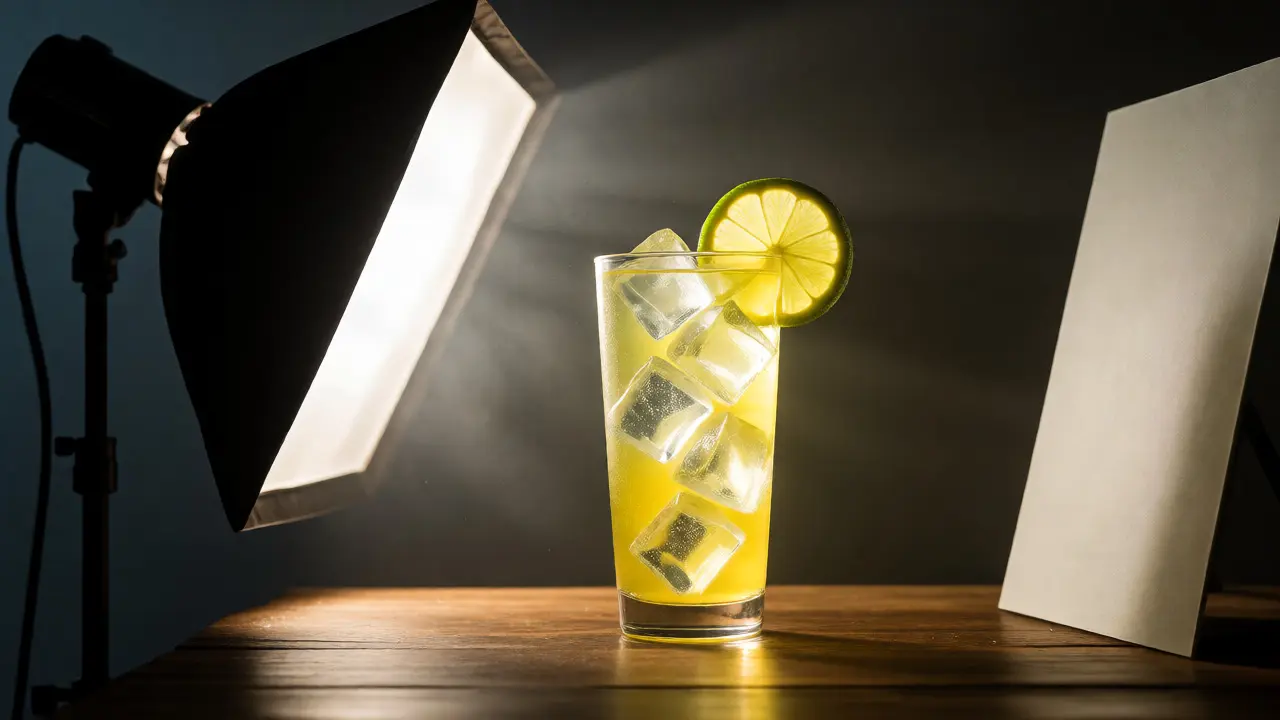
Once your glass looks cold, you need light to sell the illusion. Flat, frontal lighting kills depth and makes liquids look opaque and muddy. You want backlighting or rim lighting to highlight the translucency of the drink and the sparkle of the condensation.
Position your main light source behind or slightly to the side of the subject. This causes the light to pass through the liquid, illuminating its color from within. A dark soda looks rich and deep; a gin and tonic glows with clarity. This technique also catches the edges of the water droplets, creating tiny highlights that read as "fresh" to the viewer.
If you’re working with limited gear, a simple window setup works wonders. Place your drink on a table near a large window, but not in direct sunlight. Direct sun creates harsh shadows and melts ice too fast. Instead, diffuse the light with a white sheet or shower curtain. Position your camera opposite the window so the light comes from behind the glass. Add a reflector card on the shadow side to bounce some light back into the front of the drink, ensuring the label or garnish remains visible.
| Setup Type | Light Position | Best For | Effect |
|---|---|---|---|
| Backlighting | Behind the glass, slightly elevated | Clear spirits, sodas, juices | Highlights translucency and internal glow |
| Rim Lighting | Side-back angle | Darker drinks, cocktails with layers | Defines shape and accentuates condensation |
| Softbox Diffusion | Large softbox at 45-degree angle | Bright, airy lifestyle shots | Reduces glare, creates smooth gradients |
| Natural Window | Opposite the camera | Social media, casual blogs | Authentic, cost-effective, dynamic |
Styling Details That Elevate the Shot
Your drink doesn't exist in a vacuum. The surroundings matter. A sweaty glass on a cluttered counter looks like a mess, not a moment. Keep the background simple. Neutral tones-whites, grays, wood textures-let the drink pop. Avoid busy patterns that compete with the intricate details of the ice and bubbles.
Garnishes are your secret weapon. A slice of lime adds color contrast against a green mojito. A cherry provides a focal point for a martini. But here’s the trick: place the garnish so it interacts with the light. A citrus wheel held up to the backlight becomes a stained-glass window, glowing with vibrant orange or yellow hues. Make sure the garnish is fresh. Wilting mint or browned apple slices ruin the appetite appeal instantly.
Ice quality matters more than you think. Clear ice looks expensive and professional. Cloudy ice looks like freezer burn. To get clear ice, boil water twice before freezing it in a silicone mold. This removes dissolved gases that cause cloudiness. When placing ice in the glass, arrange it deliberately. Don’t just dump it in. Stack cubes to fill gaps and ensure they touch the sides of the glass, which helps conduct the "cold" visual cue to the viewer.
Camera Settings and Gear Tips
You don’t need a $3,000 lens to capture great beverage photos. A macro lens or a prime lens with a wide aperture (f/1.8 to f/2.8) works perfectly. The wide aperture creates a shallow depth of field, blurring the background and keeping the focus sharp on the condensation and the liquid’s surface.
Set your ISO low (100-400) to minimize noise, which can make the image look grainy and dirty. Since you’re likely using natural light or controlled studio lights, you can afford a slower shutter speed (1/60s to 1/125s). Just make sure your camera is stable. Use a tripod if possible. Handheld shots often miss the precise focus point needed to make the droplets sparkle.
White balance is crucial. Cool tones suggest freshness. If your camera auto-white-balances toward yellow, your cold drink will look lukewarm. Manually set your white balance to around 5500K for daylight or adjust until the whites in the image appear truly neutral, not creamy.
Common Pitfalls to Avoid
One common error is over-styling. If you add too many props-a napkin, a coaster, a book, sunglasses-the drink gets lost. The eye wanders. Keep the frame tight. Let the glass dominate 70% of the composition.
Another issue is ignoring reflections. Glass reflects everything. Check your reflection in the glass before shooting. Are you standing there holding a giant camera? Move out of the way or use a longer lens to avoid capturing yourself in the shot. Sometimes, a slight tilt of the glass can eliminate an unwanted reflection entirely.
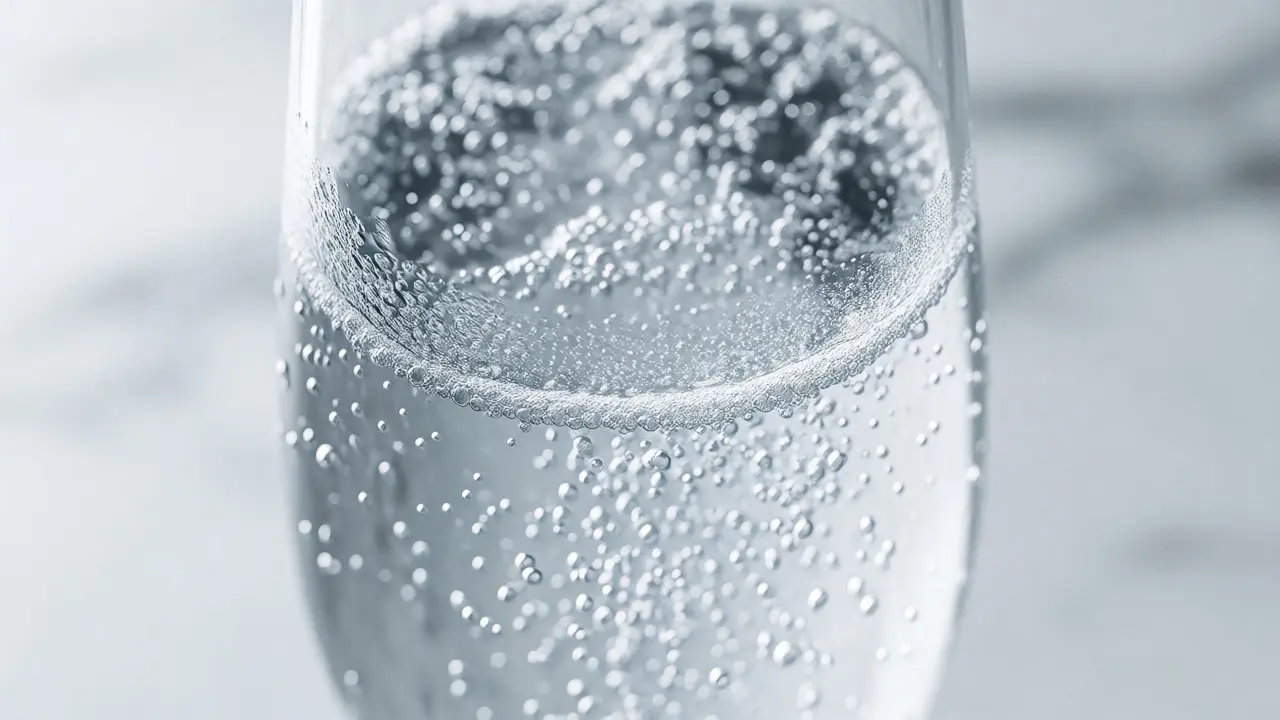
Finally, don’t forget the bubbles. Carbonation dies fast. If you’re shooting soda or sparkling wine, pour the drink immediately before pressing the shutter. Wait three seconds for the initial fizz to settle, then shoot. Waiting too long means a flat drink; shooting too soon means chaotic foam obscuring the liquid.
Frequently Asked Questions
How do I keep my drink looking cold during a long shoot?
Use a dummy drink for setup and a real one for the final shot. Fill a glass with colored water and ice for framing and lighting adjustments. Then, swap in a freshly poured, chilled beverage for the actual capture. This prevents melting and dilution from ruining your timing.
What is the best substitute for glycerin if I don't have it?
A mixture of corn syrup and water (1:1 ratio) works similarly to glycerin. It’s thicker than plain water, so droplets stay in place longer. Hairspray is another accessible alternative, though it may leave a faint scent or residue if used heavily.
Why does my drink look dull instead of glowing?
This is usually due to lack of backlighting. Frontal lighting flattens the liquid. Move your light source behind or to the side of the glass so light passes through the drink. Also, ensure your glass is spotless; fingerprints scatter light and reduce clarity.
Can I use real ice for clear results?
Yes, but you must prepare it properly. Boil water twice to remove air bubbles, then freeze it slowly in a cooler or insulated box. Rapid freezing traps air, causing cloudiness. Clear ice refracts light better, enhancing the 'glow' effect in photos.
How close should my camera be to the drink?
Get close, but respect your lens's minimum focusing distance. For most standard lenses, this is about 12-18 inches. Using a macro lens allows you to get even closer, capturing intricate details of condensation and bubbles. Always check focus manually to ensure the sharpest point is on the front edge of the glass.