You’ve got the perfect plate of pasta. The steam is rising just right, the cheese is melting exactly where you want it, and the colors are popping. But when you look through your viewfinder or check your screen, something feels off. There’s a harsh, black shadow under the fork that looks like a void, swallowing half the sauce. Or maybe the side of the steak facing away from the window is so dark it looks burnt, not seared.
This is the most common frustration for food photographers working with natural light. We chase the sun because it’s free and beautiful, but direct sunlight is a bully. It creates hard contrasts that rarely flatter food. You don’t need expensive studio strobes to fix this. You need a piece of white foam board, a silver disk, or even a napkin. This guide breaks down how to use reflectors and bounce to tame those shadows without killing the mood of your shot.
Why Shadows Ruin Appetite (And How Light Fixes Them)
Before we grab any gear, let’s talk about why we’re doing this. In food styling, lighting dictates texture. Hard light flattens dimension; soft light reveals it. When a shadow is too deep, it hides details. A dark spot on a chocolate cake isn’t mysterious; it’s just invisible. Our goal isn’t to eliminate all shadows-that would make the food look flat and artificial. We want to lift the shadows enough to show detail while keeping the highlights bright and appetizing.
Think of your main light source (usually a window) as the key actor. The reflector is the supporting cast member who fills in the gaps. Without a reflector, the side of the dish opposite the light gets almost no illumination. With one, you bounce light back onto the subject, reducing contrast and revealing color saturation that was hidden in the darkness.
The DIY Toolkit: What Actually Works
You don’t need to buy a $50 collapsible reflector set today. Most of what you need is probably already in your house. Here is a breakdown of effective materials, ranked by ease of access and effectiveness for home setups.
| Material | Effect | Best For | Pro Tip |
|---|---|---|---|
| White Foam Board | Soft, neutral fill | General purpose, beginners | Tape two pieces together for rigidity |
| Silver Foil / Cardboard | Bright, specular highlights | Metallic surfaces, drinks | Crumple slightly to diffuse intensity |
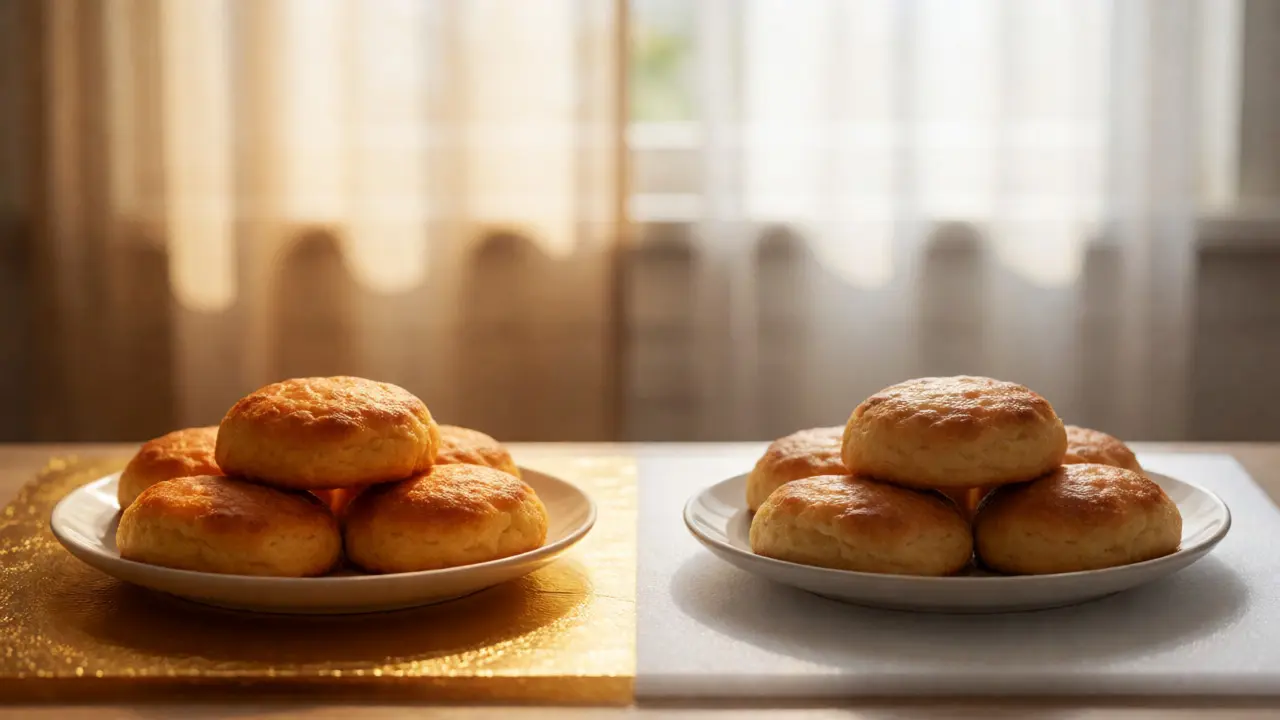
| Gold Reflector | Warm, golden tones | Baked goods, autumn themes | Use sparingly; can skew white balance |
| Black Card (Flag) | Absorbs light, deepens shadows | Moody shots, high contrast | Not a reflector, but essential companion |
White foam core is the MVP here. It’s cheap, available at any craft store, and provides the most flattering, neutral light. Unlike silver, which adds a metallic sheen, white bounces light softly, preserving the natural color of the food. If you’re shooting a vibrant salad, you don’t want the red tomatoes looking orange because of a gold reflector. Stick to white unless you have a specific artistic reason to go warm.
Positioning: The Angle Matters More Than Distance
Here is where most people fail. They hold the reflector flat against the table, parallel to the camera lens. This often results in glare or uneven lighting. Instead, treat the reflector like a mirror. If you were standing in front of it, where would the light hit your face? That’s where you angle it.
- The 45-Degree Rule: Start by placing your reflector at a 45-degree angle relative to the table surface. Tilt it toward the dish. This catches the light coming from the window and redirects it downward into the shadow areas.
- Height Adjustment: Hold the reflector slightly above the height of the food. If you hold it too low, you might bounce light directly into the lens, causing flare. Too high, and you miss the shadow entirely.
- Distance Control: Move closer to intensify the effect. Moving the reflector twice as close doesn’t double the light; it quadruples it (inverse square law). Start far away and inch it in until the shadows lift to your liking.
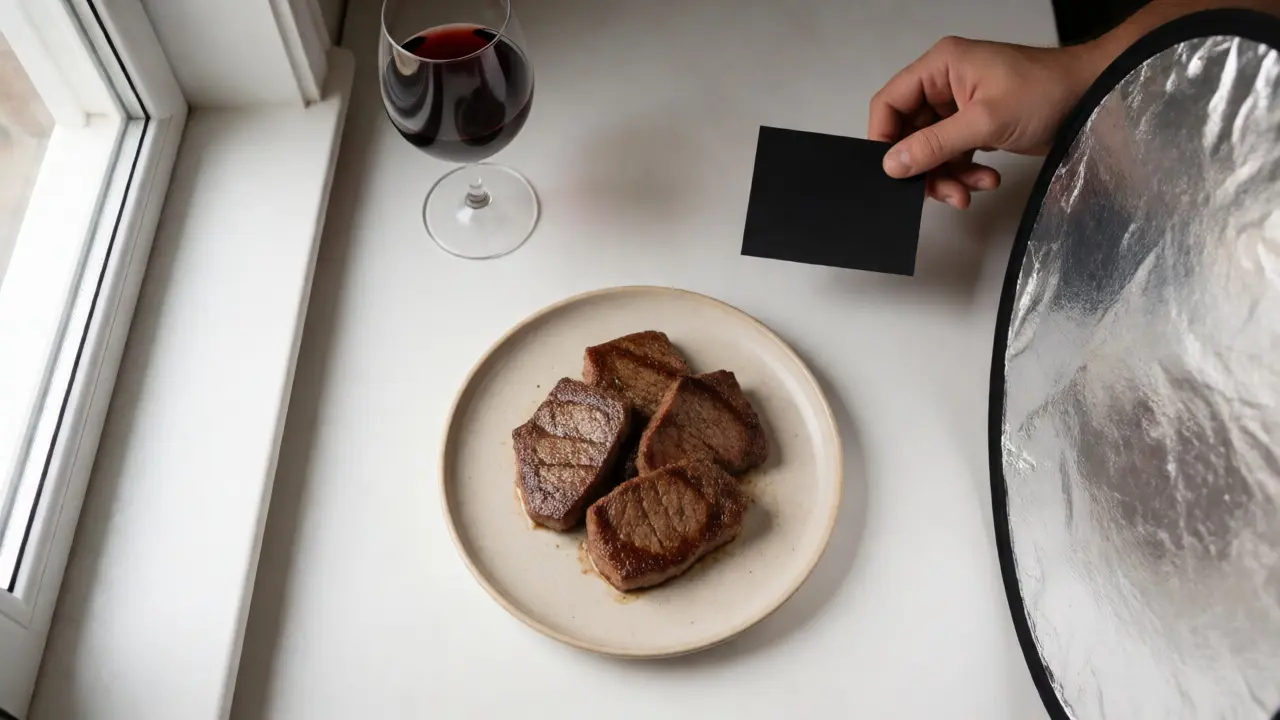
If you’re shooting overhead (flat lay), positioning becomes tricky because the reflector blocks your access to the plate. In this case, lean the reflector against a wall or prop it up behind the scene, out of frame. Alternatively, use a smaller hand-held reflector to manually adjust light on specific spots while you shoot.
Color Temperature: Don’t Let Your Reflector Lie
Light has color. Daylight from a north-facing window is cool (blueish). Incandescent bulbs are warm (orangey). When you bounce light, you transfer the color of the reflector to the food. White reflects neutral light. Silver reflects the color of the source but brighter. Gold adds warmth.
Let’s say you’re photographing a bowl of blueberry muffins. Blueberries are sensitive to color shifts. If you use a gold reflector, the berries might turn purple or muddy brown. Use white or silver. Conversely, if you’re shooting a rustic loaf of bread or a pumpkin pie, a subtle touch of gold bounce can enhance the crust’s toasted appearance. Just be careful not to overdo it. One trick: if you only have a gold/silver dual reflector, use the silver side but place a thin sheet of tracing paper or parchment paper between the reflector and the food. This diffuses the light and reduces the color cast.
Advanced Technique: Flagging vs. Bouncing
Sometimes, adding light makes the photo worse. If you have a very bright highlight on the edge of a glass, bouncing more light there will just blow out the detail. This is where flagging comes in. A flag is a black card placed between the light source and the subject to block light, creating deeper shadows.
Combine these two techniques for dynamic range control. Place a white reflector on the left to fill the shadow side of a burger. Then, place a black flag on the right, near the light source, to prevent light from hitting the background or spilling onto the plate unnecessarily. This keeps the focus tight on the food and maintains a moody atmosphere while still showing detail in the dark areas.
Troubleshooting Common Lighting Mistakes
Even with the best tools, things go wrong. Here are quick fixes for frequent issues.
- Ghosting/Glare: If you see a reflection of the reflector in a shiny surface (like a glazed donut or a wine glass), move the reflector further away or change its angle. Shiny foods act like mirrors.
- Uneven Fill: If one side of the plate is bright and the other is still dark, your reflector is likely too small or positioned incorrectly. Try using a larger board or moving it closer. Ensure it covers the entire width of the shadow area.
- Loss of Texture: Did your steak look juicy before, but now it looks flat? You probably added too much fill light. Remove the reflector completely and take a test shot. Reintroduce it slowly, checking every few inches of movement.
- Background Distraction: Sometimes the reflector itself ends up in the frame. Check your edges! If you can’t avoid it, blur the background intentionally with a wider aperture (lower f-stop number) so the reflector becomes an indistinct shape rather than a distracting object.
Practical Example: Shooting a Bowl of Soup
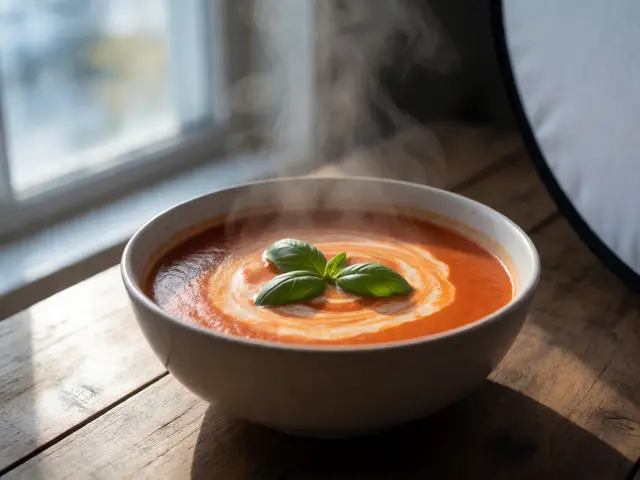
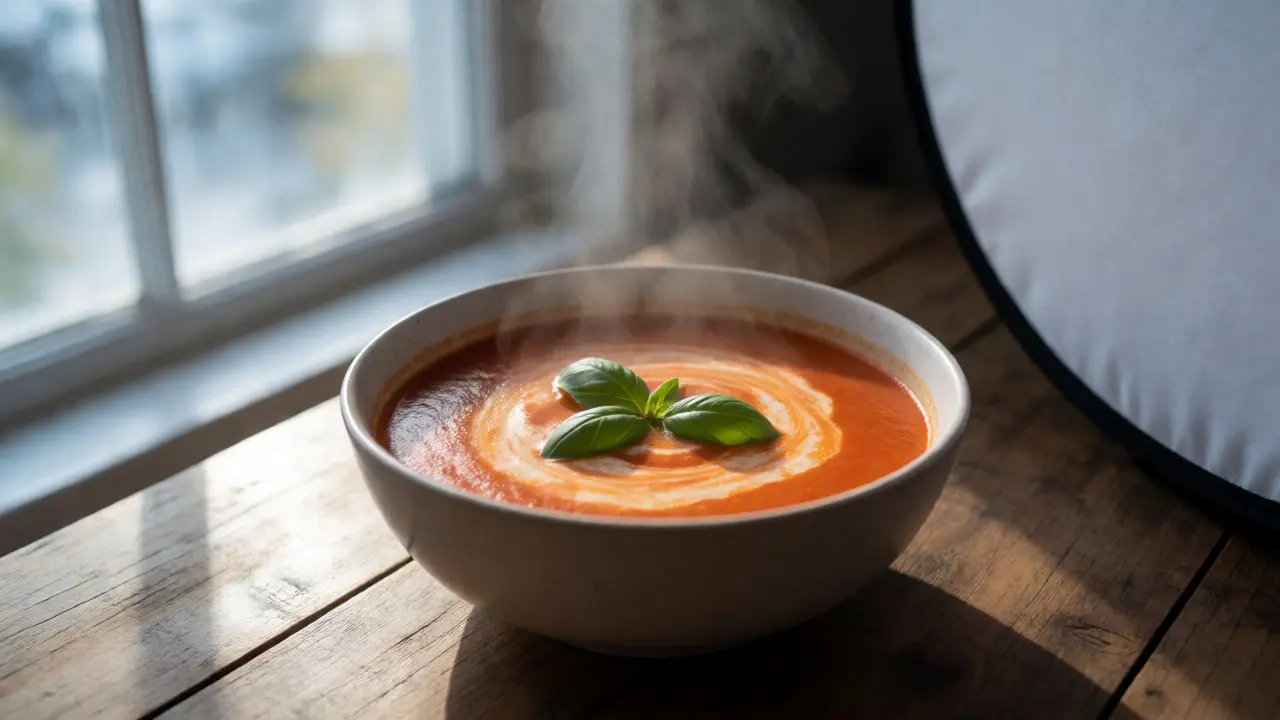
Imagine you’re shooting a creamy tomato soup with basil garnish. You set up next to a window. The light hits the left side of the bowl, leaving the right side in shadow. The cream swirls are barely visible on the dark side.
- Baseline: Take a photo without any reflectors. Note the harsh shadow on the right.
- Add White Bounce: Hold a white foam board vertically on the right side of the bowl, angled toward the light source. Watch the screen. The shadows should soften immediately.
- Fine-Tune: Is the shadow gone? Good. Now, is the image too flat? Pull the board back slightly until some depth returns.
- Highlight Management: The spoon handle is reflecting the window too brightly. Move the reflector slightly lower or tilt it away from the spoon to reduce that specific hotspot.
- Final Check: Look at the basil leaves. Are they green and vibrant, or washed out? If washed out, the light is too strong. Add a diffusion layer (like a shower curtain or sheer fabric) between the window and the soup, then re-adjust the reflector.
This process takes seconds once you get used to it. The key is iteration. Shoot, adjust, shoot again. Don’t guess-look at the histogram or the screen zoom.
Conclusion: Master the Light Before Buying Gear
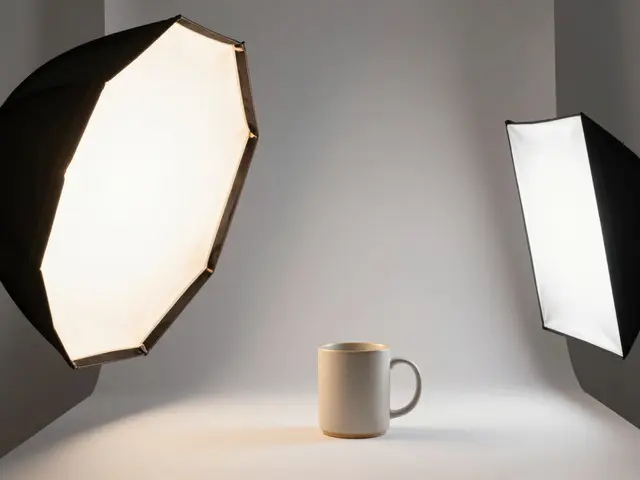
You don’t need a ring light or a softbox box to start getting professional-looking food photos. Understanding how to manipulate existing light with simple reflectors gives you more creative control than buying new equipment. Start with a white foam board. Learn how distance and angle affect the fill. Experiment with color temperature. Once you master these basics, you’ll realize that 90% of your "bad" photos weren’t due to a lack of gear, but a lack of light management. Grab a piece of cardboard, head to your kitchen window, and start bouncing.
Can I use my phone screen as a reflector?
Yes, but it's limited. A lit white screen emits a small amount of light, which can help with very close-up macro shots, but it lacks the power to significantly lift shadows in standard food compositions. It’s better to use it as a last resort or for filling tiny dark corners.
Is silver or white better for food photography?
White is generally better for beginners and most foods because it provides soft, neutral light that preserves natural colors. Silver is stronger and creates harder, shinier highlights, which is great for metallic objects, drinks, or when you need maximum light output in a dim room, but it requires more careful positioning to avoid glare.
How do I stop reflections on glasses?
Reflections on glass are tricky. First, try angling the reflector so the light hits the glass at a different angle than the camera sees. Second, use a polarizing filter on your lens. Third, use a black flag instead of a white reflector near the glass to absorb stray light and create cleaner edges.
Do I need a tripod to use reflectors?
Not strictly, but it helps immensely. Holding a reflector steady with one hand while shooting with the other leads to blurry images and inconsistent framing. A tripod frees both hands, allowing you to position the reflector precisely and leave it there while you compose your shot.
What if I don't have a window nearby?
If you rely on artificial light, reflectors work differently. Artificial lights are often point sources. You’ll need to diffuse the light first (using a softbox or white sheet) before bouncing it. Directly bouncing a bare bulb will create harsh, unflattering shadows regardless of the reflector type.