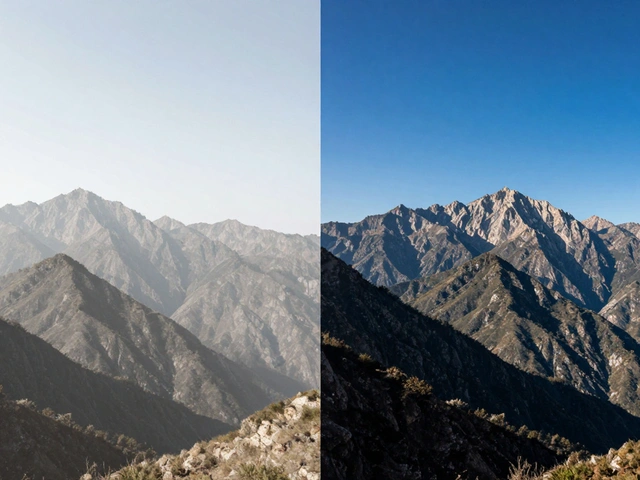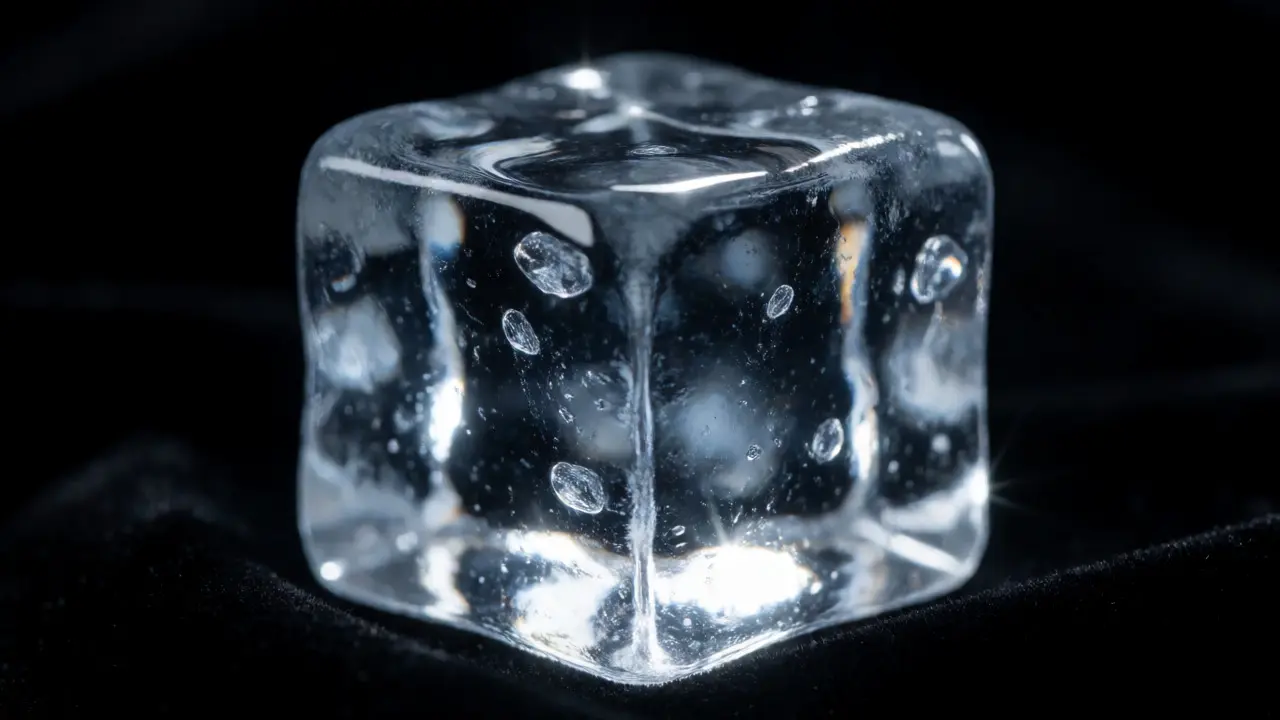
You’ve seen those photos where a single cube of ice looks like a diamond or a frost pattern rivals a galaxy. It’s not just luck; it’s physics. When you shoot macro photography of translucent subjects like ice and crystals, you’re fighting against flatness. Light passes through the object, bounces around inside, and exits in chaotic directions. If you don’t control that light, your image looks muddy. If you do, you get crisp edges, deep blacks, and brilliant highlights.
Most beginners make the mistake of blasting the subject with direct flash. This kills texture. For ice and crystals, you need to manipulate how light enters and leaves the material. This guide breaks down exactly how to achieve that glass-like clarity and that eye-catching sparkle without spending a fortune on studio gear.
Understanding Light Transmission in Translucent Subjects
Ice is a crystalline solid that refracts light. Unlike opaque objects, you can’t just light the surface. You have to light the volume. Think of an ice cube as a tiny lens system. Every facet bends light at a specific angle. Your job is to position light sources so they hit these facets at angles that reflect toward your camera lens.
This creates two distinct visual effects: sparkle and clarity. Sparkle comes from specular highlights-tiny, intense points of reflected light. Clarity comes from transmission-light passing through the body of the crystal to reveal internal structures or bubbles. You rarely want both at maximum intensity simultaneously. Too much sparkle blows out the details; too much transmission makes the subject look washed out. Balance is key.
| Light Position | Visual Effect | Best For | Risk Factor |
|---|---|---|---|
| Direct Flash (Front) | Flat, blown-out whites | Documentary style | High (loss of depth) |
| Backlight (Rim) | Glowing edges, high contrast | Internal structure visibility | Medium (background noise) |
| Side Light (Hard) | Sharp shadows, defined facets | Texture emphasis | Low |
| Top Down (Diffused) | Soft gradients, even tone | Frost patterns | Low |
Controlling the Background for Contrast
Here’s a secret pro photographers use: the background matters more than the foreground for ice. Because ice is transparent, whatever is behind it shows up in the image. A messy kitchen counter will ruin a perfect shot of a water droplet. You need isolation.
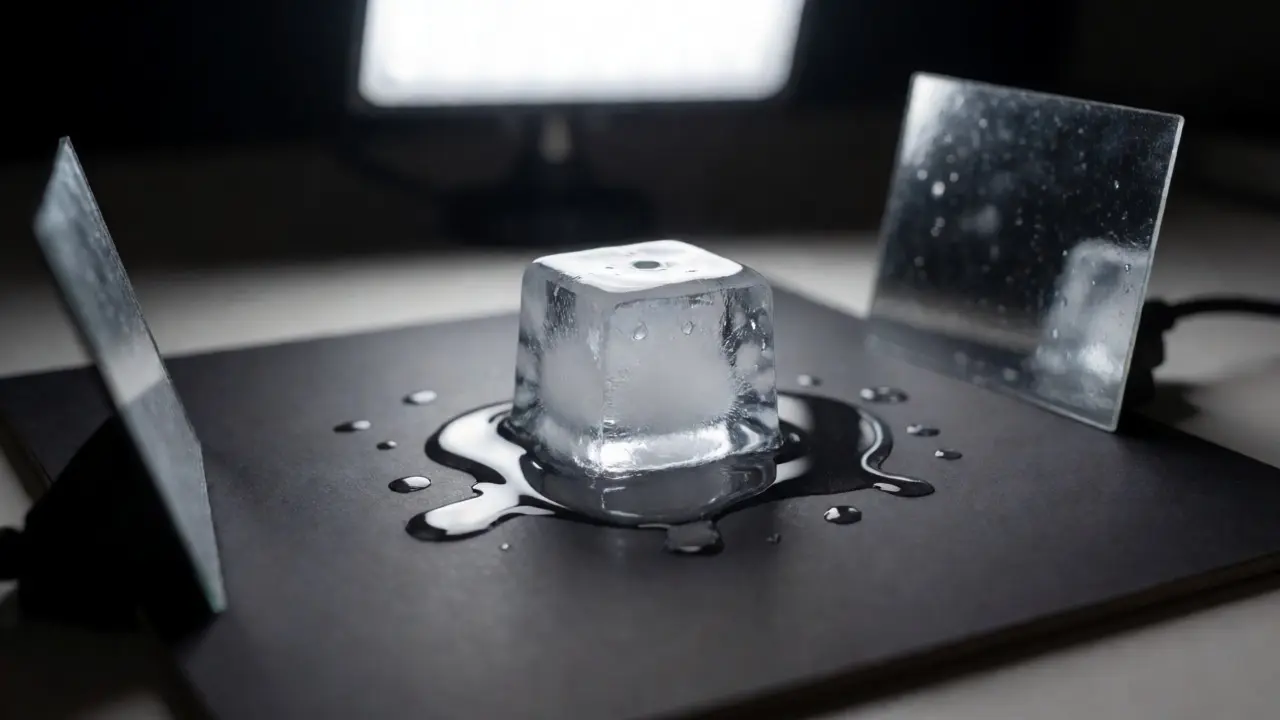
Use black velvet or a dark matte board placed close behind the subject. Black absorbs light, creating deep shadows within the ice itself. This negative space defines the shape of the crystal. If you want a "glowing" effect, place a white card or a bright LED panel directly behind the ice, but keep it out of focus. This technique, often called backlighting a technique where the primary light source is positioned behind the subject, turns the ice into a silhouette with luminous edges.
In my own work here in Portland, I often shoot early morning frost on windows. The sun acts as a natural backlight. But indoors? You have to build that environment. Don’t rely on your room lights. They cast mixed color temperatures and create distracting reflections. Control every photon that hits the sensor.
Techniques for Maximum Sparkle
Sparkle is all about small, hard light sources. A large softbox spreads light over a wide area, resulting in broad, dull highlights. To get those sharp, star-like glints, you need a point source. An LED flashlight works surprisingly well if you diffuse it slightly or bounce it off a small mirror.
- The Pinpoint Method: Use a single small LED bulb. Move it around until you see a bright dot reflect in the ice. Lock that position. This creates a "catchlight" that draws the viewer’s eye.
- The Multi-Point Setup: Arrange three small LEDs in a triangle around the subject. This ensures sparkles appear on multiple facets, giving the object a 3D feel.
- Bounce Cards: Take a piece of white foam core and fold it into a V-shape. Place a lamp outside the V. The light bounces twice before hitting the ice, creating softer but still directional highlights.
Be careful with exposure. Specular highlights clip easily. If your histogram shows spikes on the far right, dial back your ISO or shutter speed. You want the highlights to be bright but retain some detail. Pure white pixels are dead pixels-they contain no information.
Achieving Clarity Through Diffusion
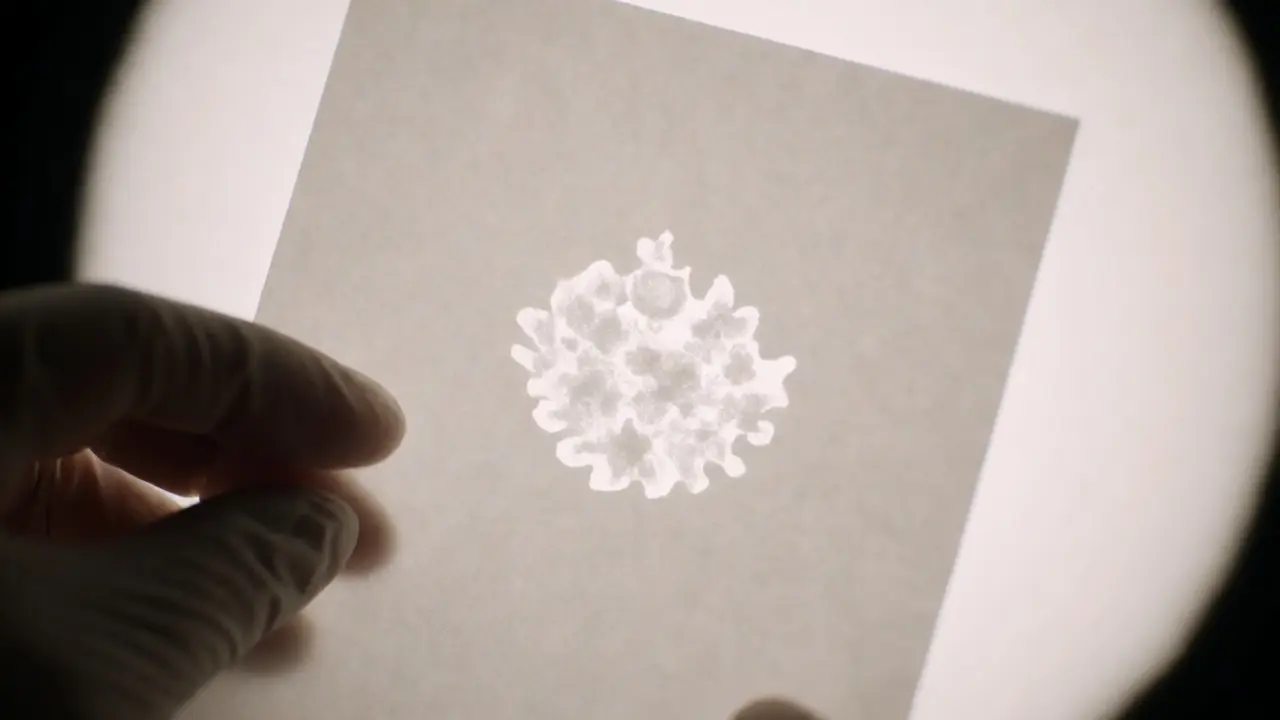
If sparkle is about hardness, clarity is about softness. To show the inner world of a crystal-the trapped air bubbles, the fractures, the cloudy bits-you need light to pass through evenly. This requires diffusion.
Place a sheet of tracing paper or a dedicated diffusion fabric between your light source and the ice. The larger the diffuser relative to the subject, the softer the light. For macro shots, even a small piece of parchment paper held six inches away can transform harsh glare into a gentle glow. This reveals the refraction index the measure of bending of light when passing from one medium to another differences within the ice, showing density variations that are invisible under direct light.
Try this experiment: Shoot an ice cube with direct flash. Then shoot it with the same flash bounced off a white ceiling. The second image will likely show more internal detail because the light entered the ice from multiple angles rather than reflecting off the surface immediately.
Managing Temperature and Melt
There’s a practical problem with shooting ice: it melts. Heat from continuous lights can distort your composition in seconds. Incandescent bulbs emit significant infrared radiation. Even modern LEDs generate some heat, though much less.
Keep your light sources cool. Use battery-powered LEDs instead of mains-plugged halogens. If you must use hotter lights, increase the distance and boost power, or use a fan set to low to move air across the scene without blowing the ice apart. Work fast. Pre-compose your shot with a dummy object, then swap in the ice at the last second.
Another trick? Freeze your subject. Instead of melting ice cubes, freeze water in silicone molds with added elements like herbs or food coloring. These frozen blocks hold their shape longer and offer more interesting internal structures than clear ice. Plus, you can prep them hours in advance.
Camera Settings for Sharp Details
Lighting is half the battle; capturing it is the other. At macro distances, depth of field is razor-thin. Focusing on the front edge of an ice cube means the back edge is already blurred. You need to manage this carefully.
- Aperture: Start at f/8 or f/11. Going smaller (higher f-number) increases depth of field but introduces diffraction blur, which reduces sharpness. Test your lens; most peak sharpness around f/5.6 to f/8.
- Focus Stacking: For extreme close-ups, take multiple shots focusing on different planes, then merge them in post-processing software like Photoshop or Helicon Focus. This gives you front-to-back clarity.
- Shutter Speed: Handholding at 10x magnification is nearly impossible. Use a tripod. If you’re shooting handheld, ensure your shutter speed is faster than 1/200s to combat micro-vibrations.
Don’t forget white balance. Ice picks up ambient colors instantly. If your room has yellow tungsten bulbs, your ice will look yellow. Set your custom white balance using a gray card or a piece of white paper lit by the same light source you’re using for the shot. Neutral whites make the ice look cold and clean.
Practical Workflow for Better Results
Success in macro photography isn’t about having the most expensive lens; it’s about systematic testing. Here is a checklist I use before pressing the shutter:
- Clean the Subject: Fingerprints on ice or crystals kill transparency. Wear nitrile gloves. Blow off dust with a rocket blower.
- Isolate the Background: Ensure no clutter is visible through the transparent parts of the subject.
- Set Base Exposure: Meter for the mid-tones, not the highlights. Let the highlights blow out slightly if necessary, but recover shadows in post.
- Add Key Light: Position your main light source. Adjust angle until you see desired refraction.
- Add Fill/Accent: Use a reflector card to bounce light into shadow areas if needed.
- Check Histogram: Verify highlight clipping.
- Shoot Bracketed Exposures: Take three shots at -1, 0, +1 EV to give yourself editing flexibility.
Remember, ice changes rapidly. What looks perfect in the viewfinder might melt into a puddle ten seconds later. Keep a towel nearby. Have a backup plan. Sometimes the melted drop is more beautiful than the solid cube.
Why does my ice look grey instead of clear?
Grey appearance usually results from poor contrast. Ice needs dark backgrounds to define its edges and bright highlights to show transparency. If everything is evenly lit, the ice blends into the scene. Try placing a black card directly behind the ice while keeping a bright light source in front or to the side.
Do I need a special macro lens for ice photography?
Not necessarily. While a dedicated macro lens offers the best optical quality, you can achieve similar results with extension tubes on a standard prime lens or a reverse-ring adapter. The key is magnification and working distance, not just the lens label. However, avoid zoom lenses at maximum zoom if they exhibit heavy distortion, as straight lines in ice structures may curve.
How do I prevent condensation on my lens?
When moving from warm rooms to cold environments (like photographing frozen subjects outdoors), condensation forms on the lens barrel. Acclimate your camera slowly by placing it in a sealed bag before exposing it to cold air. Indoors, avoid breathing near the lens and keep humidity controlled. A lens heater band can also help maintain temperature stability.
What is the best aperture for macro ice shots?
Start with f/8 to f/11. Wider apertures like f/2.8 create extremely shallow depth of field, making only a sliver of the ice sharp. Smaller apertures like f/16 or f/22 increase depth but introduce diffraction, reducing overall sharpness. Find the sweet spot for your specific lens, which is often two stops down from the maximum aperture.
Can I use sunlight for macro ice photography?
Yes, sunlight is excellent for natural sparkle and clarity. Direct noon sun provides hard light for sharp highlights, while golden hour light offers softer, warmer tones. Be mindful of wind, which moves the subject, and rapid melting. Using a diffuser panel between the sun and the ice can soften harsh shadows while retaining brightness.