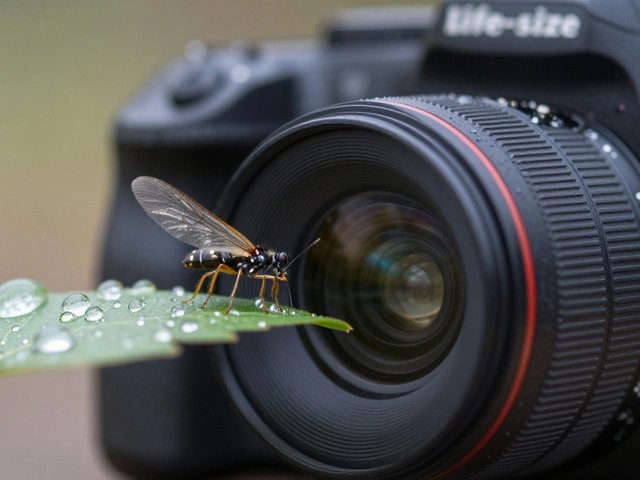
Ever zoomed in on a product photo only to see it turn into a blurry mess? That’s the nightmare of macro photography is a specialized form of close-up photography that captures extremely small subjects at life-size or greater magnification. For e-commerce brands, this isn’t just about making things look big; it’s about proving quality. When a customer can virtually feel the weave of a fabric or the grain of wood through their screen, trust goes up. But getting there requires more than just a cheap lens. It demands control over light, depth of field, and stability.
Why Standard Lenses Fail at Close Range
Most people think they need a dedicated macro lens to start, but the real issue is often the working distance and magnification ratio. A standard 50mm lens might get you close, but it rarely achieves true 1:1 magnification where the subject appears life-size on the sensor. If you’re shooting a watch face or a piece of jewelry, you need that level of detail. Without it, textures look flat and lack dimensionality.
The biggest technical hurdle here is depth of field is the range of distance within a photo that appears acceptably sharp. In macro work, this range shrinks to millimeters. At 1:1 magnification, even a slight movement can throw your focus off. This means if you shoot a single frame, only a tiny slice of your product will be sharp. The rest will fade into blur quickly. To fix this, you don’t just adjust your aperture; you change how you approach the shot entirely.
Essential Gear for Sharp Small-Item Shots
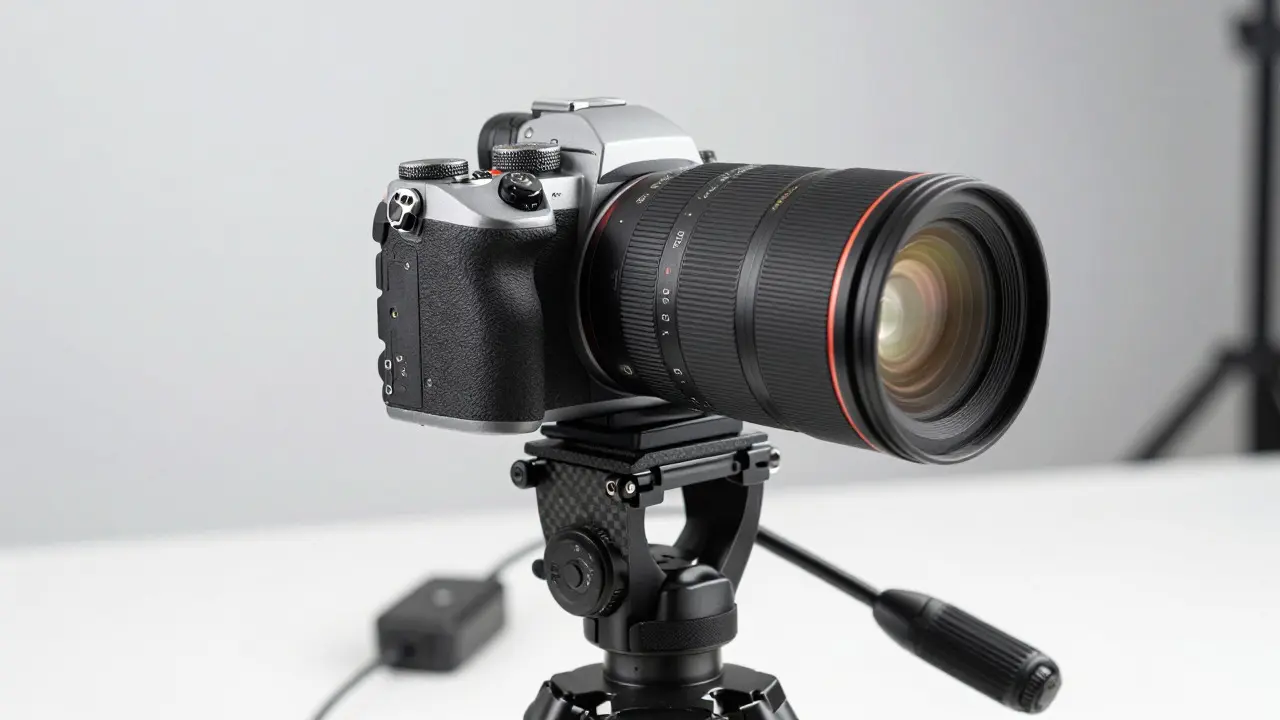
You don’t need the most expensive camera body in the world, but you do need specific tools to manage the physics of close-up shooting. Here is what actually matters:
- Mirrorless Camera Body: Live view is non-negotiable. It allows you to zoom in on your LCD screen to check focus precision before hitting the shutter. DSLRs are harder because you have to rely on the optical viewfinder, which doesn’t show the exact final image data.
- Macro Lens: Look for lenses with a minimum focusing distance of under 30cm. Popular choices include the Canon EF 100mm f/2.8L IS USM Macro or the Sony FE 90mm f/2.8 Macro G OSS. These provide the necessary magnification and optical clarity.
- Sturdy Tripod: Handheld macro is a recipe for disaster. Vibration reduction helps, but mechanical stability from a carbon fiber tripod prevents micro-shakes that ruin high-resolution files.
- Remote Shutter Release: Even pressing the shutter button gently causes camera shake. Using a cable release or your phone app ensures zero physical contact during exposure.
Mastering Light Control for Texture
Light is what reveals texture. Flat lighting makes products look like stickers; directional lighting gives them life. For small items, natural window light is often too soft and diffuse to create the contrast needed to highlight surface details. You need controlled, directional sources.
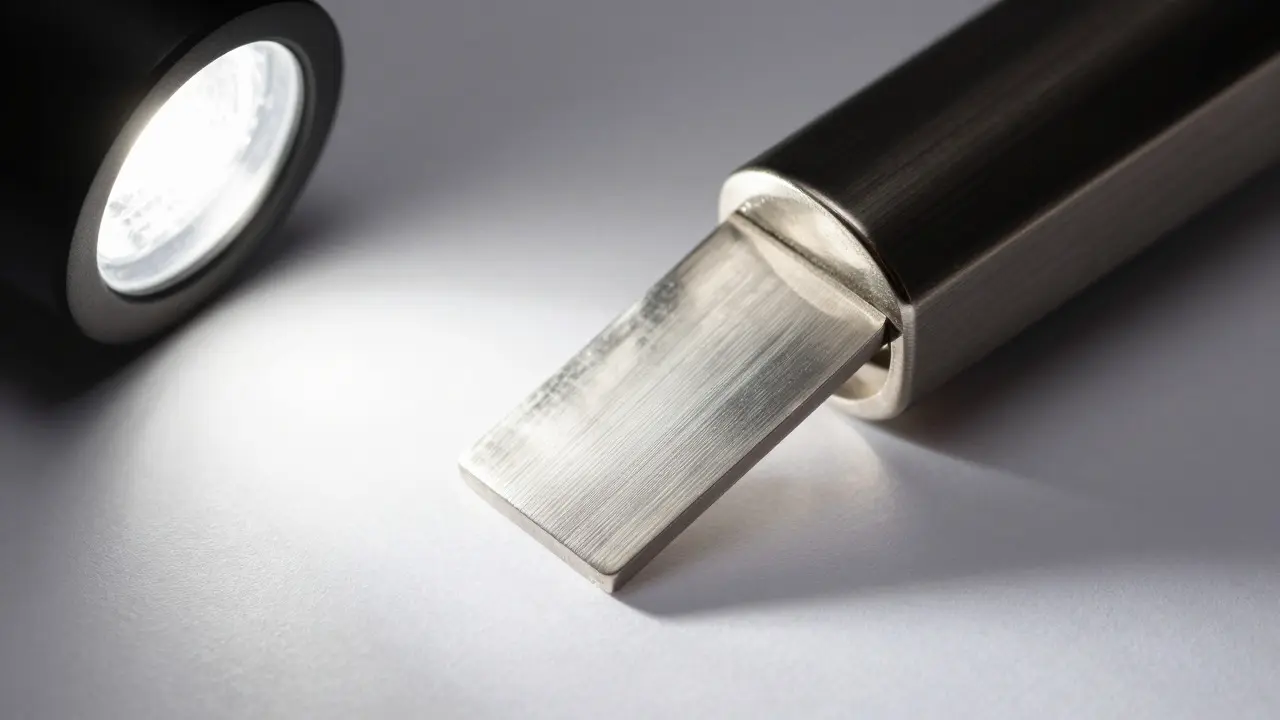
A common setup involves using two LED panels placed at 45-degree angles to the subject. One acts as the key light, defining the shape, while the other acts as a fill light, lifting shadows slightly. However, to really pop textures like brushed metal or leather grain, you might want to use a snoot or barn doors to narrow the beam. This creates harsher highlights that bounce off the microscopic ridges of the material, making the texture visible to the eye.
If you are shooting transparent or reflective items like glass or polished steel, you’ll need to manage glare. Use polarizing filters on both the lens and the light source to cut down reflections without losing detail. This technique, known as cross-polarization, is a game-changer for luxury goods.
The Focus Stacking Technique Explained
This is the secret weapon for professional product macro. Instead of trying to get the whole object sharp in one shot, you take multiple photos, each focused on a different plane of the object. Then, you blend them together in post-production software.
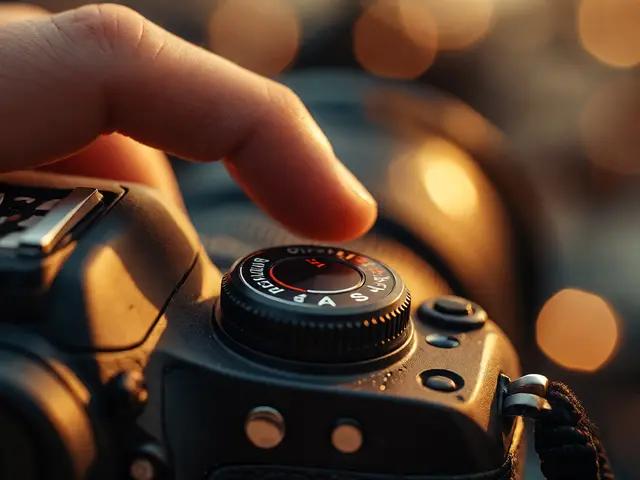
- Set your camera to manual mode (Aperture Priority or Manual) and lock your settings.
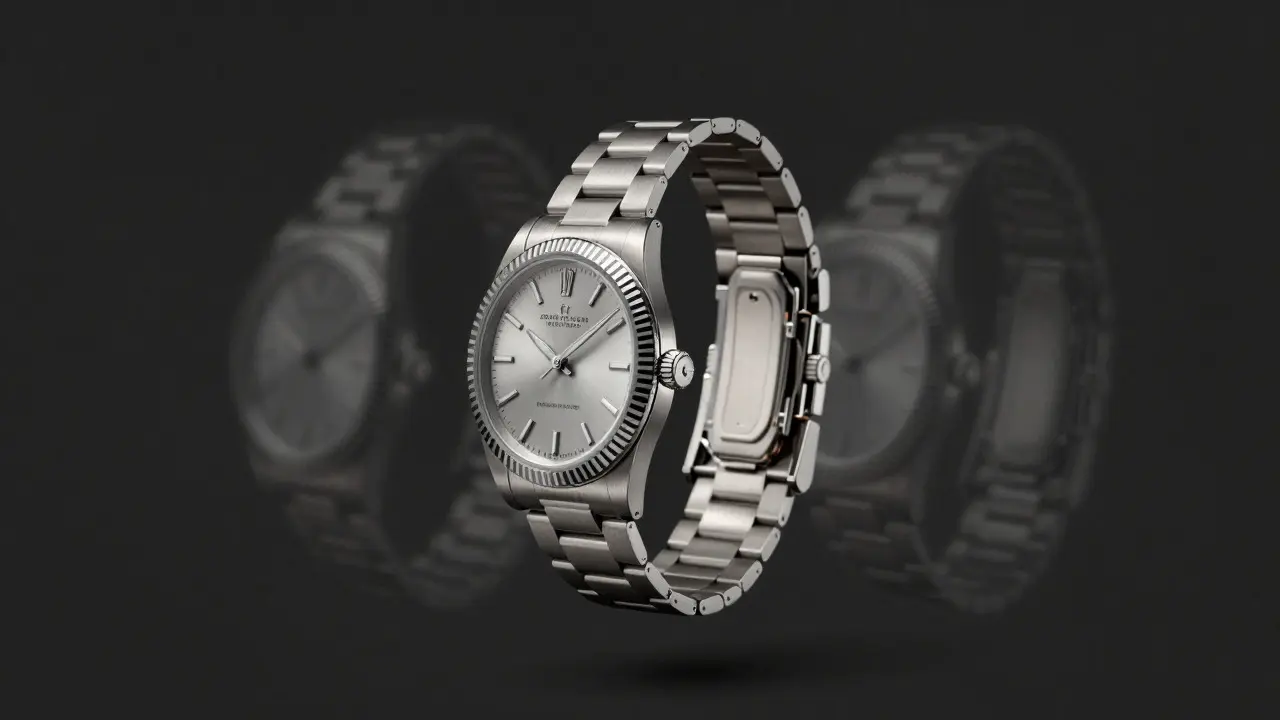
- Start by focusing on the closest part of the product (e.g., the front edge of a watch).
- Take the shot.
- Move the focus ring slightly toward the back of the product.
- Repeat until you’ve covered the entire depth of the object.
- Use software like Adobe Photoshop or Helicon Focus to align and merge the images.
The result is an image where every pixel, from front to back, is razor-sharp. This is impossible with a single exposure due to the laws of optics. Most commercial product sites you visit use this method for their hero shots. It takes time, but the payoff in perceived quality is massive.
Composition and Background Choices
In macro photography, the background is not just empty space; it’s part of the composition. Because your depth of field is so shallow, the background will likely be blurred out completely. This is actually helpful-it isolates the product. But you still need to choose a background color that complements the item.
For dark, textured items like black leather or matte metal, a light gray or white background provides strong contrast. For bright, delicate items like white flowers or silver jewelry, a darker charcoal or deep blue background helps them stand out. Avoid busy patterns unless you want to distract from the main subject. Simplicity lets the texture speak for itself.
| Texture Type | Recommended Lighting Angle | Modifier Used | Goal |
|---|---|---|---|
| Brushed Metal | Low angle (grazing) | Snoot | Highlight linear grain |
| Leather/Fabric | 45-degree side light | Softbox | Show pore/weave structure |
| Glass/Crystal | Backlight + Side fill | Polarizer | Reveal internal refraction |
| Wood Grain | Raking light (low) | Bare bulb | Emphasize knots and lines |
Post-Processing for Maximum Impact
Capturing the detail is only half the battle. Post-processing enhances what you’ve already achieved. Start by ensuring your focus stacking is clean-check for ghosting artifacts where edges move between frames. Then, apply subtle sharpening. Over-sharpening creates halos around edges, which looks artificial. Use high-pass filters or unsharp mask sparingly.
Color grading should match the brand identity. If you’re selling organic skincare, keep tones warm and earthy. For tech gadgets, cool blues and crisp whites convey precision. Adjust the local contrast (clarity) to make textures pop without increasing global noise. Finally, export in high resolution. E-commerce platforms often require images at least 2000x2000 pixels, but for macro detail shots, 4000+ pixels wide is ideal for zoom-in functionality.
Frequently Asked Questions
Do I need a dedicated macro lens?
Ideally, yes. While extension tubes or bellows can help standard lenses, a true macro lens offers better optical correction and closer working distances. It reduces distortion and allows for more precise focus control, which is critical for small items.
What is the best aperture for product macro?
There is no single best aperture. Usually, you shoot between f/8 and f/16 to maximize depth of field. However, since you are likely using focus stacking, you can shoot at f/11 or f/13 to balance sharpness and diffraction limits. Wider apertures like f/2.8 are too shallow for full product coverage in a single shot.
How many shots do I need for focus stacking?
It depends on the depth of the object. A flat card might need 5-10 shots. A complex 3D object like a wristwatch could require 30-50 shots. The rule of thumb is to overlap the sharp zones by about 50% to ensure seamless blending in post-production.
Can I use smartphone cameras for macro?
Yes, but with limitations. Modern smartphones have good computational photography features that can simulate depth of field. However, for high-end e-commerce where texture fidelity is key, a mirrorless camera with a proper macro lens still produces superior file sizes and dynamic range.
How do I prevent dust from ruining my shots?
Work in a clean environment if possible. Use a blower to clear dust from the sensor before shooting. During the session, avoid blowing air directly onto the product unless you are using compressed gas. Dust particles appear huge in macro shots, so prevention is easier than removal in post.