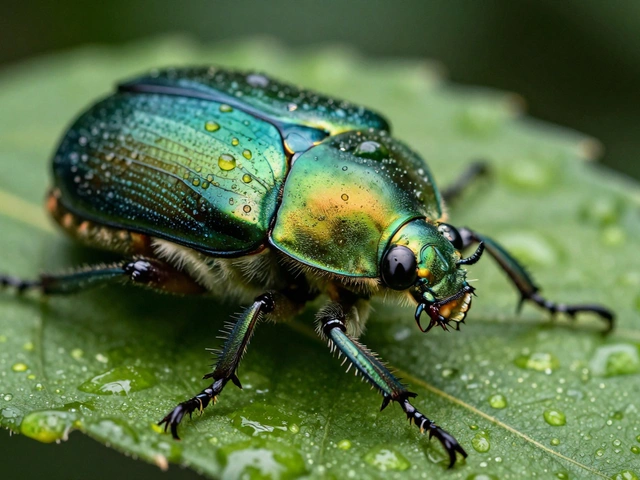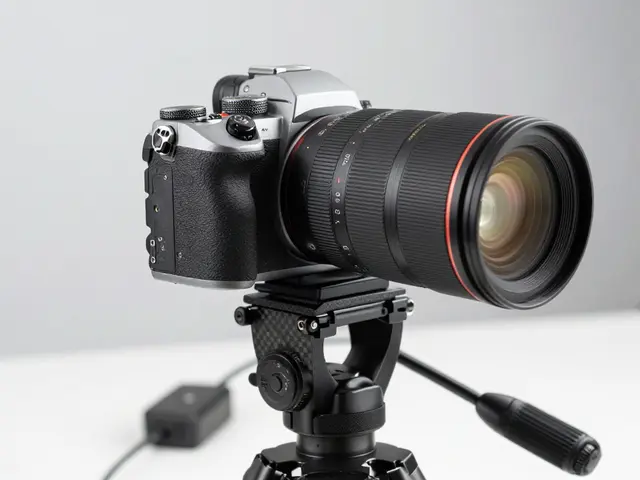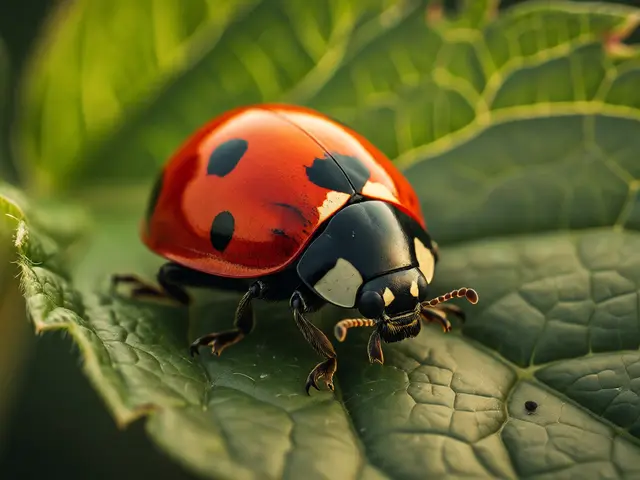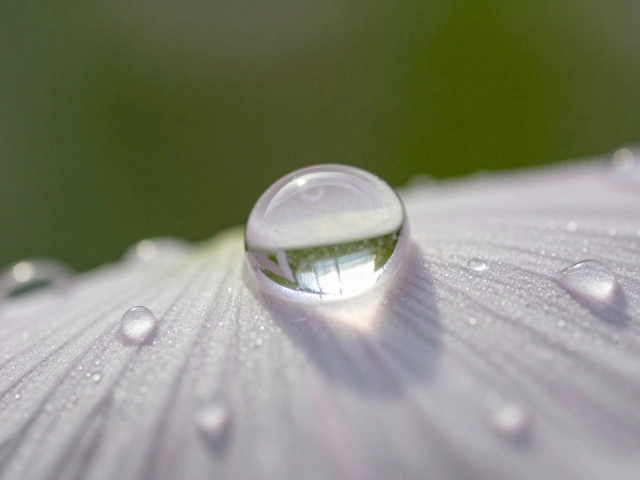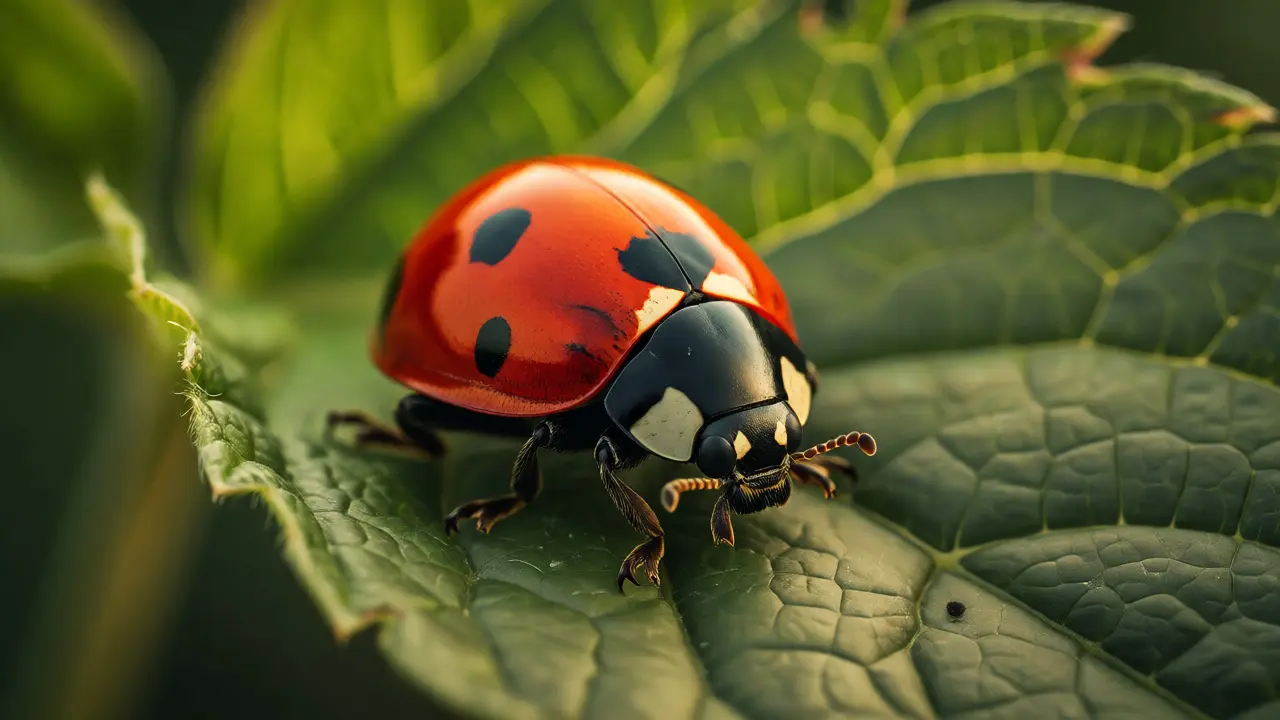
You spent an hour chasing a dewdrop on a spiderweb. You nailed the focus. The depth of field is razor-thin and perfect. But when you pull up the image on your laptop, the colors look wrong. That green leaf looks like swamp sludge. The red ladybug looks orange. Why? Because your camera’s auto white balance got confused by the extreme close-up.
Here is the hard truth about macro white balance: standard settings fail at high magnification. When you fill the frame with one specific color-like a bright yellow flower or a dark beetle-the camera tries to "correct" it, assuming that color should be neutral. It shifts the entire temperature to compensate, ruining the natural hue. For macro photographers, getting this right isn't just about post-processing; it’s about capturing the truth in-camera.
Why Auto White Balance Fails in Macro
Think of your camera’s sensor as a very literal assistant. If you tell it, "Make this look normal," and you show it a frame that is 90% bright green moss, it thinks, "This is too green. I need to add magenta to make it look white/gray." In landscape photography, this rarely happens because the sky (blue) and ground (brown/green) balance out. In macro, you isolate subjects. You remove context. The camera loses its reference point for what "white" looks like under those specific lighting conditions.
This phenomenon is known as color cast contamination. It is most severe when using artificial light sources like flash diffusers or continuous LED panels, which often have their own subtle tints. Even sunlight changes drastically depending on whether you are shooting in open shade versus direct sun. Relying on Auto White Balance (AWB) means you are gambling with every shot. Sometimes you win. Often, you spend twenty minutes in Lightroom trying to fix a color shift that never existed in real life.
The Gold Standard: Custom White Balance with a Gray Card
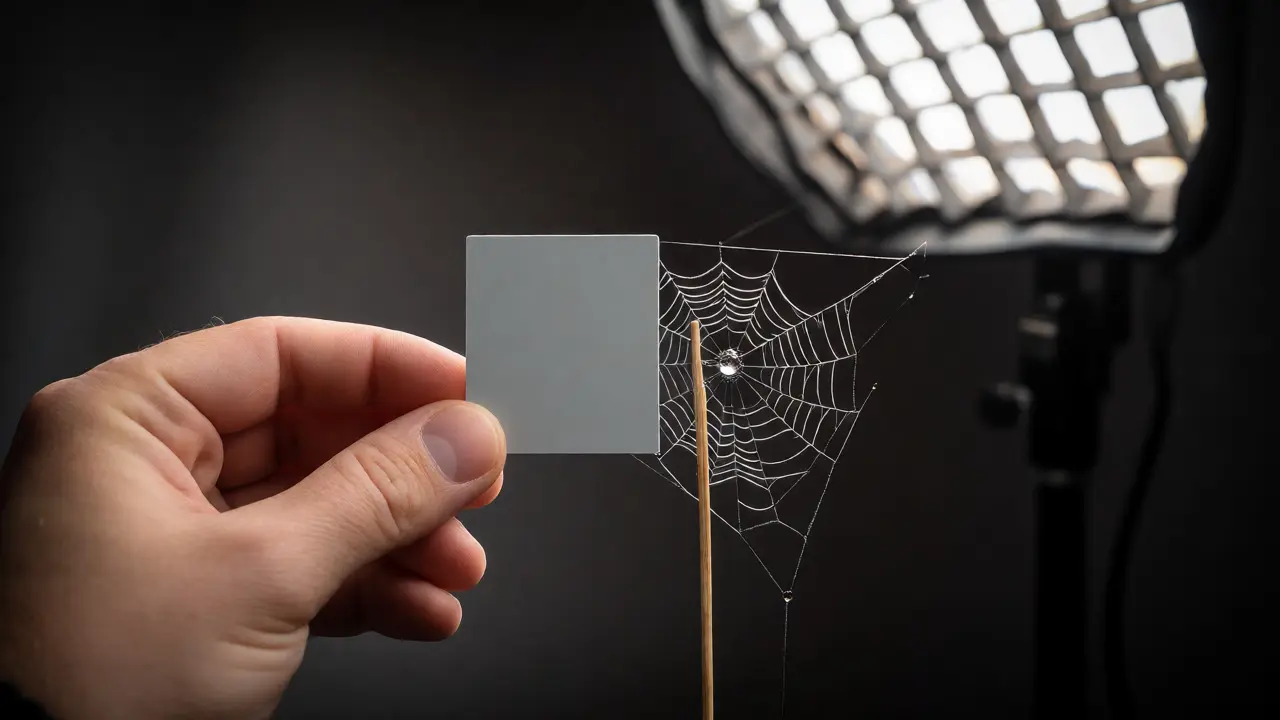
If you want accurate color, stop guessing. Use a gray card. Specifically, an 18% gray card. This tool reflects exactly 18% of the light hitting it, which is the mid-tone standard cameras use to define exposure and white balance. But here is the catch: holding a full-sized gray card next to a 5mm insect is impossible. You will block your light source or knock over your subject.
Instead, you need a mini gray card or a piece of neutral gray fabric taped to a thin stick. Position this small target in the exact same lighting plane as your subject. Fill the frame with the gray card. Take a photo. Then, go into your camera menu and select "Custom White Balance." Point the camera at that gray photo and confirm. Now, every subsequent shot in that lighting setup will have a mathematically correct baseline.
| Method | Accuracy | Speed | Best For |
|---|---|---|---|
| Auto WB | Low (Variable) | Instant | Candid street macro, changing light |
| Preset (Daylight/Cloudy) | Medium | Fast | Consistent outdoor conditions |
| Custom WB (Gray Card) | High | Slow (Initial Setup) | Studio, controlled flash setups |
| K-Value Manual | Medium-High | Medium | Advanced users with color meters |
Handling Flash Diffusion and Color Shifts
Most serious macro work involves flash. And most flash units come with built-in diffusion domes or softboxes. These materials are not perfectly neutral. They often introduce a slight blue or green tint. If you shoot RAW, you can fix this later, but fixing it in-camera saves time and preserves dynamic range. If you use a homemade diffuser made from plastic milk jugs or tracing paper, test it first. Shoot a gray card through that specific diffuser at the power level you plan to use. If the result is blue, set your custom white balance while looking at that blue-tinted gray card. The camera will subtract the blue automatically.
Be careful with mixed lighting. If you are shooting outdoors in the late afternoon, you might have warm sunlight coming from one side and cool shadow light from the other. A single custom white balance won’t fix both sides perfectly. In these cases, prioritize the main light source illuminating the subject's face or key features. Or, move your subject slightly to eliminate the mixed light entirely. Consistency beats perfection when dealing with complex ambient light.
RAW Files Are Your Safety Net, Not Your Crutch
Some photographers argue, "I shoot RAW, so white balance doesn't matter." This is partially true but misleading. Yes, you can adjust white balance non-destructively in software. However, large adjustments introduce noise and banding, especially in shadows. Furthermore, if you don't get it close in-camera, you lose visual feedback on your LCD screen. You might think the exposure is perfect, only to realize later that the highlights are blown out because the camera misinterpreted the brightness due to incorrect color data.
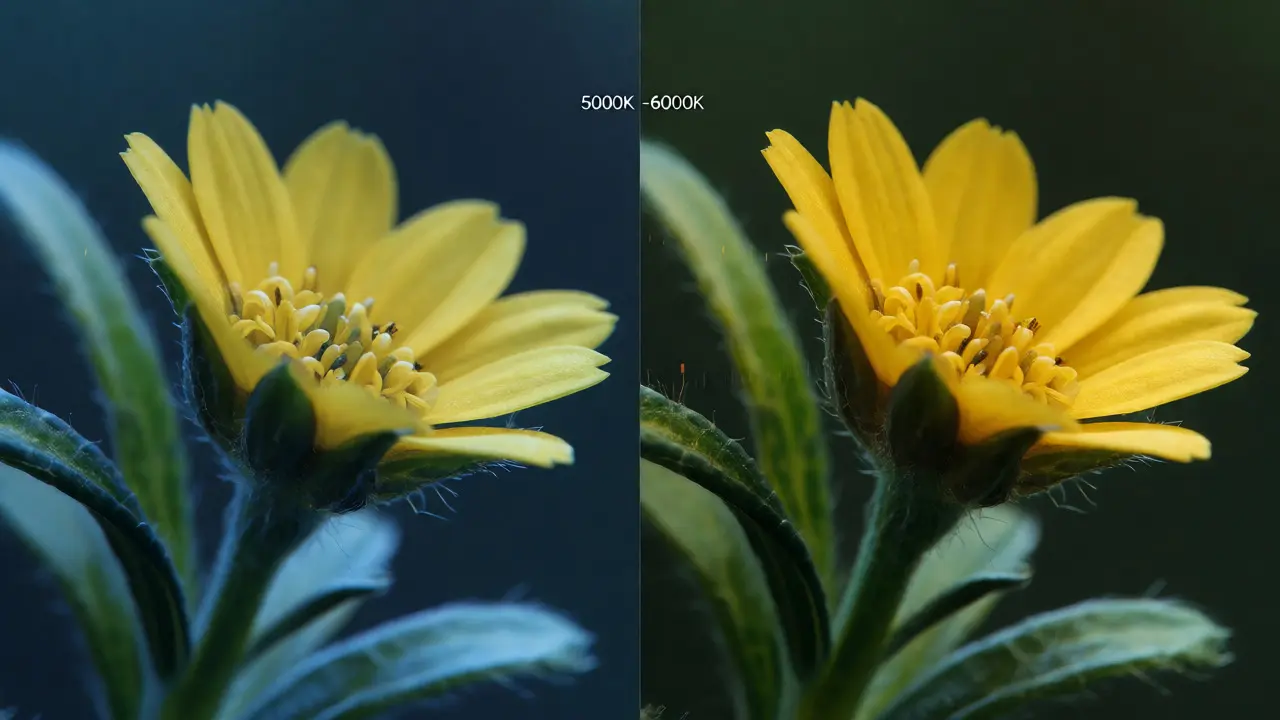
Treat in-camera white balance as a rough draft. Aim to get within 200 Kelvin of the correct value. If the scene requires 5500K, try to hit 5300K-5700K. This minimizes the amount of digital manipulation needed later. It also ensures that JPEG previews (if you use them for quick sharing) look acceptable without editing.
Practical Workflow for Field Macro
Working in the field makes custom white balance tricky. You cannot carry a tripod-mounted gray card holder everywhere. Here is a streamlined workflow that works for handheld macro shooters:
- Carry a Neutral Target: Buy a small, collapsible gray card or print a patch of 18% gray on matte paper. Keep it in your pocket.
- Lock the Exposure First: Before setting white balance, ensure your exposure is locked (AE-L). Changing exposure can sometimes reset custom WB on certain camera bodies.
- Shoot the Target: Hold the gray card near the subject, ensuring it receives the same light. Take one frame.
- Apply Custom WB: Go to your menu, select the last image, and apply it as the custom preset.
- Reframe and Shoot: Immediately return to your subject. Do not change the angle relative to the light source significantly.
- Monitor Changes: If clouds pass over or you move to a new location, repeat the process. Every major light change requires a new calibration.
This takes ten seconds per setup. It prevents hours of editing later. If you are shooting fast-moving insects, you might skip this and rely on presets, but for static subjects like flowers, mushrooms, or jewelry, there is no excuse for sloppy color.
Post-Processing Tips for Final Polish
Even with perfect capture, you might need minor tweaks. In Adobe Camera Raw or Lightroom, use the eyedropper tool on a part of the image that should be neutral gray or white. Click on a rock, a cloud, or a specifically placed gray object in the frame. Avoid clicking on saturated colors, as the algorithm may misinterpret them.
Watch out for the Tint slider. Macro lenses often exhibit chromatic aberration, which can look like purple fringing. Correcting white balance can sometimes exaggerate this. After setting the temperature, check the tint. If the skin tones (on humans or animals) look sickly, nudge the tint toward green or magenta until they look natural. Remember, human eyes adapt to color casts instantly; cameras do not. What looks "normal" to your eye on the back of the camera might still be off by 500K.
Frequently Asked Questions
Can I use a white piece of paper instead of a gray card?
Yes, but with caution. White paper can reflect more than 18% light, potentially causing exposure errors if used for metering, though it works fine for white balance. Ensure the paper is truly neutral white and not cream or bluish-bright. Matte finish is preferred to avoid specular highlights confusing the sensor.
Does lens choice affect white balance?
Not directly, but lens coatings can influence color rendition. Some vintage macro lenses render warmer tones than modern ones. Additionally, heavy vignetting or internal reflections can create uneven color casts across the frame, which global white balance adjustments cannot fully correct.
How do I handle white balance when using extension tubes?
Extension tubes reduce light transmission, forcing you to use higher ISO or wider apertures, but they do not inherently change color temperature. However, if you stack multiple tubes, you might notice increased flare or ghosting from internal reflections, which can subtly alter perceived contrast and color neutrality. Always re-check WB if you change tube combinations.
Is it better to fix white balance in camera or in post?
For professional workflows, fixing it in-camera via Custom WB is superior for consistency and speed. It allows you to judge results immediately. Post-processing is best reserved for fine-tuning or correcting unavoidable mixed-light scenarios. Relying solely on post-processing increases file size and processing time for large batches.
What Kelvin value should I start with for daylight macro?
Start around 5500K for direct sunlight and 6500K for open shade or cloudy days. However, these are starting points only. Always verify with a gray card if precision matters, as atmospheric conditions and local environment (e.g., shooting near a brick wall reflecting red light) heavily influence actual color temperature.