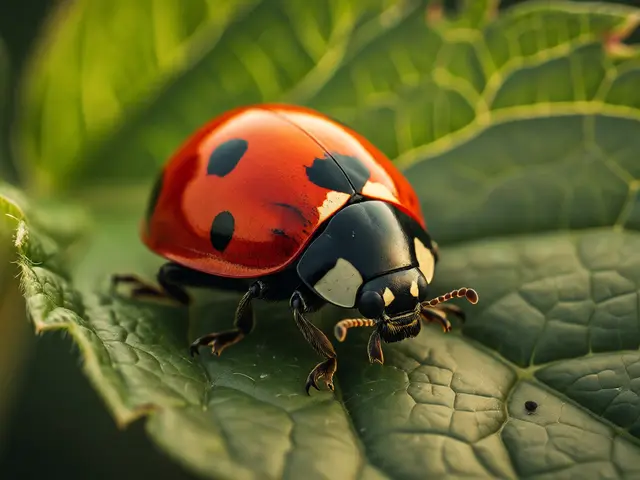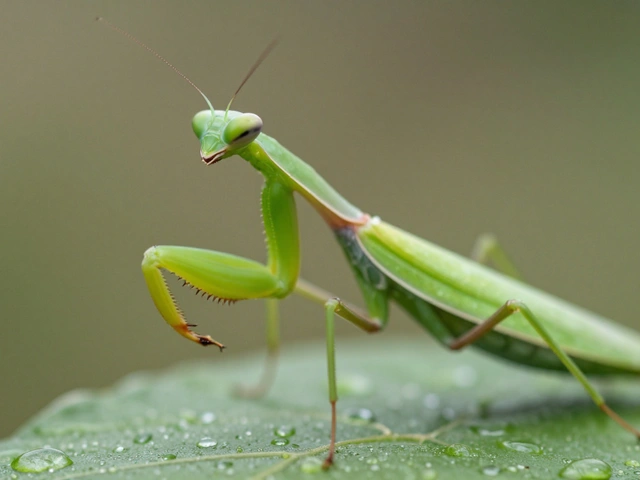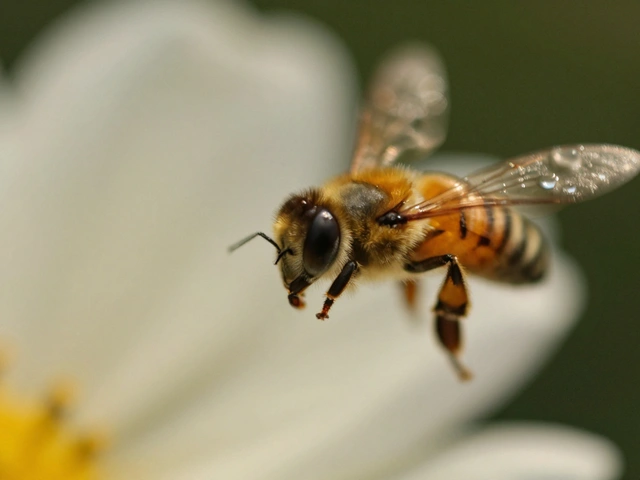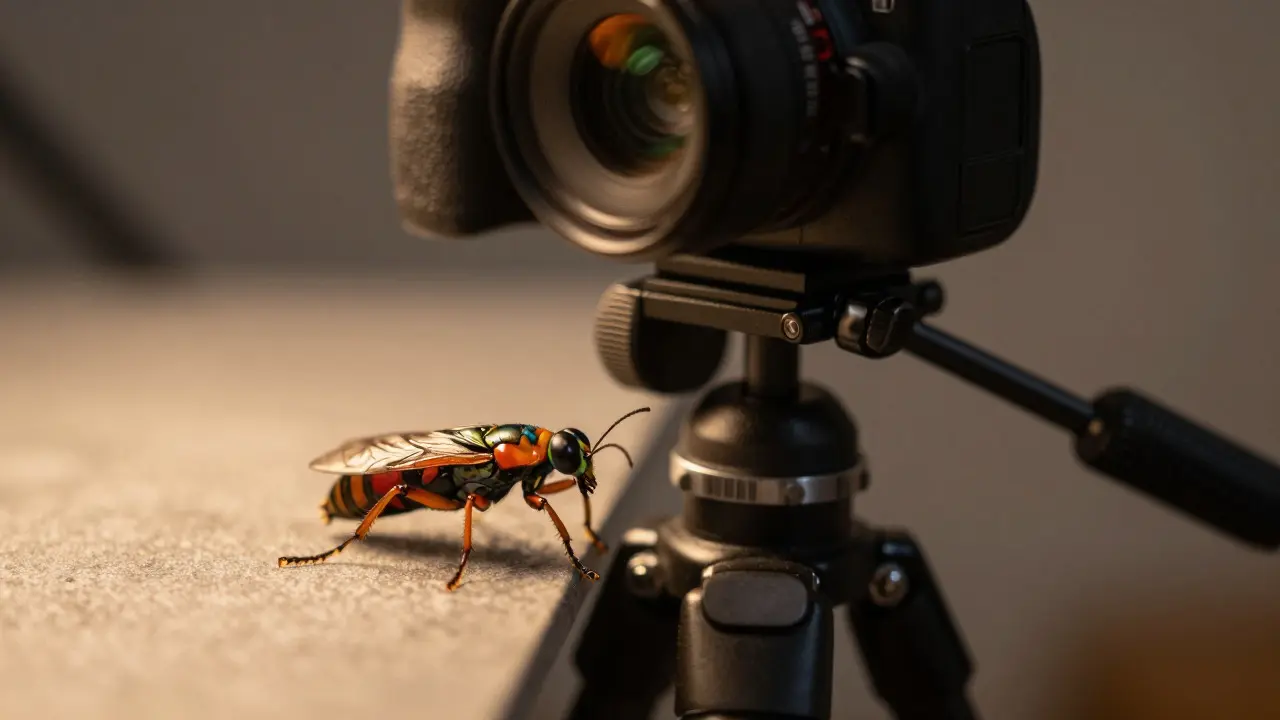
Ever shot a tiny insect or a dew-covered leaf and noticed the head is razor-sharp while the tail dissolves into a blur? In macro photography is a genre of close-up photography that captures subjects at life-size or larger magnification, often requiring extreme precision in focus. The problem isn't your lens; it's physics. At high magnifications, depth of field becomes the range of distance within which objects appear acceptably sharp, which shrinks dramatically as you get closer to the subject. You might have just a few millimeters of acceptable sharpness. This is where focus stacking comes in. It’s a technique that combines multiple images taken at different focus distances to create a single photo with front-to-back sharpness.
Why Standard Focus Fails in Close-Ups
To understand why we stack, we first need to look at why single-shot macro is so limiting. When you zoom in on a small subject, the plane of focus gets incredibly thin. If you shoot a flower from the side, you might only get the petals in focus, leaving the center or the background soft. Photographers often try to fix this by stopping down their aperture (using a higher f-number like f/16 or f/22). While this helps slightly, it introduces diffraction, which softens the entire image due to light bending around the aperture blades. So, stopping down trades one type of softness for another. Focus stacking avoids this trade-off entirely by using computational power instead of optical limitations.
The Core Mechanics of Focus Stacking
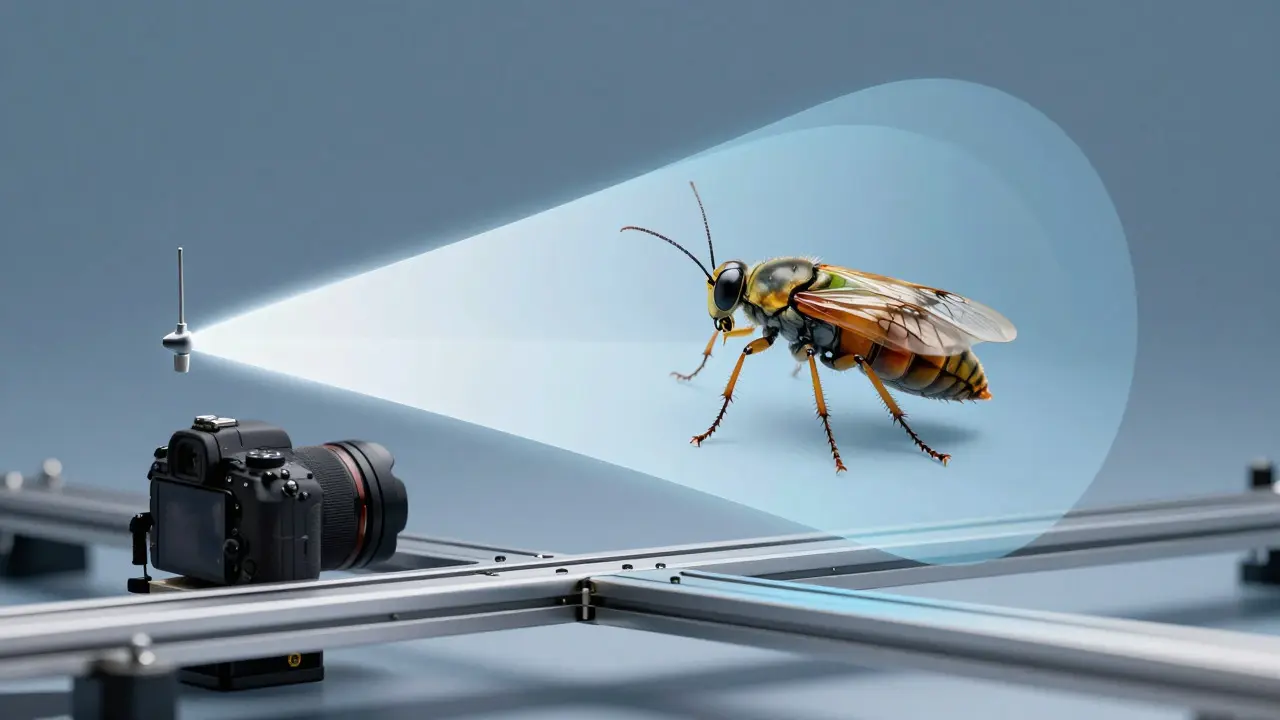
Focus stacking is a post-processing technique where multiple photographs of the same scene are aligned and blended to produce an image with greater depth of field than any individual frame. The process involves three main steps: capture, alignment, and blending. During capture, you move the camera or the subject incrementally along the Z-axis (the axis perpendicular to the sensor) between shots. Each shot focuses on a slightly different part of the subject. For example, the first shot focuses on the tip of a bee's antenna, the next on its thorax, and the last on its abdomen. In post-production, software identifies the sharpest pixels in each layer and merges them into one final composite. The result looks like you used a much smaller aperture without the diffraction penalty.
Gear You Actually Need
You don't need a $5,000 rig to start stacking, but stability is non-negotiable. Here is the essential gear list:
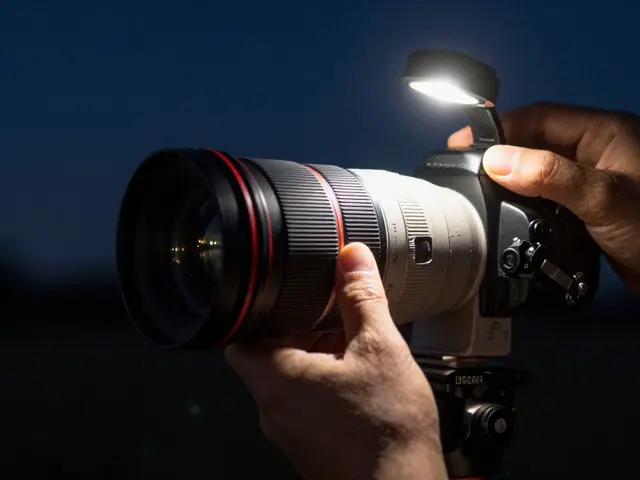
- Macro Lens: A dedicated macro lens (like the Canon EF 100mm f/2.8L or Nikon AF-S Micro NIKKOR 105mm f/2.8G) provides the 1:1 magnification ratio necessary for true macro work. These lenses are designed to maintain sharpness at close distances.
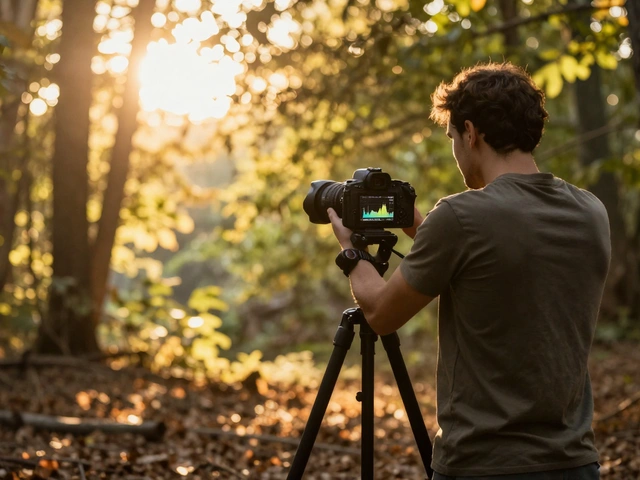
- Tripod: A sturdy tripod prevents camera shake. Since you are taking multiple shots, even slight movement can ruin the alignment process later.
- Rail System: This is the game-changer. A focusing rail is a mechanical device that allows precise, incremental movement of the camera along the optical axis. Brands like Benro, Leofoto, or Markins offer manual rails. Moving the camera rather than refocusing the lens ensures consistent exposure and framing across all frames.
- Remote Trigger: To avoid vibration when pressing the shutter button, use a remote release or intervalometer. This keeps the sensor perfectly still during the long exposures often required in macro work.
Capture Workflow: Step-by-Step
Getting the right sequence of images is half the battle. Follow this workflow to ensure clean data for your software:
- Set Up Your Scene: Position your subject on a stable surface. Use a reflector or LED light panel to control lighting. Consistent lighting is crucial because if shadows change between frames, the blending software will struggle to match them.
- Calibrate Your Rail: Determine how far apart your focus points need to be. A good rule of thumb is to set the step size to about 1/3 to 1/2 of your total depth of field at the current aperture. If your DOF is 2mm, move the camera 1mm per shot. Overlapping focus areas prevent gaps in sharpness.
- Shoot the Sequence: Start with the closest point of interest and move away (or vice versa). Take 5 to 20 shots depending on the subject's length. Keep the camera settings (ISO, Aperture, Shutter Speed) locked in Manual Mode (M) to ensure consistency.
- Check for Movement: If shooting insects, wait for a moment of stillness. Even a twitch can cause motion blur in one frame, which will show up as a ghost in your final image.
Software Options for Blending
Once you have your RAW files, it's time to blend. You have several options ranging from free to professional-grade:
| Software | Price Model | Key Feature | Best For |
|---|---|---|---|
| Helicon Focus | One-time purchase (~$199) | Advanced algorithm controls, batch processing | Serious macro photographers |
| Zerene Studio | Subscription/One-time | User-friendly interface, live preview | Beginners to intermediates |
| Adobe Photoshop | Subscription | "Stack Images" action, manual masking control | Those already in the Adobe ecosystem |
| PTGui | One-time purchase | Panorama engine adapted for stacking | High-resolution, complex scenes |
Most users find that Helicon Focus offers the best balance of speed and quality for automated stacking. However, if you want more artistic control over which parts of the image are sharp, Photoshop allows you to manually mask layers. This is useful when the software struggles with repetitive patterns, like the scales on a butterfly wing.
Common Pitfalls and How to Fix Them
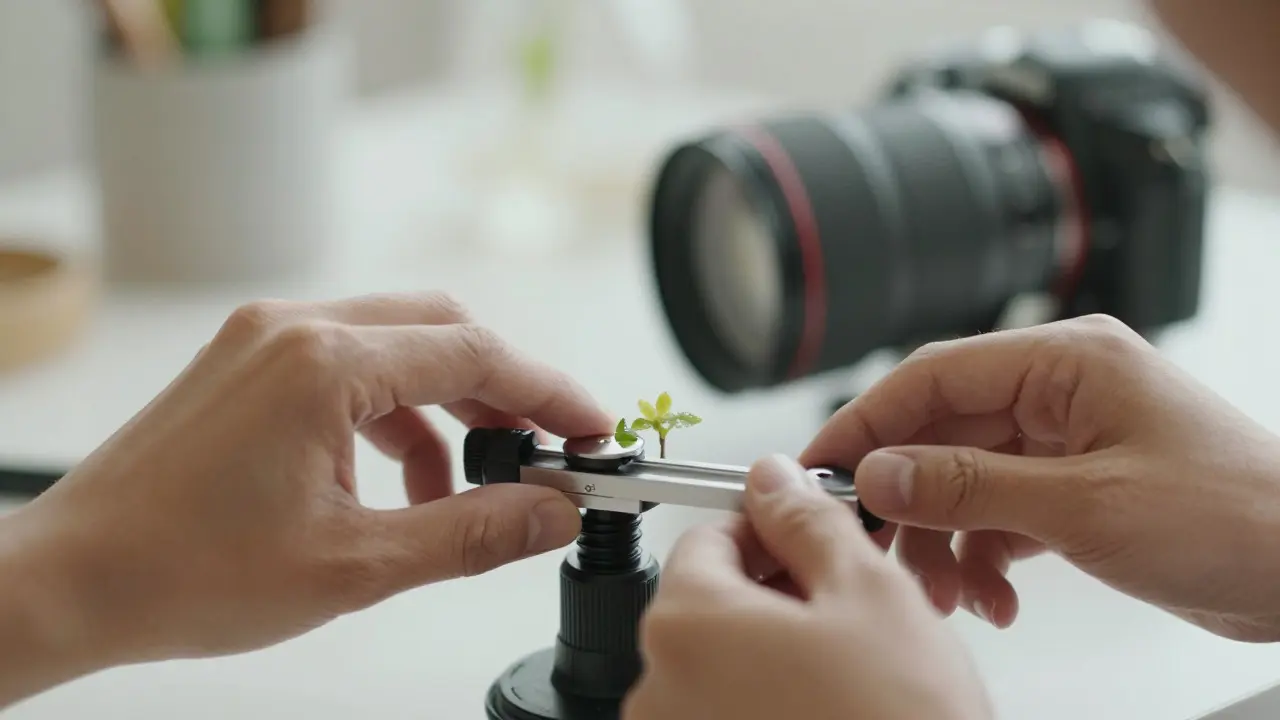
Even with the right gear, things can go wrong. Here are the most common issues I see in Portland studios and outdoor shoots:
- Ghosting Artifacts: This happens when there is too much overlap between focus planes or if the subject moved. Solution: Reduce the step size on your rail or increase the shutter speed to freeze motion.
- Uneven Lighting: If you are using off-camera flash, make sure the power stays constant. Battery drain can cause subtle changes in brightness. Solution: Use AC-powered lights or check histogram consistency between frames.
- Background Blur Mismatch: Sometimes the background shifts slightly due to parallax. Solution: Ensure your rail moves the camera parallel to the sensor plane. Some advanced rails allow for fine angular adjustments to correct this.
When Not to Stack
Focus stacking isn't a cure-all. If you are shooting wildlife in the wild, moving a rail is impractical. In those cases, you might rely on a faster shutter speed and a wider aperture, accepting some softness for the sake of capturing the moment. Also, for very small subjects like water droplets, the depth of field might be sufficient with a stopped-down lens, making stacking unnecessary overhead. Know when the technique adds value and when it complicates your workflow.
Frequently Asked Questions
How many photos do I need for focus stacking?
It depends on the subject's length and your desired depth of field. For a typical insect, 10 to 20 frames are usually sufficient. For longer subjects like a spider web or a large flower, you might need 30 or more. The key is ensuring enough overlap between frames so the software has continuous sharp data to work with.
Can I focus stack with a smartphone?
Yes, but it requires discipline. You need a phone tripod and a way to move the phone incrementally. Some apps automate this, but manual control is better for precision. The main challenge is keeping the phone steady and ensuring the sensor doesn't shift vertically, which can cause misalignment.
What aperture should I use for focus stacking?
You can use a moderate aperture like f/8 or f/11. There is no need to stop down to f/22 because the stacking process extends the depth of field computationally. Using a wider aperture actually helps reduce diffraction, resulting in sharper individual frames before blending.
Does focus stacking work with video?
Yes, this is called "rack focusing" or "focus pulling." Instead of discrete frames, you record a continuous video where the focus moves smoothly from front to back. Post-production software then extracts the sharpest frame for each pixel location to create a sharp video clip. It's popular in product commercials.
Which is better: moving the camera or moving the subject?
Moving the camera is generally preferred because it keeps the perspective and lighting constant relative to the subject. Moving the subject can introduce parallax errors and change the angle of light hitting the object, leading to inconsistent shadows and highlights across the stack.