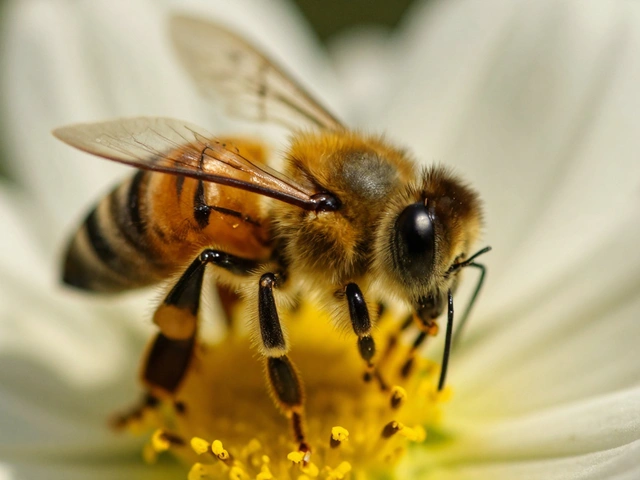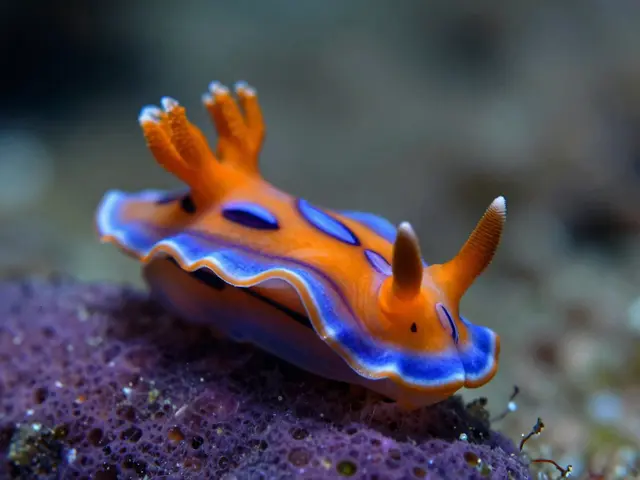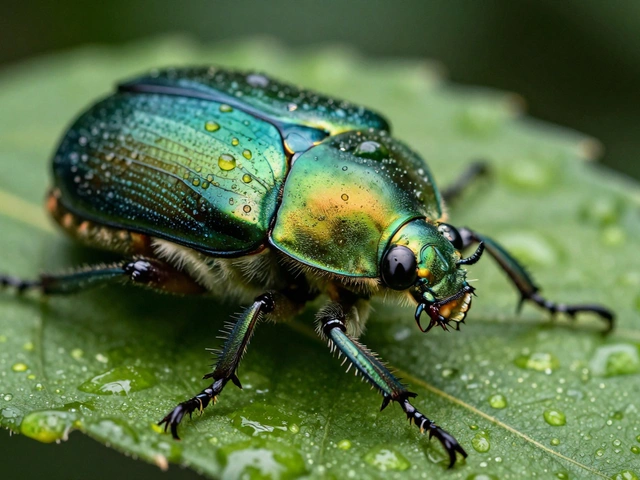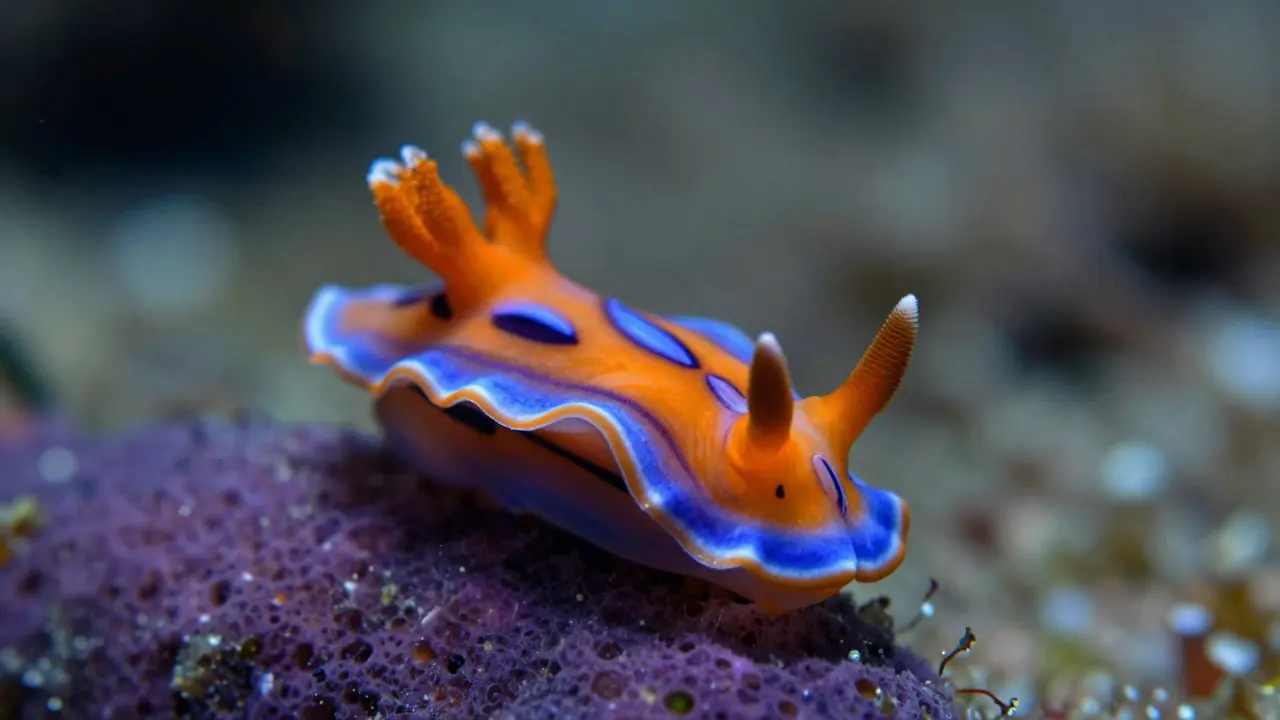
Most people think macro underwater photography is just about getting closer. But if you’ve ever tried to photograph a nudibranch or a small shrimp, you know the real challenge isn’t distance-it’s stability, light, and patience. A tiny crab can move at any second, and the water column between your lens and the subject is full of particles that scatter light and ruin sharpness. This guide breaks down how to actually get crisp, detailed shots of small marine creatures without losing your mind (or your gear).
Why Small Subjects Are Harder Than They Look
When you zoom in on a 2-centimeter sea slug, the depth of field becomes paper-thin. At typical macro distances, only a millimeter of the subject might be in focus. Add in the fact that water absorbs red light quickly-meaning your colors fade fast-and you have a recipe for frustration. The key insight here is that you’re not just fighting optics; you’re managing an ecosystem. Small creatures often live in complex micro-habitats like coral rubble or sponge gardens, which means finding a clean background is half the battle.
Unlike terrestrial macro, where you can control lighting with reflectors, underwater you’re limited by natural sunlight or artificial strobes. Sunlight penetrates best in clear tropical waters, but even there, the blue-green cast starts within 10 feet. That’s why most serious macro shooters rely on external lights to restore color and freeze motion.
Gear You Actually Need
You don’t need the most expensive camera body to do great macro work. What matters more is the lens and housing combination. Here’s what makes a difference:
- Dome Port Housing is a transparent port that allows the lens to see through water with minimal distortion, essential for wide-angle and macro shots. A flat port will magnify the subject too much and limit your working distance, making it harder to avoid shadows.
- Close-Up Lenses are add-on optical elements that reduce the minimum focusing distance of a standard lens. Brands like Laowa or Tokina offer these, but they can introduce chromatic aberration if not used carefully.
- Macro Domes are specialized ports designed specifically for extreme close-ups, offering better edge-to-edge sharpness than standard domes. These are worth the investment if you shoot primarily small subjects.
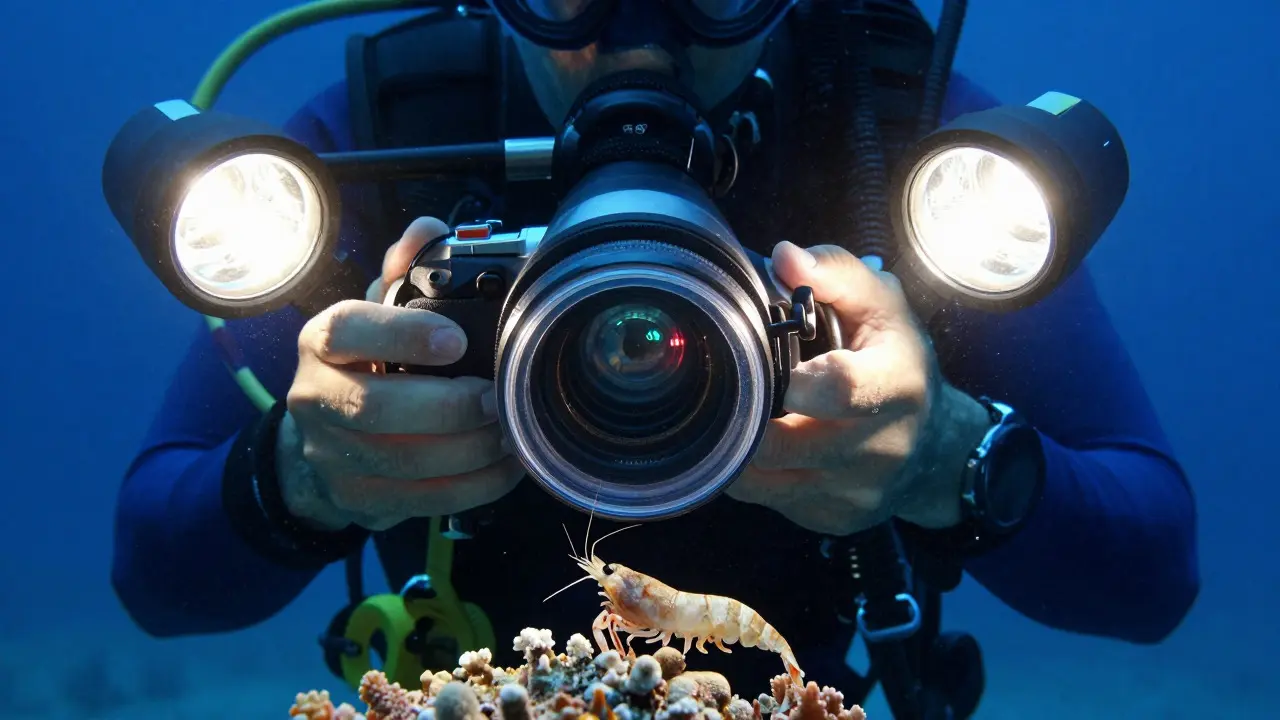
- External Strobes are underwater flash units that provide instant, intense light to illuminate small subjects and freeze movement. Two strobes positioned at 45-degree angles help eliminate shadows and backscatter.
A common mistake is relying on the built-in flash of a compact camera. It works for casual shots, but the light falls off too quickly, leaving the edges of your subject dark. External strobes give you control over intensity and angle, which is critical for detail.
Finding and Approaching Your Subject
Small marine creatures rarely sit still in open water. They hide under rocks, inside sponges, or among algae. Your job is to spot them before they notice you. Move slowly, keep your fins pointed away from the reef, and use your eyes, not just your camera. Many experienced divers say that 80% of successful macro shots happen because the photographer was looking for something else entirely.
Once you find a subject, resist the urge to rush in. Hover at a safe distance-about two to three times the size of the creature-and observe its behavior. Is it feeding? Cleaning itself? Resting? Understanding what it’s doing helps you predict its next move. For example, many nudibranchs feed on specific sponges, so if you see one moving toward a sponge, wait for it to settle before shooting.
Lighting Techniques for Clarity
Light is everything in macro underwater photography. Without proper illumination, your images will look flat, murky, or overly blue. Here are three effective setups:
- Two-Strobe Setup: Position both strobes at 45 degrees above and to the sides of your camera. This creates even lighting with soft shadows, highlighting texture without blowing out highlights.
- Single-Strobe with Reflector: If you’re on a budget, use one strobe and a small silver reflector on the opposite side. This bounces light back onto the subject, filling in shadows.
- Natural Light Only: In very clear, shallow water (under 15 feet), you can shoot in daylight. Use a polarizing filter to cut glare and boost contrast. However, this method is less flexible and depends heavily on weather and time of day.
Remember, light doesn’t just brighten the image-it defines the mood. Warm tones from strobes make vibrant colors pop, while cooler ambient light can create a mysterious, ethereal feel. Experiment with both.
Focus and Composition Tips
Autofocus can be unreliable underwater, especially with small, moving subjects. Manual focus gives you more control, but it requires practice. Start by focusing on the eye of the creature. If the eye is sharp, the rest of the head usually is too. For stationary subjects, consider using focus stacking-taking multiple shots at different focus points and combining them in post-processing. This technique extends depth of field significantly, though it’s not practical for moving animals.
Compositionally, simplicity wins. A busy background distracts from the subject. Look for clean areas of sand, rock, or water behind your target. If you can’t find a clean background, try changing your angle. Shooting from below can place the ocean surface behind the subject, creating a smooth, gradient backdrop. Alternatively, fill the frame with the subject to minimize background clutter.
Post-Processing Essentials
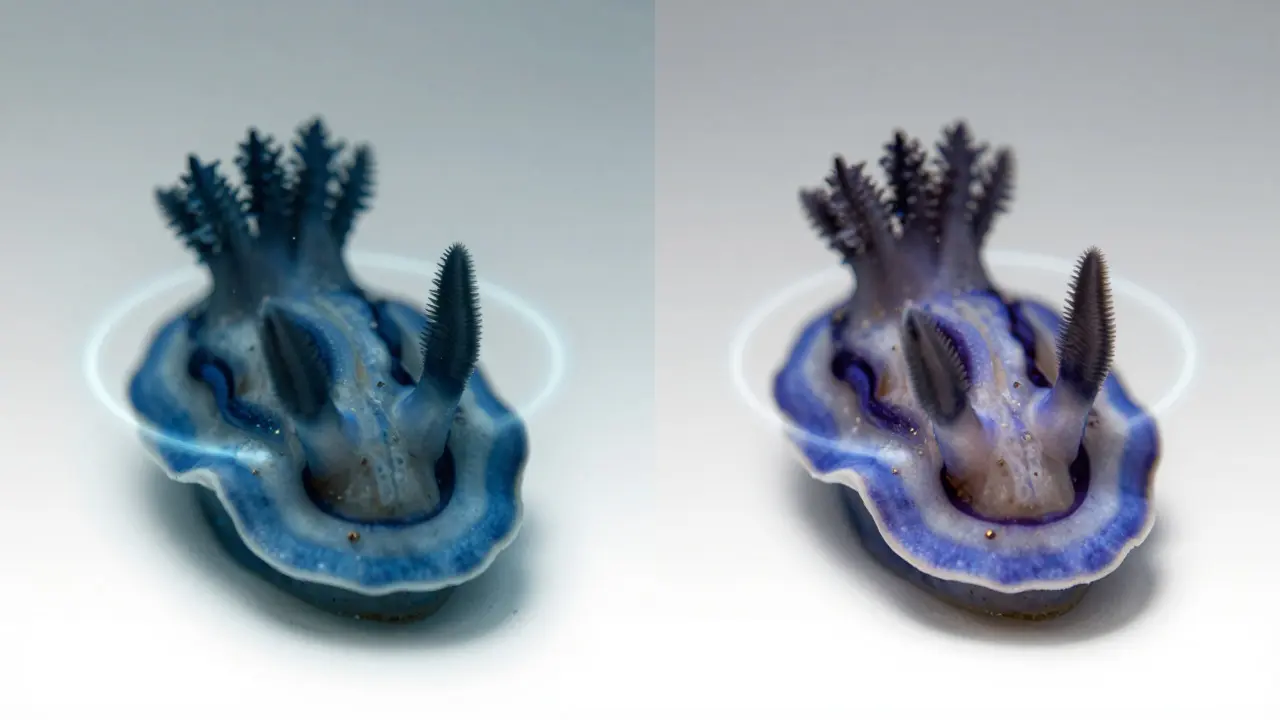
Even the best in-camera settings won’t save a poorly exposed shot. Post-processing is where you refine details, correct color casts, and enhance sharpness. Most photographers use software like Adobe Lightroom or Capture One. Key adjustments include:
- White Balance: Correct the blue-green cast from water. Set it to match the actual scene, not the default.
- Clarity and Texture: Boost these slightly to bring out fine details in shells, skin, or tentacles.
- Sharpening: Apply moderate sharpening to enhance edges without introducing noise. Be careful not to overdo it, as macro images are already prone to digital artifacts.
- Crop and Straighten: Tighten the crop to remove distracting edges and ensure the horizon (if visible) is level.
Don’t forget to back up your files immediately after each dive. Corrupted cards or lost data can wipe out hours of effort.
| Item | Best For | Limitations | Approx. Cost Range |
|---|---|---|---|
| Standard Dome Port | All-around diving | Limited magnification for extreme close-ups | $300-$600 |
| Macro Dome | Small subjects, high detail | Expensive, specialized use | $500-$900 |
| Close-Up Lens (+10/+20) | Budget-friendly macro | Chromatic aberration, reduced max aperture | $100-$300 |
| External Strobes (Pair) | Color restoration, motion freeze | Battery management, bulk | $800-$1,500 |
Common Mistakes to Avoid
Even experienced photographers make errors that compromise their shots. Here are the top five pitfalls:
- Getting Too Close: While proximity seems helpful, it reduces depth of field and increases the chance of disturbing the subject. Leave space.
- Ignoring Backscatter: Particles in the water between you and the subject catch light and appear as bright dots. Angle your strobes to minimize this effect.
- Overexposing Highlights: Small subjects often have reflective surfaces (like shells or wet skin). Watch your histogram to avoid blown-out whites.
- Forgetting Battery Life: Strobes drain batteries fast. Carry spares and charge them before every dive.
- Rushing the Shot: Wait for the right moment. A calm, focused subject yields better images than a startled one.
Frequently Asked Questions
What is the best focal length for macro underwater photography?
A 100mm or 105mm macro lens is ideal for most DSLR and mirrorless cameras. These lenses provide good working distance and sharpness. For smaller sensors, a 60mm or 70mm equivalent may work well. Avoid ultra-wide lenses unless you’re using a dedicated macro dome.
Do I need a housing with a macro dome?
Not always. A standard dome port works for many macro shots, but a dedicated macro dome offers better edge-to-edge sharpness and less distortion. If you shoot small subjects regularly, the upgrade is worth it.
How do I deal with moving subjects?
Use a faster shutter speed (1/250s or higher) and increase your ISO if needed. Continuous autofocus mode can help track movement, but manual focus is often more reliable for precise shots. Patience is key-wait for the subject to pause.
Can I shoot macro underwater without strobes?
Yes, but only in very clear, shallow water during midday. Natural light loses red wavelengths quickly, so colors will fade. Strobes restore true color and allow for faster shutter speeds. For consistent results, external lighting is recommended.
What is the biggest challenge in macro underwater photography?
Stability. Water currents, your own breathing, and the subject’s movement all affect sharpness. Practice hovering quietly, use a monopod if possible, and take multiple shots to increase your chances of capturing a perfect frame.