Ever stared at a clear blue sky and thought, "I wish the clouds would move faster"? Or maybe you've tried shooting moving clouds and ended up with static, frozen shapes that look like cotton balls stuck in place. The secret to capturing those dreamy, streaked skies isn't just waiting for the right weather-it's mastering long exposure. This technique turns fleeting atmospheric movements into smooth, ethereal trails that make your landscape photos feel alive.
Most photographers think long exposure is only for night stars or waterfalls. But daylight long exposure for clouds is a game-changer. It requires specific gear, precise timing, and a bit of patience. If you've been struggling to get that silky cloud effect during the day, this guide breaks down exactly how it works, what equipment you need, and the settings that actually deliver results.
Why Long Exposure Works for Clouds
To understand why this technique works, you have to look at how the camera sensor records light. A standard snapshot freezes time in a fraction of a second. Clouds, however, move slowly relative to that speed. To see their movement, you need to keep the shutter open long enough for them to travel across the frame. This creates a blur that mimics the human eye's perception of motion over time.
The goal is not to overexpose the image but to balance the ambient light with the extended capture time. In bright daylight, the sun pumps too much light into the lens for a slow shutter speed. That’s where neutral density (ND) filters come in. These filters act like sunglasses for your camera, reducing the amount of light hitting the sensor so you can use slower shutter speeds without blowing out your highlights.
- Motion Blur: Streaks clouds horizontally or diagonally based on wind direction.
- Light Balance: Allows for wider apertures or lower ISOs while maintaining correct exposure.
- Aesthetic Impact: Creates a sense of time passing, adding drama and energy to static landscapes.
Essential Gear for Daylight Cloud Photography
You don’t need a million-dollar setup, but you do need specific tools. Trying to shoot long exposures in daylight without the right gear usually leads to underexposed images or missed opportunities due to changing light conditions.
Neutral Density (ND) Filters
This is the most critical piece of equipment. An ND filter reduces light intake by stops. For daylight cloud photography, you typically need a strong filter.
| Filter Type | Light Reduction | Ideal Shutter Speed Range | Best Use Case |
|---|---|---|---|
| ND8 | 3 Stops | 1/4s to 1/2s | Slight cloud movement, bright overcast days |
| ND64 | 6 Stops | 1s to 4s | Moderate streaking, mid-day sun |
| ND1000 | 10 Stops | 10s to 30s+ | Dramatic smoothing, very bright conditions |
Note that variable ND filters are convenient but can show cross-shaped artifacts when rotated to maximum strength. Fixed ND filters are generally more reliable for high-quality work.
Sturdy Tripod
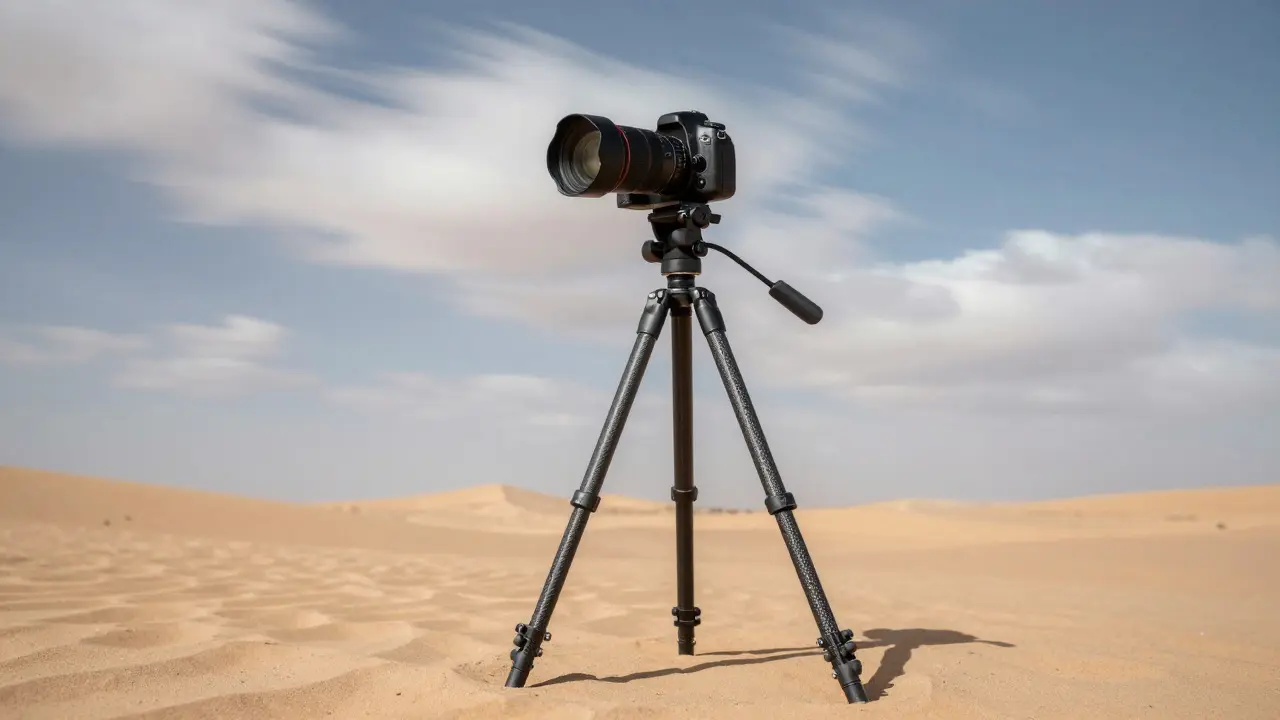
Since you’re using slow shutter speeds, any camera shake will ruin the shot. You need a tripod that locks firmly and doesn’t wobble in the wind. Carbon fiber tripods are lighter and better for hiking, while aluminum ones are sturdier for heavy telephoto lenses. Make sure the ball head has a quick-release plate for easy adjustments.
Remote Shutter Release
Pressing the camera button can introduce micro-vibrations. A remote release, either wired or wireless via Bluetooth, ensures a completely stable trigger. Many modern cameras also allow you to set a 2-second self-timer, which works as a backup if you forget your remote.
Step-by-Step Settings Guide
Getting the settings right is half the battle. Here is a practical workflow I use when heading out to shoot skies.
- Set Your Base Exposure: Remove the ND filter. Set your camera to Aperture Priority (A or Av) mode. Choose an aperture around f/8 to f/11 for maximum sharpness across the landscape. Let the camera calculate the shutter speed. Note this speed (e.g., 1/500s).
- Attach the ND Filter: Screw on your chosen ND filter (start with ND64 for general daylight). Check the viewfinder; it will be dark. Trust the meter or switch to Manual Mode if your camera struggles to meter through the filter.
- Calculate New Shutter Speed: If your base was 1/500s and you add a 6-stop ND filter, multiply the denominator by 64. 1/500s becomes approximately 1/8s. If you want longer, stop down the aperture slightly or lower the ISO.
- Switch to Manual Mode (Recommended): For consistency, set ISO to 100, Aperture to f/11, and manually adjust the shutter speed until the histogram shows proper exposure. This prevents the camera from auto-adjusting between shots.
- Focus Manually: Autofocus can struggle in low light caused by the ND filter. Focus on a distant point in the foreground or use hyperfocal distance calculations to ensure both the ground and sky are sharp.

Choosing the Right Time and Weather
Even with perfect settings, bad weather will yield boring results. You need clouds that are moving. Stationary cumulus clouds won't streak; they'll just become soft blobs. Look for stratus or cirrus clouds, which tend to move faster and create smoother lines.
Wind speed is your friend. On calm days, even a 30-second exposure might only show subtle movement. On windy days, 5 seconds can create dramatic trails. Check local weather apps for wind forecasts before you go. Mid-morning and late afternoon often provide the best combination of directional lighting and active cloud movement.
Also, consider the color temperature. Golden hour light adds warm tones to the clouds, enhancing the ethereal quality. Shooting at noon can result in harsh, flat lighting that makes the sky look washed out, even with an ND filter.
Common Mistakes to Avoid
Many photographers miss the mark due to a few recurring errors. Avoid these pitfalls to improve your success rate.
- Overexposing Highlights: The sky is the brightest part of the scene. Always check your histogram. If the right side is clipped, you’ve lost detail in the white clouds. Stop down the aperture or shorten the shutter speed slightly.
- Ignoring Foreground Interest: A sky alone is often not enough. Include a strong foreground element like rocks, trees, or water to anchor the composition. The contrast between the static foreground and moving sky creates visual tension.
- Using Too Short a Shutter Speed: Less than 1 second often fails to show noticeable cloud movement. Aim for at least 2-5 seconds for visible streaks in moderate winds.
- Forgetting Battery Life: Long exposures drain batteries faster because the mirror stays up (in DSLRs) or the sensor is active longer. Bring spare batteries.
Post-Processing Tips for Enhanced Results
Long exposure photography is rarely done in-camera. Post-processing helps refine the final image. When editing in software like Lightroom or Photoshop, focus on these areas:
- Recover Highlights: Use the 'Highlights' slider to bring back detail in the bright parts of the clouds.
- Adjust Contrast: Increase clarity and dehaze slightly to make the cloud structures pop against the blue sky.
- Crop Tighter: Sometimes the edges of the frame contain distracting elements. Cropping can emphasize the flow of the clouds.
- Color Grading: Shift the whites slightly toward cyan or magenta to enhance the mood. Teal shadows and orange highlights are popular for a cinematic look.
Don’t overdo the effects. The goal is to enhance the natural beauty of the scene, not to create something unrealistic. Subtle adjustments usually yield the most professional-looking results.
Frequently Asked Questions
What is the best ND filter for daytime cloud photography?
An ND64 (6-stop) filter is the most versatile for general daylight cloud photography. It allows shutter speeds between 1 and 4 seconds in typical conditions. For very bright days or stronger winds, an ND1000 (10-stop) filter provides more control.
Do I need a polarizing filter along with an ND filter?
Yes, stacking a circular polarizer with an ND filter is highly recommended. The polarizer darkens the blue sky, increases cloud contrast, and reduces reflections on non-metallic surfaces. Just remember that the polarizer adds another stop of light reduction, so you may need a stronger ND filter to compensate.
How long should my shutter speed be for noticeable cloud streaks?
It depends on wind speed. In light winds, aim for 10-30 seconds. In moderate winds, 3-10 seconds is sufficient. In strong winds, even 1-2 seconds can create significant movement. Start with 5 seconds and adjust based on the preview.
Can I use long exposure for clouds on a smartphone?
Yes, many smartphones now have built-in long exposure modes. However, they lack the dynamic range and manual control of a dedicated camera. Using a clip-on ND filter with a phone tripod can yield decent results, especially in less bright conditions.
What if the clouds are stationary?
If the clouds aren't moving, long exposure won't create streaks. They will simply appear softer and larger. Wait for wind to pick up, or choose a different location where air currents are stronger, such as near mountains or coastlines.