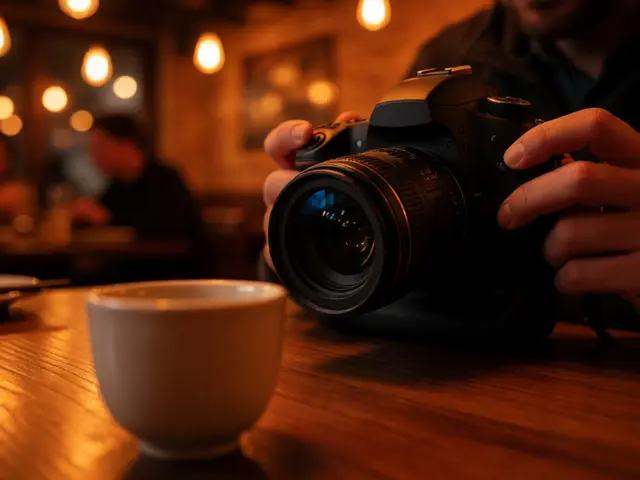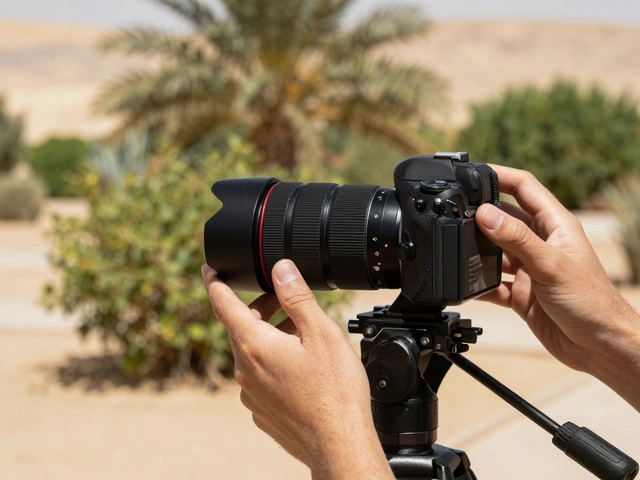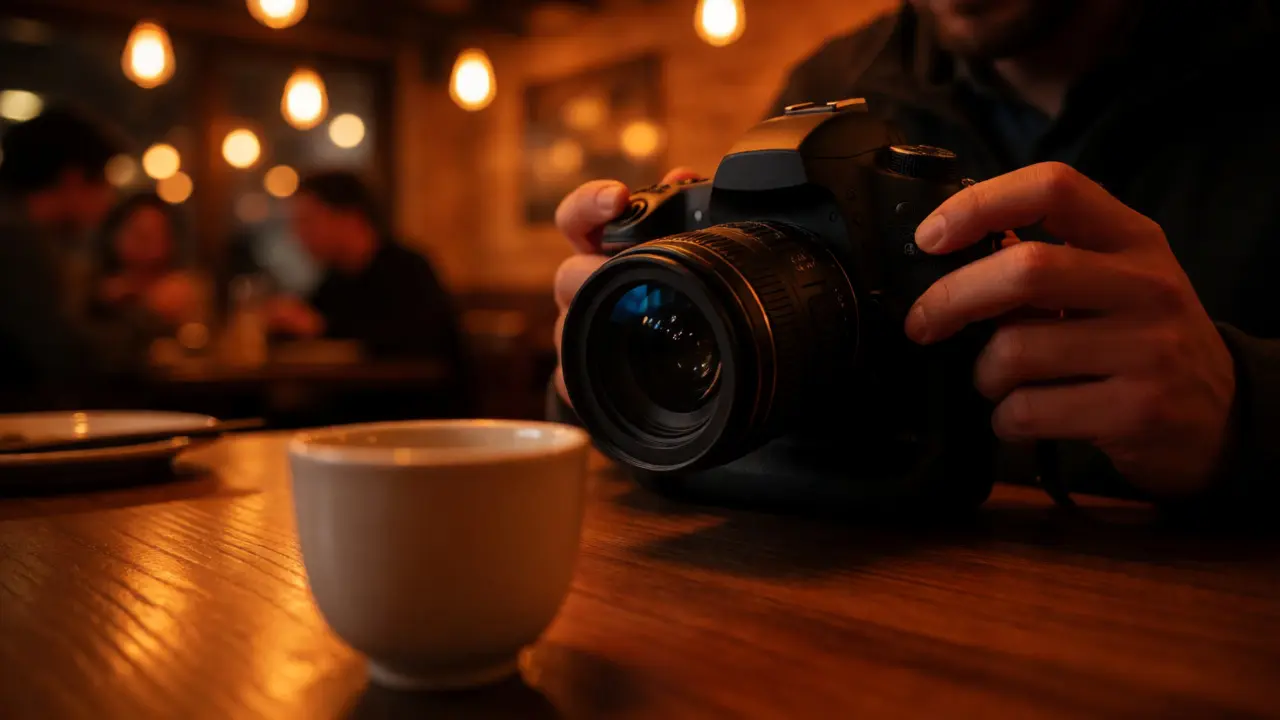
You’ve just snapped a photo of your friend under the warm glow of a restaurant’s tungsten bulbs. It looks cozy on the back of your camera screen. But when you get home and open it on your laptop, that cozy orange tint has turned into a muddy, sickly yellow mess. You didn’t make a mistake with your exposure or focus. You just ran into one of the most common headaches in artificial light photography: incorrect white balance.
Here’s the thing about light sources-they aren’t all created equal. Sunlight is balanced. Your phone flashlight isn’t. The neon sign down the street definitely isn’t. If you want your photos to look natural, you need to understand how to correct for these differences. This isn’t just about making things "look right." It’s about controlling the mood and ensuring skin tones don’t look like someone dipped them in mustard.
Why Your Camera Gets Confused by Indoor Lights
Your camera tries to be smart. It looks at a scene and asks, "What does white look like here?" Then it adjusts the colors so that white objects appear white. This process is called White Balance the process of removing unrealistic color casts so that objects which appear white in person are rendered white in your photo. But cameras aren’t perfect. They often guess wrong, especially indoors where lighting is mixed or unusual.
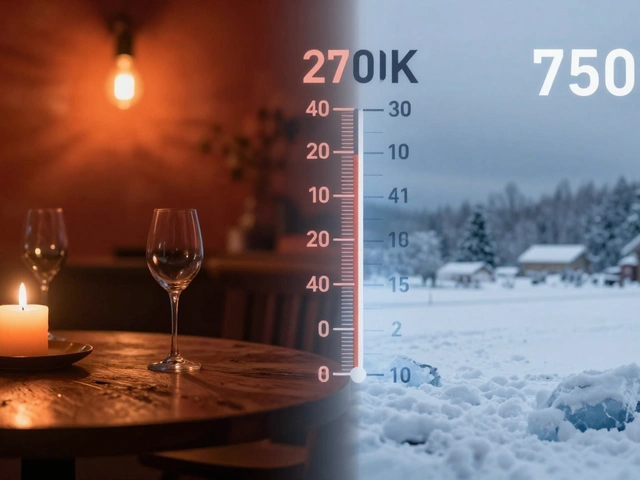
The core issue is Color Temperature a characteristic of visible light that has important applications in photography, measured in Kelvin (K). Think of it as a scale from warm to cool. Lower numbers (around 2000K-3000K) are warm-think candle flames or incandescent bulbs. Higher numbers (5000K-7000K+) are cool-think overcast skies or blue LED lights. When you shoot under tungsten light (about 3200K), your camera sees everything as too orange. To fix this, you need to tell the camera to add blue to neutralize that orange cast.
| Light Source | Kelvin Value (Approx.) | Visual Characteristic |
|---|---|---|
| Candle / Match | 1800K - 2000K | Deep Orange/Red |
| Tungsten Bulb | 2700K - 3200K | Warm Yellow/Orange |
| Fluorescent Tube | 4000K - 5000K | Greenish/Cool White |
| Daylight (Noon) | 5500K - 6500K | Neutral White |
| Overcast Sky | 6500K - 7500K | Blue Tint |
Stop Using Auto White Balance Indoors
Auto White Balance (AWB) is great for outdoor daylight. It’s terrible for artificial light. Why? Because AWB assumes there’s a mix of colors in the scene that averages out to white. In a room lit solely by sodium-vapor streetlights, everything is orange. AWB might try to correct it, but it often fails because it doesn’t know what the original color was supposed to be. It might leave the image too warm or, worse, introduce weird magenta shifts.
If you’re shooting RAW files (and you should be if you care about quality), you can fix this later. But even then, getting it close in-camera helps you judge exposure and composition accurately. Don’t rely on the little screen on the back of your camera to tell you if the colors are right. Trust your histogram and your knowledge of the light source.
The Manual Fix: Setting Kelvin Values
Most modern cameras let you set a specific Kelvin value. This is the most precise way to handle Artificial Light any illumination produced by man-made sources such as incandescent bulbs, fluorescent tubes, LEDs, and halogen lamps. Instead of picking a preset like "Tungsten," you dial in the exact number.
How do you find the right number? Start with the known values from the table above. If you’re in a coffee shop with Edison bulbs, start at 2700K. Take a test shot. Look at a white napkin or a piece of paper in the frame. Is it still yellow? Bump the Kelvin up to 3000K. Is it turning blue? Drop it back to 2900K. It takes a few seconds and saves you twenty minutes in post-production.
- Incandescent/Halogen: Set between 2700K and 3200K.
- Fluorescent: This is tricky. Older tubes have a green spike. Newer ones are better. Start at 4000K and adjust toward magenta if needed.
- LED: Variable. Cheap LEDs often have poor color rendering. Start at 5000K and tweak.
- Mixed Lighting: If you have window light (daylight) mixing with indoor lights (tungsten), pick a compromise. Usually, favoring the subject’s light source works best.
The Gray Card Method: The Gold Standard
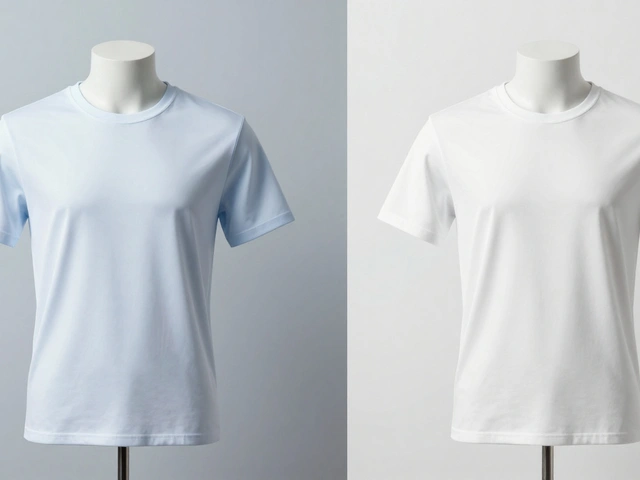
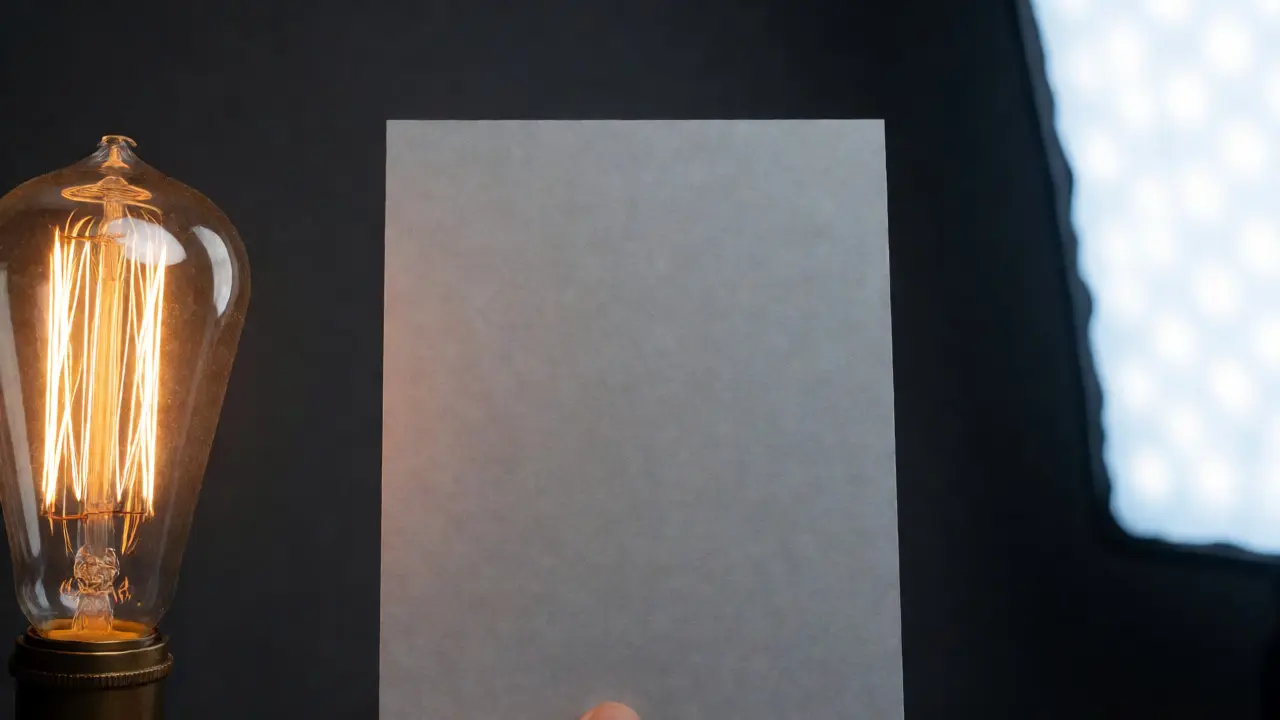
If you want perfect accuracy every time, use a gray card. An 18% Gray Card a tool used by photographers to set accurate exposure and white balance by reflecting a consistent amount of light reflects exactly 18% of the light hitting it, regardless of the color temperature. By telling your camera to point at the gray card, you give it a reference point for "neutral." Here’s how to do it quickly:
- Place the gray card in the same light as your subject. Make sure it’s facing the light source, not the camera.
- Fill the frame with the card (or at least 80% of it).
- Take a picture.
- In your editing software, use the eyedropper tool to click on the gray area.
Dealing with Fluorescent Green Spikes
Fluorescent lights are the nightmare of portrait photographers. They emit light unevenly across the spectrum, creating a strong green spike. Even if you set the Kelvin correctly, your subjects’ skin might look sickly or zombie-like. This is because standard white balance correction only handles the blue/orange axis. It doesn’t fully address the green/magenta axis. To fight this, you need to adjust the tint. On your camera, this is usually a separate slider marked with G (Green) and M (Magenta). If your images look green, slide toward Magenta. If they look pink, slide toward Green. It’s subtle. One notch can make the difference between "okay" and "professional." Pro Tip: If you’re shooting video or high-end portraits, consider using gels on your flash or continuous lights to match the ambient fluorescent light, or simply avoid fluorescent-lit rooms altogether if possible.
Post-Processing: Saving the Shot in Lightroom
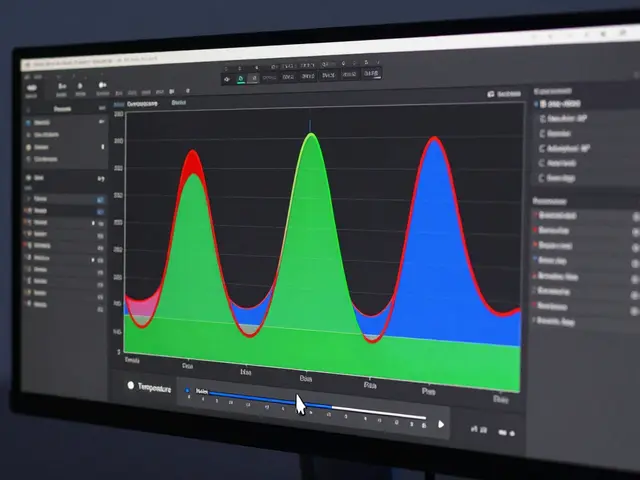
Even with careful in-camera settings, you’ll likely need to tweak things in Adobe Lightroom a digital asset management and non-destructive photo editor designed for professional photographers. The beauty of shooting RAW is that you haven’t baked in the white balance yet. When you open your file, ignore the auto-correction. Go straight to the White Balance panel. Use the Temp slider (blue/yellow) and Tint slider (green/magenta). Start by finding a neutral gray or white area in the image-like a shirt collar or a wall-and sample it. This resets the baseline. Then, get creative. Do you want the night scene to feel cold and lonely? Push the Temp slider toward blue. Do you want a nostalgic, warm vibe? Push it toward yellow. Just remember: if you push too far, skin tones will suffer. Keep an eye on the flesh tones. If they turn orange or purple, pull back.
Avoiding Mixed Light Disasters
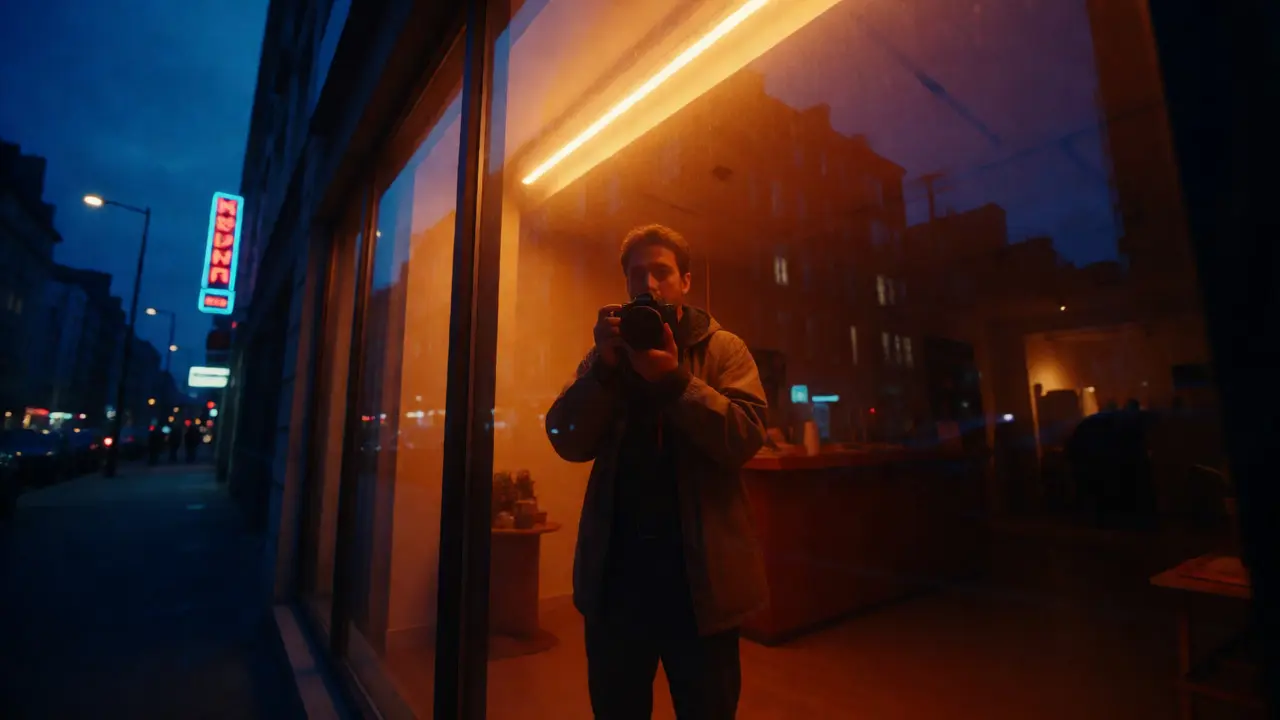
The hardest scenario isn’t single-source artificial light. It’s mixed light. Imagine standing outside a store window at night. Inside, it’s bright tungsten (orange). Outside, it’s dark blue twilight. Your face is lit by the window; the background is blue. If you set your white balance for the tungsten light, your face looks normal, but the background becomes a deep, unnatural purple. If you set it for daylight, your face turns ghost-white. There is no single setting that fixes both perfectly. You have to choose your priority. Usually, the subject matters more than the background. Set your white balance for the light hitting the subject’s face. Let the background go crazy. In fact, the contrast between the warm subject and cool background can be visually striking. Embrace it. Don’t try to force everything to be neutral. That’s where artistic intent comes in.
Practical Checklist for Night Shoots
Before you head out for that evening event, run through this quick check to ensure you’re ready for any lighting situation:
- Bring a Gray Card: Clip it to your camera strap. You’ll forget it otherwise.
- Know Your Presets: Memorize the Tungsten and Fluorescent icons on your camera dial.
- Shoot RAW: Always. JPEG locks in the white balance decision immediately.
- Check Skin Tones: Zoom in on your LCD. Are veins showing through as blue? Too much blue correction. Are cheeks looking sunburned? Too much orange.
- Use Custom WB if Stationary: If you’re shooting a static interview setup, take a custom white balance reading once and lock it in.
Mastering white balance in artificial light isn’t about memorizing numbers. It’s about understanding how light behaves. Once you stop fighting the color cast and start working with it, your night photography transforms from accidental snapshots to intentional art. The next time you’re stuck under a flickering streetlamp, don’t panic. Check your Kelvin, grab that gray card, and own the color.
Can I fix white balance in JPEG photos?
Yes, but it’s limited. JPEGs have less color data than RAW files. You can adjust the temperature and tint sliders, but pushing them too far causes banding or color artifacts. For significant corrections, always shoot RAW.
Why do my photos look green under office lights?
Office lights are typically fluorescent, which emits a strong green wavelength. Standard white balance correction focuses on blue/orange. To fix the green cast, you must adjust the 'Tint' setting toward Magenta in your camera or editing software.
Is Auto White Balance ever good for indoor shots?
Rarely. AWB struggles with monochromatic light sources like pure tungsten or sodium vapor. It may work okay in mixed environments with daylight coming in, but manual Kelvin adjustment or a gray card provides much more reliable results for professional-looking images.
What is the difference between Color Temperature and Tint?
Color Temperature (Kelvin) controls the Blue-to-Yellow axis. Tint controls the Green-to-Magenta axis. Most artificial lights affect both, so you often need to adjust both sliders to achieve a neutral white balance.
Do LED lights have a consistent color temperature?
Not necessarily. Cheap LEDs vary wildly. High-quality studio LEDs are calibrated to specific temperatures (e.g., 5600K). Always test your specific LED bulb or fixture with a gray card before relying on its stated Kelvin rating.