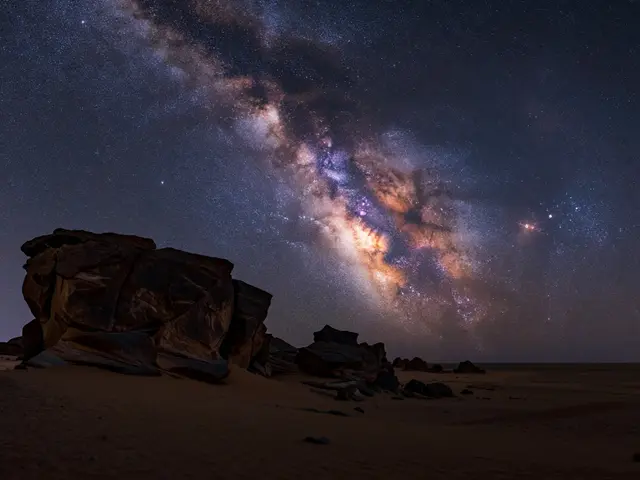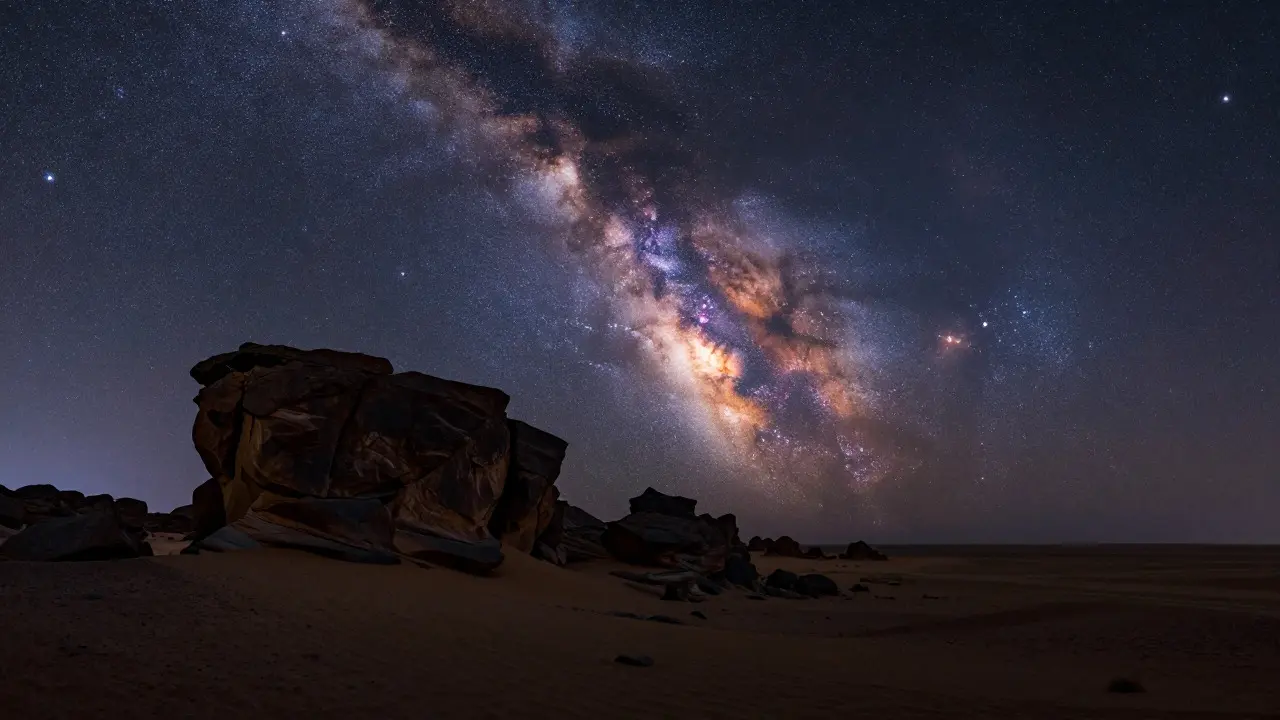
There is a specific kind of frustration that hits when you hike for hours to reach a dark spot, only to realize the city glow has washed out the stars. You set up your tripod, aim at the core of the Milky Way is the band of stars and cosmic dust visible from Earth, which appears as a hazy white streak across the night sky due to the combined light of billions of distant stars., and press the shutter button. The result? A flat, gray image where the galaxy looks like smoke in fog. This is the core challenge of Astro-Landscape Photography is a genre of photography that combines celestial objects with terrestrial foregrounds to create dramatic, composite-like images using long exposure techniques.. It isn't just about taking a picture of space; it's about balancing two very different lighting conditions in a single frame.
To master this, you need to understand that light pollution is not just an annoyance-it’s a physical barrier to your exposure settings. If you shoot under a bright sky, your camera sensor saturates before the faint stars register properly. This article breaks down how to identify usable skies, manage your gear, and compose shots that make the darkness feel intentional rather than accidental.
Understanding the Sky: The Bortle Scale and Your Location
Before you pack your bag, you need to know what you’re dealing with. The Bortle Dark-Sky Scale is a nine-class numerical scale used by astronomers and photographers to rate the brightness of the night sky, ranging from Class 1 (pristine) to Class 9 (inner-city). was created by John Bortle to help observers predict visibility. For landscape photographers, the sweet spot is usually Class 3 or 4. Class 1 and 2 are rare and often too remote for casual trips. Class 5 and above start to wash out the fainter parts of the galaxy, making post-processing difficult because you have to crush the blacks heavily, which introduces noise.
You can check your local sky quality using apps like Light Pollution Map or Clear Outside. But don’t just look at the number. Look at the direction. If the city glow is behind you, your foreground will be lit by artificial light, which might actually help if you plan to expose for it. If the glow is in front of you, it will ruin the star field. In Portland, Oregon, for example, the Willamette Valley creates a corridor of light. If you drive east toward the Cascades, you drop into a much darker zone within thirty minutes. That gradient is your friend. Use it.
Gear Essentials: What Actually Matters in the Dark
You don’t need a $5,000 lens to take good astro photos, but you do need specific tools that handle low light well. Here is the non-negotiable list:
- Fast Prime Lens: A lens with an aperture of f/2.8 or wider (like f/1.8 or f/1.4). Zoom lenses are generally too slow and heavy for handheld stability on tripods, though some modern zooms work. A 24mm f/1.4 or 35mm f/1.8 is the standard starting point. These allow more light to hit the sensor, reducing the need for high ISO.
- Sturdy Tripod: Carbon fiber is preferred over aluminum because it doesn’t conduct cold and is lighter. The head should lock securely so wind doesn’t shake the camera during a 15-second exposure.
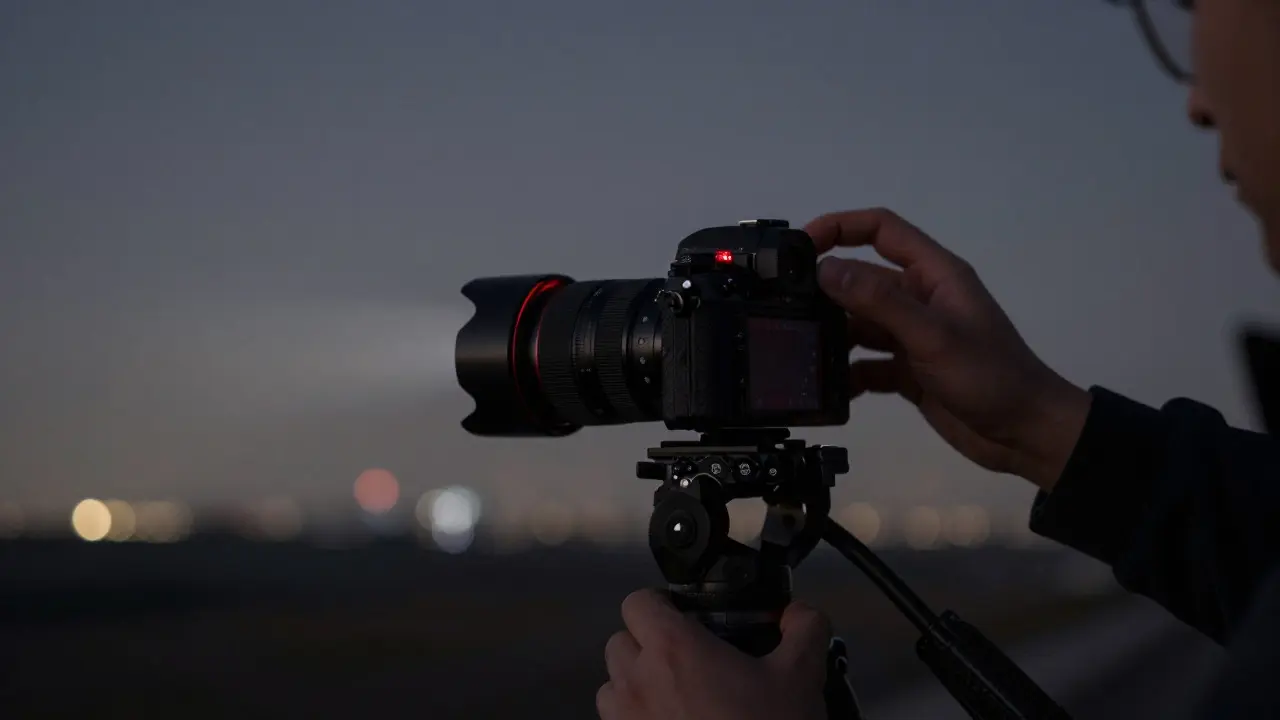
- Remote Shutter Release or Intervalometer: Pressing the shutter button shakes the camera. A remote or your phone’s intervalometer app solves this. It also lets you shoot multiple frames automatically without holding your breath between shots.
- Headlamp with Red Mode: White light ruins your night vision for twenty minutes. Red light preserves your ability to see in the dark. Keep the intensity low-just enough to read your settings.
- Spare Batteries: Cold drains batteries fast. If you’re shooting in winter or high altitude, bring twice as many as you think you’ll need.
One pro tip: use a manual focus lens or one with a clear infinity mark. Autofocus struggles in the dark. Set your focus manually to infinity, then fine-tune it by focusing on a bright star using live view magnification. If the star becomes a dot, you’re focused. If it’s a circle, adjust until it sharpens.
Exposure Settings: The Rule of 400 and Beyond
This is where most beginners get stuck. You want to capture the stars without turning them into streaks caused by Earth’s rotation. The "Rule of 400" is a simple formula to find your maximum shutter speed.
Divide 400 by your focal length. If you’re using a 24mm lens, 400 / 24 = 16.6 seconds. So, keep your shutter speed at 15 seconds or less. If you use a 50mm lens, 400 / 50 = 8 seconds. This keeps the stars pinpoint-sharp.
Next, set your aperture to its widest setting. If your lens is f/1.8, use f/1.8. Don’t stop down to f/8 for "more depth of field." At night, diffraction softens the image, and you lose light. Depth of field is less critical when everything is infinitely far away, except for your immediate foreground.
Finally, ISO. Start at ISO 3200. Take a test shot. Check the histogram. The right side (highlights) should not be clipped. The left side (shadows) should have data. If the stars are too dim, bump up to ISO 6400. Modern cameras handle ISO 6400 surprisingly well with minimal noise. If the sky is too bright due to moonlight or city glow, drop to ISO 1600 or even 800.
| Focal Length | Max Shutter Speed (Rule of 400) | Aperture | Starting ISO |
|---|---|---|---|
| 14mm | 28 seconds | f/1.8 - f/2.8 | 3200 |
| 24mm | 16 seconds | f/1.8 - f/2.8 | 3200 |
| 35mm | 11 seconds | f/1.8 - f/2.8 | 3200 |
| 50mm | 8 seconds | f/1.8 - f/2.8 | 3200 |
Composing the Shot: Foreground and Balance
A photo of just the Milky Way is pretty, but a photo of the Milky Way *over* something is powerful. The foreground gives scale and context. Without it, the image feels abstract. With it, it feels immersive.
Look for elements that add texture and shape. A lone tree, a rocky outcrop, a winding river, or a silhouette of a mountain range. Avoid cluttered backgrounds. Simplicity works best. The eye should move from the foreground detail up to the stars naturally.
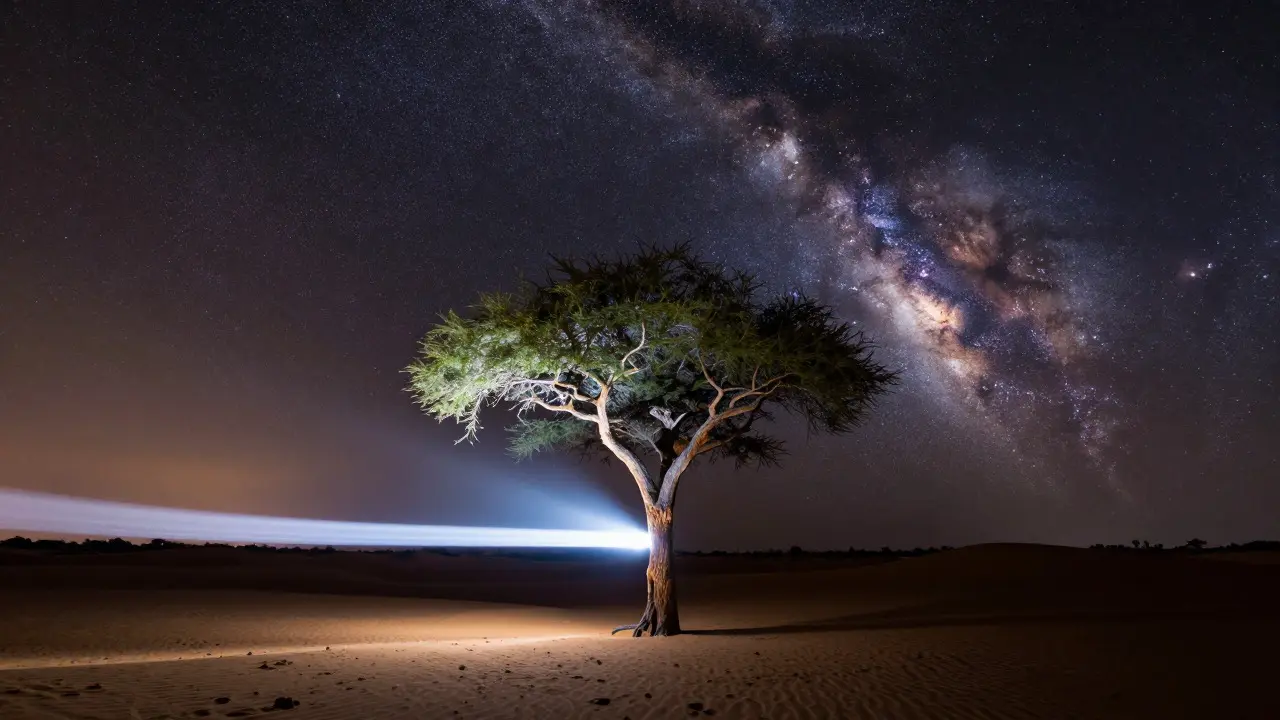
Lighting the foreground is tricky. You have two options: natural light or artificial light. Natural light means waiting for moonrise or using the ambient glow from a distant town. This is subtle and organic but requires patience. Artificial light means using a flashlight or LED panel to "paint" the scene. Hold the light source 10-15 feet away from the subject and sweep it slowly during the exposure. This technique, called light painting, allows you to control exactly how bright the foreground is relative to the sky.
Be careful with contrast. If your foreground is too dark, it becomes a black hole. If it’s too bright, it distracts from the stars. Aim for a balance where the foreground details are visible but not glowing. In post-processing, you can recover shadows easily, but blown-out highlights are hard to fix.
Managing Light Pollution: Strategies for Bright Skies
Not every location is a dark sky reserve. Sometimes you’re shooting near a town. That’s okay. Light pollution can be used creatively if you understand its behavior.
First, identify the source. Is it a streetlight directly in front of you? Move. Even ten feet can make a difference. Is it a city skyline in the distance? You can’t move, but you can compose around it. Place the brightest part of the sky (the galactic core) in the darkest part of the frame. Let the light pollution sit in the corners or edges.
Second, use gradients. Light pollution usually fades as you look higher in the sky. The horizon is brightest; the zenith is darkest. Compose your shot so the important stars are in the upper half of the frame. This reduces the impact of the ground-level glow.
Third, consider the moon. A full moon adds significant light, similar to a Class 4 or 5 sky. It can wash out the Milky Way. However, a crescent moon provides beautiful directional light for your foreground. If you’re struggling with light pollution, wait for a new moon phase for the clearest star fields. Check lunar phases before planning your trip.
Post-Processing: Bringing Out the Details
The raw file is just the beginning. Astro-landscapes require careful editing to balance the dynamic range between the bright sky and dark foreground.
- Convert to RAW: Always shoot in RAW format. JPEGs lack the data needed to recover shadows and highlights.
- White Balance: Set this in-camera or in post. Cooler tones (blue) make the sky look crisp; warmer tones (orange) can mimic sunset afterglow. Experiment.
- Adjust Highlights and Shadows: Lower the highlights to prevent the stars from blooming. Raise the shadows to reveal foreground details. Be gentle-too much shadow lifting brings up noise.
- Crop and Straighten: Fix any tilt. A level horizon is crucial for landscape credibility.
- Local Adjustments: Use masks or brushes to adjust specific areas. Brighten the foreground slightly if needed. Darken the sky near the horizon if there’s residual glow.
- Noise Reduction: Apply luminance noise reduction carefully. Too much makes the stars look fuzzy. Chromatic aberration removal helps clean up color fringing around bright stars.
Don’t over-edit. The goal is realism, not fantasy. Viewers can tell when an image has been pushed too far. Keep the textures natural. Let the grain of the film or sensor remain as part of the aesthetic.
Common Mistakes and How to Avoid Them
Even experienced photographers make these errors. Watch out for them:
- Forgetting to Turn Off Autofocus: The camera hunts for focus in the dark, wasting time and energy. Switch to Manual Focus (MF) immediately.
- Using a Weak Tripod: A shaky tripod causes motion blur. Test your setup by taking a 30-second exposure of a static object. If it’s blurry, upgrade your tripod.
- Ignoring Weather: Clouds kill astro shots. Check forecasts meticulously. Thin clouds can sometimes add drama, but thick clouds hide the stars completely.
- Shooting Too Late: The Milky Way core is best seen in summer evenings, shortly after sunset. By midnight, it may have moved out of frame or set below the horizon. Plan your timing based on the season and latitude.
- Not Protecting Gear: Dew forms quickly in the dark. Use a dew heater strap or hand warmers wrapped around your lens to prevent condensation. Fogged glass ruins the shot.
Each mistake is a lesson. The next time you go out, you’ll be prepared. That’s how mastery happens-not through perfect first attempts, but through consistent practice and reflection.
Frequently Asked Questions
What is the best time of year to photograph the Milky Way?
In the Northern Hemisphere, the galactic core is visible from late April through September. The peak months are June, July, and August, when the core rises high in the sky after sunset. In the Southern Hemisphere, the best viewing is from October to March.
Do I need a special camera for astro-landscape photography?
No. Any DSLR or mirrorless camera that allows manual control of shutter speed, aperture, and ISO will work. Entry-level models are sufficient. Full-frame sensors have a slight advantage in low-light performance, but crop-sensor cameras produce excellent results with proper settings.
How do I focus on stars accurately?
Switch to manual focus. Enable live view on your camera screen. Magnify the view to 10x or 20x. Select a bright star and turn the focus ring until the star appears as a small, sharp dot. Once focused, lock the ring with tape or a strap to prevent shifting.
Can I shoot the Milky Way with a smartphone?
Yes, but with limitations. Modern phones have dedicated night modes that stack multiple exposures. They work well for wide-angle shots of the sky but struggle with detailed foregrounds. For professional-quality astro-landscapes, a dedicated camera is still recommended for greater control and dynamic range.
What software is best for editing astro photos?
Adobe Lightroom and Capture One are industry standards for RAW processing. Both offer robust tools for adjusting highlights, shadows, and noise. For stacking multiple exposures, software like StarStaX or Sequator can be useful, though single-shot compositions are common for landscapes.