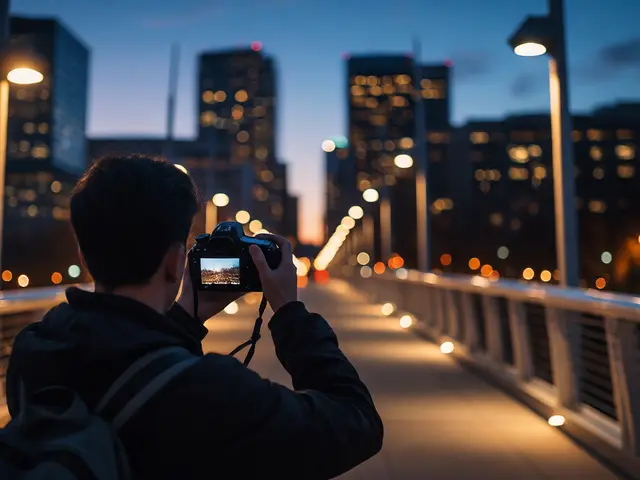
You know that feeling when you look at a city at night and the streetlights just look like blurry blobs of light? It’s disappointing. You want those lights to pop with sharp, radiating spikes-the kind you see in high-end travel magazines. That "starburst" effect isn’t magic; it’s physics. And yes, your camera can do it, but only if you stop guessing and start controlling two specific variables: aperture and lens geometry.
Most people think they need a $2,000 prime lens to get this look. They don’t. I’ve shot stunning starbursts with kit lenses, old manual glass, and even smartphone adapters. The secret lies in understanding how light bends through the blades of your shutter mechanism and how the shape of your lens elements distorts that light. If you’re tired of muddy night shots, here is exactly how to turn streetlights into diamonds.
The Physics of the Starburst
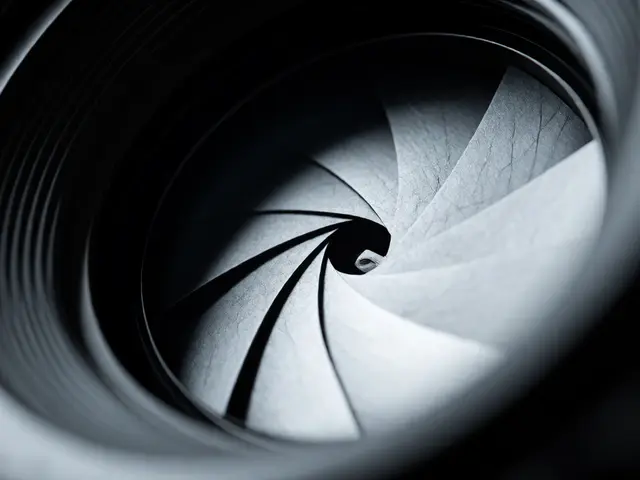
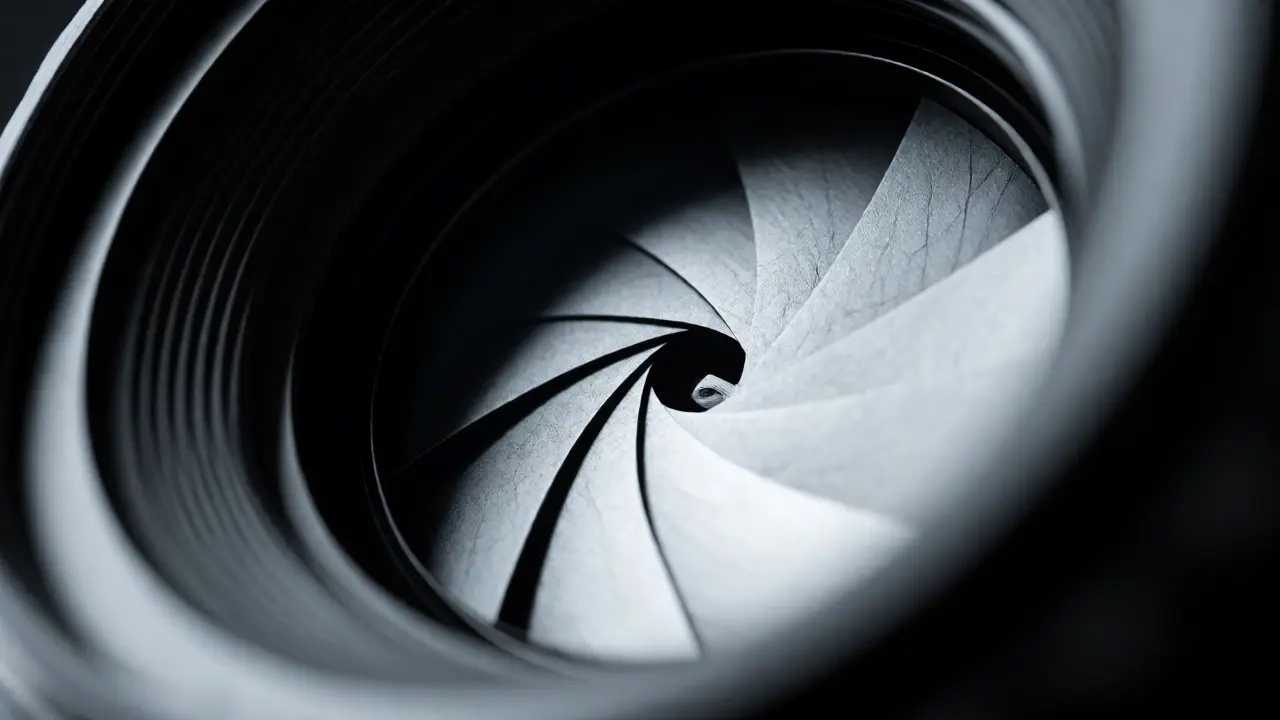
Before you twist any dials, you need to understand what’s actually happening inside your lens. When light enters a camera, it passes through an opening called the aperture. This opening is formed by overlapping metal blades. In most modern lenses, these blades are curved to create a near-perfect circle when wide open (like f/1.8). This circular shape allows light rays to pass through evenly, resulting in soft, round bokeh balls in the background.
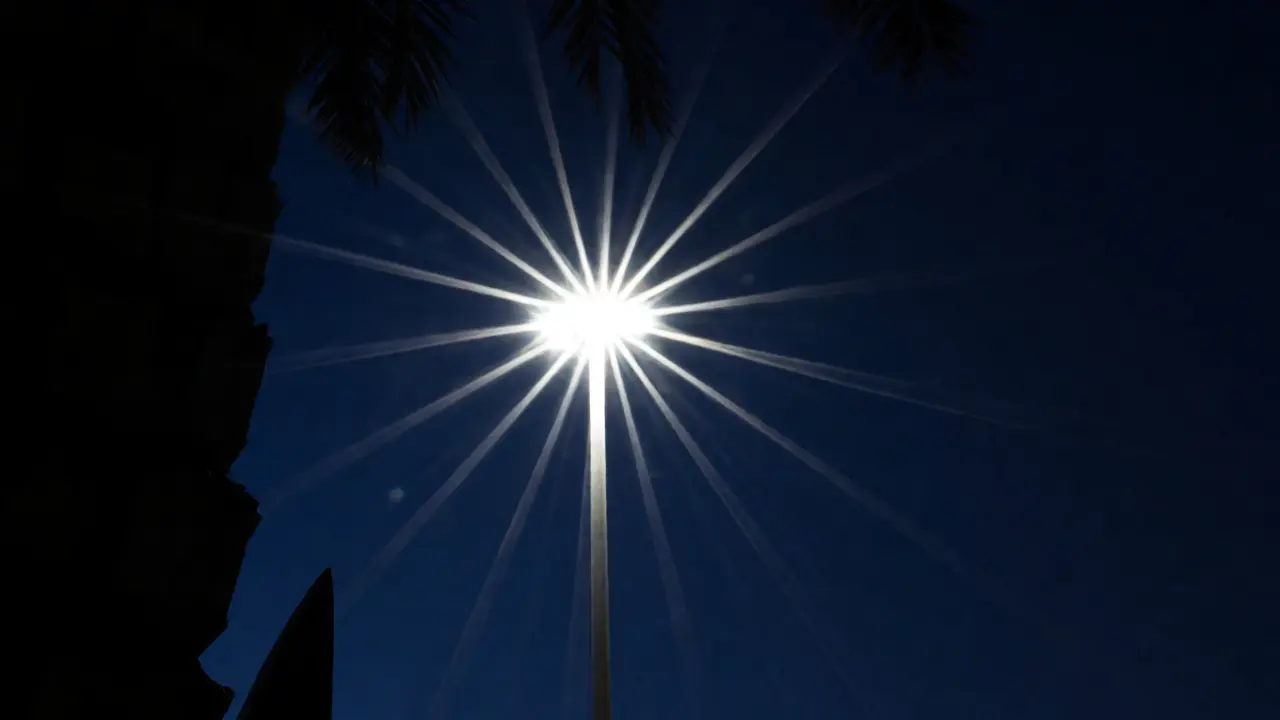
But when you stop down-closing the aperture to something smaller like f/16 or f/22-those blades move inward. Because they aren’t perfectly straight, they create tiny gaps and edges. Light waves diffract, or bend, around these edges. Instead of passing through cleanly, the light spreads out into distinct lines. These lines form the points of your star. The number of points on your star depends entirely on the number of aperture blades in your lens. An odd number of blades (like 7) creates twice as many points (14 stars), while an even number (like 6) creates the same number of points (6 stars). Knowing your lens’s blade count tells you exactly what kind of star you’ll get before you even press the shutter.
Aperture Settings: Finding the Sweet Spot
So, should you always shoot at the smallest aperture possible? Not necessarily. While closing the aperture creates the star effect, going too small introduces diffraction. Diffraction is when light waves interfere with each other because they are forced through such a tiny hole, causing the entire image to lose sharpness and detail. You might get a huge star, but your building facades and text signs will look mushy.
For most standard zoom lenses, the sweet spot for strong starbursts without excessive softening is between f/11 and f/16. At f/8, you might see faint hints of spikes, but they won’t be dramatic. At f/22, the spikes are intense, but overall image clarity often drops. Test your specific lens. Take a photo of a distant streetlight at f/11, then f/16, then f/22. Compare them on a computer screen at 100% zoom. You’ll likely find that f/14 or f/16 offers the best balance of punchy stars and crisp details.
| Aperture Value | Starburst Visibility | Image Sharpness | Best For |
|---|---|---|---|
| f/1.8 - f/4 | None (Round Bokeh) | Maximum | Portraits, Low Light Speed |
| f/5.6 - f/8 | Faint Spikes | High | General Night Scapes |
| f/11 - f/16 | Strong, Defined Stars | Optimal Balance | Cityscapes, Architecture |
| f/22+ | Extreme Spikes | Reduced (Diffraction) | Artistic Effect Only |
Lens Choice: Why Geometry Matters
Not all lenses create equal stars. The quality and length of the spikes depend heavily on the optical design. Generally, lenses with more aperture blades produce smoother, longer spikes. A 9-blade lens will create a 18-point star that looks elegant and refined. A 5-blade lens creates a chunkier, 10-point star that feels more rugged.
Prime lenses (fixed focal length) usually have better optics than zooms, meaning cleaner stars with less flare. However, many photographers assume they need a fast prime (f/1.4 or f/1.8) to shoot at night. That’s a myth for starbursts. Since you are stopping down to f/16 anyway, the maximum speed of the lens doesn’t matter for the final exposure time-it matters for focusing. Use the wide-open setting to focus manually in the dark, then stop down to shoot.
Watch out for internal reflections. Some older lenses or cheaper plastic-element lenses suffer from severe ghosting and flare when shooting bright point sources against a dark sky. If you see weird colored circles floating around your stars, your lens coating might not handle high-contrast night scenes well. Newer lenses with multi-coated elements suppress this flare, keeping your black skies truly black and your stars clean.
Technique: Exposure and Focus Precision
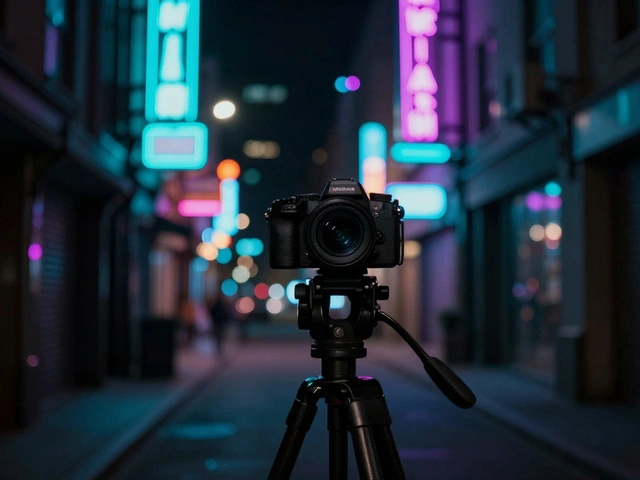
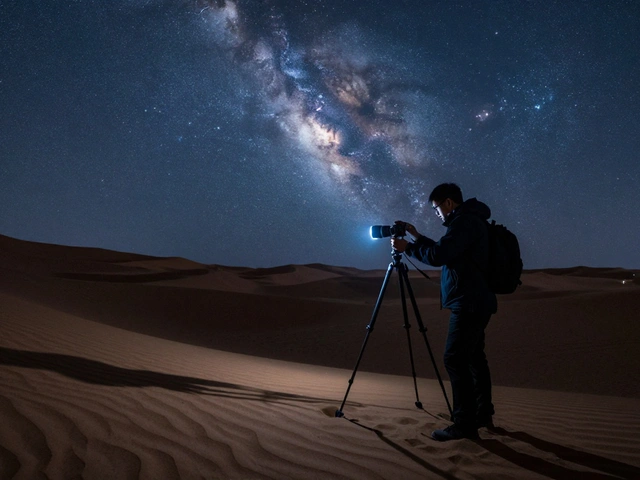
Getting the settings right is half the battle; executing the shot is the other half. Night photography requires stability. At f/16, your shutter speed will likely drop to several seconds. Handholding this is impossible unless you have incredible arms and a stabilized lens. Use a tripod. If you don’t have one, rest your camera on a railing, a bench, or use a mini-tripod.
Focusing in the dark is tricky. Autofocus systems hunt and fail when there’s no contrast. Switch to manual focus. Zoom in using live view until you see the streetlight clearly on your LCD screen. Adjust the focus ring until the light becomes the smallest, sharpest dot possible. Once focused, lock it. Do not let the camera change focus after this point.
Exposure strategy is simple: expose for the highlights. The streetlights are bright white or yellow. If you expose for the dark buildings, the lights will blow out completely into white blobs. You want the lights to be bright but still show some color definition. Underexpose slightly (-0.3 to -0.7 EV) to keep the sky deep blue or black, which makes the starbursts pop dramatically. Bracket your shots if you’re unsure, merging them later in post-processing if needed.
Common Pitfalls and How to Fix Them
Even with perfect settings, things go wrong. Here are the usual suspects:
- Dust on the Sensor: Stopping down to f/16 makes every speck of dust on your sensor visible as dark spots. Clean your sensor regularly. If you see spots, they aren’t on the lens; they are on the sensor.
- Smudged Front Element: Fingerprints or smudges on the front glass element cause hazy halos around lights. Always use a microfiber cloth to wipe the lens before shooting at night.
- Motion Blur: Even with a tripod, wind can shake the camera. Use a remote shutter release or your camera’s 2-second self-timer to eliminate vibration from pressing the button.
- Over-Sharpening: Don’t crank the sharpening slider in Lightroom or Photoshop. It accentuates noise in the shadows and makes the star spikes look jagged rather than smooth.
Advanced Tips for Better Results
Once you master the basics, try manipulating the environment. Foreground interest makes starburst photos stand out. A silhouetted tree branch, a parked car, or a person walking can add scale and story to the scene. Position yourself so the streetlight aligns with a vertical line, like a pole or building edge, to emphasize the radial symmetry.
Consider using a neutral density (ND) filter if you want to blur moving clouds or traffic trails while maintaining the starburst effect during twilight. Without an ND filter, a long exposure at f/16 might overexpose the sky if you shoot just after sunset. An ND filter lets you extend the shutter speed to 30 seconds or more, smoothing out water reflections or creating streaks of car headlights while keeping the stars sharp.
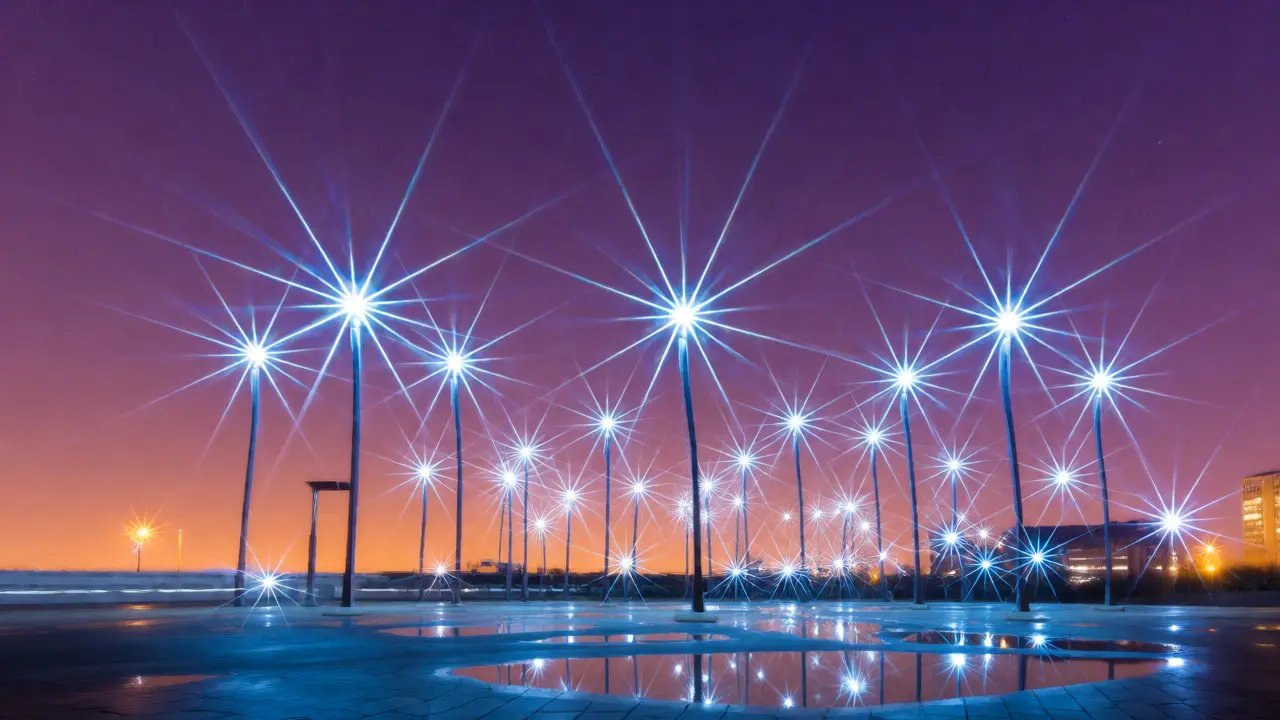
Finally, experiment with different light sources. Not all lights make good stars. Sodium-vapor lamps (the orange ones common in older cities) create warm, amber stars. LED streetlights (cool white) create crisp, blue-white stars. Mixing these colors in one frame adds visual complexity. Look for clusters of lights rather than single isolated bulbs; groups of stars create a pattern that draws the eye across the image.
Do I need a special lens for starbursts?
No, you do not need a special lens. Any lens with adjustable aperture blades can create starbursts. Lenses with more blades (7, 9, or 11) tend to produce smoother, more numerous points, but even basic kit lenses work well if stopped down to f/16 or higher.
Why do my stars look fuzzy instead of sharp?
Fuzzy stars are usually caused by diffraction (using too small an aperture like f/22+ on low-resolution sensors), motion blur from camera shake, or poor focus. Ensure your camera is stable on a tripod, use a remote shutter, and verify focus manually on the brightest point source.
Can I create starbursts in post-production?
Yes, software like Photoshop has filters that can simulate starbursts, but they rarely look as natural as optical ones. Optical starbursts interact with the actual light wavelengths and lens aberrations, creating unique variations that digital filters struggle to replicate authentically.
How many aperture blades determine the star points?
If your lens has an odd number of aperture blades (e.g., 7), it will create double the number of star points (14 points). If it has an even number (e.g., 6), it will create the same number of points (6 points).
Is autofocus reliable for night starbursts?
Autofocus often struggles in low-light conditions due to lack of contrast. It is highly recommended to switch to manual focus. Use Live View, zoom in digitally on the streetlight, and adjust the focus ring until the light is a pinpoint.