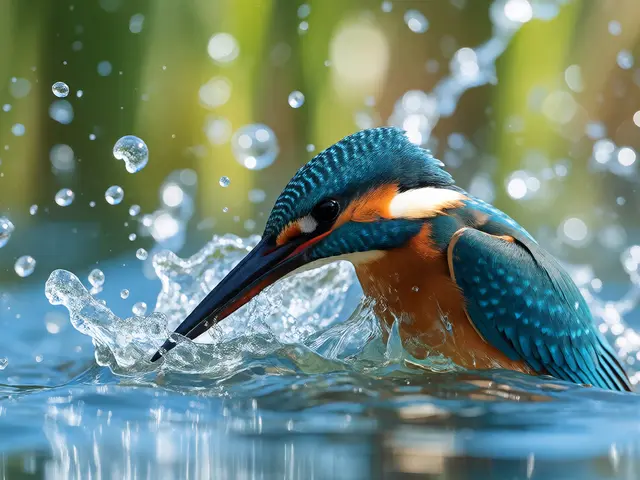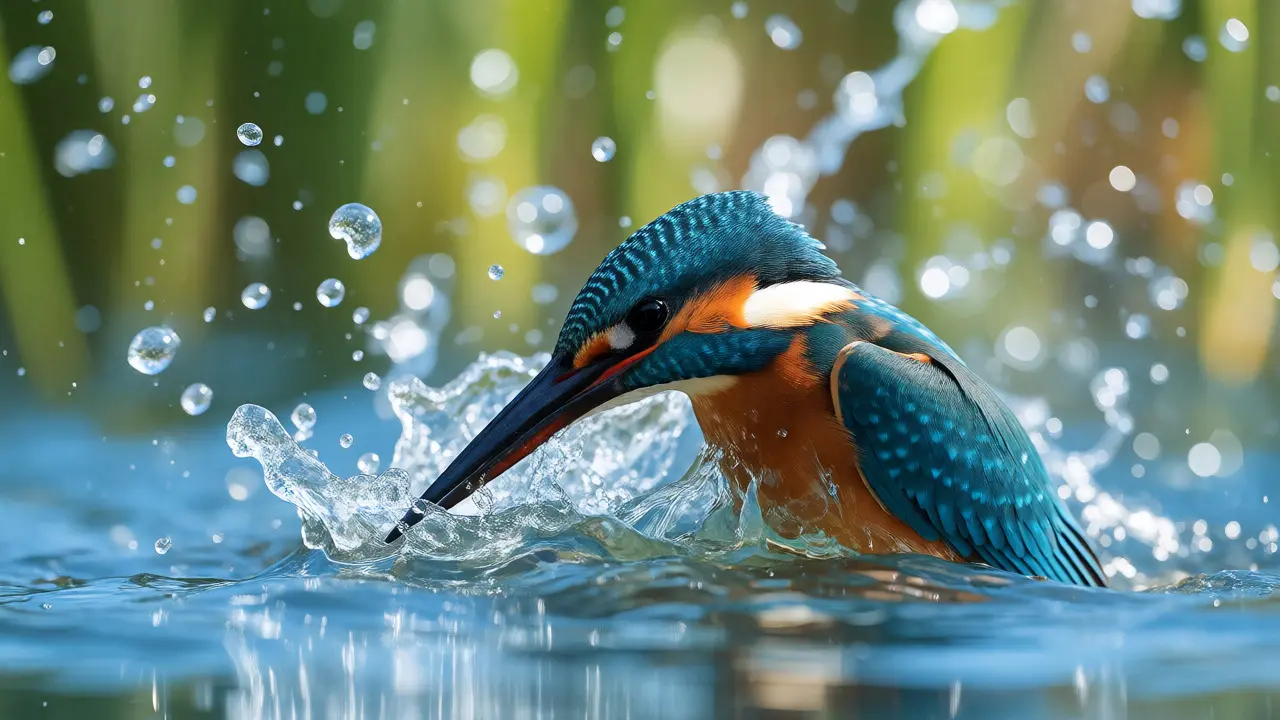
You know that feeling when you see a kingfisher dive? It’s fast. Like, blink-and-you-miss-it fast. Now imagine trying to capture the sharp scales of a fish moving through choppy water, or the delicate wings of a heron against a bright sky. Aquatic wildlife photography is one of the toughest genres in nature shooting because you’re fighting three enemies at once: light refraction, unpredictable movement, and your own equipment’s limits. But when you nail it, the images are breathtaking.
This isn’t just about pointing and clicking. It’s about understanding how water behaves with light and how animals move within it. Whether you’re standing on a muddy bank waiting for an egret or floating above a coral reef, the principles remain surprisingly similar. You need patience, the right gear tweaks, and a deep respect for the environment. Let’s break down exactly how to get those shots without turning your expensive camera into a very heavy paperweight.
The Gear That Actually Works Underwater and Above
Before you buy anything, ask yourself: where are you shooting? If you’re mostly photographing birds from shore, you don’t need a $10,000 underwater housing. You need reach and speed. A telephoto lens between 300mm and 600mm is standard. Why? Because waterbirds are skittish. Get too close, and they fly away. Too far, and you lose detail.
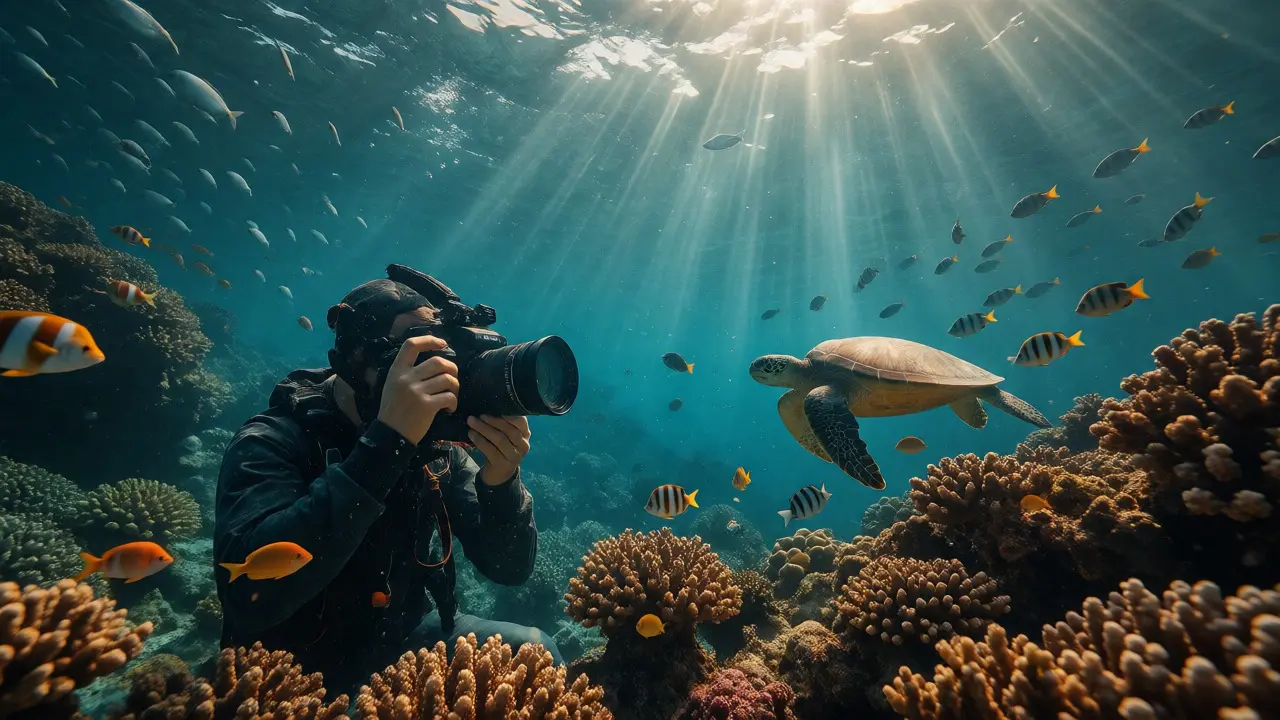
For true underwater work-think snorkeling or scuba diving-you have two main paths. The first is a dedicated waterproof compact camera like the Olympus Tough series. These are great for beginners because they handle white balance automatically and survive drops. The second path is mirrorless or DSLR cameras in hard housings. This gives you manual control over aperture and shutter speed, which is critical when natural light fades below 15 feet.
Here’s a quick reality check on gear choices:
| Gear Type | Best For | Key Limitation | Cost Estimate (USD) |
|---|---|---|---|
| Waterproof Compact | Snorkeling, casual divers, rough conditions | Limited low-light performance, fixed lens | $400 - $800 |
| Mirrorless + Housing | Serious hobbyists, interchangeable lenses | Bulkier setup, requires careful seal checks | $1,500 - $4,000+ |
| Long Telephoto Lens | Shore-based bird photography | Heavy to carry, wind shake issues | $1,000 - $12,000 |
| Polarizing Filter | Cutting glare on surface water | Reduces light intake by 1-2 stops | $50 - $300 |
If you are shooting from land, invest in a monopod. Handholding a 600mm lens while tracking a flying pelican is a workout. A monopod stabilizes the vertical plane, letting you focus on tracking the bird rather than fighting gravity.
Mastering Light: The Refraction Problem
Light doesn’t travel straight through water. It bends. This phenomenon, called refraction, makes objects appear closer and larger than they actually are. More importantly, it changes color. Water absorbs red wavelengths first. By 10 feet deep, everything looks blue-green. Your camera’s auto-white balance tries to fix this, but it often fails, resulting in muddy colors.
To combat this, shoot in RAW format. JPEGs bake in the white balance, making it hard to correct later. With RAW files, you can pull back the blues and add warmth in post-production. But prevention is better than cure. Use a circular polarizer when shooting surface water. Rotate the filter until the glare disappears. Suddenly, you can see beneath the surface. You’ll spot submerged logs, fish shadows, and ripples that were invisible before. Just remember: a polarizer eats light. You might need to bump your ISO up to 800 or 1600 to keep your shutter speed fast enough.
Underwater, artificial light is your best friend. Even in shallow tropical waters, a strobe or video light restores lost colors. Don’t blast the subject directly from the front; that creates flat, shadowless images. Position your lights off-axis, slightly to the side and above. This reveals texture on fish scales and coral structures. Start with low power and adjust as you go. Over-lighting washes out details just as badly as under-lighting.
Capturing Movement: Shutter Speed Strategies
Fish dart. Birds swoop. Water splashes. Everything moves faster than you think. Your default "auto" mode will likely give you blurry results because it prioritizes exposure over motion freeze.
For static subjects like a resting duck, 1/250th of a second is fine. But if you want to catch a kingfisher emerging from the water with droplets suspended in mid-air, you need 1/2000th of a second or faster. Yes, that means high ISO. Modern cameras handle noise well up to ISO 3200. Grainy photos are better than blurry ones. You can denoise in editing; you can’t unblur a missed moment.
Try these baseline shutter speeds based on the action:
- Slow-moving fish or resting birds: 1/250s to 1/500s
- Active swimming or walking: 1/1000s
- Taking flight or diving: 1/2000s to 1/4000s
- Extreme splash moments: 1/4000s+
Use continuous autofocus (AF-C) and burst mode. When a heron strikes, it happens in a fraction of a second. Holding the shutter button lets you capture a sequence of ten frames. Chances are, one of them is perfect. Review your images immediately after the burst. Did you miss the peak action? Adjust your timing and wait for the next opportunity.
Composition Tips for Water Scenes
Water scenes can feel empty. A lone bird in a vast blue sea might look lonely, but it can also look boring. Give your subject room to move into. If a fish is swimming left to right, leave space on the right side of the frame. This creates visual flow. If you center the subject tightly, it feels cramped, like it’s hitting a wall.
Get low. Most people stand up and shoot down at the water. Try kneeling or lying prone. Shooting at eye level with a duck or a turtle creates an intimate connection. The viewer feels like they are in the water with the animal. For underwater shots, try looking up toward the surface. Silhouettes of divers or fish against the sunlit surface create dramatic, graphic shapes.
Don’t ignore the background. In aquatic environments, backgrounds are often messy-tangled seaweed, murky depths, or distracting boats. Move your position until the background is clean. Sometimes, simply changing your angle by two feet removes a distracting branch or rock. Simplicity sells the image. Let the subject shine.
Ethics and Environmental Impact
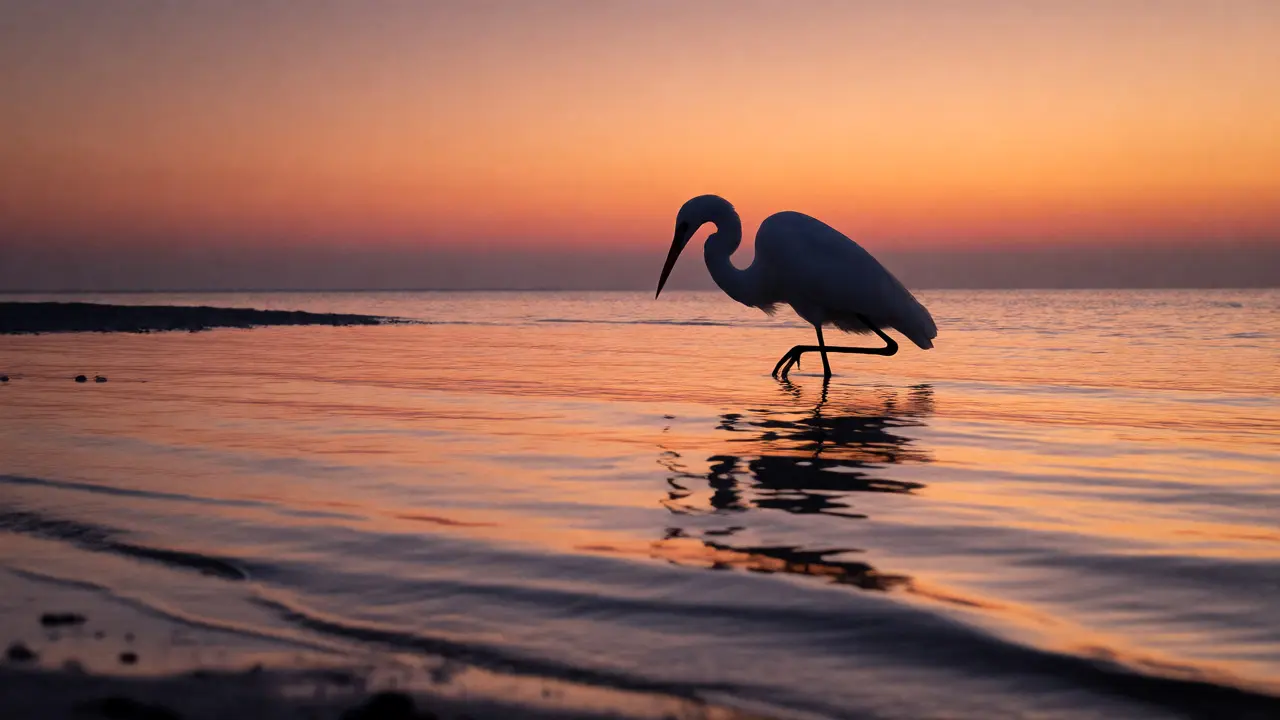
Nothing ruins a photo op like disturbing the wildlife. Chasing birds for a "better shot" stresses them out. If a bird flies away because you got too close, you didn’t get the shot; you just ruined their day. Keep your distance. Use your zoom, not your feet.
Underwater, buoyancy control is non-negotiable. Touching coral kills it. Kicking sand clouds the water and destroys visibility for everyone behind you. Practice neutral buoyancy in a pool before heading to the ocean. Never chase marine life. Let them come to you. Patience rewards you with natural behaviors, not panicked escapes.
Also, be mindful of flash use. Some marine animals are sensitive to intense bursts of light. Avoid rapid-fire strobing near turtles or rays. Respect local regulations regarding protected species. In some areas, using a tripod on the beach might be prohibited during nesting seasons. Check signs and ask locals. Being a good guest ensures the location remains beautiful for future photographers.
Post-Processing Essentials
Your work isn’t done when you press the shutter. Editing brings out the potential in aquatic images. Start with white balance correction. Use the eyedropper tool on a neutral gray area, like wet sand or a cloud, to set accurate colors. Then, boost clarity and texture to emphasize scales and feathers.
Be careful with saturation. It’s tempting to crank up the blues and greens, but oversaturated water looks fake. Aim for realistic tones. If the scene was naturally teal, don’t make it neon cyan. Use HSL sliders to target specific colors. Reduce orange saturation slightly if skin tones (in hands holding gear) look unnatural, or boost blue luminance to make water pop.
Finally, crop aggressively. Remove dead space. Focus the viewer’s eye on the interaction-the beak catching the fish, the eye of the shark, the ripple around the stone. Tight crops turn mediocre snapshots into compelling art.
Do I need a special lens for underwater photography?
Not necessarily. Wide-angle lenses (10-24mm) are popular for landscapes and large creatures like whales because they allow you to get close while capturing context. Macro lenses (90-105mm) are essential for small critters like nudibranchs or shrimp. Standard zooms can work for general use, but prime lenses usually offer sharper results and better low-light performance.
How do I prevent fogging inside my camera housing?
Fogging occurs when warm air inside the housing meets cold water. To prevent this, assemble your gear in a cool, dry place. Insert anti-fog strips inside the housing. Ensure all O-rings are clean and lightly greased with silicone lubricant. Before sealing, breathe gently across the port glass to check for moisture. Always test the housing in a bucket of water before entering the sea.
What is the best time of day for waterbird photography?
Golden hour-shortly after sunrise and before sunset-is ideal. The light is soft, warm, and directional, which enhances textures in feathers and water. Midday sun creates harsh highlights and deep shadows, washing out colors. However, midday can be good for clear, vibrant underwater shots where you want maximum illumination and minimal long shadows.
Can I use a smartphone for aquatic wildlife photography?
Yes, modern smartphones with waterproof cases can produce impressive results, especially in shallow water or for surface shots. They lack the optical zoom and manual controls of dedicated cameras, so you must get physically closer. Using apps that allow manual control over shutter speed and ISO significantly improves outcomes compared to automatic mode.
How do I deal with saltwater damage to my gear?
Saltwater is corrosive. After every session, rinse your external gear (tripods, bags, exposed parts) with fresh water. Wipe down metal components thoroughly. Store equipment in a dry, ventilated area. Never store wet gear in a sealed bag overnight, as mold and corrosion will set in quickly. Regular maintenance extends the life of your investment.