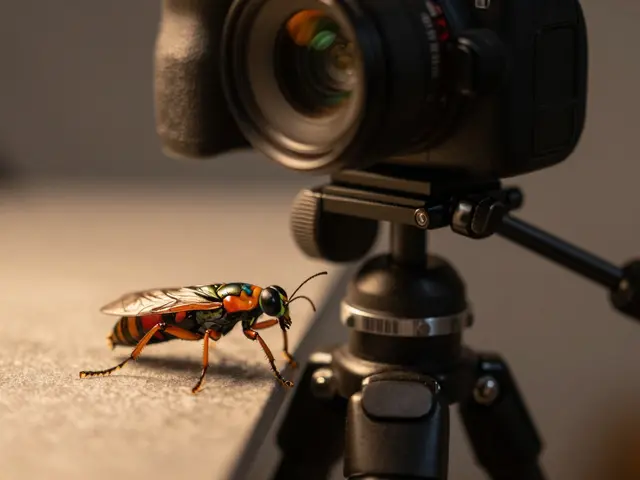
There is a specific kind of magic that happens when the sun hides behind a thick blanket of clouds. For landscape shooters, it might be a disappointment. But for Macro Photography is a genre focused on capturing extreme close-ups of small subjects, often requiring specialized lenses and precise lighting control, overcast skies are a gift. The light becomes huge, diffuse, and incredibly soft. If you know how to harness it, you can eliminate the harsh shadows that usually ruin tiny details in flowers, insects, or textures.
Most photographers fight the weather. They chase golden hour or buy expensive reflectors to bounce light back into their subjects. On a cloudy day, nature does the heavy lifting for you. The cloud layer acts as a massive, free diffuser. This article breaks down exactly how to use this natural advantage to get crisp, detailed images without the headache of artificial gear.
Why Overcast Light Wins in Macro
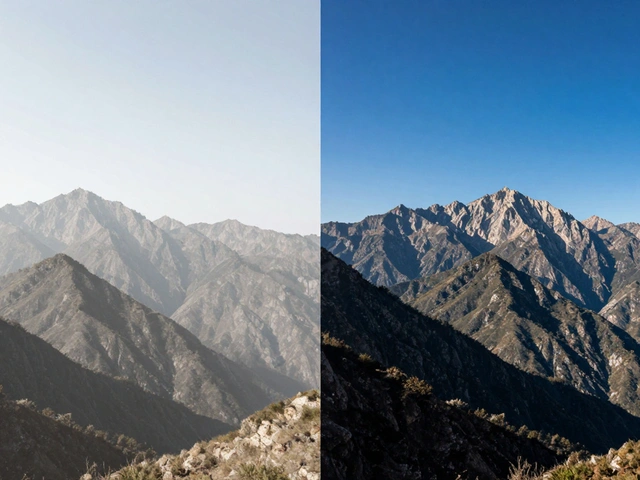
To understand why cloudy days work so well, you have to look at the physics of light. Direct sunlight creates hard edges. When light hits a small subject like a ladybug or a dew drop, it casts sharp, dark shadows. These shadows hide texture. You lose the detail in the wing patterns or the hair on a spider’s leg.
Diffused light changes everything. When sunlight passes through clouds, it scatters. The light source effectively becomes the size of the sky itself. In macro terms, a larger light source relative to your subject means softer shadows. Here is what that looks like in practice:
- Hard Sunlight: Creates high contrast. Highlights blow out easily. Shadows go completely black, losing all detail.
- Overcast Light: Creates low contrast. Highlights remain visible. Shadows retain gray tones, preserving texture.
This consistency is crucial. In macro, depth of field is razor-thin. You don’t want your attention divided between focusing on a single plane and managing wildly changing light levels. Clouds provide a stable, predictable exposure window. You can spend time composing and focusing without rushing against a moving shadow line.
The Role of Aperture and Depth of Field
Soft light doesn’t mean you can ignore camera settings. In fact, because the light is dimmer than direct sun, you need to be strategic with your aperture. Many beginners think they should always shoot at f/16 or f/22 for maximum sharpness. That is a mistake.
Diffractive limitations kick in at very small apertures. On most full-frame cameras, shooting past f/11 starts to soften the entire image due to diffraction. Since overcast light allows for slower shutter speeds, you have more flexibility. Try starting at f/8 or f/11. This keeps the optical quality high while still giving you enough depth of field to cover the subject. If you need more depth, consider stacking shots later rather than forcing a tiny aperture that degrades resolution.
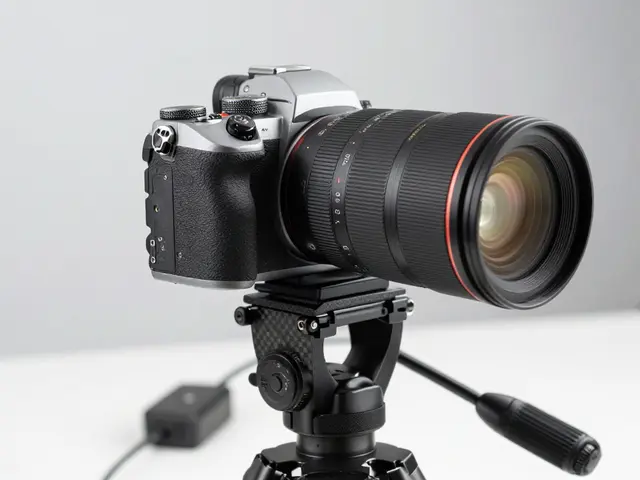
Also, keep an eye on your ISO. While modern sensors handle noise well, grain can clog up fine details in macro work. Aim for a base ISO (usually 100 or 200). If the light is too dim, stabilize your camera on a tripod. A steady platform lets you use longer exposures without motion blur, keeping your ISO low and your file clean.
Positioning Your Subject and Camera
Even with perfect light, bad positioning ruins the shot. On a cloudy day, you have freedom from directional shadows, but you still need to manage background distractions. The lack of strong shadows means backgrounds can become muddy if not controlled.
Here is a simple workflow to follow:
- Find your subject: Look for elements with intricate detail. Petals, insect wings, water droplets, or bark textures work best.
- Check the background: Since there are no hard shadows to separate your subject, ensure the background is blurred or visually distinct. Move around the subject until the background bokeh looks smooth.
- Get low: Shooting from below can create a sense of scale. It also helps separate the subject from the ground clutter.
- Watch the wind: Cloudy days are often breezy. Use a blower or wait for lulls in the wind. A slight vibration will ruin focus at 1:1 magnification.
One pro tip: use Live View on your camera’s LCD screen. Zoom in to 100% or 200%. This allows you to verify focus precision before pressing the shutter. At macro distances, a millimeter matters. Relying on the viewfinder alone is risky.
Managing White Balance and Color
Cloudy light has a cooler color temperature than direct sun. It tends to lean blue. Some photographers love this cool tone for moody portraits, but for vibrant flower or insect shots, it can make colors look dull or washed out.
You have two options. First, set your white balance manually to around 5500K-6000K to warm up the scene slightly. This brings out the reds and oranges in petals and the greens in leaves. Second, shoot in RAW format. This gives you total freedom in post-processing. You can adjust the temperature slider without worrying about clipping highlights or crushing shadows, which is much harder in JPEG.
Don’t be afraid to let the environment dictate the mood. A gray, moody sky can add drama to a dark-colored beetle. A bright, thin cloud cover can make white flowers pop against a green backdrop. Match your post-processing style to the specific quality of the light you captured.
When to Break Out Artificial Light
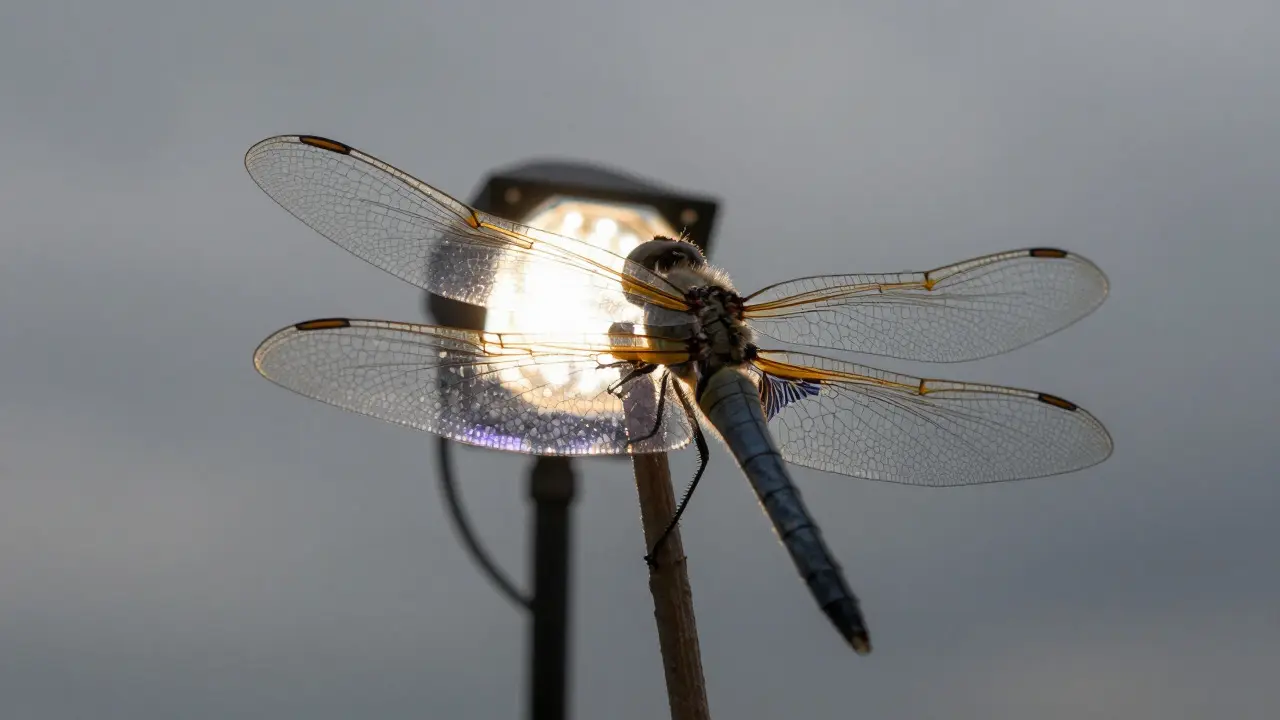
Is cloudy light always enough? Mostly, yes. But there are exceptions. If the clouds are extremely thick and the ambient light drops significantly, you might struggle to get a fast enough shutter speed, even on a tripod. Or, if you are shooting translucent subjects like dragonfly wings, you might need backlighting to reveal the vein structure.
In these cases, a small LED panel or a ring flash can help. However, use them sparingly. The goal is to supplement the natural soft light, not replace it. Place an LED panel behind the subject to act as a backlight. Keep the intensity low. You want to see the veins in the wing, not wash out the entire image. The combination of soft ambient fill and a subtle artificial backlight creates a stunning three-dimensional effect that pure daylight sometimes lacks.
| Lighting Condition | Shadow Quality | Contrast Level | Ideal For |
|---|---|---|---|
| Direct Sun | Hard, Sharp | High | Backlit translucency, dramatic effects |
| Open Shade | Medium, Soft | Medium | General outdoor portraiture, mixed scenes |
| Overcast/Cloudy | Very Soft, Diffuse | Low | Detail retention, texture, color accuracy |
| Artificial Flash | Depends on Modifier | Variable | Freezing motion, indoor shooting, specific accents |

Troubleshooting Common Issues
Even with ideal conditions, things can go wrong. Here are the most common pitfalls and how to fix them.
Problem: The image looks flat and boring. Solution: Flat light is great for detail but can lack punch. Add contrast in post-processing. Use curves to deepen the shadows slightly and lift the highlights. Alternatively, choose a subject with inherent contrast, like a black-and-white patterned butterfly, to rely on the subject’s own visual interest.
Problem: Focus is inconsistent. Solution: Switch to Manual Focus. Autofocus systems often hunt in low-contrast, overcast conditions. Using manual focus with live view zoom ensures you lock onto the exact point you want, such as the eye of an insect.
Problem: Colors look desaturated. Solution: Increase saturation or vibrance in editing. Be careful not to oversaturate, which leads to banding. Vibrance is usually safer as it boosts mid-tones more than skin tones or already saturated areas.
Frequently Asked Questions
Do I need a tripod for macro photography on cloudy days?
While handheld shooting is possible if the light is bright enough, a tripod is highly recommended. Cloudy light reduces available photons, requiring slower shutter speeds. A tripod eliminates camera shake, allowing you to use lower ISO values for cleaner files and higher apertures for better depth of field.
What is the best aperture for macro shots in overcast conditions?
Start with f/8 or f/11. These apertures offer a good balance between depth of field and optical sharpness. Going smaller, like f/16 or f/22, can introduce diffraction, which softens the entire image. Since overcast light is stable, you can afford to stay within this sweet spot without worrying about rapid exposure changes.
How do I deal with wind during macro photography?
Wind is the enemy of macro clarity. Use a blower to clear debris, but be gentle. Wait for lulls in the breeze. If the subject is a plant, consider using a support or pinning it gently if appropriate. For insects, patience is key; wait for them to settle. A slight vibration will result in a blurry image at high magnification.
Should I use a polarizing filter on cloudy days?
Yes, a circular polarizer can be very useful. It reduces glare from wet surfaces, leaves, or insect shells. By rotating the filter, you can enhance the saturation of green foliage and blue skies (if visible through gaps). It adds richness to the colors that overcast light might otherwise flatten.
Can I shoot macro in the rain if it's cloudy?
Yes, but protect your gear. Raindrops on leaves can create beautiful, reflective orbs that catch the soft light. Use a lens hood and a rain cover for your body. The diffused light makes raindrops easier to photograph without harsh reflections blowing out the highlights. Just ensure your sensor is dry before removing the lens cap.