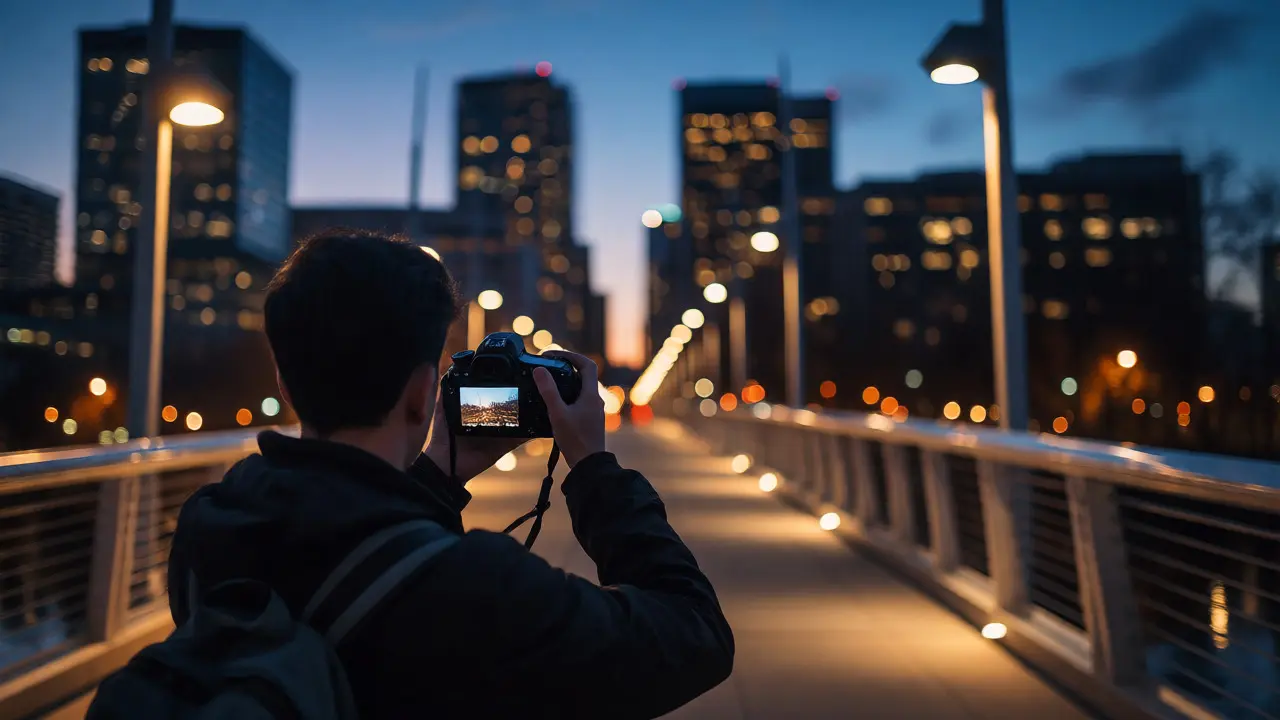
You know that feeling. You’re standing on a bridge in Portland at dusk, the city lights are starting to twinkle, and you frame up a shot that looks incredible through the viewfinder. You hold your breath, press the shutter, and check the image on the back of your camera. It’s blurry. Not artistically soft, but unusably mushy. You try again. Same result. You crank up the ISO to freeze motion, but now your photo looks like it was printed on sandpaper.
Here is the hard truth about low-light photography: your hands are not stable enough to keep up with physics. No matter how steady you think you are, the human body shakes. In bright daylight, this doesn’t matter because shutter speeds are fast-1/500th of a second or faster. But when the sun goes down, light drops off exponentially. To get enough light onto your sensor, you have to slow your shutter speed down. Once you drop below 1/60th of a second (or even slower if you don't have image stabilization), hand-holding becomes a gamble. That’s where the tripod comes in. It isn’t just an accessory; it is the single most important tool for unlocking sharpness in dim conditions.
The Physics of Blur: Why Hands Aren't Enough
To understand why a tripod matters, you need to look at the relationship between focal length and shutter speed. There is a general rule of thumb called the "reciprocal rule": your shutter speed should be at least the inverse of your focal length. If you are shooting at 50mm, you need 1/50th of a second or faster to avoid blur from hand shake. At 200mm? You need 1/200th.
In low light, getting 1/200th often requires an ISO of 3200 or higher. While modern cameras handle high ISO better than they did five years ago, there is still a limit. Push too far, and noise eats into your detail and color accuracy. A tripod breaks this dependency. By locking the camera in place, you can shoot at 1/10th, 1 second, or even 30 seconds without introducing any camera shake. This allows you to keep your ISO at 100 or 200, resulting in cleaner files with richer dynamic range.
| Scenario | Handheld Strategy | Tripod Strategy | Resulting Image Quality |
|---|---|---|---|
| Street Scene at Dusk | ISO 1600, f/2.8, 1/60s | ISO 100, f/8, 2s | Cleaner shadows, sharper details, smoother tonal transitions. |
| Night Skyline | ISO 3200, f/4, 1/15s | ISO 100, f/11, 15s | Noise-free stars/city lights, potential for star trails or smooth water. |
| Indoor Portrait | ISO 800, f/1.8, 1/50s | ISO 100, f/5.6, 1/10s (with flash) | Better depth of field control, lower noise floor. |
Unlocking Creative Long Exposures
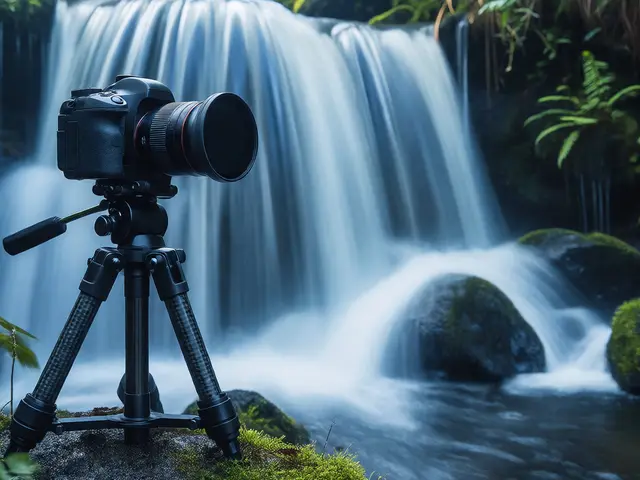
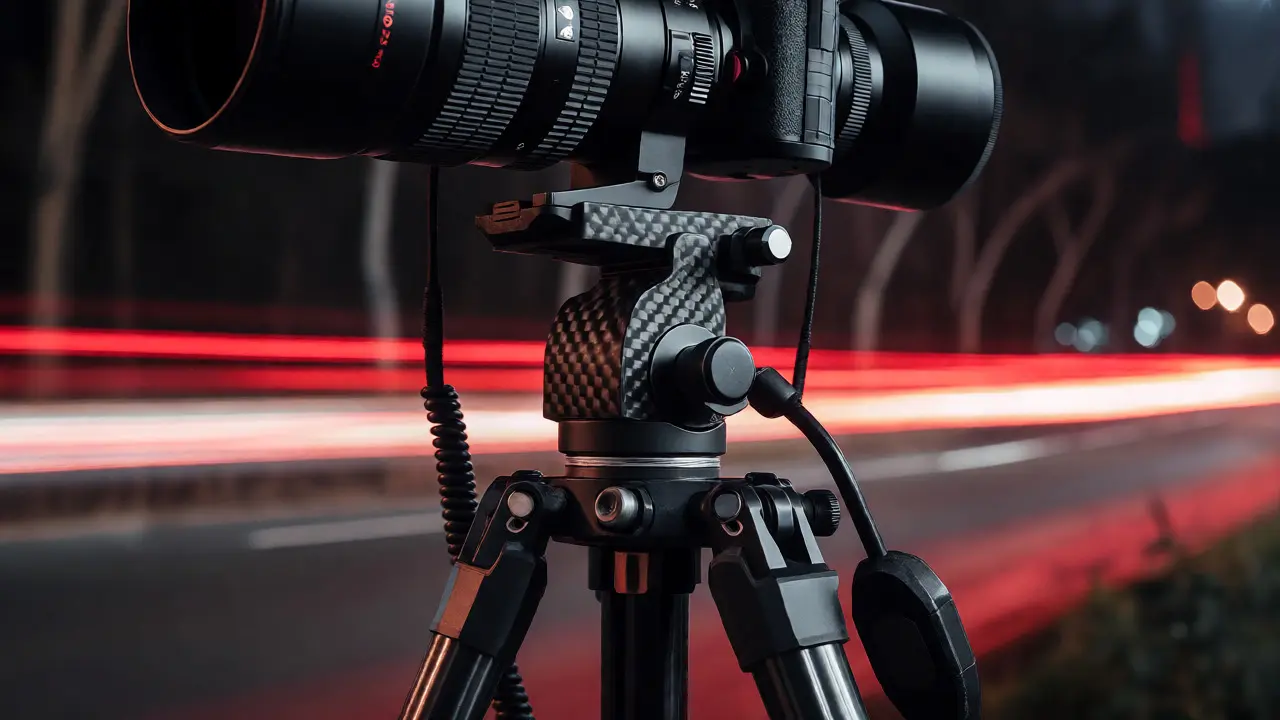
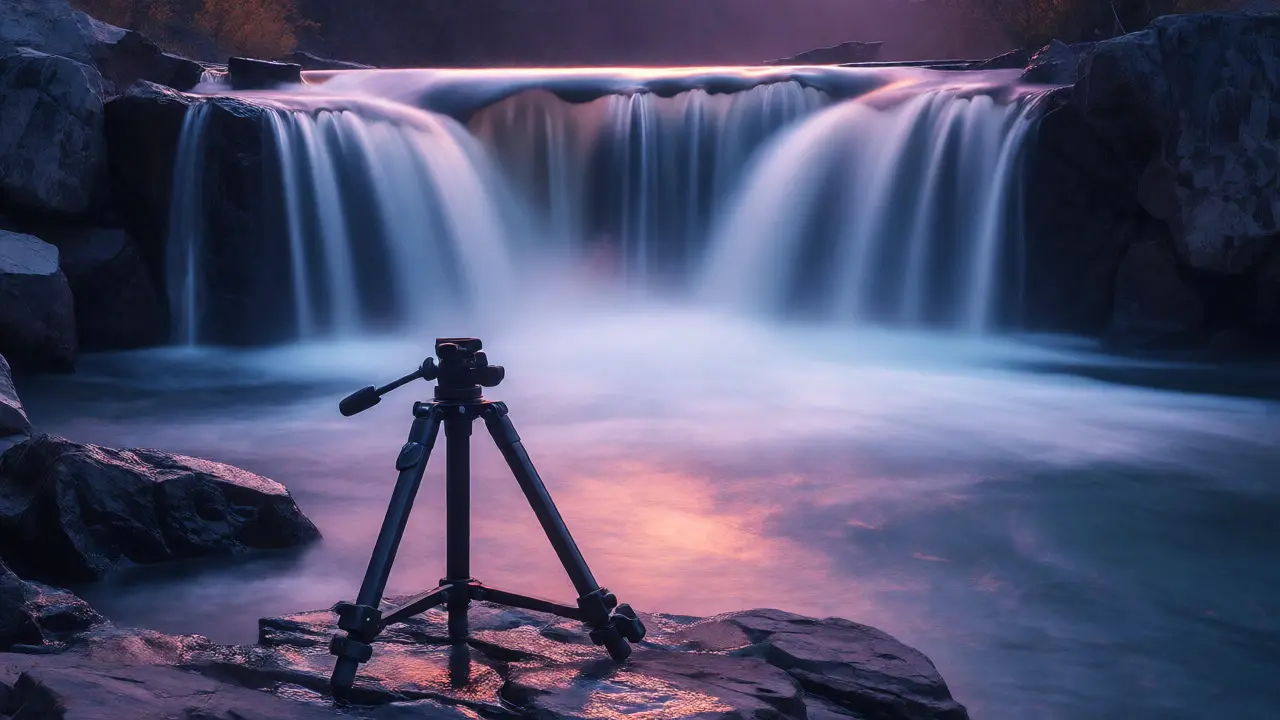
Stability isn’t just about avoiding mistakes; it’s about enabling creativity. Some of the most striking photographs rely on time as a dimension. Think of those silky-smooth waterfall shots or the streaking headlights of cars on a highway at night. These effects require exposures lasting several seconds. Trying to do this handheld is impossible. Even with the best image stabilization (IBIS) systems found in mirrorless cameras today, you hit a ceiling around 2-4 seconds before micro-jitters ruin the pixel-level sharpness.
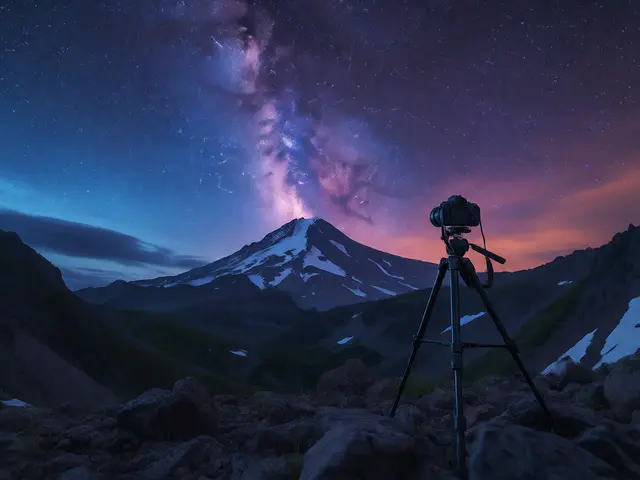
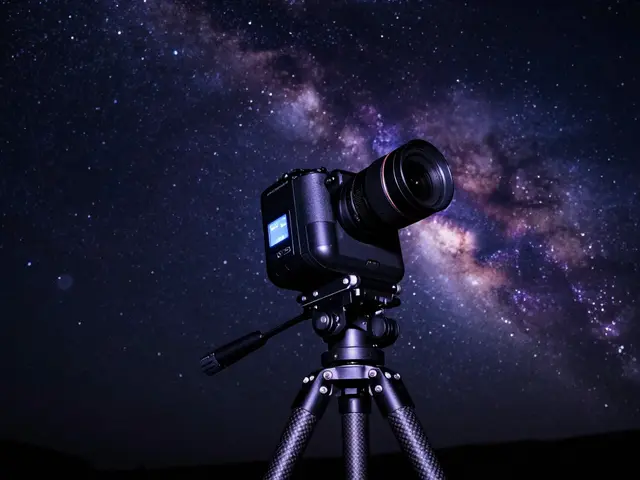
A sturdy tripod allows you to push these boundaries. Want to turn a busy fountain into mist? Set up your tripod, use a neutral density filter, and expose for 10 seconds. Want to capture the rotation of the Earth via star trails? You might need exposures of 20 minutes or more, which only a rock-solid support system can handle. The tripod transforms your camera from a snapshot device into a scientific instrument capable of recording time itself.
Composition and Precision
There is a psychological benefit to using a tripod that photographers often overlook: it forces you to slow down. When you are handheld, you tend to spray and pray. You take ten quick shots, hoping one works. When you mount your camera on a tripod, you commit to the frame. You adjust the legs, level the head, and fine-tune your composition millimeter by millimeter.
This precision is critical in genres like architecture or landscape photography, where vertical lines must remain perfectly straight. Handheld tilts can introduce perspective distortion that is difficult to fix in post-production. With a tripod equipped with a bubble level or digital leveling display, you ensure your horizon is flat and your building edges are parallel. This technical accuracy saves hours of editing time later. You aren’t fighting to straighten crooked photos; you are capturing them correctly in-camera.
Choosing the Right Tripod for Night Work
Not all tripods are created equal, especially when dealing with wind and darkness. If you plan to shoot long exposures outdoors, stability is king. Here is what actually matters when buying gear for low-light work:
- Material: Carbon fiber is lighter and dampens vibrations better than aluminum, which is crucial if you are hiking to a location. However, aluminum is cheaper and perfectly fine for studio or urban settings where weight isn't a penalty.
- Leg Locks: Twist locks are faster to deploy, but flip locks offer superior rigidity under heavy loads. For night photography with heavier telephoto lenses, flip locks are often preferred for their positive engagement feel.
- Center Column: Many cheap tripods have flimsy center columns that sag over time. For maximum stability, try to extend the legs rather than raising the center column. If you must raise it, add weight to the hook underneath to counteract wind sway.
- Head Type: A ball head is versatile and quick, but a geared head offers precise control for architectural shots. For pure night landscapes, a high-quality ball head with independent tension controls for pan and tilt is usually the best balance of speed and precision.
Don't forget the accessories. A remote shutter release or a cable timer is essential. Pressing the shutter button manually introduces vibration. Even with a mirror lock-up feature, the physical act of touching the camera can cause blur during long exposures. Use your phone app or a wired remote to trigger the shot without touching the gear.
Common Pitfalls to Avoid
Even with a tripod, beginners make mistakes that ruin their shots. The biggest culprit is wind. A lightweight tripod can vibrate significantly in a breeze, blurring your image despite being stationary. Always spread the legs wide for a lower center of gravity. If it’s windy, hang your camera bag from the center column hook to add mass and dampen oscillations.
Another common error is forgetting to turn off image stabilization (IS) or vibration reduction (VR). When the camera is on a tripod, IS systems can sometimes hunt for movement that isn't there, introducing slight shifts. Check your manual, but generally, turning IS off when mounted on a stable surface yields sharper results.
Finally, watch out for lens creep. If you are using a zoom lens, gravity can pull the barrel down over time, changing your framing slightly. Use a tripod collar for large telephoto lenses to mount the lens directly to the tripod, rather than relying on the camera's tripod socket. This balances the weight distribution and prevents front-heavy tipping.
When to Leave the Tripod Behind
Is a tripod always necessary? No. Modern technology has blurred the lines. Cameras like the Sony A7 series or Canon R5 feature impressive in-body stabilization that can help you shoot handheld at slower speeds. Additionally, AI-powered noise reduction software (like Topaz Photo AI or DxO PureRAW) can clean up high-ISO images remarkably well.
If you are shooting candid street scenes where spontaneity matters, or moving subjects that require freezing action, leave the tripod at home. Speed trumps ultimate sharpness in those moments. But for static scenes, deliberate compositions, and times when you want the absolute best quality from your sensor, the tripod remains unmatched.
Do I really need a tripod for night photography?
Yes, for most types of night photography. Without a tripod, you are forced to use very high ISOs to maintain a fast enough shutter speed, which introduces noise. A tripod allows you to use low ISOs and longer shutter speeds, resulting in cleaner, sharper images with better dynamic range.
Can image stabilization replace a tripod?
Image stabilization helps reduce blur from minor hand movements, allowing you to shoot at slower shutter speeds handheld. However, it cannot eliminate all shake, nor does it allow for the multi-second or minute-long exposures required for creative effects like light trails or star trails. For ultimate sharpness and creative flexibility, a tripod is still superior.
What is the best shutter speed for handheld night photography?
It depends on your focal length and stabilization capabilities. A safe starting point is the reciprocal rule: 1/focal length. For a 50mm lens, aim for 1/50s or faster. With modern IBIS, you might get away with 1/10s or 1/15s, but results vary. Anything slower than 1/10s handheld is risky without a tripod.
How does wind affect tripod stability?
Wind causes the tripod to vibrate, which transfers to the camera and blurs long exposures. To mitigate this, spread the tripod legs wide to lower the center of gravity, and hang weight (like a camera bag) from the center column hook to increase mass and damping.
Should I turn off image stabilization when using a tripod?
Generally, yes. Most manufacturers recommend turning off IS/VR when the camera is mounted on a stable tripod, as the system may attempt to correct non-existent movement, potentially causing slight image degradation. Check your specific camera manual for guidance.