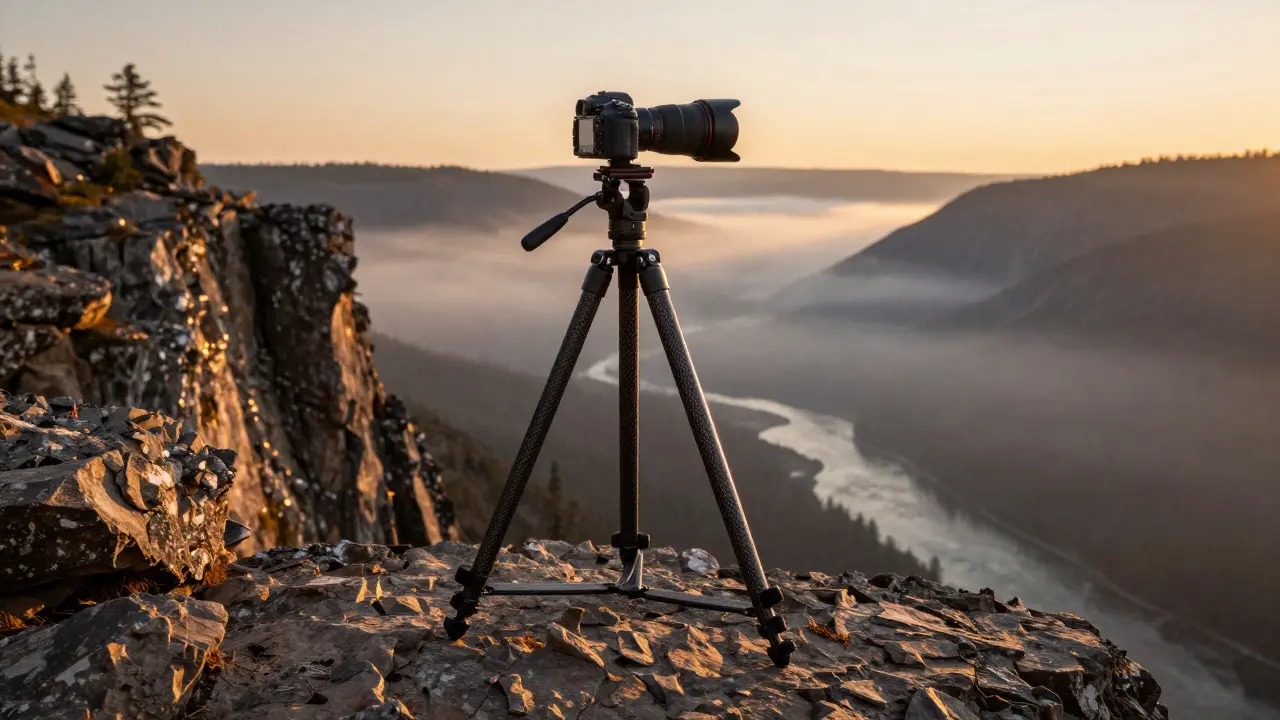
Imagine standing on a windy cliff in Oregon at dawn. The mist is rolling off the Columbia River, and you have exactly four minutes of golden light to capture the scene. Your heart is pounding, not because of the view, but because your hands are shaking slightly from the cold. You press the shutter button, hoping for the best. If you’re relying on handholding at that moment, you’re gambling with your best shot. In landscape photography, stability is the non-negotiable foundation that separates a blurry disappointment from a crystal-clear masterpiece. It isn’t just about holding the camera still; it’s about controlling every variable that affects how light hits the sensor.
The Physics of Sharpness: Why Shaky Hands Ruin Great Light
We often think of blur as a result of moving subjects, like birds or cars. But in landscape work, the subject is usually static. So why do images come out soft? The answer lies in camera shake, which is microscopic movement of the camera body during the exposure that causes motion blur across the frame. Even if you hold the camera perfectly still for one second, your pulse and breathing create tiny vibrations. At fast shutter speeds, like 1/500th of a second, these vibrations are negligible. But when you drop down to 1/30th of a second or slower-which is common in low-light landscapes-those tiny movements stretch the light across the pixels, creating soft edges.
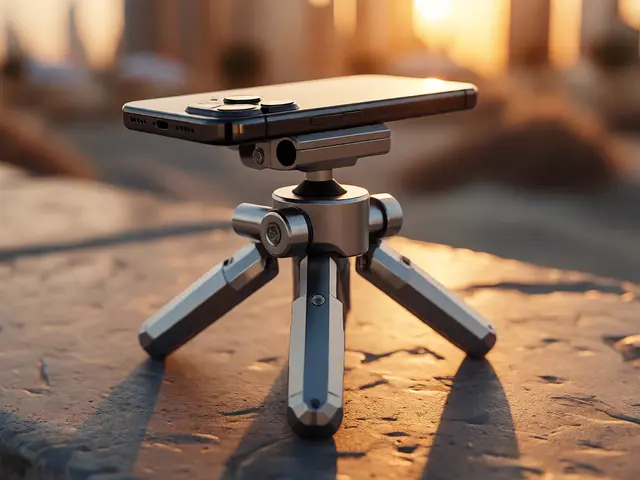
This is where the tripod enters the picture. A tripod is more than a stand; it is a mechanical anchor. By transferring the weight of the camera from your skeletal system to a rigid metal or carbon fiber structure, you eliminate biological variables. When you use a sturdy tripod, you aren't just supporting the camera; you are isolating it from the environment. This isolation allows you to push the limits of what your sensor can capture, ensuring that every detail in the foreground rocks and background mountains remains razor-sharp.
Unlocking Long Exposures and Creative Control
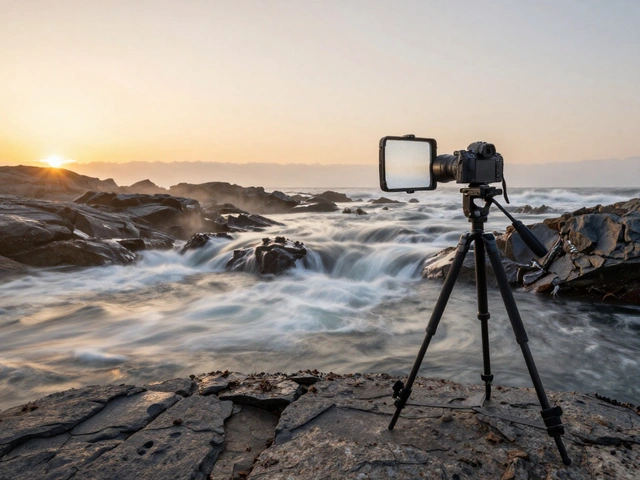
Stability does more than just prevent blur; it unlocks creative tools that are impossible to use by hand. One of the most powerful techniques in landscape photography is long exposure, which is a photographic technique using slow shutter speeds to capture the passage of time, such as smoothing water or tracking stars. To make a river look like silk or to capture the trails of stars, you need shutter speeds ranging from two seconds to thirty minutes. Handholding is physically impossible at these durations. Without a tripod, you cannot access this entire dimension of visual storytelling.
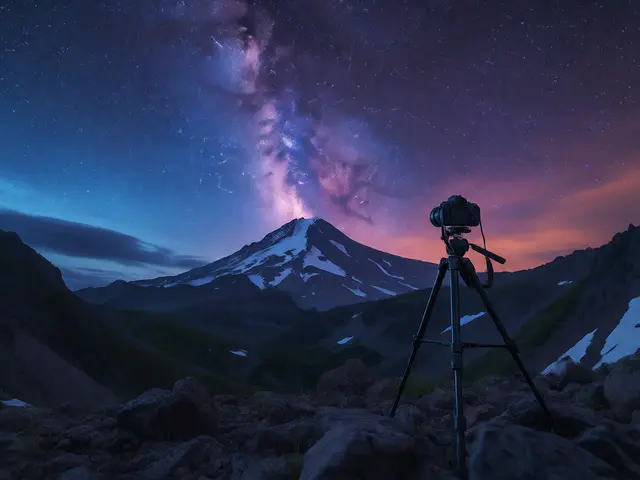
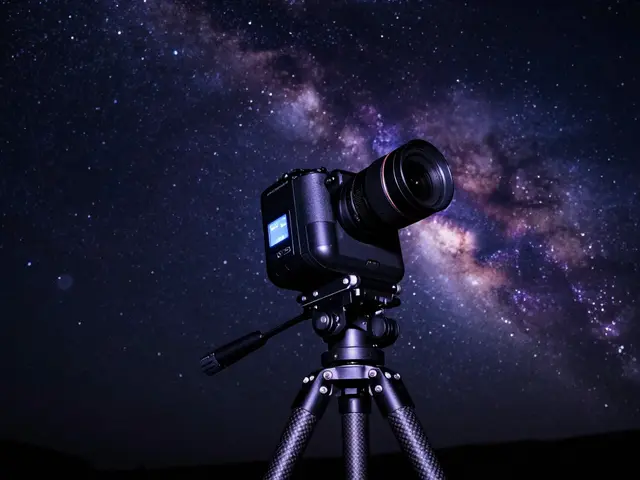
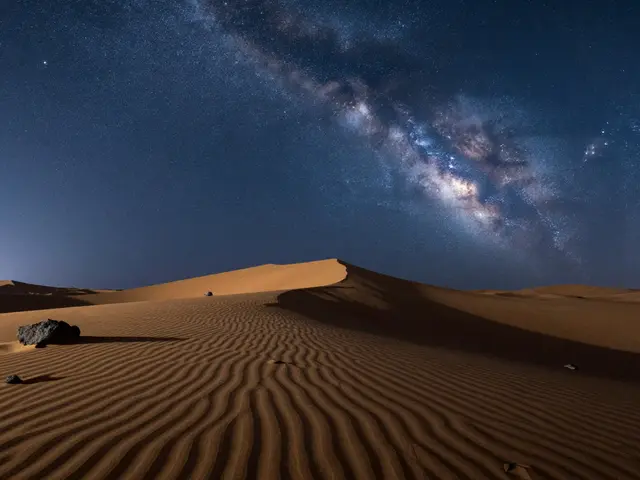
Consider shooting the Milky Way. The stars appear to move across the sky due to Earth's rotation. To keep them as pinpoints rather than streaks, you generally need to keep your exposure under 20-30 seconds, depending on your focal length. This requires a precise setup. With a tripod, you can set up your composition, focus manually on infinity (which is difficult without vibration), and then trigger the shutter via a cable release or intervalometer. The stability provided by the legs ensures that the star field remains crisp. If you tried this handheld, the slight drift of your arms would turn the stars into short lines, ruining the effect.
Composition Precision and Repetitive Framing
Landscape photography is often about patience. You might wait an hour for the clouds to clear or for the light to hit a specific peak. During this wait, you want to be able to check your framing instantly without resetting everything. A tripod provides a consistent reference point. Once you’ve dialed in your horizon level and placed your key elements according to the rule of thirds, you don’t want to guess where the lens was pointing five minutes ago. You just look through the viewfinder or screen, make a minor adjustment, and shoot.
This consistency is also vital for focus stacking, a technique where multiple photos taken at different focus distances are combined in post-processing to create an image with extended depth of field. Imagine you want both the flower in the immediate foreground and the mountain range in the distance to be in perfect focus. Lenses have a limit to their depth of field. By taking three or four shots focused at different points, you can merge them later. This process demands extreme precision. If your tripod wobbles between shots, the alignment software will struggle to blend the images seamlessly, leading to ghosting artifacts. Stability here isn’t just about sharpness; it’s about geometric accuracy.
Choosing the Right Gear: Legs, Heads, and Materials
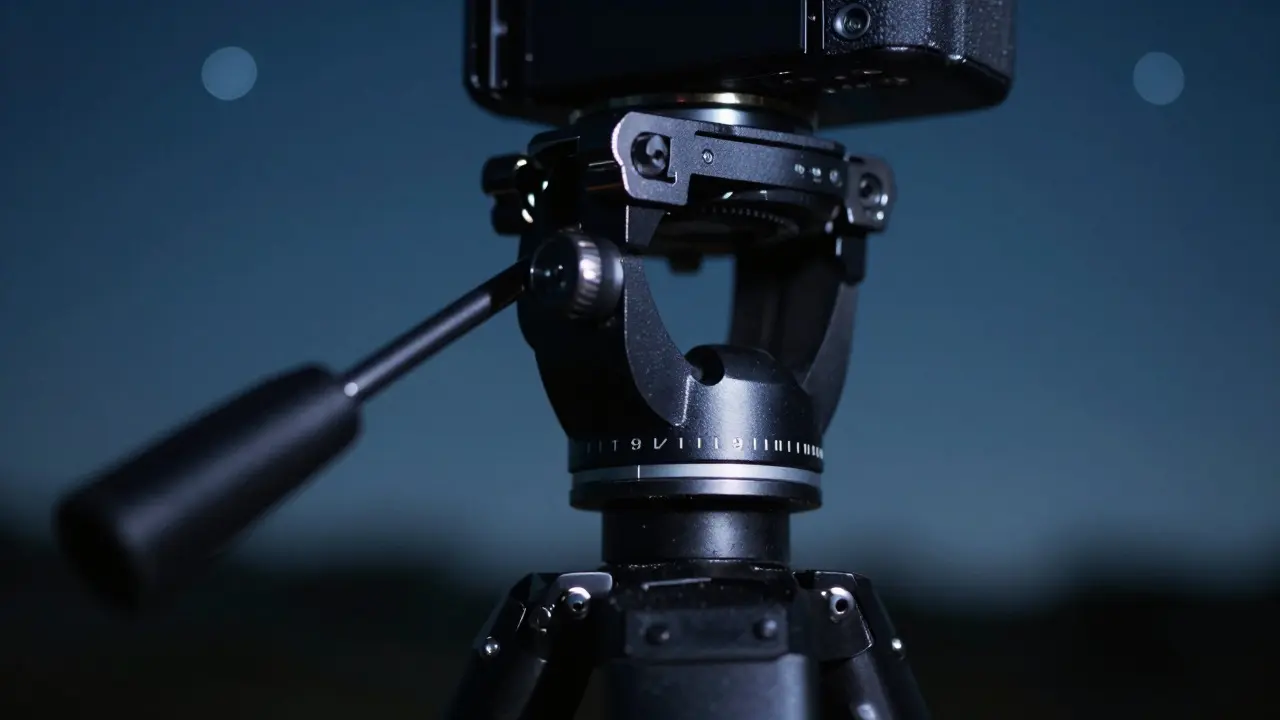
Not all tripods are created equal, and choosing the wrong one can actually hinder your workflow. The primary components are the legs and the head. The legs provide the base, while the head connects the camera to the tripod and allows for panning and tilting. For landscape photography, a ball head is often preferred over a pan-tilt head because it offers faster adjustments and smoother leveling. However, the material of the legs matters significantly.
| Material | Weight | Vibration Damping | Durability | Best For |
|---|---|---|---|---|
| Aluminum | Heavier | Moderate | High | Basecamp, studio, heavy cameras |
| Carbon Fiber | Lighter | Excellent | Very High | Hiking, travel, wind-prone environments |
| Steel | Very Heavy | Poor | Extreme | Industrial use, rare in pro photo |
Carbon fiber is the gold standard for landscape photographers who hike to remote locations. It absorbs vibrations better than aluminum, meaning less micro-shake reaches the camera. It is also significantly lighter, which matters when you’re carrying your kit up a steep trail in the Cascades. Aluminum is cheaper and durable, making it a good entry-level choice, but it transmits more vibration and adds weight. If you plan to shoot in windy conditions, consider adding a hook to the center column so you can hang your camera bag as a counterweight. This extra mass lowers the center of gravity and damps out wind-induced sway.
Techniques for Maximum Stability in the Field
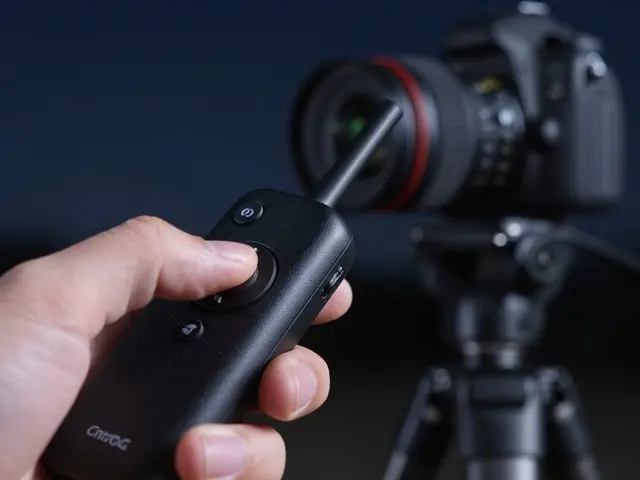
Having a tripod is only half the battle. How you set it up determines its effectiveness. First, always extend the center column last. Extending the center column raises the center of gravity, making the tripod more prone to tipping and vibrating. Keep the legs spread wide and fully locked. Second, use a remote shutter release or the camera’s self-timer. Pressing the shutter button directly on the camera body introduces a jolt. A cable release or wireless trigger eliminates this physical contact. Third, pay attention to your footing. If you’re shooting on sand or loose gravel, sink the feet of the tripod into the ground to create a stable base. On rocky terrain, ensure each leg is firmly planted on a solid surface, not balanced on a small stone.
Don’t forget to turn off In-Body Image Stabilization (IBIS) or lens stabilization when mounted on a tripod. These systems are designed to correct for hand movement. When the camera is already stable, the sensors can sometimes detect the tripod’s own micro-vibrations and try to correct for them, introducing new blur. Most modern cameras have a "static" mode for stabilization, but turning it off entirely is the safest bet for long exposures.
Common Mistakes That Compromise Stability
Even experienced photographers fall into traps that undermine their setup. One common error is ignoring the load capacity. Every tripod has a maximum weight rating. If you exceed this, the legs may flex under pressure, causing subtle shifts during long exposures. Check the manufacturer’s specs and aim to stay well below the limit. Another mistake is neglecting the quick-release plate. Ensure the plate is tight and secure. A loose plate can allow the camera to shift slightly between shots, ruining focus stacking or panorama sequences. Finally, don’t rush your setup. Take the time to level the bubble indicator on the tripod head. A tilted horizon can be fixed in post, but it takes effort. Leveling in the field saves hours of cropping and straightening later.
Frequently Asked Questions
Do I really need a tripod for daytime landscape photography?
While you can shoot many daytime scenes handheld, a tripod is essential for using small apertures (like f/11 or f/16) to maximize depth of field. Small apertures require slower shutter speeds to let enough light in, increasing the risk of camera shake. A tripod ensures sharpness even at these critical settings.
What is the best material for a landscape tripod?
Carbon fiber is generally considered the best material for landscape photography. It is lightweight, strong, and excellent at damping vibrations. Aluminum is a budget-friendly alternative but is heavier and transmits more shake. Choose based on your hiking needs and budget.
Should I use image stabilization when my camera is on a tripod?
Usually, no. Lens and in-body stabilization systems are designed to counteract hand movement. When the camera is stable on a tripod, these systems can sometimes introduce their own micro-vibrations. Turn them off unless your camera has a dedicated 'static' mode that disables correction for stationary mounts.
How do I prevent my tripod from swaying in the wind?
To combat wind, lower the center column to reduce height and increase stability. Spread the legs wider if possible. Additionally, hang your camera bag or other heavy gear from the hook on the center column. This added weight acts as a counterbalance, dampening the sway caused by gusts.
Is a monopod a good alternative to a tripod for landscapes?
A monopod offers more stability than handheld shooting and is much easier to carry. However, it doesn't provide the same level of absolute stability as a tripod. It’s great for telephoto lenses or quick setups, but for long exposures, focus stacking, or precise composition, a full tripod is superior.