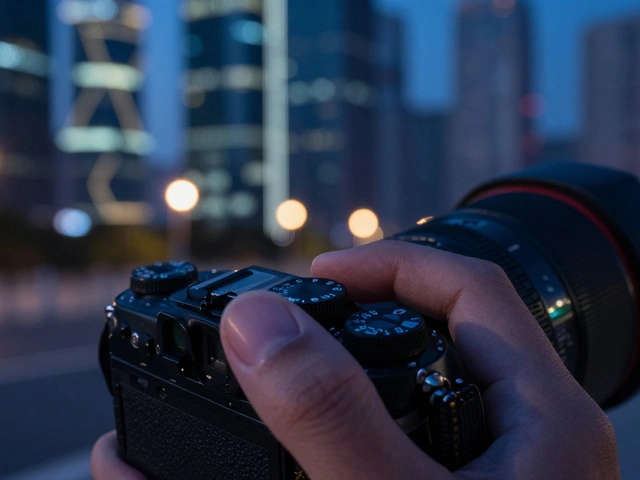
Nothing kills your enthusiasm faster than pulling up a photo from a night shoot only to find it’s pitch black or full of ugly static. You stand there in the cool air of a city street or under a dark sky, wondering why the picture looks nothing like the view through your viewfinder. The problem usually isn’t your gear; it’s how you balanced the three settings that control light. Night Photography Exposure is the art of balancing light intake in low-light conditions using shutter speed, aperture, and ISO. When you understand how these three work together, you stop guessing and start creating sharp, clean images.
Understanding the Exposure Triangle
You cannot change one setting without affecting the others. Think of the exposure triangle as a see-saw. If you lift one side, you must adjust another to keep it level. In daylit scenes, your camera handles most of this automatically. At night, the environment changes so fast and offers so little light that automatic modes fail. You need full manual control.
The goal is to let enough light hit the sensor to create an image without introducing digital noise or blurring moving elements. This balance relies on Exposure Triangle the interrelationship between shutter speed, aperture, and ISO that determines total light capture. For example, if you slow down your shutter speed to let more light in, you might need to increase your ISO less. Or, if you open your lens wider to gather light, you might need to shorten the exposure time. Understanding this relationship is the foundation for mastering night photography settings across all scenarios.
Mastering Shutter Speed for Darkness
Shutter speed represents the duration the camera sensor is exposed to light. During the day, you might use fractions of a second. At night, you deal in whole seconds or even minutes. Since natural light is scarce, the shutter needs to stay open longer to collect enough photons.
For standard cityscapes or landscapes where nothing is moving fast, recommended shutter speeds range from 30 to 60 seconds. This gives city lights time to glow brightly and smooths out water reflections. However, if you are shooting stars, leaving the shutter open too long creates star trails. To avoid this, use the "500 Rule." Divide 500 by your focal length in millimeters to determine the longest exposure that will retain sharp stars. For example, using a 35mm focal length would result in a maximum shutter speed of approximately 14 seconds to avoid visible star trails.
"If an image appears too dark, increase the shutter time; if too bright, reduce it."
A critical adjustment principle is simple: adjust time first for creative effect, then tweak other settings to support it. Longer shutter speeds allow more light to reach the sensor, but excessive exposure times risk creating unwanted star trails in astrophotography contexts. The School of Photography recommends a standard shutter speed range of 30-60 seconds as the foundation for night photography work outside of stellar imagery.
Aperture Settings: Depth vs. Light
Aperture controls the size of the lens opening. It directly affects both the amount of light entering the camera and the depth of field. Night photography employs two distinct aperture strategies depending on the desired outcome. You must choose between capturing a massive range of sharp focus or maximizing every drop of available light.
Landscape Aperture Strategy is using narrower apertures like f/8 to f/16 to maintain sharp focus from foreground to background in night scenes.For landscape and cityscape night photography emphasizing sharp focus from foreground to background, the recommended aperture settings are f/8, f/11, or f/16. The School of Photography recommends starting at f/11 as the baseline, adjusting to f/16 if images appear too bright and to f/8 if too dark. These narrower apertures create an extended depth of field, keeping entire scenes sharp from front to back. Common beginner mistakes include selecting the narrowest available aperture as a default, when context and specific effects desired should dictate aperture choice.
Astrophotography Aperture Strategy is using wide apertures between f/1.4 and f/2.8 to maximize light gathering capability for starry skies.Alternatively, for astrophotography and situations requiring maximum light gathering, photographers use wide apertures between f/1.4 and f/2.8. Capture Landscapes specifies that for night photography, lenses must stay "wide open," meaning an aperture of f/2.8 or faster, with common professional choices being f/2.8, f/1.8, or f/1.4. These wide apertures maximize the light the camera can gather, allowing faster shutter speeds and reduced ISO sensitivity. If a lens only opens to f/4, it remains usable but may require increased ISO to compensate. Spéos Photography notes that combining wide apertures (f/1.4 to f/2.8) with high ISO sensitivity can require compromises in depth of field, making experimentation with different values essential to balance light gathering with desired depth of field.
Managing ISO Sensitivity and Noise
ISO sensitivity controls the camera sensor’s responsiveness to light. In the daytime, you typically keep this low to get the highest quality. At night, it becomes a necessary evil you have to manage. Increasing ISO makes the sensor sensitive enough to gather light in low-light conditions, but it comes with a cost: digital noise.
Digital Photography School reinforces this guidance, stating that ISO 100 is optimal for long exposures and light trail photography. For long-exposure night photography with extended shutter speeds, ISO should remain as low as possible, typically ISO 100 or 200. The School of Photography explicitly recommends ISO 100 or 200 as essential for clean night images. This low ISO approach minimizes noise, which appears as grain and dull colors, preserving image crispness and color accuracy.
However, for scenarios with less available light or when using narrower apertures, higher ISO values become necessary. Kate Backdrop specifies that ISO settings of 800 or higher, depending on camera capabilities and other settings chosen, make the sensor sensitive enough to gather light in low-light conditions. The relationship between ISO and noise introduces a critical tradeoff: while higher ISO values increase sensor sensitivity, they simultaneously introduce unwanted grain and reduce color fidelity, requiring photographers to balance exposure requirements with acceptable noise levels. Modern cameras handle high ISO better than older models, but the tradeoff never disappears completely.
Essential Settings Reference
Different night photography scenarios require setting variations. Relying on presets often fails because lighting conditions vary wildly from a busy street corner to a remote mountain meadow. Using a quick reference helps you adapt faster.
| Scenario | Shutter Speed | Aperture | ISO |
|---|---|---|---|
| Cityscape / Landscape | 30-60 seconds | f/8 to f/16 | 100-200 |
| Light Trails | 30-60 seconds | f/5 to f/11 | 100 |
| Milky Way / Stars | 10-20 seconds | f/2.8 (widest) | 800-3200 |
| Low Light Portraits | 1/60 second | f/1.8 to f/2.8 | 800-1600 |
This diversity in applications demonstrates that no single setting combination serves all night photography purposes. Composition techniques significantly influence night photography success. The School of Photography emphasizes paying close attention to composition, noting that diagonal lines, especially bridges and rivers, work particularly effectively in night photography as they guide viewer attention through the frame. Ultra-wide-angle lenses enhance perceived scale and depth, making city skylines appear more dramatic and visually striking.

Critical Technical Preparation
Getting your settings right means nothing if the rest of your workflow is weak. There are three non-negotiable steps before you press the shutter.
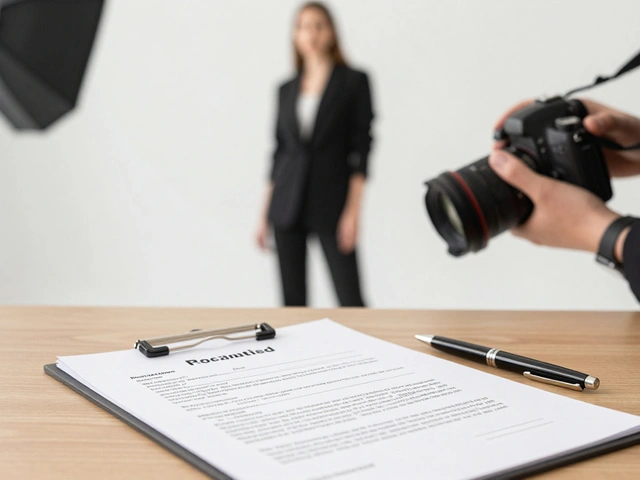
- Shoot in RAW: File format selection impacts post-processing flexibility substantially. Multiple sources recommend shooting in RAW format rather than JPEG. RAW files retain greater dynamic range and provide photographers maximum control over exposure adjustment, white balance, noise reduction, color correction, and image detail and sharpness during post-processing.
- Use Manual Focus: Focus methodology differs from daytime photography. The School of Photography recommends Manual focus rather than autofocus, as low-light conditions often confuse autofocus systems. Switch your lens to MF, point at a lit object, turn off live view to save battery, or use a flashlight to aid focusing.
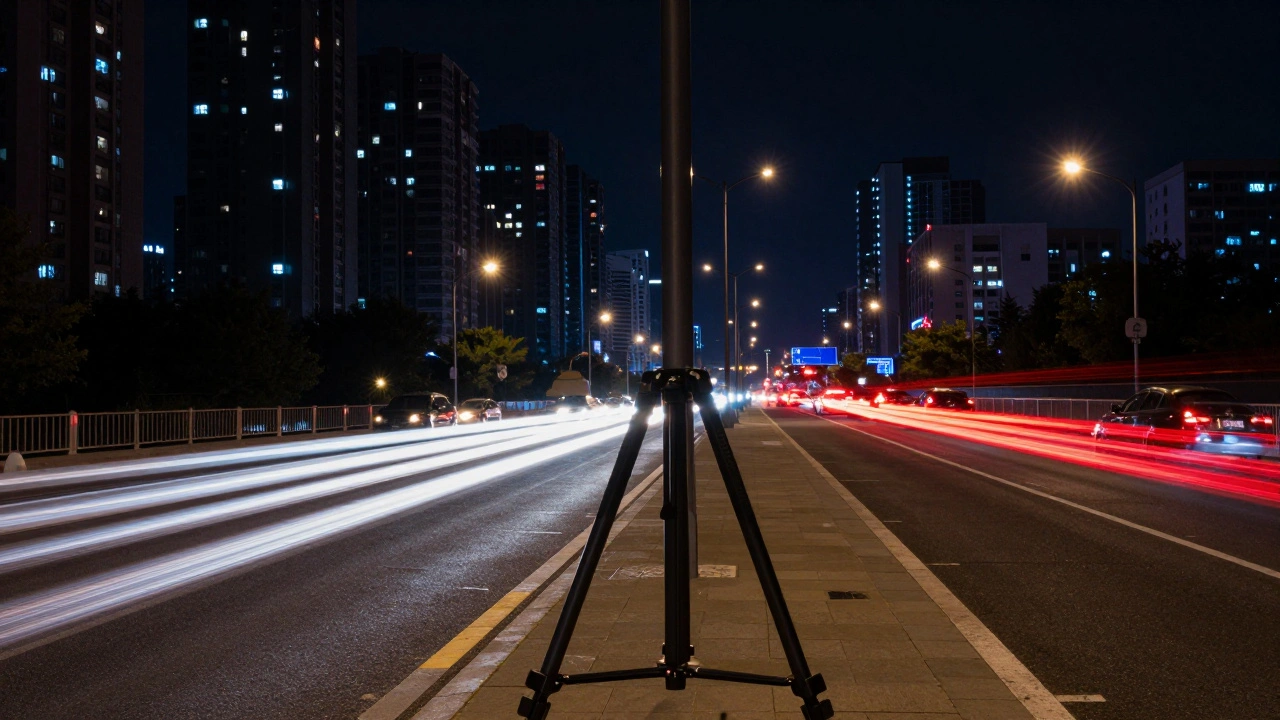
- Stabilize Your Gear: With shutter speeds reaching 60 seconds, hand-holding is impossible unless you have specialized stabilization. A sturdy tripod is mandatory for landscape work.
White balance settings warrant attention in night photography contexts. The School of Photography recommends Auto White Balance as a reliable starting point for night scenes, as it provides a neutral baseline suitable for refinement in post-processing software like Lightroom. Significantly, setting white balance to Daylight often produces images that appear too orange in night photography contexts due to artificial sodium streetlights.
Timing considerations affect available light. Digital Photography School specifies that optimal shooting occurs approximately 15 minutes before sunset through up to one hour after the sun drops below the horizon, when residual light provides better tonal information than complete darkness. This period is often called the "Blue Hour." Exposure compensation provides additional control for photographers. One YouTube tutorial source indicates that exposure compensation can reduce overall exposure to match what the photographer perceives with the human eye, with greater reduction typically necessary in darker scenes.
Troubleshooting and Follow-Up Questions
Even with the best planning, things go wrong. Often, exposure accuracy directly impacts post-production workflow and final image quality. Avoiding both underexposure and overexposure preserves maximum detail and color information, providing greater freedom during post-processing adjustments. This principle aligns across all photography applications but becomes particularly important in night photography, where recovering detail from poorly exposed captures is challenging.
If you try these settings and still struggle, check your environment. Many beginners struggle to understand that adjusting one exposure triangle parameter requires compensating changes to others, leading to overexposed or underexposed results. As of 2026, these fundamental principles remain consistent across major photography educational resources and professional guidance. The exposure triangle relationship endures as the foundational framework for all photography exposure decisions.
What is the best ISO for night photography?
For long-exposure landscapes, keep ISO at 100 or 200 for cleanliness. For astrophotography or static subjects with limited light, you may need ISO 800 to 3200 depending on your camera’s noise performance.
How do I prevent blurry stars?
Use the 500 Rule. Divide 500 by your focal length to find the max shutter speed. For a 20mm lens, 500 divided by 20 equals 25 seconds max exposure to keep stars sharp.
Should I use f/2.8 or f/11 for city lights?
Use f/11 for city lights to ensure everything from foreground to background is sharp. Use f/2.8 only if you are shooting stars or need maximum light gathering quickly.
Is RAW file format necessary for night shots?
Yes. RAW retains much more dynamic range than JPEG, allowing you to fix exposure errors and recover shadows during editing without destroying image quality.
Why does my night photo look too orange?
This is usually caused by white balance set to Daylight mode. Street lights cast an orange hue. Use Auto White Balance or set Kelvin manually to around 3500K-4000K for street scenes.