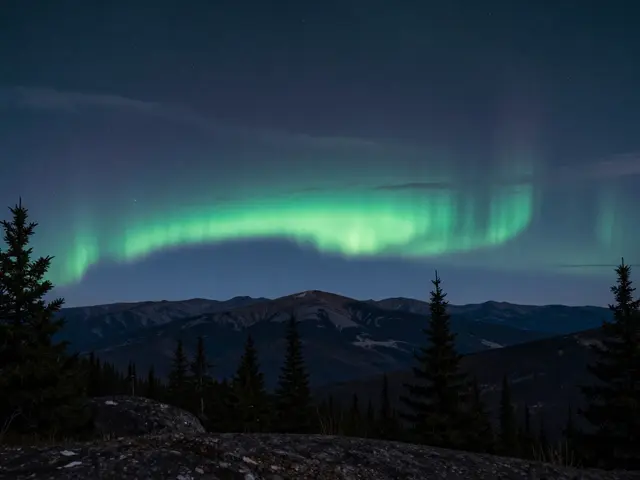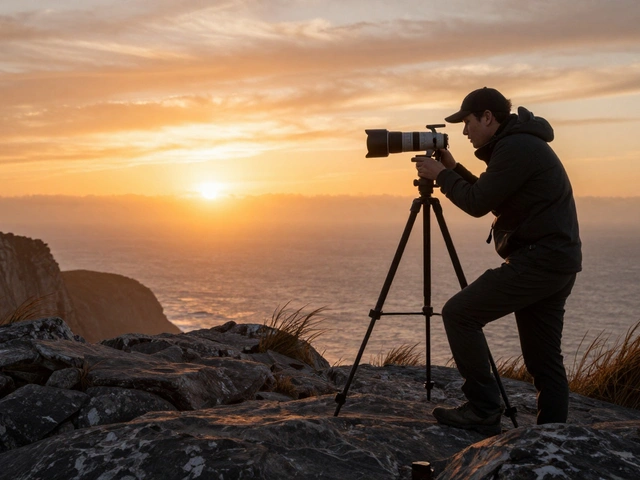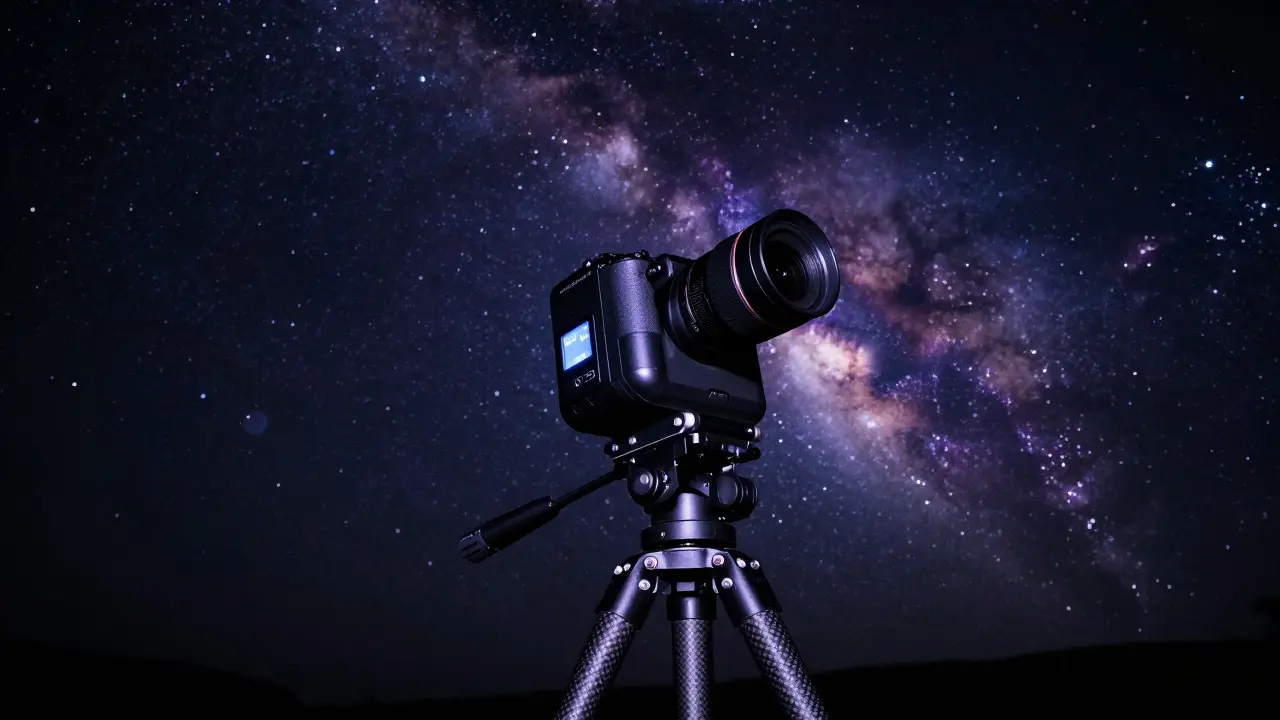
Imagine setting up your camera on a tripod at midnight. You aim it at the Milky Way and press the shutter for thirty seconds. When you check the image, the stars aren't sharp points; they are tiny streaks across the frame. This happens because the Earth rotates. Even though we don't feel it, our planet spins once every twenty-four hours, dragging the sky along with it. To capture crisp, detailed images of deep-sky objects, you need to counteract this motion. That is where a star tracker is a specialized device that mounts your camera and lens to rotate in sync with the night sky. By moving your gear at the exact speed of the Earth's rotation, a star tracker allows you to take much longer exposures without losing focus.
Why Your Stars Are Blurring Out
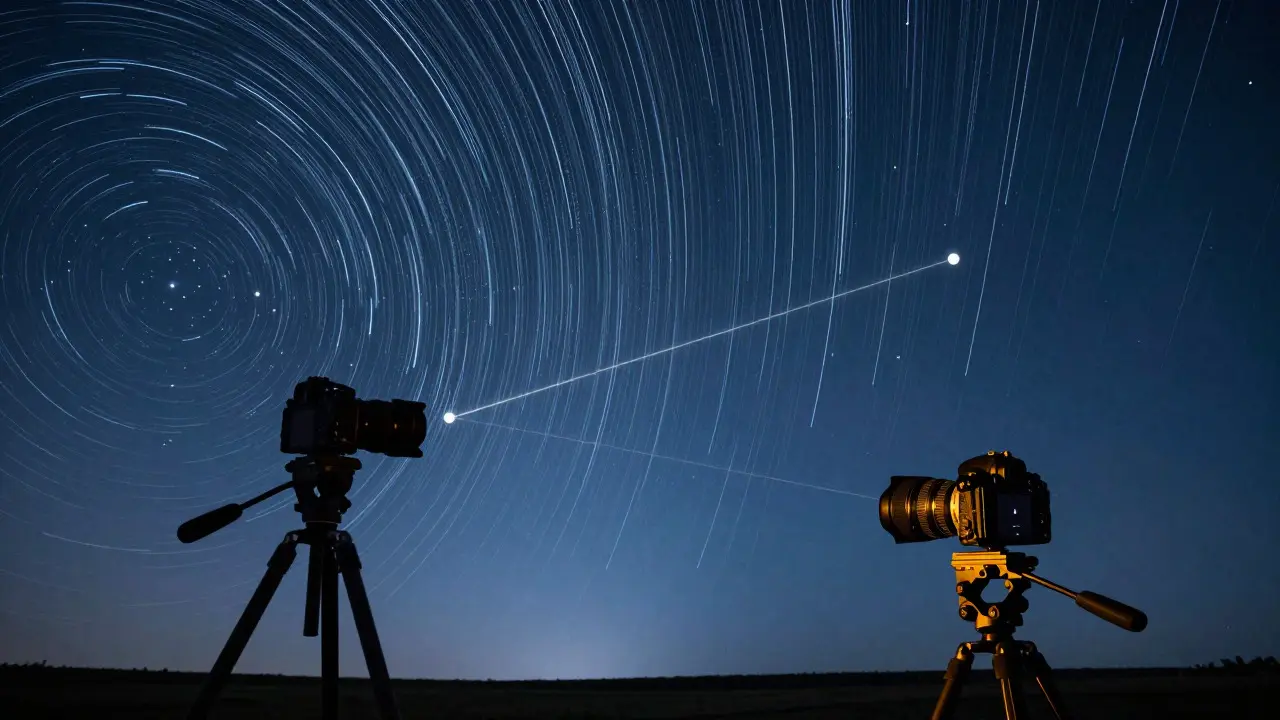
To understand why a tracker is necessary, you have to look at how the sky moves. The Earth rotates around its axis, which points toward the North Star (Polaris) in the Northern Hemisphere. From our perspective, the entire dome of the sky appears to rotate around this fixed point. This movement is constant but slow. For a standard wide-angle lens, photographers often use the "500 Rule" to estimate the maximum shutter speed before stars start to trail. You divide 500 by the focal length of your lens. If you are using a 24mm lens, 500 divided by 24 equals approximately 20 seconds. That is your limit. Beyond 20 seconds, the stars will begin to stretch into lines.
However, if you want to photograph faint nebulae or distant galaxies, 20 seconds isn't enough light. You might need two minutes, five minutes, or even ten minutes of exposure to pull those details out of the darkness. Without a tracker, a five-minute exposure would result in a complete blur. A star tracker solves this by physically rotating your camera assembly. It does so at a rate of 15 degrees per hour, which is exactly one-forty-ninth of a degree per minute. This precise counter-rotation keeps the stars stationary in your viewfinder while the ground moves beneath you.
How a Star Tracker Actually Works
A typical star tracker consists of three main parts: the base, the head, and the mount. The base sits on your tripod and provides stability. The head contains the motorized mechanism that drives the rotation. The mount attaches to the top of the head and holds your camera via a standard ball head or quick-release plate. Most modern trackers operate on a single-axis system, meaning they only move in one direction (sidereal rate). This is sufficient for most visual field-of-view applications because the other axis of rotation is negligible over short periods.
The magic happens in the alignment process. Before you can track, you must align the tracker's polar axis with the celestial pole. In the Northern Hemisphere, this means pointing the tracker directly at Polaris. Once aligned, the tracker's motor takes over. It uses a stepper motor or a DC motor controlled by an internal clock to ensure smooth, continuous motion. If the alignment is off by even a fraction of a degree, the stars will still drift slightly during long exposures, causing minor trailing. Therefore, precision in setup is just as important as the hardware itself.
Choosing the Right Tracker for Your Gear
Not all trackers are created equal. The right choice depends heavily on the weight of your camera and lens combination, as well as the focal length you plan to use. Heavier setups require more torque from the motor to maintain smooth motion. If you are using a lightweight mirrorless camera with a 35mm prime lens, a compact, portable tracker will suffice. These units often weigh less than two kilograms and fit easily in a backpack. They are ideal for landscape astrophotography where you might be hiking to remote locations.
If you are using a full-frame DSLR with a heavy telephoto zoom lens, you need a sturdier unit. Look for trackers with a higher payload capacity, usually specified in kilograms. A common threshold is 5kg to 10kg for serious amateur setups. Additionally, consider the power source. Many portable trackers run on AA batteries or small lithium-ion packs, offering several hours of runtime. Larger, bench-top style trackers often plug into AC power or larger battery banks, allowing for unlimited session lengths if you are shooting from a fixed location like a backyard observatory.
The Setup Process: Step-by-Step Alignment
Getting a star tracker working correctly takes practice. Here is the standard workflow for a single-axis tracker in the Northern Hemisphere:
- Mount the Tracker: Attach the tracker base securely to your tripod. Ensure the tripod legs are fully extended and locked to prevent vibration.
- Attach the Camera: Mount your camera and lens onto the tracker's head. Balance the weight as evenly as possible to reduce strain on the motor.
- Rough Polar Alignment: Point the tracker's polar axis toward Polaris. Use the built-in polar scope or a smartphone app to get close. The goal is to place Polaris within the correct circle on the reticle based on your latitude and time of night.
- Fine Tuning (Optional): Some advanced trackers allow for digital fine-tuning. You can shoot a test image, analyze the star positions, and adjust the axes digitally to compensate for any remaining error.
- Start Tracking: Engage the tracking mode. The motor should start humming softly. Check the display to ensure it is set to the correct hemisphere and sidereal rate.
- Test Shot: Take a short exposure (e.g., 10 seconds) to verify that the stars remain pinpoint sharp. If they trail, re-check your polar alignment.
Limits of Tracking: Field Rotation
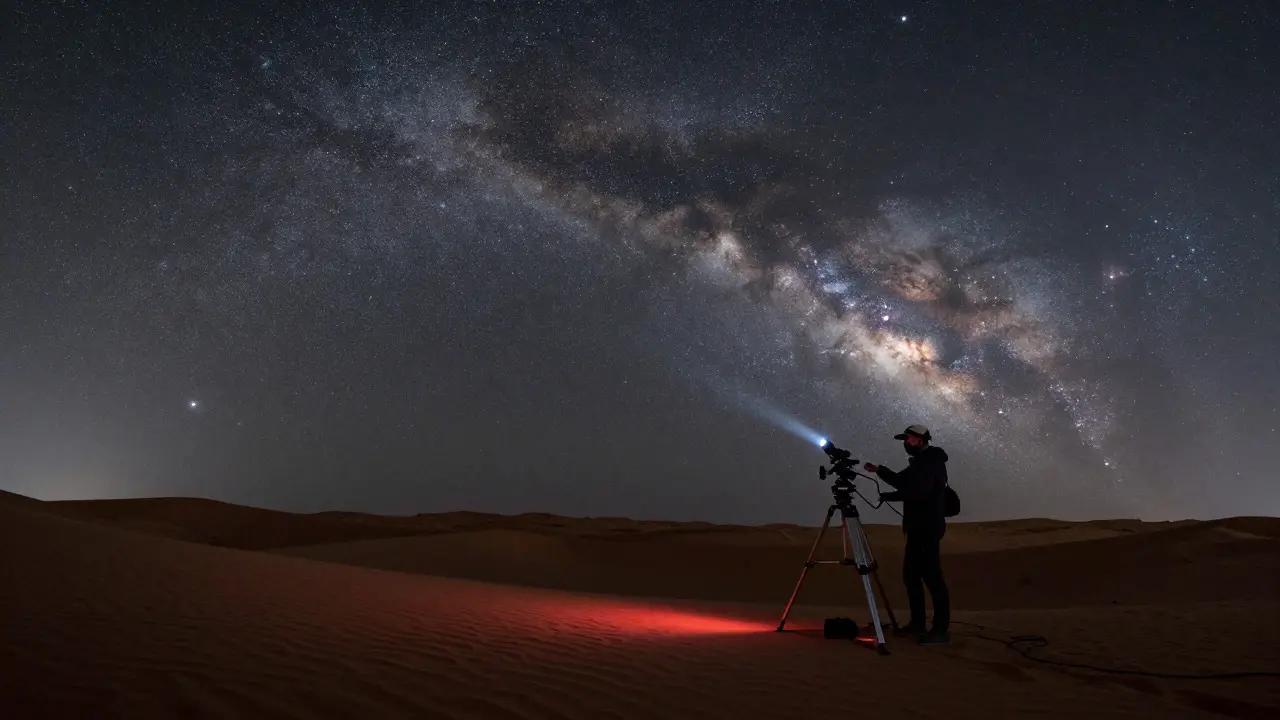
Even with perfect polar alignment, there is a physical limit to how long you can track with a single-axis system. This phenomenon is called field rotation. Because the tracker rotates around a single axis, stars near the edge of your frame will describe a slight arc over time. For wide-angle lenses, this effect is minimal and usually unnoticeable until exposures exceed 10-15 minutes. However, if you are using a longer focal length, such as a 200mm lens, the field of view is narrower, and the apparent rotation becomes more pronounced.
For most hobbyists shooting with lenses under 100mm, a single-axis tracker is perfectly adequate for exposures up to 30 minutes. If you are pushing into longer focal lengths or wanting to stack hundreds of frames for extreme detail, you might consider a dual-axis tracker or a German Equatorial Mount (GEM). These systems correct for both axes of rotation, eliminating field rotation entirely. But for the vast majority of astrophotographers capturing the Milky Way, Orion Nebula, or Andromeda Galaxy, a simple single-axis tracker provides the best balance of cost, weight, and performance.
Tips for Getting Sharp Results
Hardware is only half the battle. Your technique matters just as much. First, avoid wind. Breeze can shake the tripod, causing soft images even if the tracker is working perfectly. Use a sandbag or hang a weight from the center leg of your tripod to dampen vibrations. Second, keep your cables organized. Loose cables dangling from the camera can act as levers, swinging the camera when the wind blows. Secure them with zip ties or velcro straps.
Third, monitor your temperature. Batteries drain faster in the cold, and motors can behave differently at low temperatures. Keep spare batteries warm in your pocket. Finally, don't forget to disable image stabilization on your lens. Since the tracker is providing the stability, having the lens's internal stabilizers active can sometimes cause conflicts or introduce micro-jitters. Turn it off for the cleanest results.
Do I need a star tracker for the Milky Way?
Yes, if you want to capture the core of the Milky Way with rich color and detail. While you can shoot the outer arms with a 20-second exposure on a tripod, the bright central band requires longer exposures to reveal the dust lanes and star clouds. A tracker allows you to extend these exposures to 2-5 minutes without trailing, resulting in a much deeper and more vibrant image.
Can I use a star tracker with a smartphone?
Yes, many compact trackers come with adapters for smartphones. This is a great entry point into astrophotography. Just remember that phone sensors are smaller, so you may not capture as much of the sky as a dedicated camera. However, the principles of tracking remain the same, and it is an affordable way to learn the mechanics of polar alignment and exposure settings.
What is the difference between a star tracker and a telescope mount?
A star tracker is designed specifically for cameras and lenses, typically with a lower payload capacity and simpler controls. A telescope mount, particularly a German Equatorial Mount, is heavier, more complex, and designed to carry telescopes. Telescope mounts often offer go-to capabilities and higher precision, but they are bulkier and more expensive. For photography, a dedicated star tracker is usually lighter and easier to transport.
How long can I expose with a single-axis tracker?
It depends on your focal length. As a rule of thumb, for a 24mm lens, you can safely expose for 10-15 minutes. For a 50mm lens, aim for 5-10 minutes. For a 100mm lens, stick to 3-5 minutes. Beyond these limits, field rotation may cause noticeable trailing at the edges of the frame. Always do a test shot to verify sharpness for your specific setup.
Does the star tracker work in the Southern Hemisphere?
Yes, but the alignment target changes. Instead of Polaris, you align with Sigma Octantis, the southern celestial pole. Note that Sigma Octantis is much dimmer than Polaris, making alignment harder. Many users in the Southern Hemisphere rely on smartphone apps or laser pointers to find the pole. Also, ensure your tracker software or manual settings are switched to the Southern Hemisphere mode, as the direction of rotation is reversed.