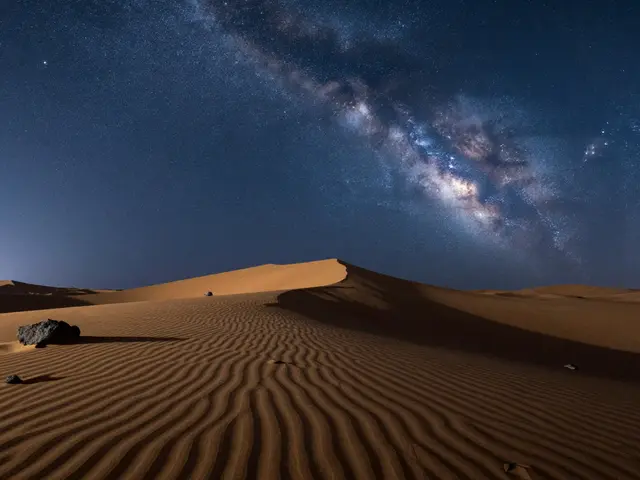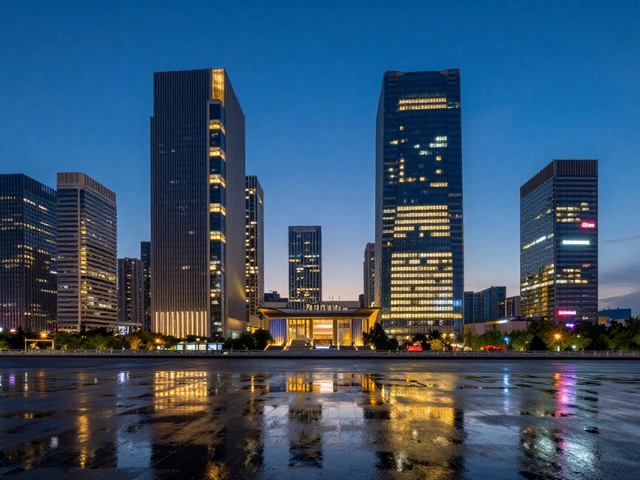
You’ve probably seen those photos where water looks like silky mist or city traffic turns into ribbons of neon light. It looks magical, but it’s not magic-it’s math and patience. Slow motion photography is the art of using long shutter speeds to capture movement over time within a single frame. Instead of freezing action with a fast shutter, you let the sensor drink in light for seconds or even minutes. The result? A dreamlike quality that separates your work from the thousands of sharp, static snapshots on Instagram.
But here’s the catch: if you just hold your camera steady and click, you’ll get a blurry mess. You need intention. You need to know which parts of the scene stay sharp and which ones melt away. This guide breaks down exactly how to control time in your lens, from gear choices to specific techniques like panning and light painting.
The Core Concept: Shutter Speed as Time Control
Most people think of the shutter speed dial as a tool to stop motion. Set it to 1/1000th of a second, and a bird’s wing freezes mid-flap. But slow motion photography flips this logic. When you set your shutter to 1 second, 5 seconds, or 30 seconds, you aren’t stopping time; you’re compressing it.
Think of your camera sensor like a bucket collecting rain. A fast shutter is a tiny cup-only a splash gets in. A slow shutter is a wide-open barrel. Everything that moves during that time leaves a trail across the "bucket." If the subject stays still (like a rock), it stays sharp. If it moves (like a cloud or a car), it blurs. The longer the shutter is open, the longer the blur trail becomes.
| Shutter Speed | Effect on Water | Effect on Traffic | Best For |
|---|---|---|---|
| 1/60s - 1/125s | Slight softness, texture visible | Individual cars visible | Handheld shots, mild motion |
| 1s - 4s | Milky, smooth flow | Short streaks, distinct lights | Waterfalls, busy intersections |
| 10s - 30s | Fog-like, ethereal | Continuous neon rivers | Coastlines, night skylines |
| Bulb (30s+) | Total abstraction | Star trails, complex light paths | Astrophotography, creative art |
Gear That Actually Matters
You don’t need a $5,000 camera body to do this. Your phone can likely shoot long exposures if you use manual mode. But there are three pieces of gear that make life infinitely easier.
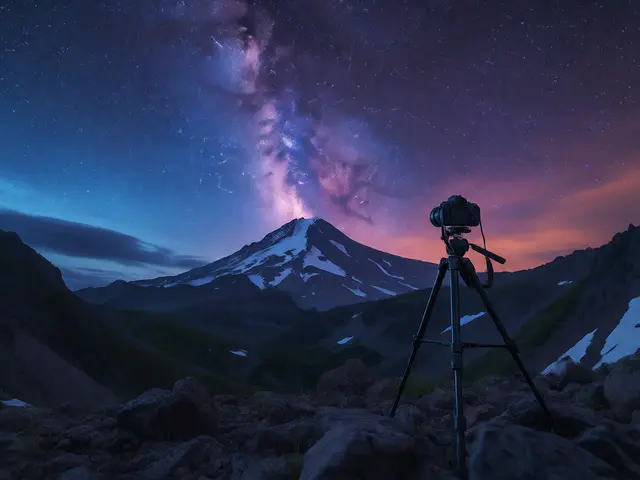
First, the Tripod. It’s non-negotiable. Any vibration during a 10-second exposure shows up as mushy noise. Get something sturdy enough to handle wind. If you’re shooting near the coast, hang your bag from the center column to add weight.
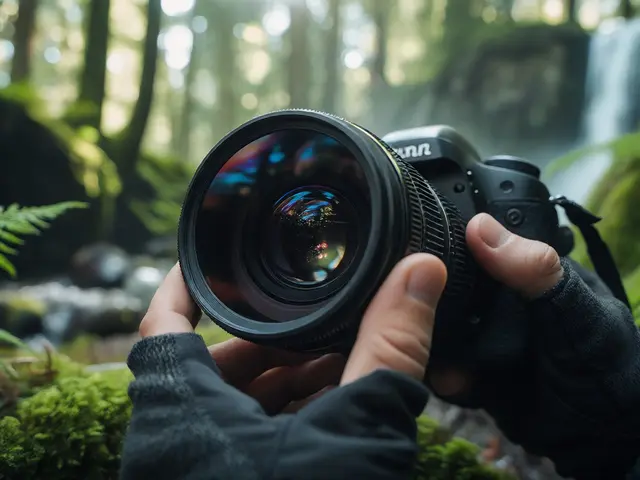
Second, Neutral Density (ND) Filters. These are sunglasses for your lens. They block light without changing color. Why do you need them? Because in daylight, even at ISO 100 and f/22, your shutter might only reach 1/15th of a second before the image blows out. An ND filter lets you drop that shutter to 2 seconds or more while keeping the exposure balanced. Start with a 6-stop or 10-stop ND filter. The 10-stop is often called a "Big Stopper" because it kills so much light you literally can’t see through the viewfinder anymore-you have to compose first, then attach the filter.
Third, a Remote Shutter Release. Pressing the button yourself introduces shake. Even with a mirrorless camera, use a 2-second timer or a cheap cable release. Better yet, use your phone app to trigger the shutter remotely.
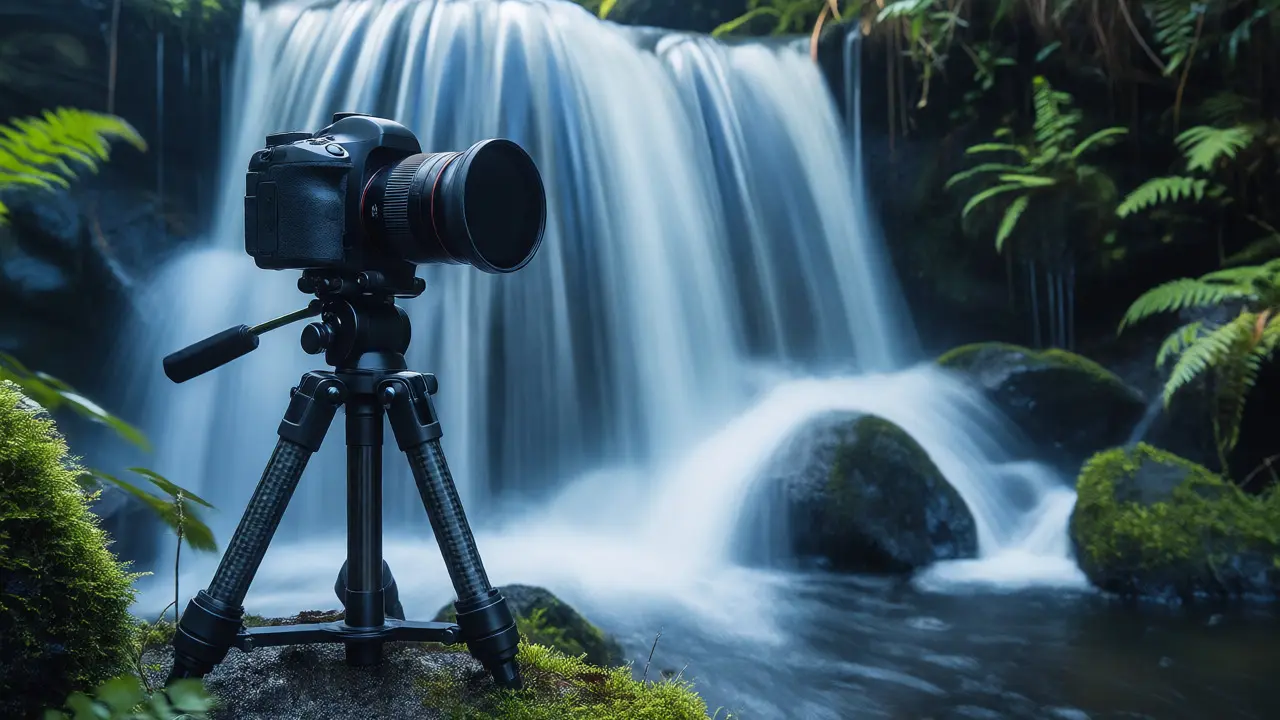
Technique 1: The Silky Waterfall Effect
This is the gateway drug to long exposure. Everyone wants to make water look like smoke. Here’s how you actually pull it off without ending up with a white blob.
- Find contrast: Look for dark rocks or trees against the moving water. If everything is bright white foam and grey sky, the photo will lack depth. Dark foreground elements anchor the eye.
- Get low: Don’t stand up. Put your tripod legs in the shallow water (if safe). Getting close to the base of the waterfall makes the motion feel immersive rather than distant.
- Expose for highlights: Use spot metering on the brightest part of the water. Underexpose by one-third of a stop. It’s easier to lift shadows in post-production than to recover blown-out whites.
- Start short: Begin with 1/2 second. Check the screen. Is it too sharp? Go to 1 second. Too milky? Try 1/4 second. There is no perfect number; it depends on the water’s speed.
In Portland, where I live, Multnomah Falls is a classic spot. On a rainy day, the volume is high, so you might only need 0.5 seconds to get that smooth look. On a dry summer day, the flow is thinner, so you might need 2 seconds to create enough blur.
Technique 2: Panning for Dynamic Blur
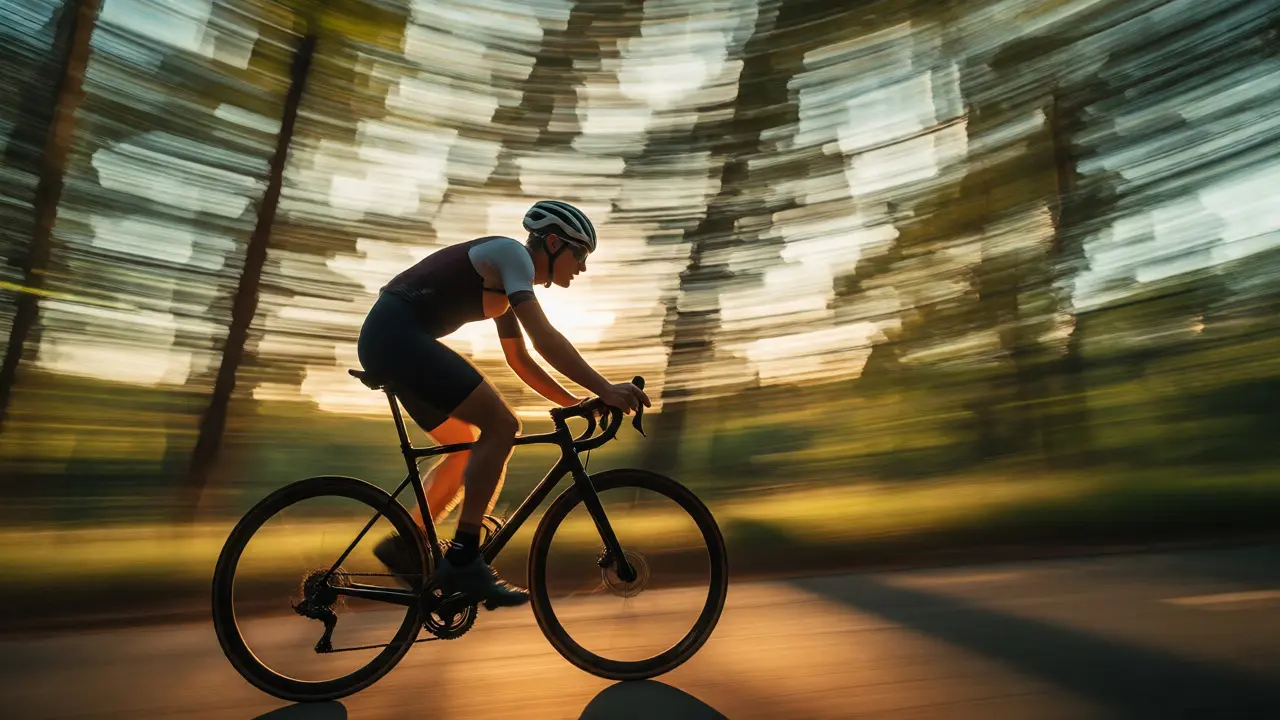
Not all long exposures involve a stationary camera. Panning is a technique where you move the camera along with a moving subject. The goal is to keep the subject sharp while blurring the background. It creates a sense of speed and urgency.
How to do it:
- Set your shutter speed between 1/15s and 1/60s. Slower means more blur, but harder to hit focus.
- Switch your autofocus to Continuous (AI Servo/AF-C).
- Track the subject with your eyes before you press the button.
- Press the shutter halfway to lock focus, start swinging your body (not just your arms), and press fully while continuing the swing.
- Follow through. Stopping abruptly ruins the motion blur.
This works best with subjects moving parallel to you, like cyclists, runners, or cars on a highway. Practice is key. You’ll miss 80% of your shots at first. That’s normal. Keep shooting until you get that one frame where the rider’s face is crisp and the trees behind them are horizontal streaks.
Technique 3: Light Trails and Urban Nightscapes
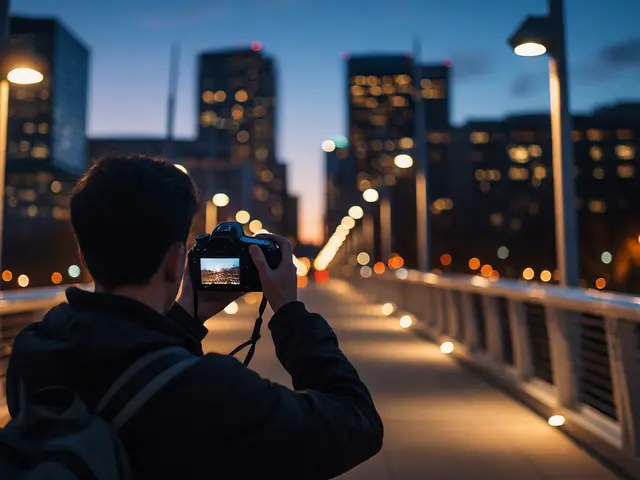
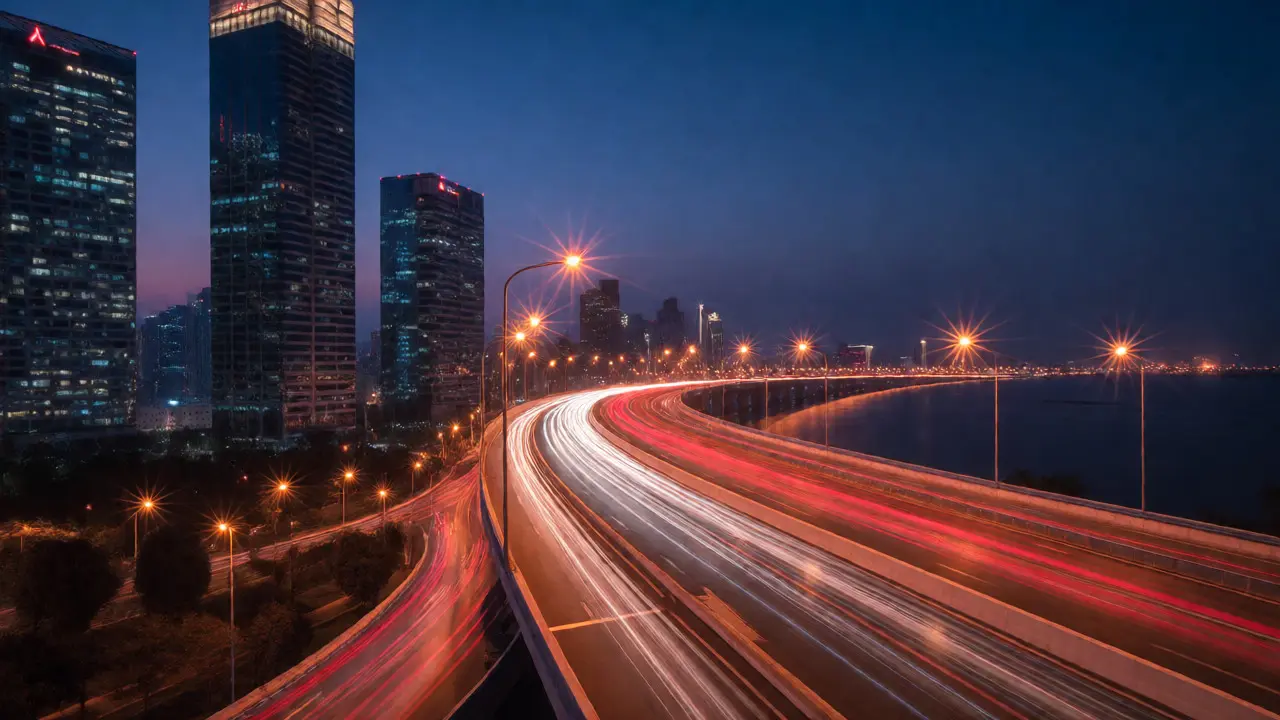
Nighttime is when long exposure shines (pun intended). Without ambient sunlight, you have total control over the exposure duration. This is where Light Trails come in-those glowing red and white lines created by vehicle headlights and taillights.
The secret to good light trails isn’t just a long shutter; it’s composition. Find an elevated vantage point, like a bridge or a parking garage roof. You want the roads to curve toward the horizon. Straight roads look boring; curves lead the eye.
Use a small aperture, like f/11 or f/16. This does two things: it keeps the depth of field huge so everything from the foreground to the skyline is sharp, and it creates starbursts on streetlights. Combine this with a 15-30 second exposure. If the traffic is heavy, you’ll get dense, continuous lines. If traffic is sparse, you’ll get dashed lines. Adjust your timing based on the flow of cars.
Common Pitfalls and How to Fix Them
Even experienced shooters fall into traps. Here are the big ones.
Camera Shake: If your image looks slightly soft everywhere, you moved. Did you touch the tripod? Did the wind blow? Use a mirror lock-up if you’re on a DSLR. On mirrorless, ensure electronic stabilization is off when on a tripod, as it can sometimes introduce micro-movements.
Over-blurring: Sometimes, less is more. If every single leaf on a tree is blurred out, the photo loses context. We need some sharp elements to tell our brains "this is real." Always aim for a mix of sharp anchors and blurred motion.
Noise: Long exposures generate heat on the sensor, which creates digital noise. Shoot in RAW format. In post-processing, apply luminance noise reduction carefully. Also, keep your ISO as low as possible (ISO 100 or 200). Higher ISOs amplify the graininess inherent in long exposures.
Editing Tips for Maximum Impact
Your work isn’t done when you click the shutter. Long exposure images often look flat straight out of the camera because they lack the dynamic range of frozen moments.
- Add Contrast: Boost the local contrast or clarity slider to bring back texture in the sharp areas.
- Dodge and Burn: Manually lighten the light trails or the brightest parts of the water. Darken the edges of the frame to draw attention to the center.
- Color Grading: Cool tones (blues and teals) enhance the feeling of calm and mystery. Warm tones (oranges) work well for urban scenes with sodium-vapor streetlights.
Remember, the goal is to evoke emotion. Does the blur feel peaceful? Chaotic? Fast? Adjust your edits to support that mood, not just to make the image "pop."
Do I really need an ND filter for daytime long exposures?
Yes, if you want exposures longer than 1 second in bright daylight. Without an ND filter, the sun is too strong. Even at the smallest aperture (f/22) and lowest ISO (100), your shutter speed will max out around 1/15th or 1/8th of a second. An ND filter cuts the light entering the lens, allowing you to extend that time to seconds or minutes without overexposing the image.
Why is my long exposure photo noisy?
Long exposures cause the camera sensor to heat up, which generates thermal noise. Additionally, if you increase your ISO to compensate for darkness, you amplify that noise. To fix this, keep your ISO at its base value (usually 100 or 200) and rely on the long shutter speed to gather light. Post-processing software like Adobe Lightroom or DxO PureRAW has excellent noise reduction tools specifically designed for long-exposure artifacts.
Can I do slow motion photography with a smartphone?
Absolutely. Most modern smartphones have a "Pro" or "Manual" mode that allows you to adjust shutter speed. You will need a small tripod or a way to stabilize the phone against a wall or railing. Some apps, like Slow Shutter Cam (iOS) or Camera FV-5 (Android), offer specialized modes for light trails and silky water effects, often compensating for the smaller sensor size with computational photography.
What is the difference between motion blur and defocus blur?
Motion blur happens when the subject or camera moves during the exposure, creating directional streaks. Defocus blur occurs when the subject is outside the plane of focus, creating a soft, circular haze (bokeh). In long exposure photography, we usually want sharp focus on stationary objects and motion blur on moving ones. Accidental defocus blur usually indicates missed focus, which is a mistake, whereas intentional motion blur is a creative choice.
How long should I expose for light trails?
It depends on the traffic speed and density. For city streets with moderate traffic, 10 to 20 seconds is usually the sweet spot. This is long enough to create continuous lines but short enough to avoid excessive noise or star trailing (if stars are visible). For highways with fast-moving cars, you might need 30 seconds or more to get solid, unbroken lines. Experiment with bracketing: take shots at 10s, 20s, and 30s to see which looks best.