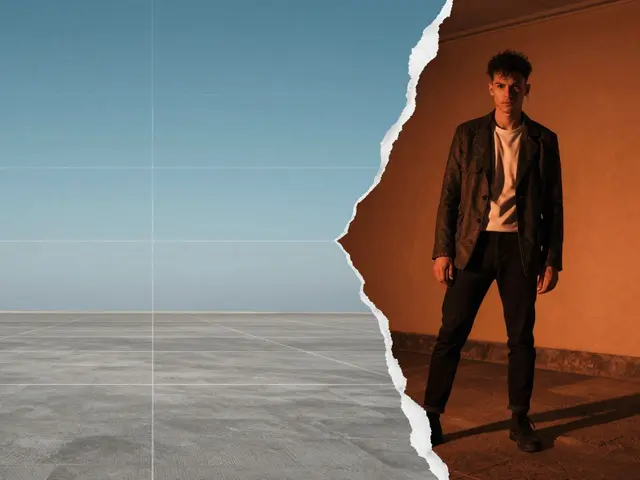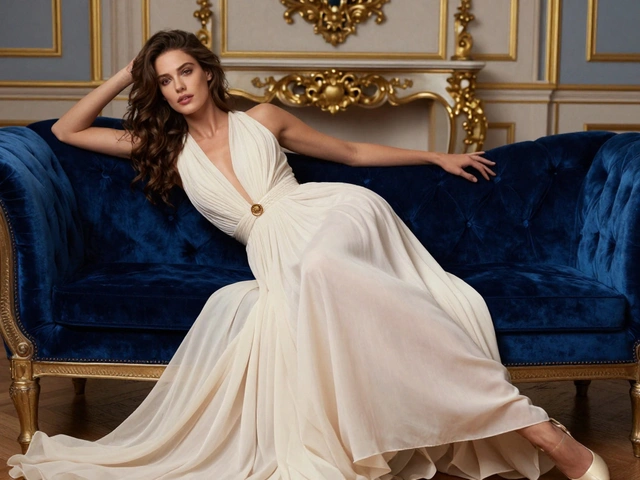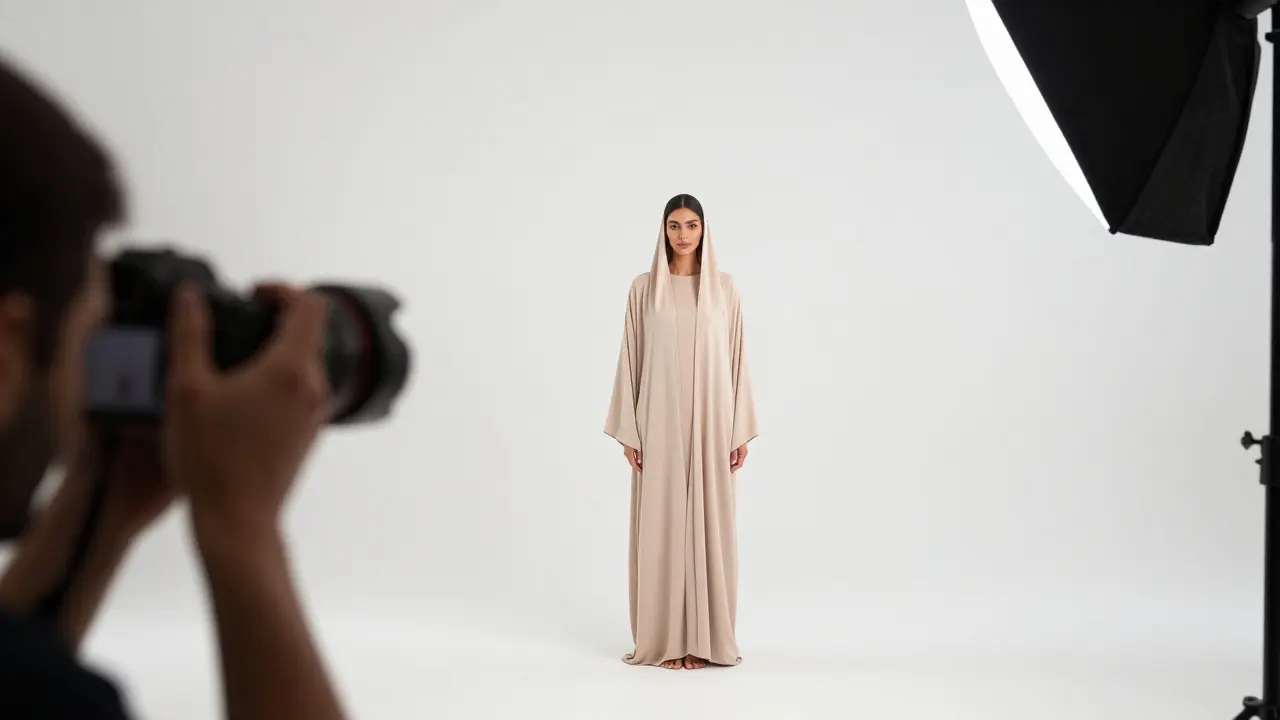
Ever scrolled through a brand’s online store and felt confused by the mismatched lighting or chaotic poses? That’s exactly what happens when lookbook photography is treated as a series of random snapshots rather than a cohesive narrative. A lookbook isn’t just a collection of pretty pictures; it’s a strategic tool that guides the customer from curiosity to purchase. If your images don’t tell a unified story, your potential buyer gets lost in the noise.
The core challenge here is balancing artistic expression with commercial clarity. You need visuals that feel fresh and engaging but remain consistent enough to build brand trust. This guide breaks down how to achieve that balance, focusing specifically on the technical and creative elements that make a catalog work. We’ll cover everything from setting up your shot list to directing models so they look natural yet polished.
Why Consistency Is the Backbone of Your Catalog
Inconsistency is the silent killer of e-commerce conversion rates. When a viewer clicks from one product image to another and the color temperature shifts dramatically, their brain registers a disconnect. It feels like two different brands are selling to them. To avoid this, you need to lock down your visual language before you even pick up the camera.
- Lighting Signature: Decide if your brand is high-contrast and dramatic or soft and airy. Stick to that choice across all shoots. If you use a single strobe setup, keep the distance and power settings identical for every garment.
- Color Palette: Your background and styling should complement each other without clashing. If you’re shooting against a white seamless paper, ensure your white balance is calibrated to match that specific shade of white, not just "neutral."
- Composition Rules: Choose a framing standard. Are you cropping at the knees? At the waist? Full body? Pick one primary crop for main images and stick to it. Mixing full-body shots with tight headshots in the same grid can look messy unless intentional.
A practical tip: create a "mood board" that includes reference photos from other industries. Look at how luxury car ads handle consistency versus fast-fashion retailers. Notice how the former uses negative space and controlled lighting, while the latter might rely on brighter, busier backgrounds. Identify which approach fits your brand voice and document it in a one-page brief for your team.
The Art of Directing Poses for Commercial Appeal
Posing in lookbook photography differs significantly from editorial or fine art portraiture. The goal isn’t to capture an emotion; it’s to showcase the fit, drape, and movement of the clothing. Models often freeze up because they don’t know what to do with their hands or where to look. Your job as the photographer is to give them simple, actionable instructions.
Instead of saying "be cool," try specific physical cues. Here are three foundational pose structures that work for almost any garment:
- The Weight Shift: Have the model put most of their weight on one leg, creating a subtle S-curve in the hips. This adds dimension to flat fabrics and makes silhouettes look more dynamic.
- The Hand Interaction: Dead hands are the enemy of good photography. Instruct the model to touch their hair, adjust a cuff, or hold a bag strap. Even a slight adjustment of a jacket collar gives the hand a purpose and draws the eye to the detail.
- The Gaze Direction: For front-facing shots, have the model look slightly off-camera, about 10 degrees to the side. This creates a sense of movement and prevents the "staring contest" effect that can feel static.
Remember, you’re capturing a sequence, not a single moment. Take bursts of 3-5 frames for each pose variation. This ensures you get that split-second where the fabric falls perfectly and the model’s expression is relaxed. Review these sequences on the back of your camera immediately. If the drape looks weird, fix it now, not during post-production.
Building a Shot List That Saves Time and Money
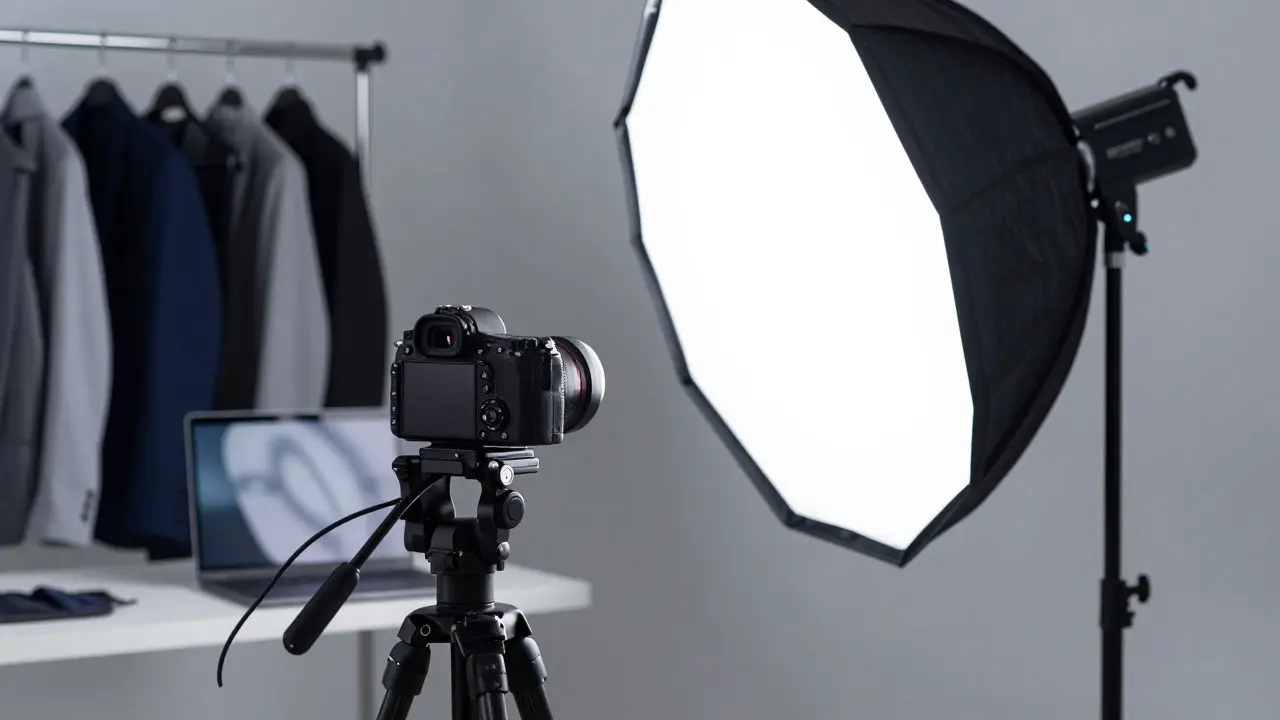
One of the biggest mistakes new photographers make is walking onto set without a detailed shot list. Without one, you end up chasing ideas, missing key angles, or running out of time before the studio rental expires. A solid shot list acts as your roadmap.
Your list should be categorized by garment type. For each item, specify the required views. Typically, a standard catalog entry needs:
- Front view (full length)
- Back view (full length)
- Side profile (if relevant to the design)
- Detail close-ups (collars, buttons, textures)
- Lifestyle context (model interacting with the environment)
Assign a number to each shot. When you review the footage later, you can quickly check off what you have and what’s missing. This system also helps your retoucher organize files efficiently. If you’re working with a large team, share this list digitally so everyone knows the priority order. Don’t forget to include "extras"-those spontaneous moments that might become your hero image. Leave 10% of your shoot time unscripted for creative exploration.
Technical Settings for Uniform Output
To maintain consistency, your camera settings need to be locked down. While some variables depend on the light source, certain parameters should remain constant throughout the session.
| Setting | Recommended Value | Reason |
|---|---|---|
| Aperture | f/8 - f/11 | Ensures the entire garment is in focus, from hem to collar. |
| Shutter Speed | 1/160s or faster | Freezes motion to prevent blur during model adjustments. |
| ISO | 100 - 400 | Keeps noise low for clean skin tones and fabric textures. |
| White Balance | Kelvin Match (e.g., 5500K) | Maintains color accuracy across all shots. |
Use RAW format exclusively. JPEG compression artifacts can ruin subtle fabric details, and RAW files give you the flexibility to adjust exposure and color in post-production without degrading image quality. Additionally, consider using tethering software. Connecting your camera directly to a computer allows you to see the images instantly on a larger screen. This is crucial for checking focus and lighting consistency in real-time.
Post-Production: Polishing Without Overdoing It
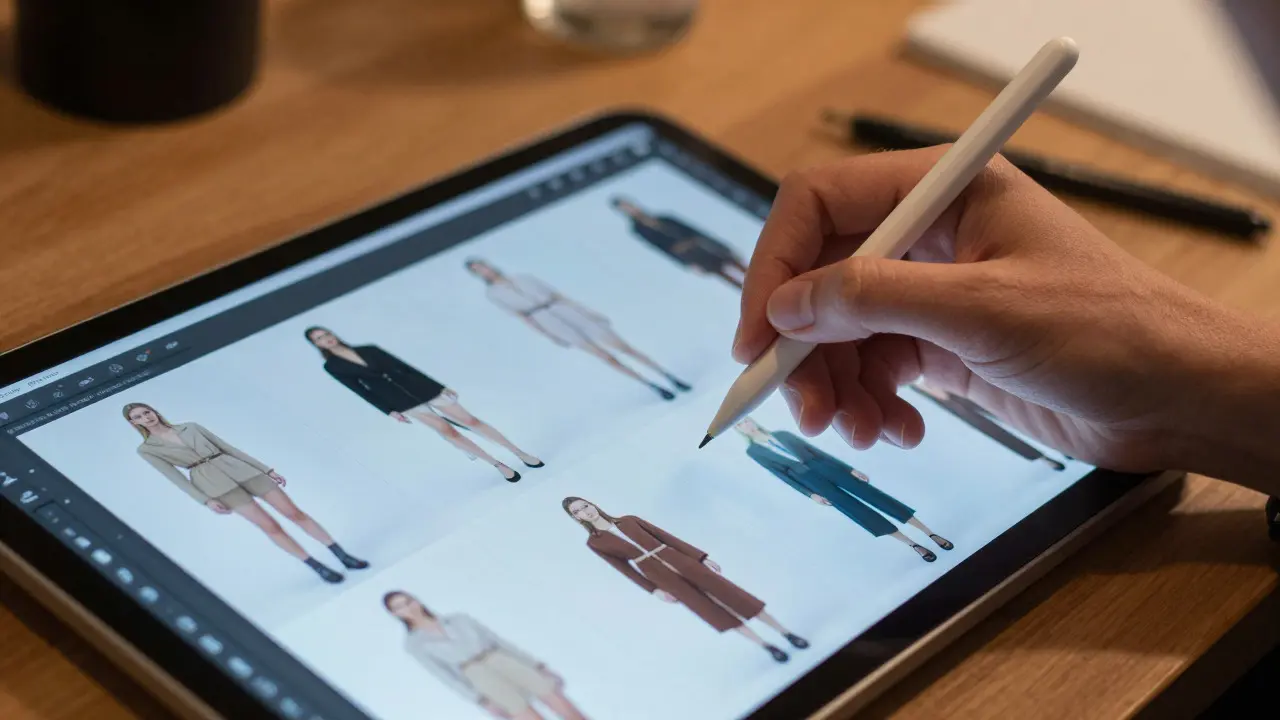
Consistency doesn’t end when you stop shooting. In fact, post-production is where you truly unify your catalog. However, the trend in modern fashion photography is moving away from heavy retouching. Customers want to see realistic skin texture and natural fabric behavior.
Focus your editing workflow on these key areas:
- Color Grading: Apply a global LUT (Look-Up Table) or preset to all images first. This ensures a baseline color tone. Then, make individual adjustments only if necessary.
- Cropping and Straightening: Ensure vertical lines (like poles or doorframes in the background) are straight. Tilted horizons distract the viewer and make the image feel amateurish.
- Clipping and Wrinkles: Remove distracting wrinkles that aren’t part of the design intent. Use healing tools to smooth out skin blemishes, but leave pores visible. Over-smoothing makes models look plastic and unnatural.
Batch processing is your friend. Once you’ve perfected the edit for one image, copy those settings to the rest of the batch. This saves hours of manual work and guarantees uniformity. Just be careful to spot-check each image individually after applying the batch settings, as slight variations in lighting can require minor tweaks.
Frequently Asked Questions
How many photos do I need per outfit for a professional lookbook?
Aim for 5-8 final images per outfit. This typically includes front, back, side, and two to three detail or lifestyle shots. Having more options gives you flexibility for web layout and social media crops.
What is the best lens for lookbook photography?
A 50mm or 85mm prime lens is ideal for full-body shots as it minimizes distortion. For detail shots, a 70-200mm zoom lens works well to compress the background and isolate the garment features.
Should I use a flash or continuous lighting?
Strobe flashes are preferred for commercial catalogs because they provide consistent, repeatable output and freeze motion effectively. Continuous lights are better for video or learning setups, but they can flicker and produce less punchy results.
How do I handle model nerves during a shoot?
Keep the atmosphere positive and energetic. Play music, chat casually between setups, and give clear, concise directions. Avoid long pauses. If a model seems stuck, demonstrate the pose yourself or show them a reference photo on your phone.
Is it necessary to hire a professional stylist for a small brand?
Not always, but highly recommended. A stylist understands how to layer garments, choose accessories, and manage wardrobe logistics. If budget is tight, invest in a good tailor to ensure all clothes fit the model perfectly, as ill-fitting clothes look bad regardless of photography quality.