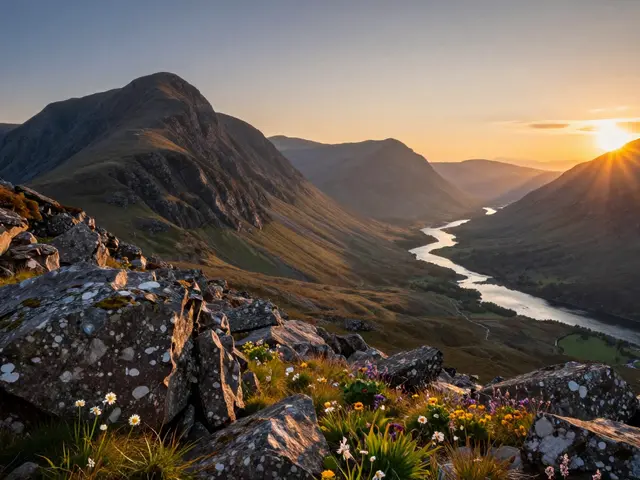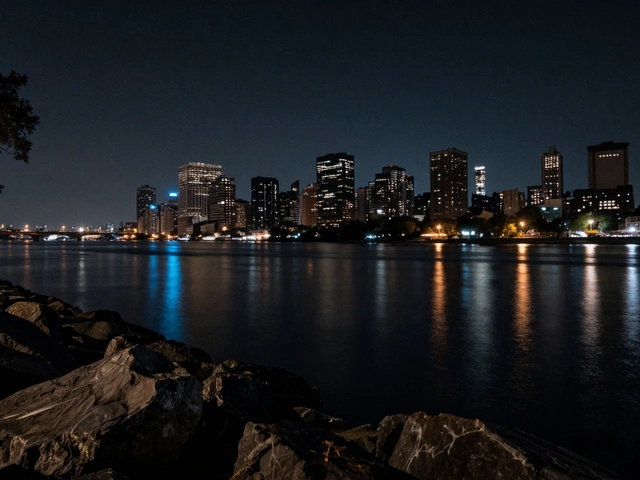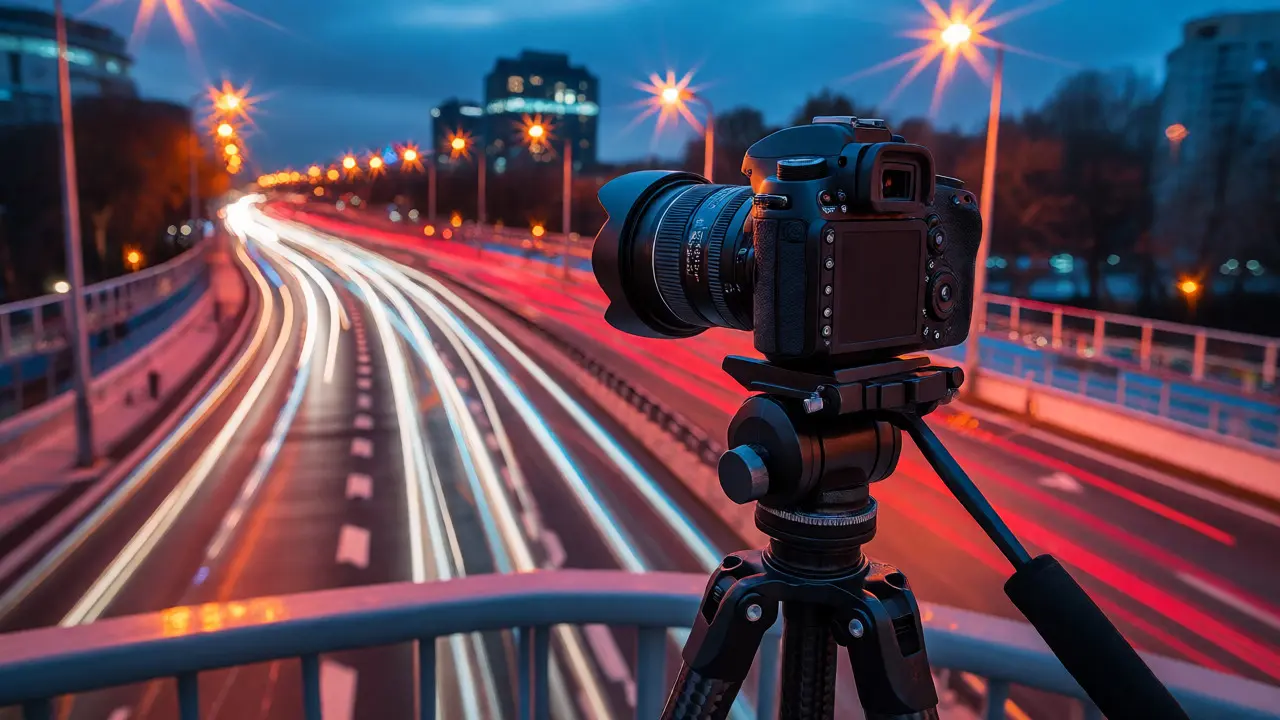
You’ve probably seen those photos where water looks like silk or car lights turn into glowing ribbons. It’s not magic; it’s math. Specifically, it’s the math of keeping your camera’s shutter open longer than usual to let more light hit the sensor. This technique, known as using slow shutter speeds is a powerful tool for capturing movement and gathering light in dark environments.
If you’re trying to shoot at night or indoors without flash, this is your best friend. But it comes with rules. If you ignore them, you get blurry messes instead of artistic masterpieces. Let’s break down exactly how to use slow shutter speeds to improve your low-light and night photography.
What Exactly Is a Slow Shutter Speed?
Your camera has a curtain that opens and closes to expose the sensor to light. A fast shutter speed (like 1/1000th of a second) freezes action. A slow shutter speed (anything slower than 1/60th of a second, but usually much slower for these effects) keeps that curtain open longer.
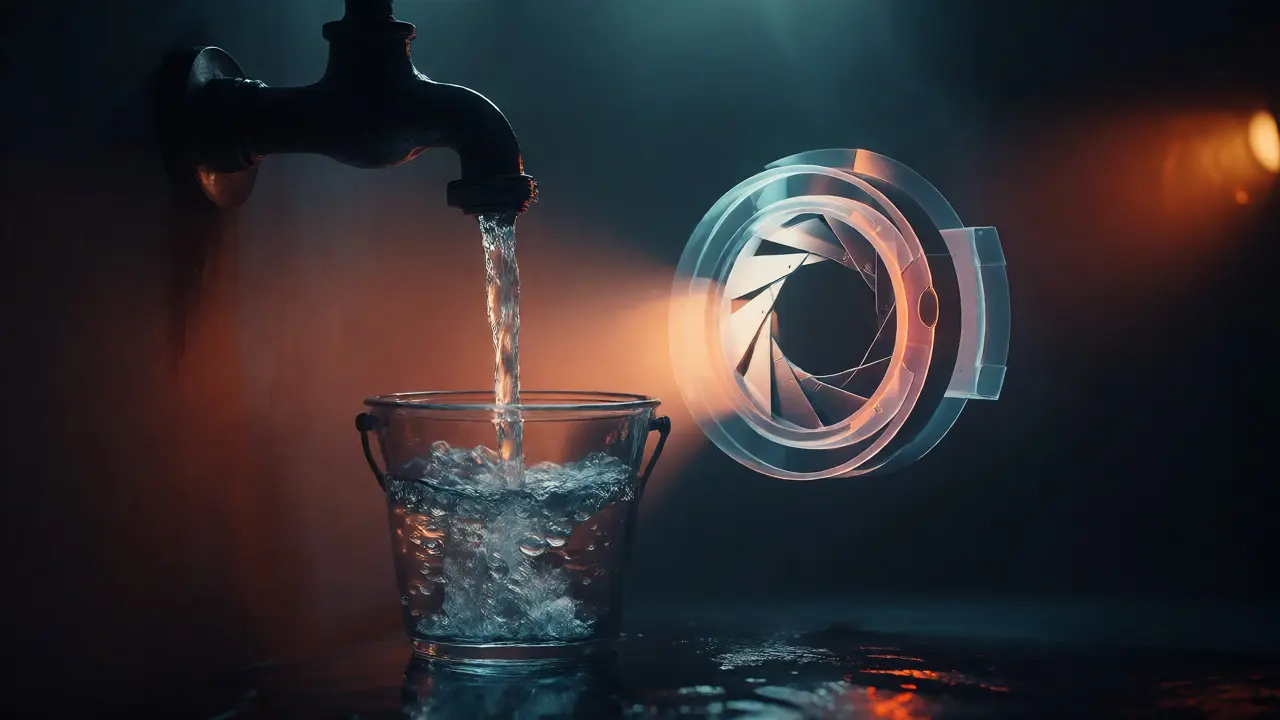
Think of it like filling a bucket with water. The wider the opening (aperture) or the higher the pressure (ISO), the faster it fills. But if the tap is trickling (low light), you have to leave the bucket under the tap longer to fill it up. That “longer time” is your slow shutter speed.
When we talk about long exposures, we are referring to shutter durations typically ranging from one second to several minutes. This allows the camera to collect photons over an extended period, revealing details invisible to the naked eye in dim conditions.
Why Use Slow Shutter Speeds?
There are two main reasons photographers reach for this setting. First, necessity. In low-light situations-like a dim restaurant or a starry sky-you simply don’t have enough light for a standard exposure. If you keep your shutter speed fast, your photo will be pitch black unless you crank your ISO way up, which introduces grainy noise.
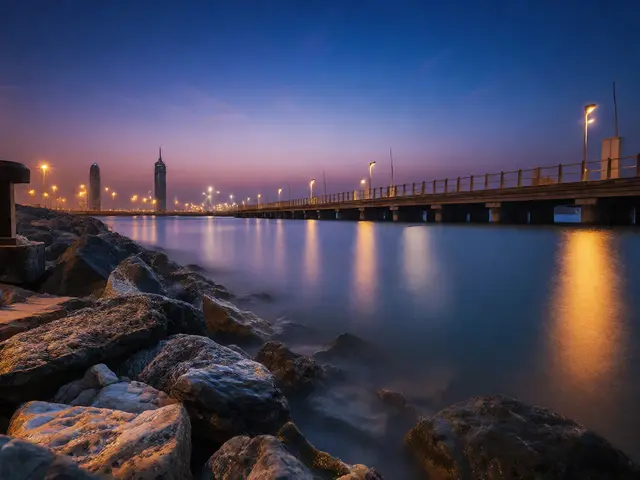
Second, creativity. Slow shutter speeds allow you to manipulate time. You can smooth out choppy ocean waves, streak city traffic, or capture the trails of stars rotating around the pole. It transforms static scenes into dynamic compositions.
The Essential Gear Checklist
You cannot shoot handheld with a one-second shutter speed and expect sharp results. Your hands shake too much. Here is what you need to make this work:
- Tripod: Non-negotiable. Your camera must be rock solid. Even a slight breeze can ruin a 30-second exposure. Weight down your tripod with your camera bag if it’s windy.
- Remote Shutter Release or Timer: Pressing the button on your camera causes vibration. Use a cable release, a wireless remote, or set your camera to a 2-second self-timer.
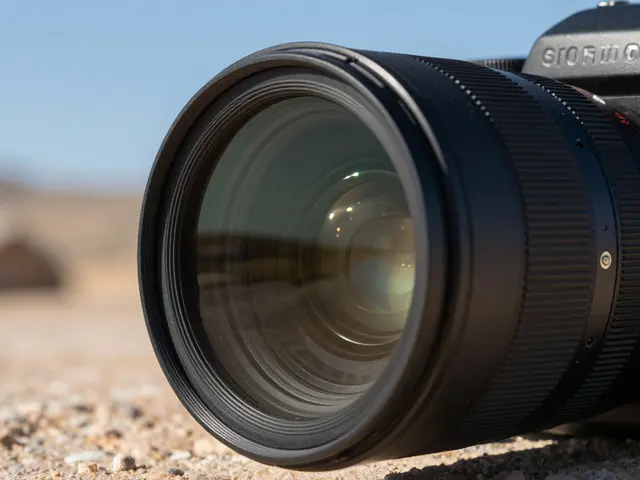
- Neutral Density (ND) Filters: These are sunglasses for your lens. If you want a long exposure during the day (to blur clouds or water), too much light will overexpose the image even at the smallest aperture. ND filters cut down the light so you can keep the shutter open longer.
- Battery Grip or Extra Batteries: Long exposures drain batteries faster because the mirror stays up and the sensor works continuously. Bring spares.
How to Set Up Your Camera for Long Exposure
Getting the settings right takes practice, but here is a reliable workflow for starting out.
- Switch to Manual Mode (M): You need full control over shutter speed, aperture, and ISO. Auto modes will try to guess your intent and often fail with long exposures.
- Set ISO to Base Level: Start with ISO 100 or 200. Since the shutter is open for a long time, you don’t need to boost sensitivity. Keeping ISO low ensures the cleanest possible image quality.
- Choose Your Aperture: For landscapes and cityscapes, aim for f/8 to f/11. This gives you a good depth of field, keeping both foreground and background reasonably sharp. Avoid going below f/16, as diffraction can soften the image.
- Adjust Shutter Speed: Look through your viewfinder or screen. If the image is too dark, increase the shutter duration. If it’s too bright, decrease it. There is no single "correct" speed; it depends entirely on the available light.
- Focus Manually: Autofocus can hunt in the dark. Switch to manual focus, zoom in on a high-contrast edge (like a streetlight against a dark sky), and dial it in until it’s sharp. Then tape the focus ring so it doesn’t move.
Mastering Night Photography Techniques
Night photography is where slow shutter speeds shine brightest. Here are three specific scenarios and how to handle them.
City Lights and Traffic Trails
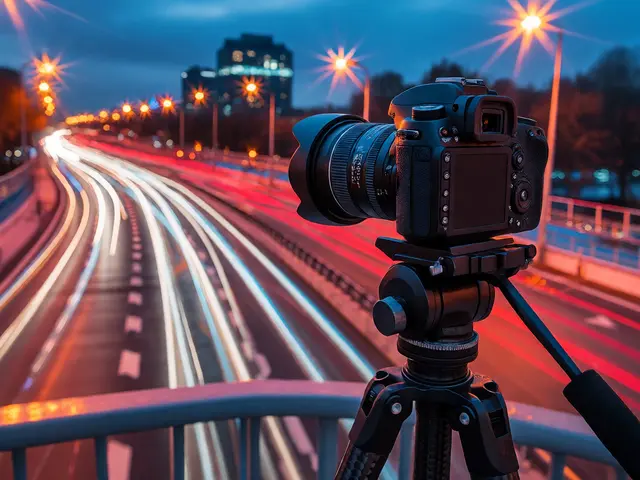
To get those red and white light streaks from cars, position yourself on a bridge or sidewalk. Set your shutter speed between 5 and 30 seconds. Cars moving during this time will appear as continuous lines of light. Pedestrians might disappear completely if they move quickly enough, creating an eerie, empty feel amidst the busy traffic.
Star Trails
Stars aren’t actually moving; the Earth is spinning. To capture this rotation, you need very long exposures-often 15 minutes to several hours. Most modern cameras have a "Bulb" mode, which keeps the shutter open as long as you hold the button (or remote). Alternatively, you can take hundreds of short shots (e.g., 30 seconds each) and stack them later in software like StarStaX or Photoshop.
Aurora Borealis
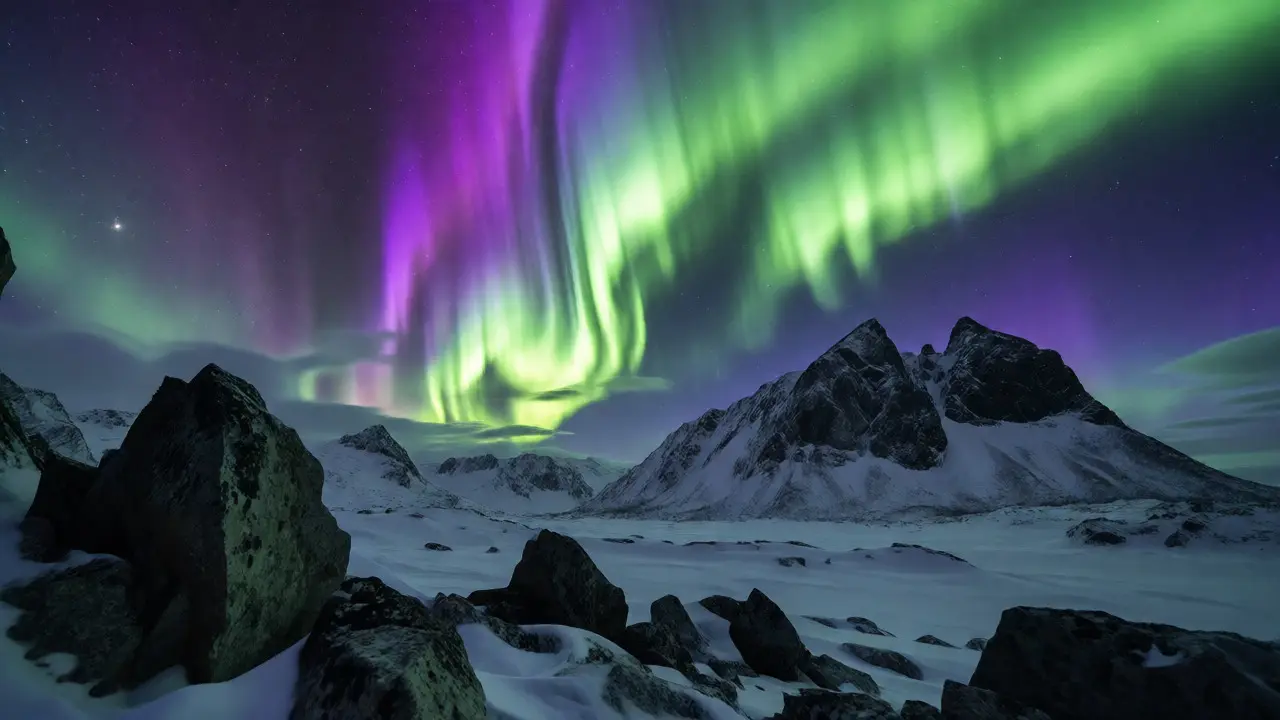
The Northern Lights change rapidly. A 30-second exposure might blur the aurora’s structure into a green smudge. Experiment with shorter long exposures, around 5 to 10 seconds, to freeze the curtains of light while still gathering enough brightness. Use a wide-angle lens and a fast aperture (f/2.8 or lower) to maximize light intake.
Dealing with Noise and Hot Pixels
Long exposures generate heat on the sensor. This heat creates "hot pixels"-bright dots that shouldn’t be there-and increases digital noise. Modern cameras have a feature called "Long Exposure Noise Reduction." When enabled, the camera takes a second, dark-frame shot immediately after your main exposure. This dark frame maps out the hot pixels, and the camera subtracts them from your final image.
The downside? It doubles the time you wait for each photo. If you’re shooting a 30-second exposure, you’ll wait another 30 seconds for processing. Turn this off if you’re shooting fast-moving subjects at night, but keep it on for static landscapes.
Common Mistakes to Avoid
Even experienced shooters fall into these traps. Watch out for:
- Camera Shake: If your horizon is tilted or details look smeared, your camera moved. Check your tripod stability and ensure you’re using a timer.
- Overexposure: It’s easy to go too long. If the sky turns pure white, shorten the shutter speed. Use your histogram to check for blown highlights.
- Ignoring Wind: Trees, grass, and flags will blur badly in long exposures if it’s windy. Either wait for a calm moment or accept the blur as part of the mood.
- Forgetting Lens Hood: At night, stray light from streetlamps hitting the front element can cause ghosting and flare. Always use a hood.
| Scenario | Suggested Shutter Speed | Aperture | Notes |
|---|---|---|---|
| City Traffic Trails | 5 - 15 seconds | f/8 - f/11 | Use ND filter if city lights are very bright. |
| Milky Way Core | 15 - 25 seconds | f/2.8 | Keep under 25s to avoid star trailing. |
| Waterfalls (Day) | 1 - 4 seconds | f/16 + ND Filter | Strong ND filter required to block daylight. |
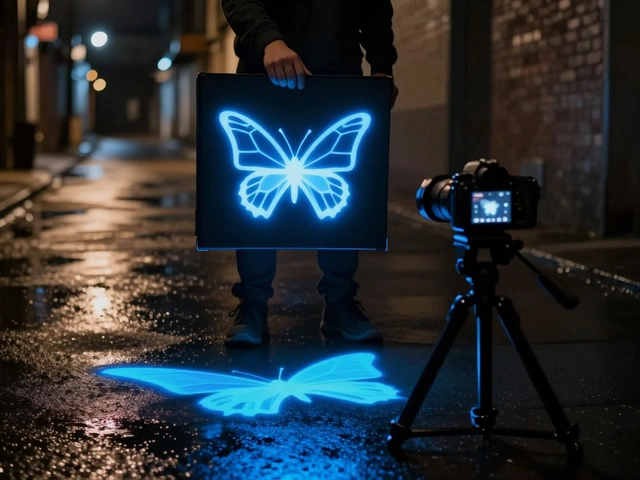
| Light Painting | 10 - 30 seconds | f/8 | Move flashlight or LED wand during exposure. |
| Star Trails | 1 hour+ | f/4 - f/5.6 | Requires Bulb mode or stacking software. |
Advanced Tip: Focus Stacking for Sharpness
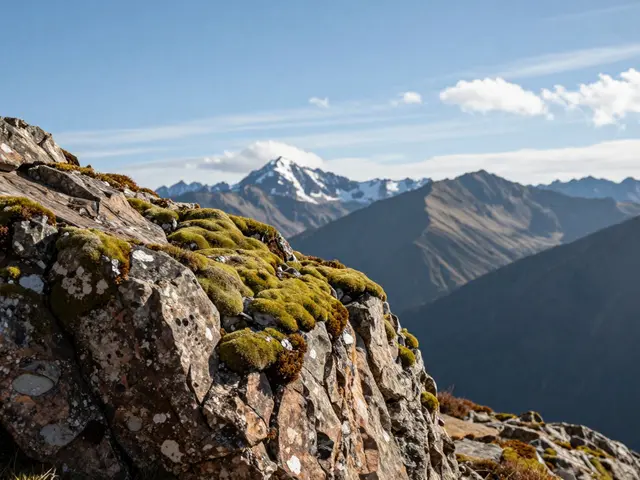
At small apertures like f/16, diffraction softens the image. But you need deep focus for landscapes. The solution? Take two photos: one focused on the foreground rocks, one focused on the distant mountains. Merge them in post-processing. This lets you use sharper apertures (like f/8) while maintaining overall clarity.
Frequently Asked Questions
What is considered a slow shutter speed?
Generally, any shutter speed slower than 1/60th of a second is considered slow for handheld shooting. However, for creative long exposure effects like silky water or light trails, photographers typically use speeds of 1 second or longer. The exact definition depends on the focal length of your lens and whether you are using a tripod.
Do I need a special camera for long exposures?
No, almost all interchangeable lens cameras (DSLRs and Mirrorless) support long exposures via Manual or Bulb mode. Many advanced compact cameras also offer these features. Smartphones have limited native support, though some apps can simulate long exposures by combining multiple short frames.
Why is my long exposure photo blurry?
Blurriness usually comes from camera shake. Ensure your tripod is stable, lock the center column, and use a remote shutter or self-timer to avoid touching the camera during exposure. Also, check if wind is moving elements within the frame, such as trees or people.
What is an ND filter and do I really need one?
An ND (Neutral Density) filter reduces the amount of light entering the lens without changing color. You need one if you want to use a slow shutter speed during the day. Without it, even at the smallest aperture and lowest ISO, the scene would be overexposed because too much light hits the sensor over the long duration.
How do I focus in the dark?
Autofocus struggles in low light. Switch to manual focus and use Live View to zoom in on a bright point of light, like a moon or streetlamp. Adjust the focus ring until the light appears as small and sharp as possible. Some cameras have a focus peaking feature that highlights edges in red or white to help confirm focus.