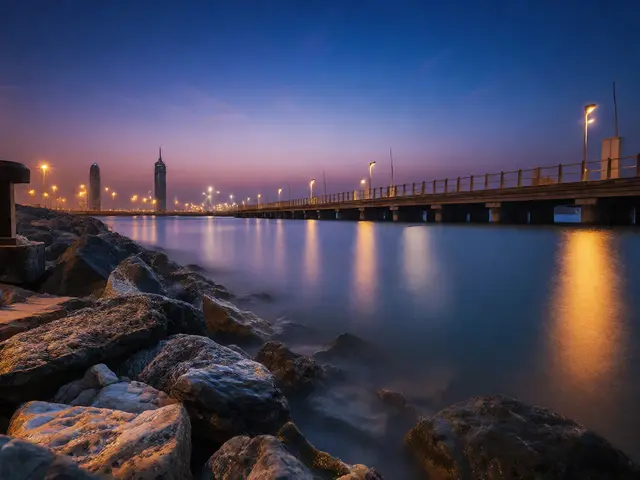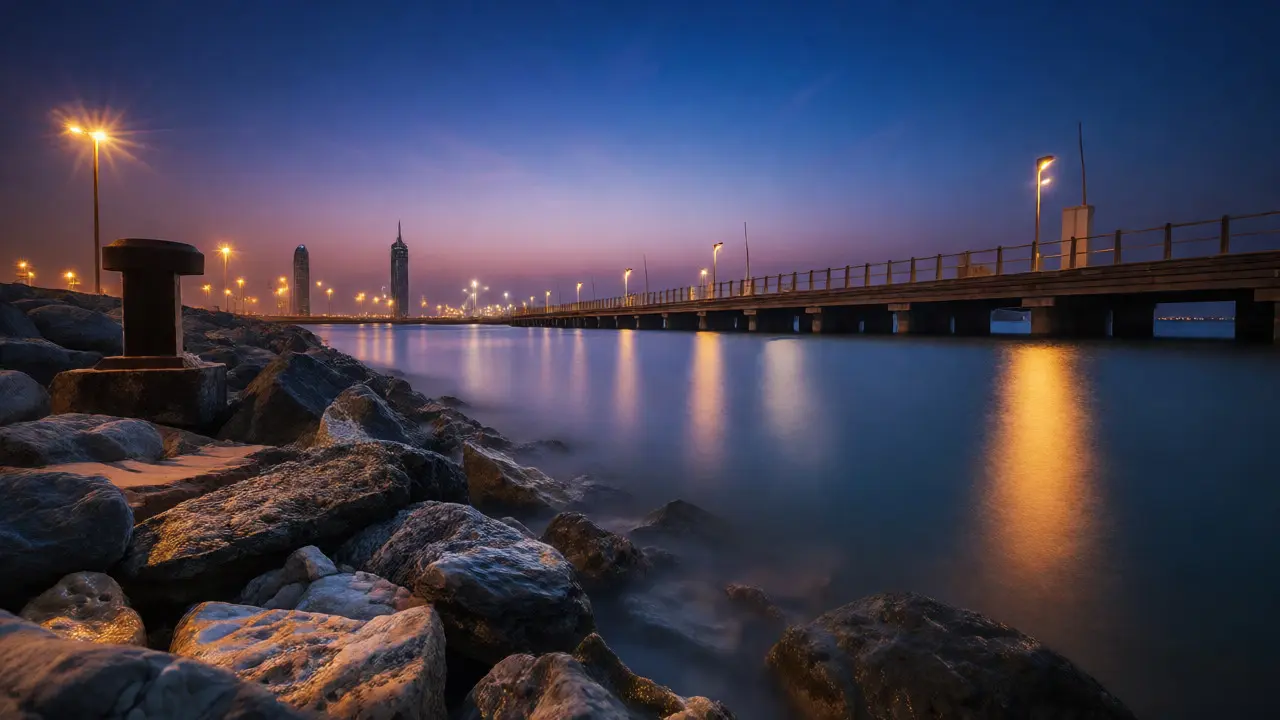
There’s a specific kind of magic that happens when you point your camera at a harbor after the sun dips below the horizon. The chaos of the day-the crashing waves, the bobbing boats, the frantic movement of people-smooths out into something ethereal. But capturing that smoothness isn't as simple as hitting the shutter button. If you’ve ever tried to shoot long exposure water at night and ended up with blurry noise or blown-out lights, you’re not alone. It’s tricky because you’re fighting two enemies: darkness and motion.
This guide breaks down exactly how to nail those shots of piers, harbors, and light trails without needing a degree in astrophysics. We’ll cover the gear that actually matters, the settings that stop the blur, and the creative tricks that turn a dark dock into a scene from a movie.
Why Long Exposure Changes Everything at Night
Long exposure photography is a technique where the camera's shutter remains open for an extended period, allowing more light to hit the sensor while blurring moving elements. During the day, this creates silky waterfalls or streaking clouds. At night, it does something different: it gathers enough ambient light to reveal details invisible to the naked eye, while turning boat lights into glowing ribbons and choppy water into glass.
The core challenge here is balance. You need enough time to collect light (which requires a slow shutter speed), but any movement in the frame other than water or lights will create unwanted ghosting. A person walking across a pier? They might disappear entirely if they move fast enough, or look like a smudge if they pause. This is why planning your composition before you set up your tripod is critical.
Gear That Actually Makes a Difference
You don’t need the most expensive camera on the market, but you do need control. Here’s what’s non-negotiable:
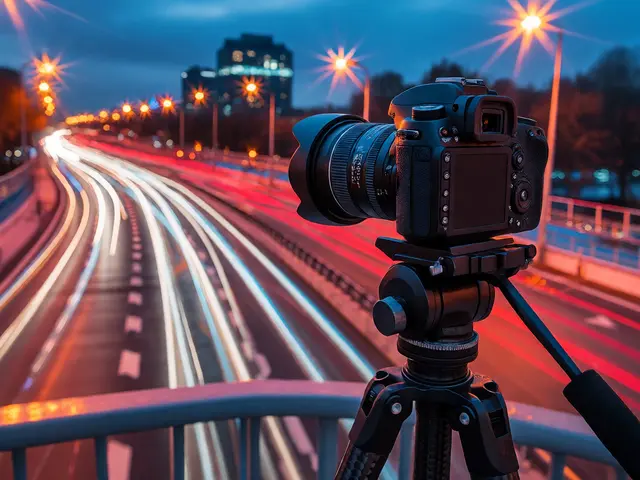
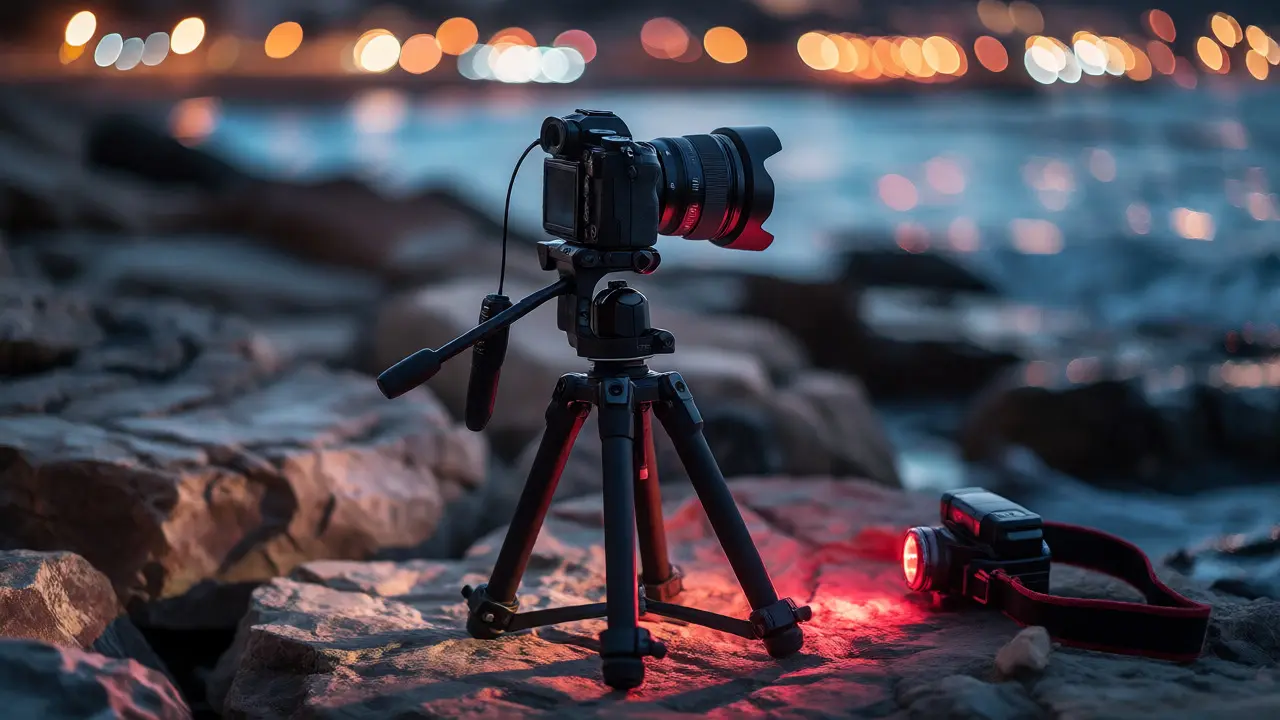
- A sturdy tripod: This is the backbone of night photography. Windy harbors can shake even the heaviest rigs. If you’re shooting near the water, make sure your tripod legs are locked tight and consider hanging weight from the center column to stabilize against gusts.
- A remote shutter release or intervalometer: Pressing the button on your camera introduces vibration. Even with a mirrorless camera, using a cable release or the 2-second timer prevents micro-shakes that ruin sharpness.
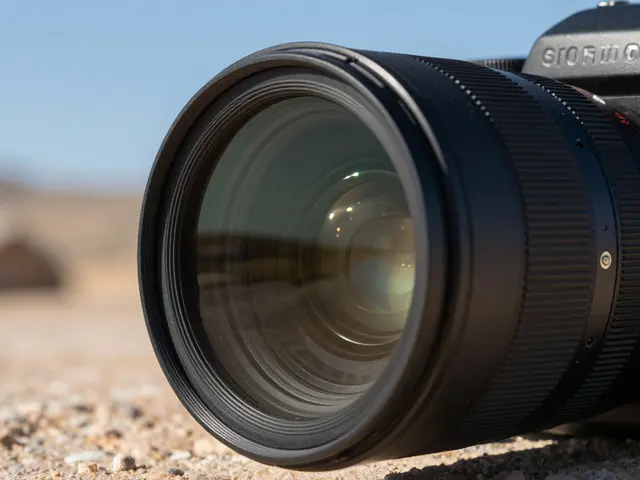
- Neutral Density (ND) filters: Wait, aren’t ND filters for daytime? Yes, but at night, if you want a 30-second exposure to smooth out rough water, your aperture might need to be wide open (f/2.8) to let in enough light. An ND filter lets you keep a smaller aperture (like f/8 or f/11) for better depth of field without overexposing the sky or bright lights.
- Batteries: Cold nights drain batteries faster. Bring spares. Keeping them warm in an inner pocket helps too.
| Item | Why It Matters | Pro Tip |
|---|---|---|
| Tripod | Stability for exposures longer than 1 second | Use a hook to hang your camera bag for extra weight |
| Wide-Angle Lens | Captures context and foreground interest | 24mm-35mm is ideal; avoid ultra-wide if distortion distracts |
| Headlamp (Red Mode) | Navigating in the dark without ruining night vision | Dim it low so it doesn't reflect off wet surfaces |
| Microfiber Cloth | Harbors are humid; lenses fog up quickly | Keep it dry in a ziplock bag until needed |
Mastering the Settings: The Triangle at Night
Forget Auto mode. You need Manual (M) mode to control the outcome. Here’s a starting point for a typical harbor scene:
ISO: Keep It Low
Start at ISO 100 or 200. Higher ISOs introduce noise, which looks particularly ugly in the dark areas of night photos. Since you have a tripod, you don’t need high sensitivity. Let the long shutter speed gather the light instead.
Aperture: Balance Depth and Diffraction
Aim for f/8 to f/11. This gives you a sweet spot of sharpness across the frame. Going wider (f/2.8) reduces depth of field, making it hard to keep both a foreground rock and a distant lighthouse in focus. Going narrower (f/22) can cause diffraction, softening the image. Also, smaller apertures create starbursts around point light sources like street lamps-a nice bonus.
Shutter Speed: The Creative Variable
This is where the art happens. There’s no single "right" number, but here are some rules of thumb:
- 2-5 seconds: Blurs small ripples but keeps some texture. Good for calm harbors.
- 10-30 seconds: Smooths water into mist. Great for creating contrast between static piers and flowing water.
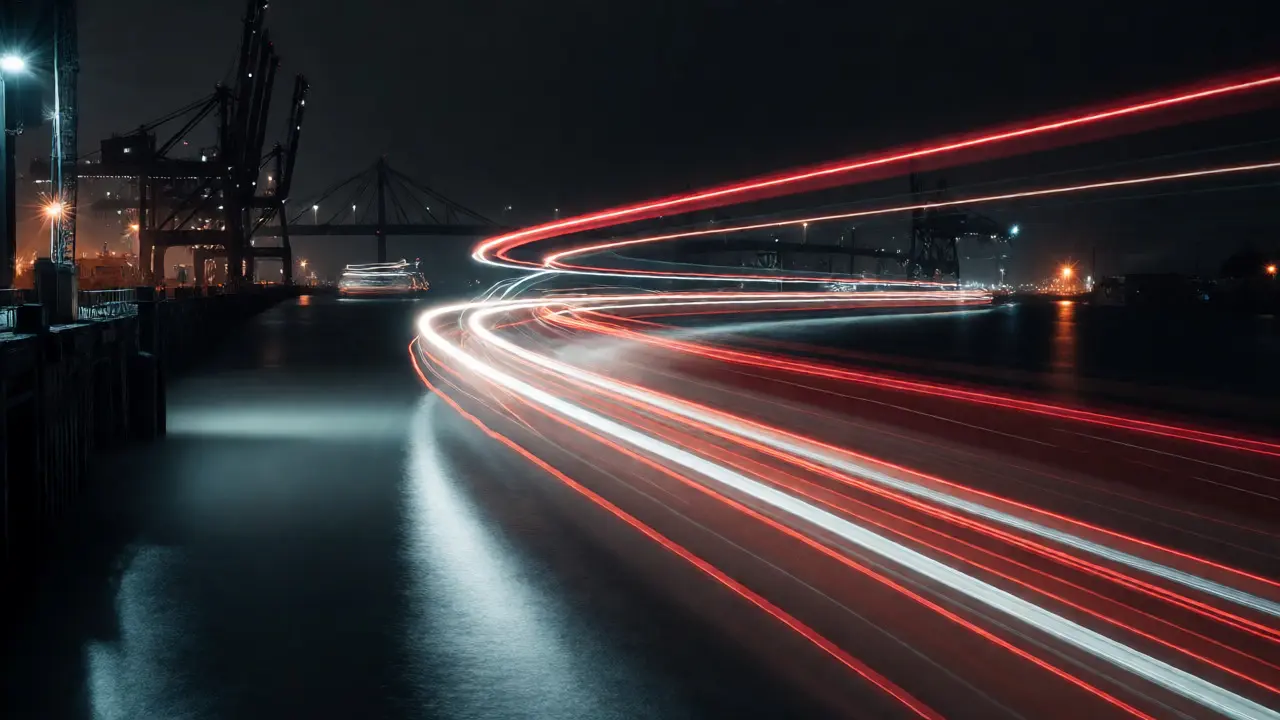
- 30+ seconds: Creates distinct light trails from moving boats. Requires precise timing to ensure the trail leads through the frame naturally.
Finding the Right Light: Blue Hour vs. True Night
Timing is everything. Most beginners wait until it’s pitch black, but that’s often a mistake. The best harbor photos usually happen during Blue Hour, defined as the period of twilight when the sun is between 4 and 6 degrees below the horizon, characterized by deep blue skies and balanced ambient light.
During Blue Hour, the sky still has color and detail, providing a natural backdrop for artificial lights. Once it’s fully dark, the sky becomes a void, forcing you to rely entirely on artificial lighting, which can be harsh and uneven. Try arriving 30 minutes before sunset and staying for an hour after. You’ll capture three distinct moods in one session.
Composing for Impact: Foreground, Midground, Background
A common complaint about night photos is that they feel flat. To fix this, build layers into your composition.
Foreground Interest: Don’t just shoot the horizon. Find a rock, a mooring post, or a patch of textured water close to your lens. This anchors the viewer’s eye and provides scale. Use manual focus to lock onto this element, then check infinity focus later.
Midground Action: This is where your light trails live. Position yourself so that boat traffic moves horizontally across the frame. Diagonal lines create more dynamic energy than straight horizontal ones.
Background Context: Include silhouettes of cranes, bridges, or city skylines. These provide narrative context-this isn’t just water; it’s a working harbor or a bustling port.
Techniques for Light Trails
Light trails are the signature shot of harbor photography. Here’s how to get them right:
- Scout the Traffic Pattern: Before setting up, watch where boats go. Do they enter from the left or right? Is there a channel marker they must pass?
- Focus Manually: Autofocus struggles in the dark. Focus on a lit object (like a buoy or a distant lamp) using Live View zoomed in. Then switch to Manual Focus so the camera doesn’t hunt again.
- Wait for the Boat: Start your exposure just as a boat enters the frame. End the exposure as it exits. This ensures a clean, continuous line of light without abrupt starts or stops.
- Multiple Exposures: If you miss the perfect boat run, take several shots. In post-processing, you can stack them to combine multiple light trails into one image, creating a busier, more energetic scene.
Post-Processing Tips for Night Shots
Your RAW file contains all the data you need, but it needs coaxing. Here’s a quick workflow:
- White Balance: Night lights are mixed-orange sodium vapor, cool LED, yellow incandescent. Adjust white balance manually to neutralize unnatural casts. Often, shifting slightly toward cooler tones enhances the mood.
- Noise Reduction: Apply luminance noise reduction carefully. Too much makes the image look waxy. Focus on cleaning up the shadows, not the highlights.
- Highlight Recovery: Streetlights and boat lamps often blow out. Pull back the highlights slider to recover some detail, but don’t expect miracles. Sometimes, letting them glow is part of the aesthetic.
- Local Contrast: Use adjustment brushes to dodge (brighten) the light trails and burn (darken) the surrounding water. This makes the trails pop.
Common Pitfalls and How to Avoid Them
Lens Flare: Shooting directly into bright lights causes flare. Tilt your lens slightly away or use a lens hood. If flare ruins the shot, try reframing so the light source is just outside the edge of the frame.
Motion Blur from Wind: If your tripod shakes, your stars and buildings will blur. Check wind forecasts. If it’s windy, shorten your exposure time and increase ISO slightly rather than pushing for a 30-second shot.
Forgotten Battery Drain: LCD screens consume power. Turn off Live View when not composing. Use the viewfinder if available, or simply review images sparingly.
How long should I expose my shutter for smooth water at night?
It depends on the water's movement and your desired effect. For gentle ripples, 2-5 seconds is often enough. For a completely smooth, mist-like appearance, aim for 10-30 seconds. Always test with shorter exposures first to gauge the effect before committing to a long shot.
Do I need an ND filter for night photography?
Not always, but it helps. If you want to use a small aperture (like f/11) for sharpness and starbursts, but the scene is too bright for a long exposure, an ND filter allows you to extend the shutter speed without overexposing. Without it, you might have to raise your ISO or widen your aperture, compromising quality.
How do I focus in the dark?
Use manual focus. Switch to Live View, zoom in digitally on a bright light source or a high-contrast edge (like a pier post against the sky), and adjust the focus ring until it’s sharp. Then switch the lens to Manual Focus mode to lock it in place. Autofocus often fails in low light.
What is the best time of day for harbor photography?
The Blue Hour, which occurs shortly after sunset, is generally best. The sky retains deep blue colors and detail, balancing well with artificial lights. As true night sets in, the sky goes black, which can make images feel less dimensional unless you have strong foreground lighting.
Why are my light trails broken or jagged?
This usually happens if the boat changes speed or direction abruptly, or if you started/stopped the exposure while the boat was partially in the frame. Ensure the boat is fully entering the frame before opening the shutter and fully exiting before closing it. Steady boat speed also helps create smooth lines.