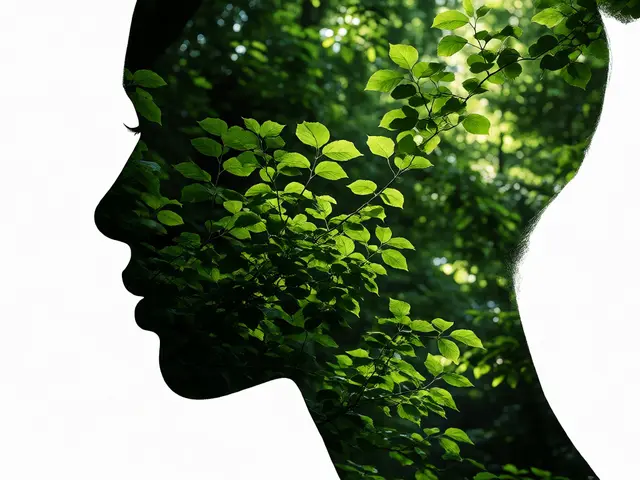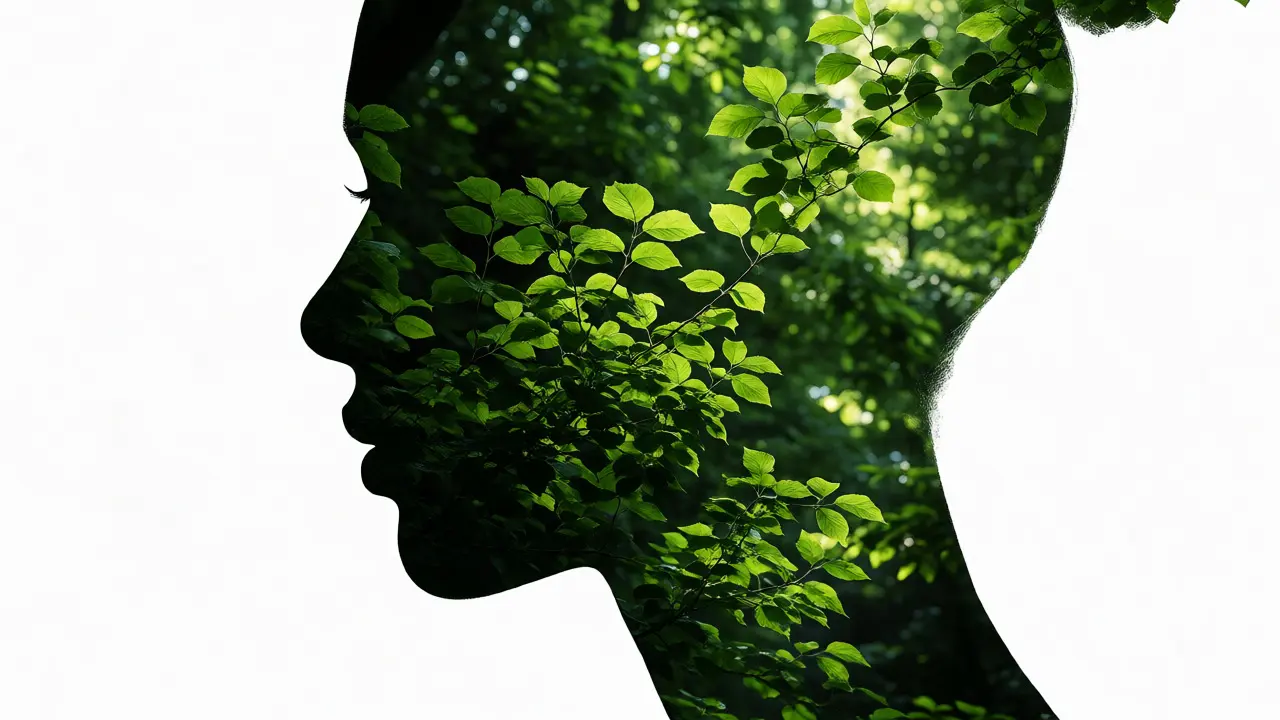
You know that feeling when you see a photo that looks like a dream? Maybe it’s a silhouette of a person filled with a forest scene, or a cityscape blended into a portrait. That is multiple exposure photography. It’s not magic, and you don’t need expensive gear to pull it off. You just need to understand how light hits your sensor twice-or more-and how to make those layers talk to each other instead of fighting for space.
Most people think this technique is reserved for high-end cameras with built-in "double exposure" modes. Wrong. You can do this with any camera, even the one in your pocket, if you’re willing to stack images later. The real challenge isn't capturing the shots; it's making them look intentional rather than accidental. If you’ve ever tried blending two photos and ended up with a muddy mess, this guide is for you. We’ll break down exactly how to plan, shoot, and edit these layered masterpieces so they pop on Instagram or hang proudly in your living room.
Why Multiple Exposure Works (And When It Fails)
At its core, multiple exposure is about transparency. In digital sensors, black pixels record zero data. When you overlay a second image onto a first one, the black areas of the top layer allow the bottom layer to show through. This is why dark subjects against bright backgrounds are the gold standard for beginners. If you try to layer two busy scenes with lots of mid-tones, everything turns gray and confusing. Think of it like stacking transparencies on an overhead projector. Clear parts let light pass; opaque parts block it.
The biggest mistake I see people make is treating every shot as a potential double exposure without planning the contrast. You need strong separation between your subject and the background. For example, shooting a silhouette of a tree against a white sky gives you a clean mask. Then, when you layer a texture of leaves or rain over it, the effect is crisp. Without that contrast, you get visual noise. So, before you hit the shutter, ask yourself: "Is there enough darkness here to let the next layer shine through?"
Capturing In-Camera vs. Post-Processing Stacking
There are two main ways to create these images. Some modern cameras, like certain Fujifilm X-series models or Nikon Z series bodies, have a dedicated multiple exposure mode. This lets you shoot the first frame, then the second, and the camera merges them instantly. It’s fast and fun because you get immediate feedback. However, it locks you into what the camera’s algorithm decides is a good blend. Usually, it uses simple additive blending, which can blow out highlights if you aren’t careful.
The alternative is manual stacking in software like Adobe Lightroom or Photoshop. This method gives you total control. You shoot separate RAW files and combine them later. Why bother? Because you can change the blending mode. Instead of just adding light, you can use "Screen," "Overlay," or "Soft Light." Each mode interacts with pixel values differently. Screen mode ignores black pixels, perfect for silhouettes. Overlay adds contrast, great for textures. By shooting separately, you can also adjust the exposure of each layer independently. Did your background come out too bright? Fix it in post. With in-camera merging, that decision is final.
| Feature | In-Camera Mode | Post-Processing Stack |
|---|---|---|
| Speed | Instant results | Requires editing time |
| Control | Limited to preset blends | Full control over opacity and masks |
| Flexibility | Must match lighting conditions | Can mix day and night shots |
| File Size | Single JPEG or RAW | Multiple large RAW files |
Planning Your Layers: The Subject and Texture Rule
To keep things organized, think of your layers in two categories: the Subject and the Texture. The Subject is usually the anchor-a person, a building, or a distinct shape. The Texture is the filler-rain, smoke, foliage, or abstract patterns. This division prevents chaos. If both layers are complex subjects, the viewer won’t know where to look.
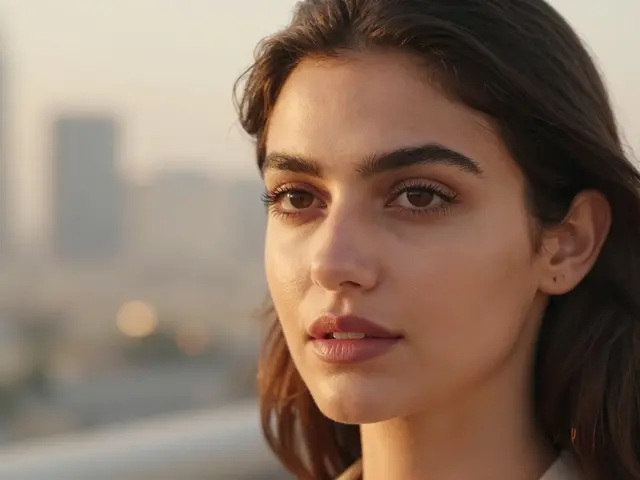
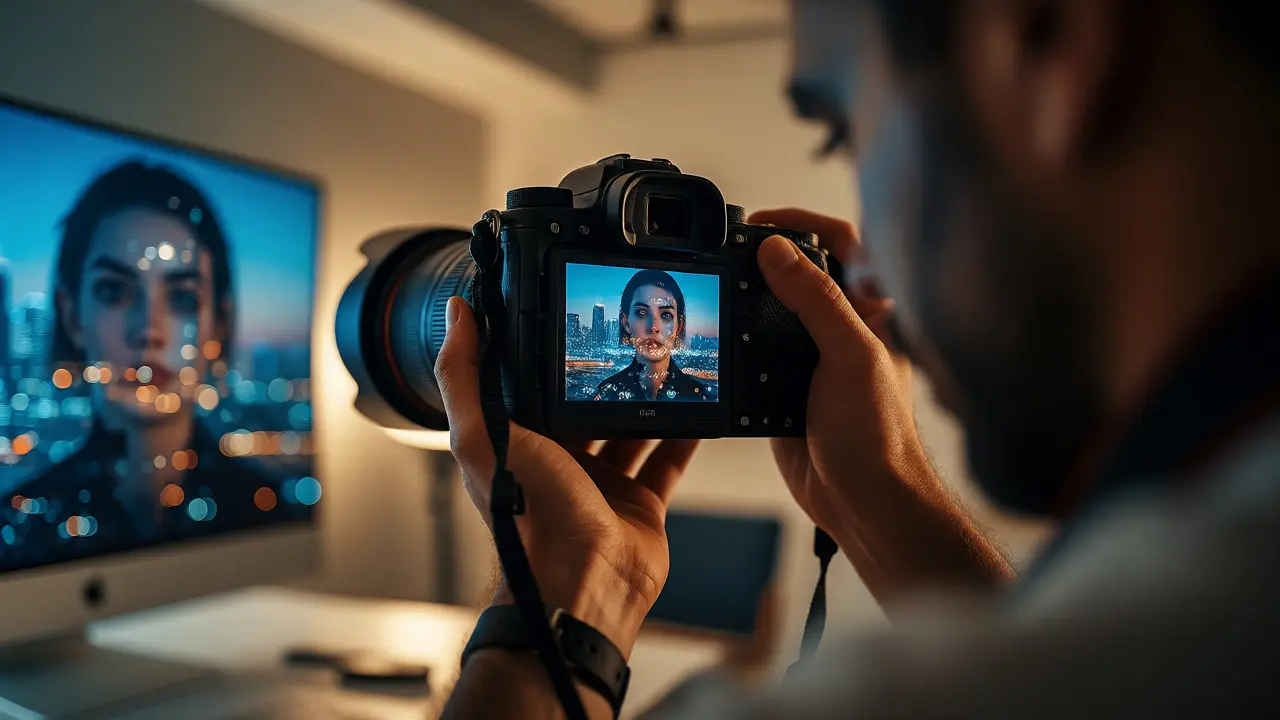
Let’s say you want to create a portrait merged with a city skyline. Shoot the portrait first. Use a plain wall as your background. Make sure the edges of the hair and shoulders are sharp. Overexpose the background slightly so it clips to white. Now, go find a skyline. Shoot it during blue hour for rich colors, but ensure the buildings are dark against the sky. Later, you will place the skyline inside the silhouette of the person. Because the background was white, it disappears, leaving only the dark figure to hold the skyline.
Here is a quick checklist for shooting your components:
- High Contrast: Ensure one layer has significant black or white areas.
- Stable Framing: Keep the horizon line consistent if possible, unless you want a surreal tilt.
- Consistent Lighting Direction: If the sun is hitting the left side of your subject, try to match that direction in the texture layer. Mismatched shadows break immersion.
- Resolution Match: Crop both images to the same aspect ratio before stacking to avoid awkward borders.
Blending Modes Decoded: Which One to Pick?
This is where the art happens. Once you have your two images open in Photoshop or GIMP, you need to tell the software how to mix them. Don’t just guess. Here is a cheat sheet for the most useful blending modes for multiple exposures.
Screen Mode: This is your best friend for silhouettes. It multiplies the inverse of the screen color by the source color. Simply put, anything black becomes transparent. Anything white stays white. Use this when you have a dark subject on a light background and want to fill it with another image.
Multiply Mode: The opposite of Screen. It keeps blacks and removes whites. Use this if you have a white subject on a black background and want to add a dark texture underneath. It’s great for moody, shadowy effects.
Overlay and Soft Light: These modes preserve the highlights and shadows of the base layer while injecting the hue and saturation of the top layer. They add contrast and drama. Use these when you want to integrate a texture, like grain or paper, into a portrait without losing the face details. Soft Light is subtler; Overlay is punchier.
Lighten/Darken: These compare pixels and keep the lighter or darker value from either layer. They are excellent for combining starry skies with landscapes. The stars (light) stay, the mountains (dark) stay, and the empty sky (mid-gray) gets ignored.
Step-by-Step Workflow in Photoshop
Ready to try it? Follow this exact sequence to avoid common pitfalls.
- Open Base Image: Load your primary subject or landscape. Convert it to a Smart Object so you can resize it non-destructively.
- Place Top Image: Go to File > Place Embedded and select your second layer. Position it roughly where you want it.
- Add Layer Mask: Click the "Add Layer Mask" icon at the bottom of the Layers panel. This allows you to hide parts of the top image without deleting pixels.
- Set Blending Mode: Change the dropdown from "Normal" to "Screen" (or whichever fits your contrast). Watch the magic happen. If it looks wrong, try Multiply or Overlay.
- Fine-Tune with Curves: Add a Curves adjustment layer clipped to the top image. Pull down the shadows to deepen the silhouette, or lift the highlights to brighten the texture. This step separates your layers visually.
- Refine Edges: Use a soft brush with black paint on the layer mask to erase unwanted overlaps. Paint white to bring back details. Zoom in to 100% to check hair strands or tree branches.
Common Pitfalls and How to Fix Them
Even experienced photographers fall into traps. The most common issue is "ghosting," where facial features appear translucent and eerie. This happens when the skin tones of the top layer overlap with the bottom layer’s mid-tones. To fix this, increase the contrast of the top layer using Levels or Curves until the skin is either pure white or pure black relative to the background. Another issue is color clashing. If your portrait is warm orange and your texture is cool blue, it can feel disjointed. Unify them by applying a Color Balance adjustment layer across the entire composite. Push all hues toward a single temperature, like teal and orange, to create cohesion.
Also, watch out for scale mismatch. If you layer a tiny flower macro over a vast mountain range, the perspective feels wrong. Try to match the focal length or crop aggressively to suggest similar depth. If you’re using a wide-angle lens for the landscape, don’t pair it with a telephoto macro unless you want a surreal, dreamlike vibe. Consistency sells the illusion.
Advanced Tips for Unique Results
Once you master the basics, start breaking rules. Try three or four layers. Start with a dark background, add a subject via Screen mode, then add a light leak or flare via Add mode. Flares add energy and direct the eye. Use Gaussian Blur on one layer to create depth of field effects. If the top layer is blurred, it looks like it’s closer to the camera lens, creating a foreground element.
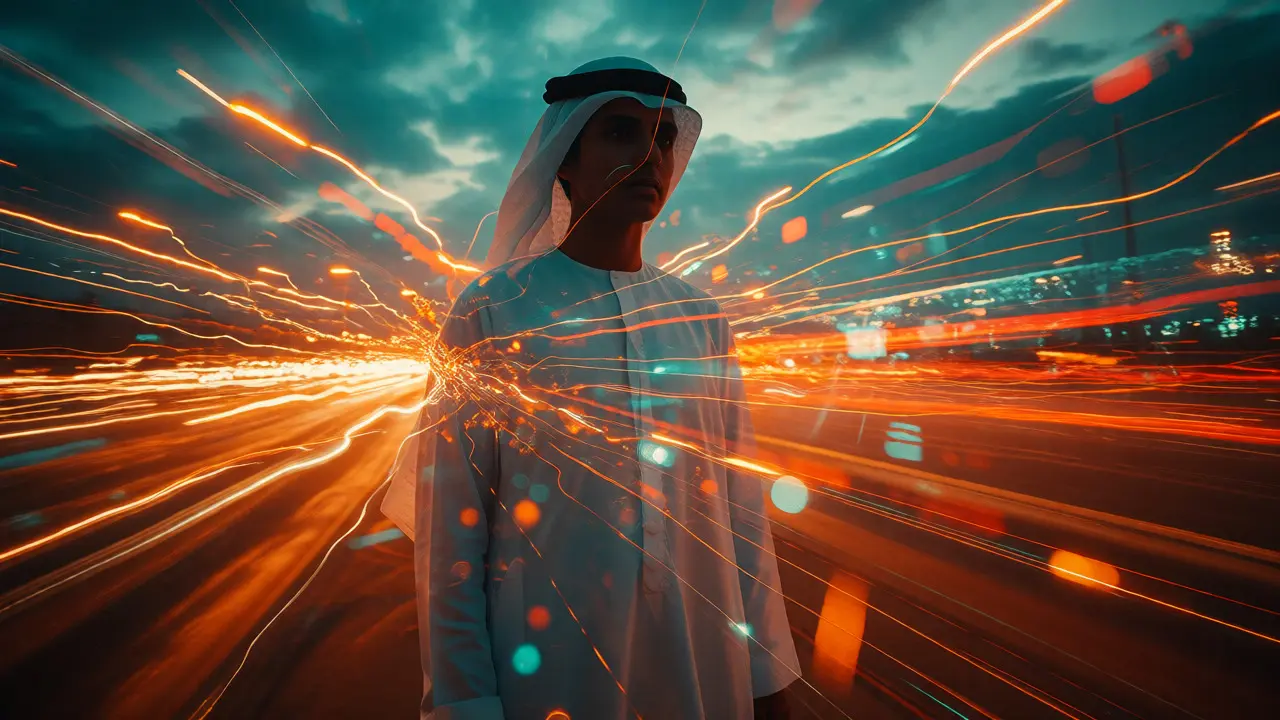
Experiment with inversion. Sometimes flipping the negative of one layer creates unexpected colors. Cyan turns red, yellow turns blue. It’s risky but can yield striking, psychedelic results. Also, consider motion. Take a long-exposure shot of moving water or traffic lights, then layer it over a static portrait. The contrast between stillness and motion tells a story.
Do I need a specific camera for multiple exposure?
No, you do not. While cameras with built-in multiple exposure modes (like Fujifilm or Nikon Z) make the process faster, you can achieve identical results with any camera that shoots RAW files. The key is capturing separate images and blending them in post-production software like Adobe Photoshop or Lightroom.
What is the best blending mode for double exposure portraits?
The "Screen" blending mode is typically the best starting point for portraits. It works by ignoring black pixels, allowing the underlying image to show through the dark areas of the subject (like hair or clothing) while keeping the brighter areas intact. This is ideal when you have a subject against a bright background.
How do I prevent my images from looking muddy?
Muddiness occurs when both layers have similar mid-tone brightness levels. To prevent this, ensure high contrast in your source images. One layer should be predominantly dark (silhouette) and the other predominantly bright, or use blending modes like "Multiply" or "Screen" which specifically target extremes rather than mid-tones. Adjusting Levels or Curves before blending helps clarify the separation.
Can I do multiple exposure with smartphone cameras?
Yes, many modern smartphones include a native double exposure mode. Alternatively, you can use third-party apps like ProCamera or Manual Camera that offer advanced blending options. You can also take separate photos and use mobile editing apps like Snapseed or Adobe Lightroom Mobile to stack them using blending tools.
Does file format matter for multiple exposure editing?
RAW files are highly recommended because they retain more dynamic range and detail than JPEGs. This gives you greater flexibility when adjusting exposure, contrast, and color balance during the blending process. JPEGs are compressed and may lose detail in shadows and highlights, limiting your editing potential.