You know that feeling when you look at a photo and your eyes immediately lock onto one specific thing? It’s not because the subject is huge or colorful. It’s usually because everything else has been stripped away by shadow. Shadow Play is a photographic technique that uses strong contrast between light and dark areas to guide the viewer's eye and create emotional depth. It turns flat images into three-dimensional stories.
Most beginners treat shadows as mistakes. They try to fill them with flash or boost exposure until every corner is bright. But that kills drama. If you want your photos to feel cinematic, you need to stop fighting the dark and start using it. This isn't about having expensive gear. It’s about understanding how light shapes reality and how empty space gives that shape room to breathe.
Why Shadows Are More Than Just Absence of Light
Think of a black-and-white film noir movie. The detective isn’t lit evenly from all sides. Half his face is hidden. Why? Because mystery lives in the unknown. In photography, Chiaroscuro is the use of strong contrasts between light and dark to achieve a sense of volume in modelling three-dimensional objects and figures. Originating in Renaissance painting, this concept translates directly to your camera sensor.
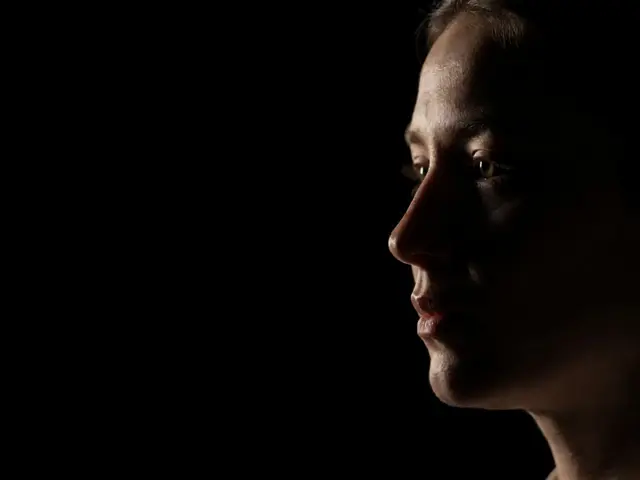
When you eliminate shadows, you flatten the image. A face lit evenly looks like a passport photo. A face with one side illuminated and the other falling into darkness looks human, textured, and real. Shadows define edges. They tell the brain where an object ends and the background begins. Without them, things blur together. With them, you get separation.
This creates what photographers call "depth." You don’t need a wide aperture to fake depth of field if you have deep tonal range. A sharp focus on a brightly lit subject against a pure black background creates infinite depth perception. Your eye assumes the darkness goes on forever because there are no details to anchor it. That’s the power of controlled darkness.
The Role of Negative Space in Composition
If shadows provide the texture, Negative Space is the area around and between the subject(s) of an image, often left intentionally blank to emphasize the main element. It’s the breathing room in your frame. Many people think negative space means white sky or empty walls. But in shadow play, negative space is often black space.
Consider a portrait where the subject is placed on the right third of the frame, looking toward the left. The left two-thirds are in deep shadow. That empty darkness isn’t wasted. It’s active. It pulls the viewer’s gaze across the void to meet the subject’s eyes. If you filled that space with a cluttered background, the tension would vanish. The story would become "here is a person standing near a messy shelf" instead of "here is a person contemplating something unseen."
Negative space forces simplicity. It removes distractions. When you combine high contrast with large areas of uniform tone (whether black or white), you isolate the subject completely. This is why minimalism works so well with dramatic lighting. Less visual noise means more emotional impact.
Mastering Lighting Ratios for Drama
You can’t just turn off the lights and hope for the best. You need control. This is where lighting ratios come in. A lighting ratio describes the difference in brightness between the highlight side of your subject and the shadow side. A 1:1 ratio is flat light. Both sides are equally bright. Boring.
For shadow play, you want ratios like 4:1, 8:1, or even higher. An 8:1 ratio means the lit side is eight times brighter than the shadow side. This creates deep, rich blacks while keeping detail in the highlights. How do you achieve this without studio strobes?
- Window Light: Place your subject sideways to a window. Move them further away from the window to let the light fall off quickly into shadow. Use a black card on the opposite side to block bounce light.
- Single Source: Use one lamp or speedlight. Flag it with cardboard or foam board to cut spill. Direct the beam only where you want it.
- Sunlight: Shoot during golden hour or harsh midday sun. Use a reflector on one side and leave the other side unlit. The natural falloff does the work for you.
The key is preventing light from hitting the background if you want it black. If light spills onto the wall behind your subject, it becomes gray, not black. Keep your subject far from the background, or angle your light strictly forward.
| Ratio | Visual Effect | Best For |
|---|---|---|
| 1:1 | Flat, low contrast, detailed shadows | Product shots, documentation |
| 3:1 | Moderate contrast, soft transition | Standard portraits, lifestyle |
| 8:1 | High contrast, deep shadows, dramatic mood | Fine art, moody portraits |
| 16:1+ | Extreme contrast, silhouette potential | Abstract, graphic compositions |
Composing With Silhouettes and Partial Shadows
Silhouettes are the extreme end of shadow play. Here, the subject is entirely in shadow, and the background is bright. This strips away identity and focuses purely on shape. To nail a silhouette, expose for the brightest part of the scene. Your subject will go pitch black automatically.
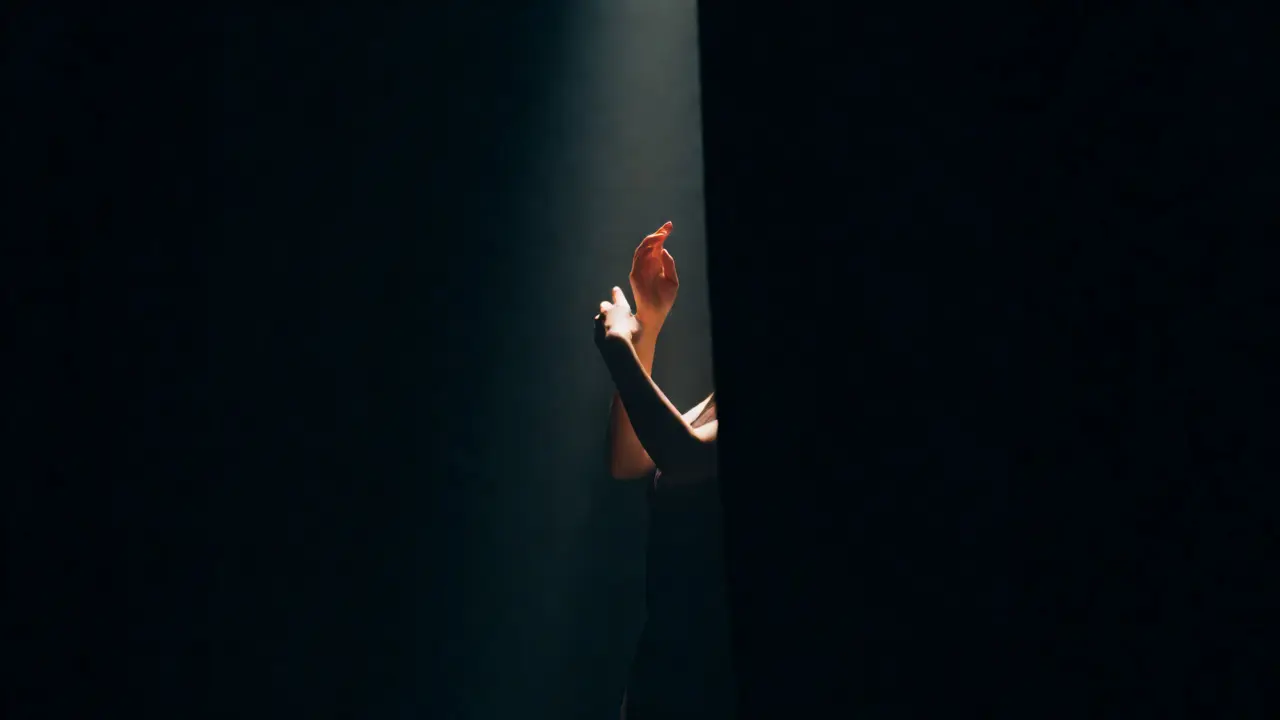
But partial silhouettes are often more interesting. Imagine a dancer in a dimly lit theater. Only their hands and profile catch a spotlight. The rest fades into the dark. This invites curiosity. Viewers wonder about the body they can’t see. It engages the imagination.
Use framing devices to enhance this. Shoot through doorways, windows, or arches. These natural frames create a tunnel effect, guiding the eye toward the lit subject while surrounding them with darkness. This is especially powerful in street photography. Look for patches of sunlight hitting a building facade while the alley remains in shade. Wait for someone to walk into that patch of light. Click. You’ve just composed a masterpiece using existing light.
Post-Processing Tips to Enhance Contrast
Even great lighting needs polishing. Don’t rely solely on auto-enhance settings. Manual control ensures your shadows stay true black, not muddy gray.
In software like Adobe Lightroom or Capture One, adjust the Blacks slider carefully. Lowering blacks crushes the darkest tones, creating deeper depth. Be careful not to lose all detail unless you intend to. Then, use the Clarity tool sparingly. Too much clarity adds artificial grit. Instead, use local adjustment brushes to dodge (brighten) the subject and burn (darken) the background. This mimics the traditional darkroom technique of dodging and burning.
Check your histogram. For high-contrast images, you’ll likely see spikes on both the far left (shadows) and far right (highlights). Avoid clipping in the middle tones. If your image looks flat after editing, increase the contrast curve manually rather than using the global contrast slider. A subtle S-curve in the tone curve panel boosts mid-tone contrast without destroying shadow detail.
Common Mistakes to Avoid
One major error is over-lighting. Beginners add fill light everywhere, thinking they’re helping. Often, they’re killing the mood. Ask yourself: Does this fill light serve the story? If not, remove it. Let the shadow exist.
Another mistake is ignoring color temperature. Warm light against cool shadows creates visual interest. Blue-hour twilight outside with warm indoor tungsten light inside creates a striking contrast. Mixing these temperatures deliberately adds layers to your image.
Finally, don’t forget about texture. Shadows reveal texture. Skin pores, fabric weave, wood grain-these show up beautifully in raking light (light coming from the side). Front lighting hides texture; side lighting exposes it. Position your light source at a 90-degree angle to the surface for maximum textural impact.
Do I need expensive equipment to shoot shadow play?
No. You can create stunning shadow play with a smartphone and natural window light. The key is controlling the direction and intensity of the light, which costs nothing. A simple black sheet or piece of cardboard acts as a flag to block unwanted light, effectively serving as a professional grip tool.
How do I keep backgrounds black in daylight?
Expose for the highlights on your subject, not the background. Since daylight is very bright, underexposing the shot slightly will render distant backgrounds black. Additionally, position your subject far away from the background so that light falls off before reaching it. Using a telephoto lens helps compress the scene and isolate the subject from the environment.
What is the difference between negative space and dead space?
Negative space is intentional and balanced; it supports the subject and guides the viewer's eye. Dead space is accidental emptiness that distracts or feels awkward. In shadow play, negative space is often uniform in tone (solid black or white), making it feel purposeful rather than random.
Can I apply these techniques to landscape photography?
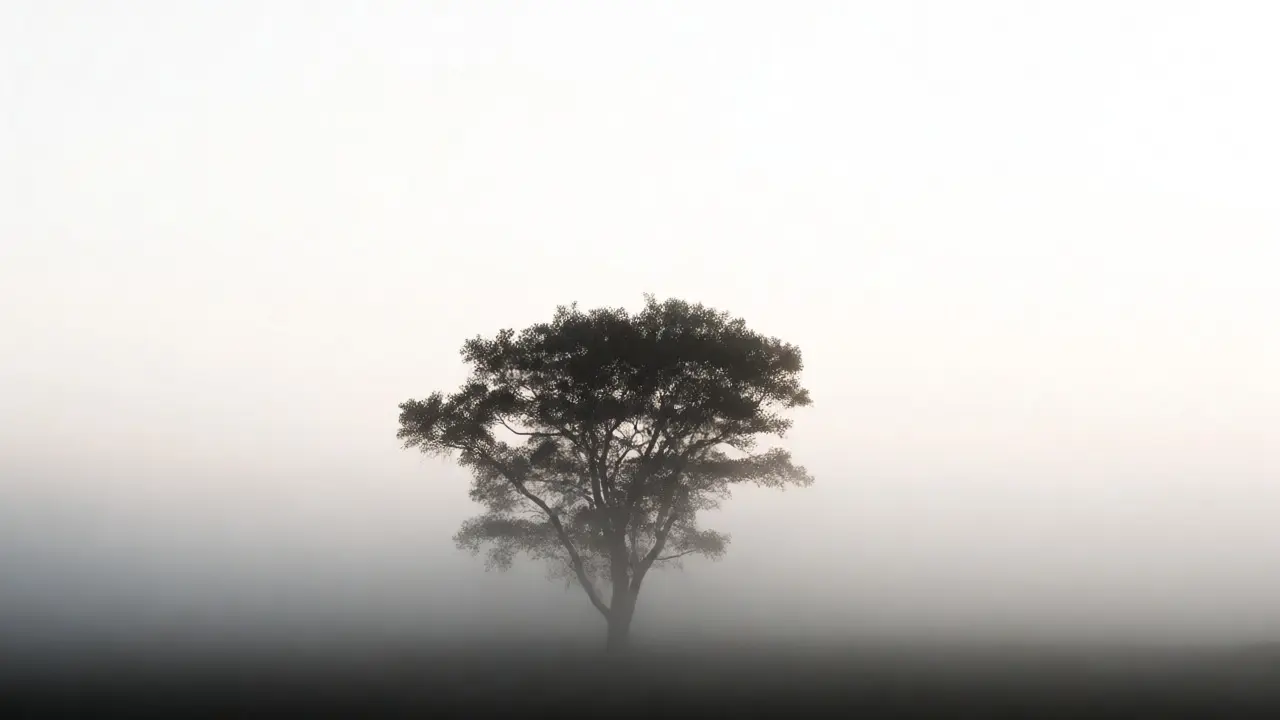
Absolutely. Landscapes benefit greatly from high contrast. Look for scenes where fog, mist, or heavy clouds create natural negative space. Shooting trees against a bright sky or mountains emerging from darkness creates a minimalist, dramatic effect similar to ink wash paintings.
How does ISO affect shadow quality?
Higher ISO introduces digital noise, which appears most visibly in shadow areas. For clean shadow play, keep your ISO as low as possible (e.g., ISO 100 or 200). If you must raise ISO, use noise reduction tools in post-processing specifically targeting the shadow channel to maintain smooth gradients.