You know that feeling when you look at a professional portrait and think, "How did they make the background disappear?" It’s not magic. It’s physics. Specifically, it’s Depth of Field (DoF) controlled by your aperture setting. If you’re shooting portraits with a smartphone or an entry-level DSLR and your subjects look like they’re standing in front of a messy wall instead of floating in a dreamy void, this guide is for you. We’re going to break down exactly how to use your camera’s aperture to blur backgrounds and isolate your subject.
Key Takeaways
- Aperture is the primary control: A lower f-number (like f/1.8) creates a shallower depth of field than a higher f-number (like f/8).
- Lens focal length matters: Longer lenses (85mm, 135mm) compress the background and enhance blur more effectively than wide-angle lenses.
- Distance is key: Moving closer to your subject and farther from the background increases background blur.
- Sensor size impacts DoF: Full-frame cameras naturally produce shallower depth of field compared to crop-sensor cameras at equivalent fields of view.
What Is Depth of Field Really?
Before we touch any dials, let’s clear up a common misconception. Depth of field isn’t just about blurriness. It’s the zone of acceptable sharpness in your image. Imagine a slice of bread. The part in focus is the crust-to-crust center. Everything before and after that slice falls out of focus. In portrait photography, you usually want that "slice" to be thin-just enough to cover your subject’s eyes and face, but nothing else.
This zone is determined by three main factors: aperture size, focal length, and distance. You can tweak all three, but aperture is the one you have the most direct control over on every shoot. When photographers talk about "creamy bokeh," they are describing the aesthetic quality of the out-of-focus areas. Good bokeh is smooth and non-distracting; bad bokeh looks busy or has hard edges. Understanding DoF helps you decide whether you want a sharp environmental portrait or a tight headshot where the background melts away.
The Role of Aperture in Portraits
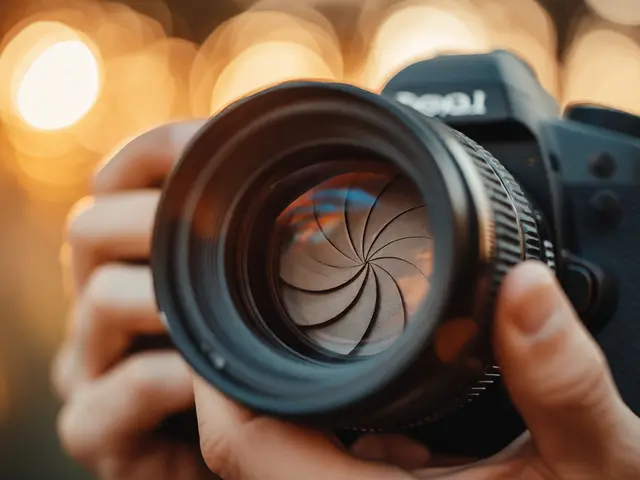
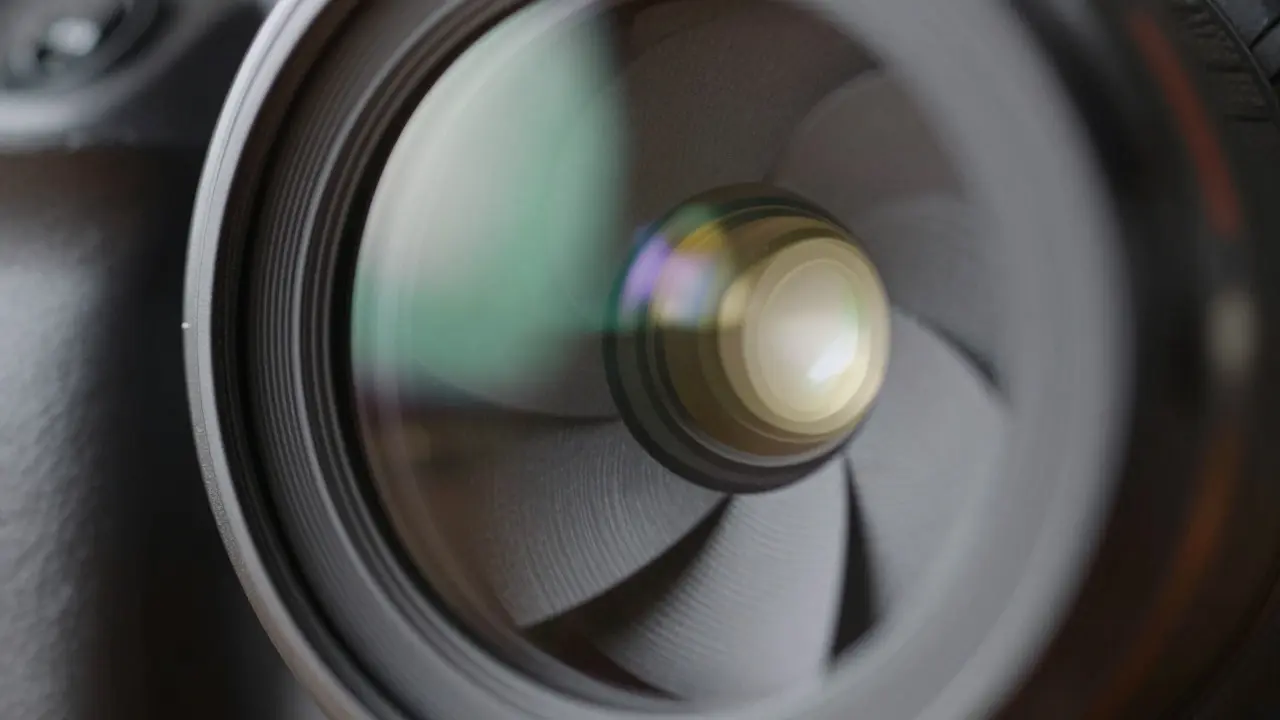
Think of your lens as a window. The aperture is the curtain on that window. When the curtain is wide open (a large aperture), lots of light gets in, and the view outside becomes blurry because only a narrow plane is in focus. When the curtain is mostly closed (a small aperture), less light enters, but everything from near to far stays sharper.
In photography terms, we measure this opening using f-stops. Here is the counter-intuitive part that trips up beginners: a smaller number means a larger opening.
| F-Stop | Aperture Size | Depth of Field | Best For |
|---|---|---|---|
| f/1.4 - f/2.0 | Very Large | Very Shallow | Isolating single subjects, low light, artistic separation |
| f/2.8 - f/4.0 | Large | Shallow | Couples, small groups, maintaining some context |
| f/5.6 - f/8.0 | Medium | Moderate | Full-body shots, outdoor environments, sharp landscapes behind subject |
| f/11 - f/16 | Small | Deep | Group photos where everyone must be sharp, architectural portraits |
If you want that blurred background, start wide open. Shoot at f/1.8 if your lens allows it. But don’t blindly shoot at the widest setting. Sometimes f/2.8 gives you better sharpness across the face while still providing plenty of blur. Lenses often perform best one or two stops down from their maximum aperture.

Beyond the Dial: Focal Length and Distance
Here is where many people get stuck. They buy a fast prime lens, set it to f/1.8, and wonder why the background isn’t melting away like they saw in tutorials. The secret ingredient is Focal Length and subject-to-background distance.
A 50mm lens at f/1.8 behaves differently than an 85mm lens at f/1.8. The 85mm has a narrower angle of view, which magnifies the background elements and makes them appear larger and blurrier. This is why portrait photographers love the 85mm and 135mm focal lengths. They offer natural perspective without distortion, and they render backgrounds beautifully.
Then there is distance. Physics dictates that the closer you are to your subject, the shallower the depth of field. Simultaneously, the farther your subject is from the background, the more blurred that background will appear. Try this experiment: Stand five feet from your subject with a brick wall right behind them. Now move your subject ten feet away from the wall. Even if you don’t change your aperture, that wall will look significantly softer in the second shot. Separation is your friend.
Camera Sensor Size and Bokeh Quality
Not all cameras are created equal. Your sensor size plays a hidden role in how much background blur you can achieve. A Full-Frame sensor is physically larger than an APS-C or Micro Four Thirds sensor. To get the same framing on a smaller sensor, you either need a shorter lens or you need to stand further back. Both actions increase depth of field.
If you shoot on a crop sensor (like Canon APS-C or Nikon DX), you need to compensate. Use a faster lens or get physically closer to your subject. Don’t worry if you don’t own a full-frame camera yet. You can still get gorgeous bokeh. Just remember that achieving the exact look of a $2,000 full-frame setup might require more effort with a $500 body. Focus on technique first; gear upgrades come later.
Practical Tips for Sharper Eyes and Softer Backgrounds
When you throw the background out of focus, you lose safety nets. With a shallow depth of field, if your focus misses by a millimeter, the subject’s nose might be sharp while the eyes are soft. That ruins the photo. Human connection lives in the eyes.
Use single-point autofocus. Place that focus point directly on the eye closest to the camera. If you use auto-area AF, the camera might pick the tip of the nose or the ear, especially in low contrast situations. Most modern mirrorless cameras have Eye-AF features. Turn them on. They track the iris and lock onto it relentlessly.
Also, watch out for "focus breathing." Some zoom lenses change their effective focal length slightly when focusing close-up, which can alter your composition unexpectedly. Prime lenses generally avoid this issue, offering more consistent framing and often better optical performance at wide apertures.
Troubleshooting Common Portrait Issues
Problem: My background is distracting even when blurred.
Solution: Blur doesn’t erase clutter. A bright red sign behind a subject’s head will still draw attention even if it’s out of focus. Change your angle. Move left or right until the background consists of simple shapes and colors. Darker backgrounds tend to recede visually, making the subject pop more.
Problem: Part of the face is out of focus.
Solution: Your aperture is too wide for the distance. If you are shooting a profile or a three-quarter turn, the nose and the back ear are at different distances. At f/1.2, both won’t be sharp. Stop down to f/2.8 or f/4 to extend the depth of field just enough to cover the whole face.
Problem: The image looks flat.
Solution: Check your lighting. Background blur doesn’t fix bad light. Ensure there is separation between the subject and the background via lighting ratios. If the subject and background are equally lit, they merge together regardless of focus. Light the subject brighter than the background to create visual depth.
Does a higher megapixel count help with background blur?
No. Megapixels determine resolution and cropping ability, not depth of field. A 12MP camera with a fast lens will produce smoother blur than a 50MP camera with a slow kit lens. Resolution does not influence the optical characteristics of focus fall-off.
Can I fake background blur in post-processing?
Yes, software like Photoshop or AI-powered apps can simulate bokeh. However, these tools struggle with complex edges like hair or glasses. Optical blur from a real lens is always more natural and convincing. Use post-processing to refine, not replace, good optical technique.
Why does my phone take blurry background photos?
Phones use computational photography to mimic this effect. They detect the subject and apply a digital mask to blur the rest. This works well for static subjects but often fails with moving objects or complex scenes. The blur is artificial, so edges around hair may look cut-out or unnatural.
Is f/1.8 always better than f/4 for portraits?
Not always. While f/1.8 provides maximum blur, it also reduces the margin for error. If your subject moves slightly forward or backward, they might go out of focus. Many professionals prefer f/2.8 to f/4 for reliability and optimal lens sharpness, balancing isolation with technical precision.
How does lighting affect perceived depth of field?
High contrast lighting can make out-of-focus areas look harsher. Soft, diffused light tends to make bokeh appear smoother and creamier. Additionally, if the background is dark, it naturally separates from the subject, enhancing the perception of depth even if the actual optical blur is moderate.