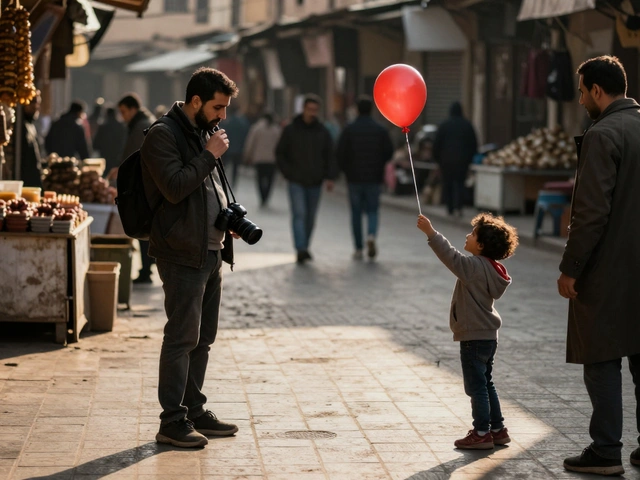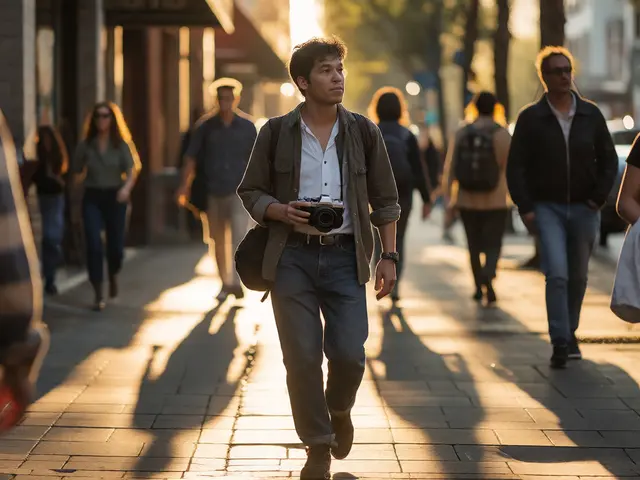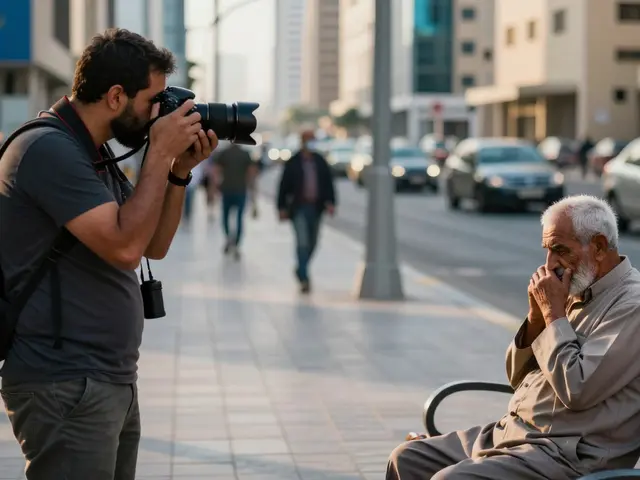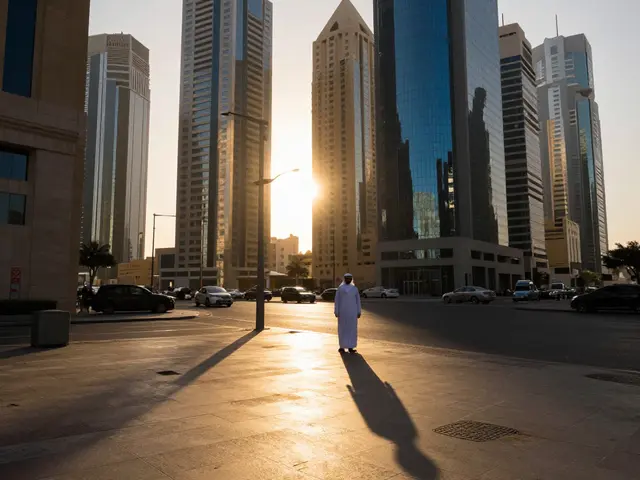
You know that feeling when you snap a photo on a busy sidewalk, check the screen, and it looks flat? Like a postcard from a place you’ve never been. The subject is there, sure, but the energy is gone. It’s lifeless. That usually happens because you forgot about the most powerful tool in your kit for making images pop: foreground.
Street photography isn’t just about capturing a face or a building. It’s about context. It’s about placing your viewer inside the scene, not just looking at it. To do that, you need layers. You need to think in three dimensions-foreground, midground, and background. When you stack these correctly, you create depth. You turn a two-dimensional JPEG into a window through which people can step.
The Psychology of Depth
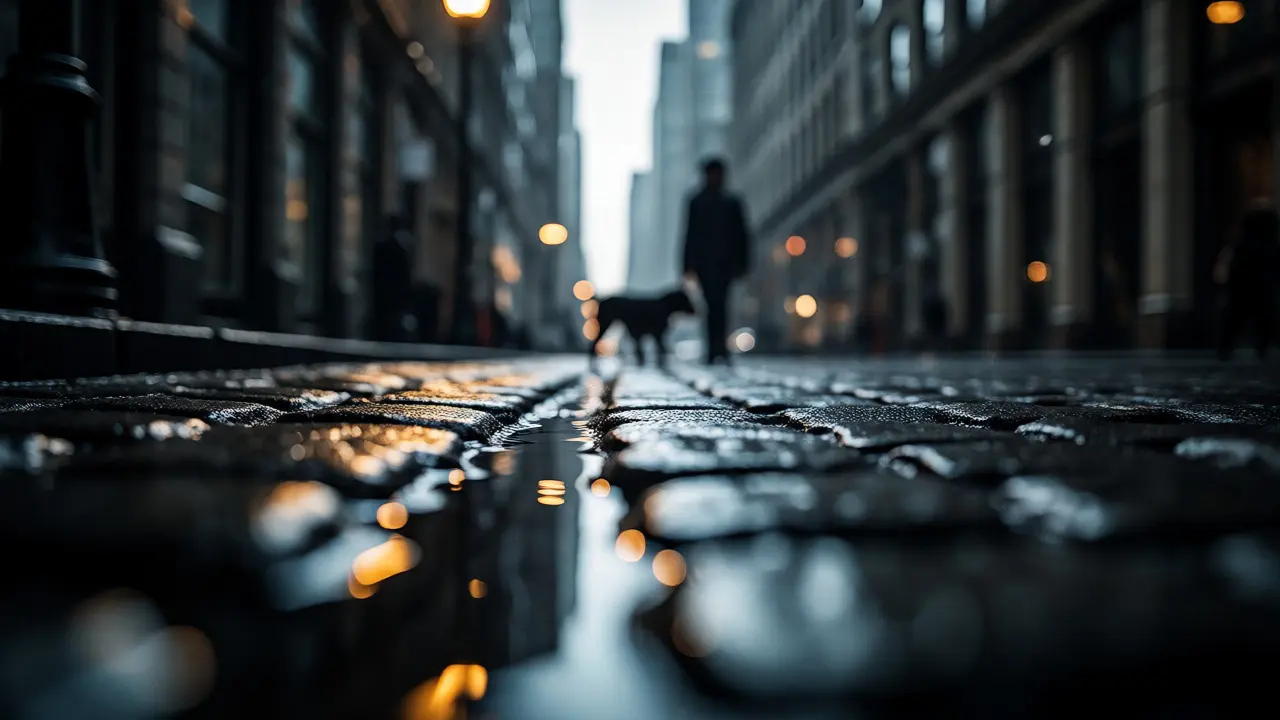
Why does this matter? Because our eyes don’t work like camera sensors. We scan scenes in layers. When you look down a street, your eye moves from the crack in the pavement near your feet (foreground), to the person walking their dog (midground), to the towering architecture fading into the distance (background). If your photo lacks that foreground element, your brain gets confused. It doesn’t know where to anchor itself. The image feels detached.
Adding a foreground object gives the viewer a starting point. It creates a sense of scale. A car looks smaller if you frame it behind a blurred fire hydrant than if it’s isolated against empty sky. This technique is called occlusion. Partially blocking part of the scene with something close to the lens tricks the brain into perceiving distance. It’s a visual shortcut that says, “Hey, this space is real.”
Finding Your Foreground Heroes
You might be thinking, “But I’m shooting candid moments! I can’t move people around.” Exactly. You can’t move them, but you can move yourself. And you can use what’s already there. In cities, foreground material is everywhere. You just have to train your eye to see it as an asset rather than clutter.
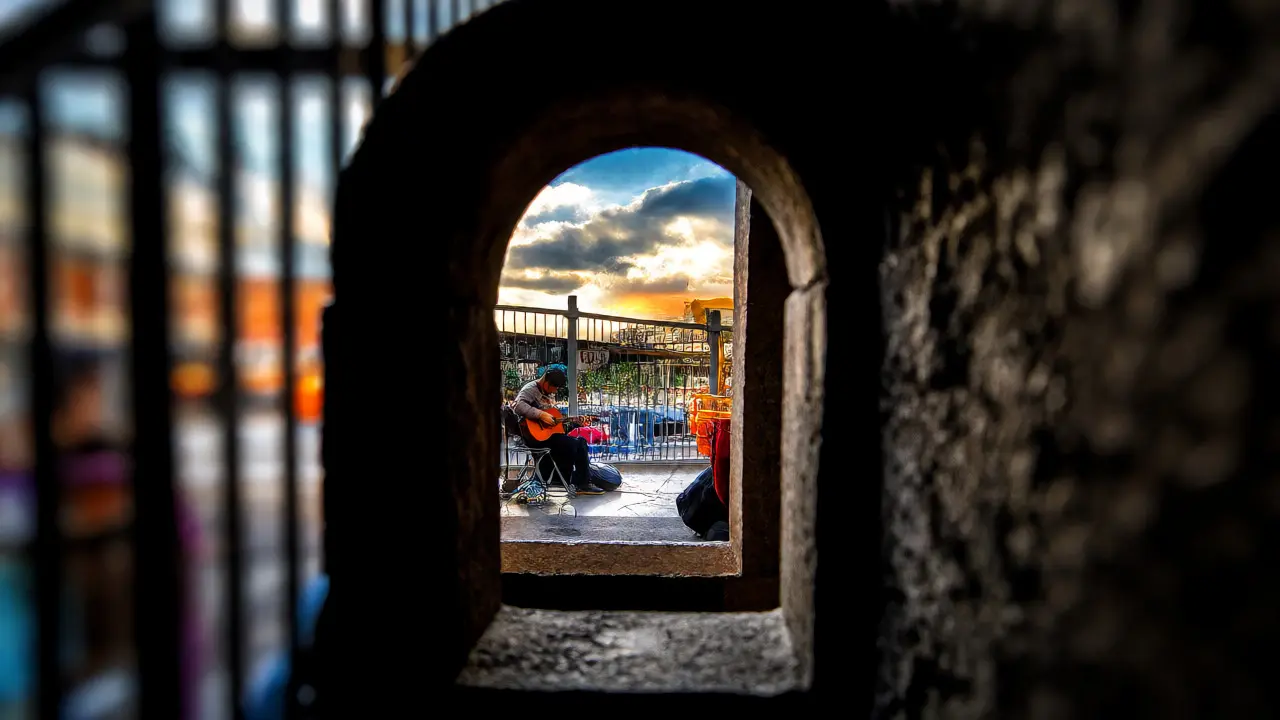
- Architectural Elements: Doorways, windows, railings, and columns are perfect frames. Shooting through a doorway adds immediate depth and context.
- Nature: Tree branches, leaves, or even puddles can serve as natural vignettes. A low-angle shot through wet grass adds texture and color.
- Urban Clutter: Don’t fear the mess. Parked bikes, trash cans, traffic cones, and street signs add character. They ground the image in reality.
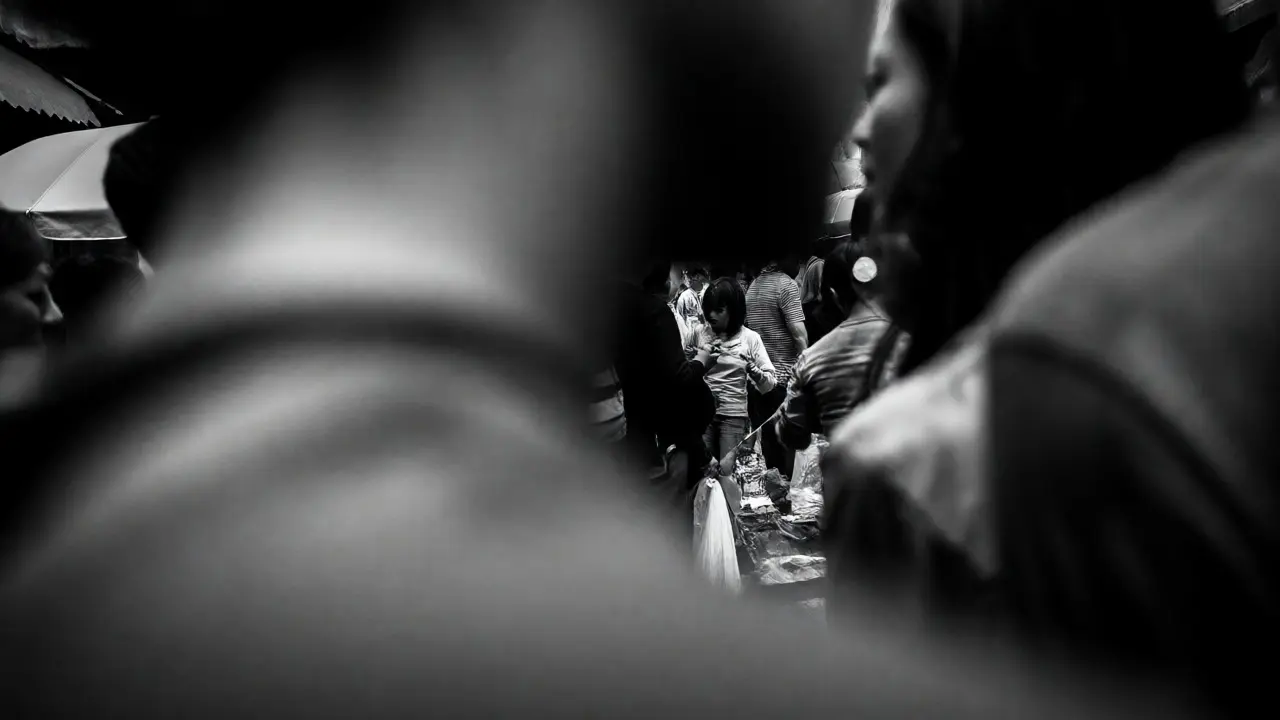
- People as Props: Sometimes the best foreground is another person. A shoulder passing by, out of focus, creates a dynamic frame without stealing attention from the main subject.
In Portland, where I live, we have plenty of rain-slicked surfaces. Puddles are my go-to foreground. Reflective surfaces double the visual interest. A puddle in the bottom third of the frame reflects the neon sign above, tying the top and bottom of the image together while adding a layer of abstraction.
Technical Execution: Aperture and Focus
Once you find your layers, you need to control how they render. This is where aperture plays a huge role. Most beginners shoot wide open (f/1.8 or f/2.8) to blur backgrounds. But in street photography, too much blur kills context. You want the foreground soft enough to guide the eye, but distinct enough to be recognized.
Try stopping down to f/5.6 or f/8. This keeps more of the scene sharp, allowing the viewer to read the layers clearly. If you’re using a smartphone, tap to focus on the midground subject. Let the phone’s computational photography handle the slight blur in the extreme foreground and background. Just make sure the separation is clean.
Focus stacking is another option for advanced shooters. Take multiple shots focused at different distances and merge them in post-production. This ensures crispness from front to back. However, for candid street work, speed is key. Manual focus zones often beat autofocus here. Set your lens to hyperfocal distance so everything from a few feet away to infinity stays acceptably sharp. Then compose carefully.
Composition Rules That Break Themselves
You’ve heard of the Rule of Thirds. Forget it for a second. Think about leading lines instead. Leading lines draw the eye into the image. But they work best when they start in the foreground. A curb line, a row of parked cars, or a shadow cast by a building-all these should originate near the edge of your frame and lead toward your subject.
| Element Type | Visual Effect | Best Use Case |
|---|---|---|
| Blurred Shoulder | Creates intimacy; hides distractions | Crowded markets or festivals |
| Puddle Reflection | Adds symmetry and color balance | Rainy days or night shoots |
| Window Frame | Frames the subject; adds narrative | Peeping Tom aesthetic or isolation |
| Fence/Railing | Establishes barrier between viewer and subject | Observational street portraits |
Notice how each element changes the story. A blurred shoulder makes the viewer feel like they are part of the crowd. A fence makes them feel like an outsider looking in. Choose your foreground based on the emotion you want to evoke.
Avoiding Common Pitfalls
There’s a fine line between interesting foreground and distracting clutter. Here’s how to stay on the right side:
- Don’t cut off limbs awkwardly: If a person’s arm enters the frame, ensure it leads somewhere. If it ends abruptly, it looks like a mistake.
- Watch for bright spots: A white piece of paper or a shiny metal object in the foreground can steal attention. Move until it’s dark or blurred.
- Maintain negative space: Don’t fill every corner. Leave some breathing room around your subject. The foreground should support, not suffocate.
I once spent twenty minutes trying to get a shot of a busker playing guitar. Every time I got close, a bike rack blocked my view. Frustrating, right? Then I realized the bike rack was the story. I moved closer, let the bars blur heavily in the foreground, and captured the busker’s hands strumming through the gaps. The obstruction became the composition. It felt raw and authentic, exactly what street photography should be.
Practical Exercises to Train Your Eye
If you struggle to see layers, try these drills on your next walk:
- The One-Step Forward: Find a good scene. Take a photo. Step one foot closer. Take another. Notice how the perspective shifts and new objects enter the foreground.
- The Low Angle Hunt: Get down on the ground. Shoot upwards. Suddenly, ordinary things like cracks in the pavement or discarded gum wrappers become dramatic foreground elements.
- The Frame Within a Frame: Look for arches, tunnels, or overhangs. Position yourself so these structures border the edges of your frame.
Depth isn’t just technical; it’s emotional. When you invite someone into your photo, you’re asking them to stand beside you. You’re sharing your vantage point. Use your foreground to build that bridge. Next time you’re out shooting, don’t just look at the subject. Look at what’s between you and them. That’s where the magic lives.
What is the best aperture for street photography with foreground?
While f/1.8 creates nice bokeh, f/5.6 to f/8 is often better for street scenes. This range keeps both the foreground elements and the main subject relatively sharp, ensuring the viewer understands the spatial relationship between them without excessive distraction.
How do I avoid blurry foregrounds ruining my shot?
Ensure the blur is intentional. If the foreground object is recognizable but soft, it guides the eye. If it’s unrecognizable noise, it distracts. Move slightly left or right until the shape becomes clear or disappears entirely from the frame.
Can I use people as foreground elements?
Yes, absolutely. Out-of-focus shoulders, heads, or backs of people passing by create dynamic frames. They add movement and context, suggesting the bustle of city life without detracting from the main subject in the midground.
Does foreground work in black and white photography?
It works exceptionally well. Without color to distract, tonal contrast and shapes become paramount. Dark foreground silhouettes against lighter midgrounds create strong graphic compositions that emphasize depth and structure.
What if there are no obvious foreground objects?
Get lower. Changing your angle often reveals hidden elements like shadows, pavement textures, or small debris. Alternatively, wait for a passerby to enter the foreground naturally. Patience is key in street photography.