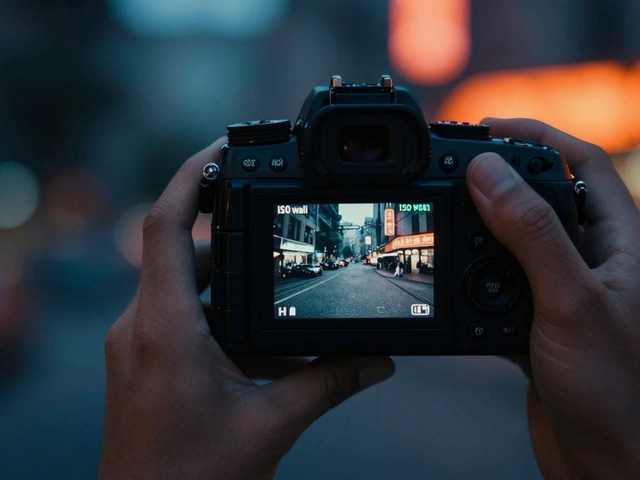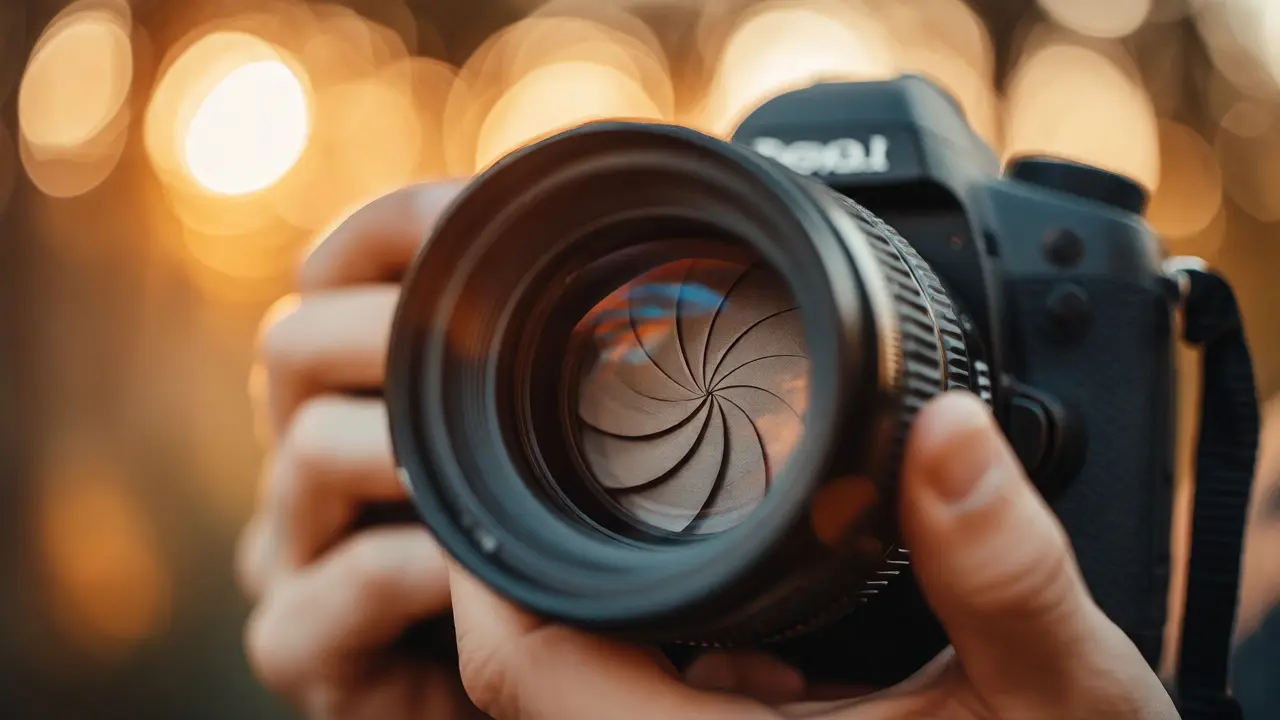
You know that feeling when you look at a portrait and the subject pops so sharply against a background that looks like melted butter? That’s not magic. It’s Bokeh, a Japanese term for the aesthetic quality of out-of-focus areas in an image. Most photographers chase this look because it isolates the subject, kills distractions, and adds a dreamlike quality that sharp backgrounds simply can’t match. But getting that smooth, creamy blur isn’t just about twisting your aperture ring to the lowest number. It’s about understanding how light bends through glass, how distance plays tricks on your eyes, and why some lenses cost more than your car.
What Actually Makes Bokeh "Creamy"?
Before you buy another lens, let’s clear up a common misconception. Depth of Field (DoF) is the technical measurement of what is in focus. Bokeh is the subjective quality of the blur outside that zone. You can have shallow depth of field with ugly, jagged bokeh if your lens has bad optical design. Conversely, you can have deep depth of field with beautiful bokeh in the far background.
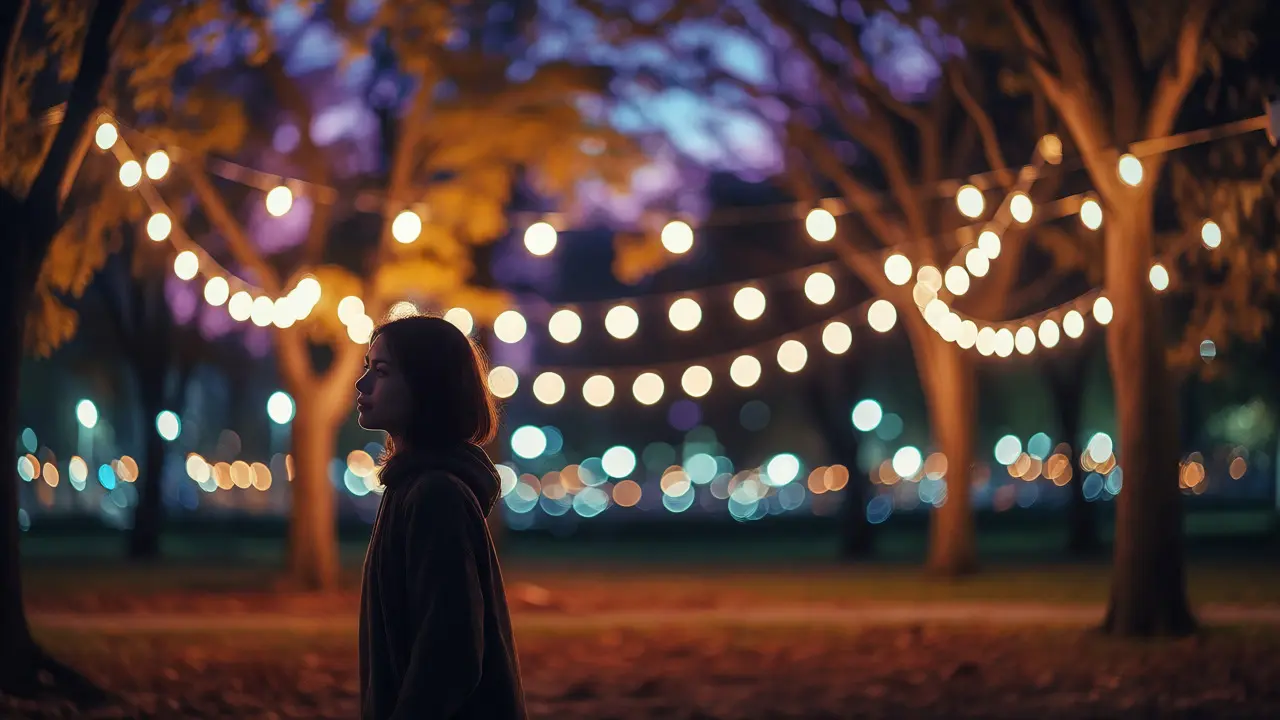
Creamy bokeh happens when point light sources-like streetlights or sun glinting off leaves-are rendered as soft, overlapping circles rather than hard-edged discs. This requires two things: a wide maximum aperture and high-quality optical elements that minimize aberrations. When these lights overlap seamlessly, your brain perceives them as a smooth gradient. If they remain distinct rings, the background looks busy and distracting.
The Aperture Myth: Why f/1.8 Isn't Always Enough
Everyone tells you to shoot wide open. And yes, Aperture controls the size of the opening in your lens. A lower f-number (like f/1.4 or f/1.8) creates a larger opening, which naturally reduces the area in focus. But here’s the catch: most kit lenses are terrible at f/3.5 or wider. They often suffer from "onion-ring" bokeh, where concentric circles appear inside the blurred highlights due to spherical aberration.
To get truly creamy results, you need to push past the basics. Try stepping down your aperture slightly. Many fast primes hit their sweet spot around f/2.0 or f/2.2, offering better contrast while maintaining significant blur. However, if you want extreme isolation, you might need to go even wider with specialty lenses. Remember, aperture affects exposure too. Shooting at f/1.4 in bright daylight usually forces you to crank your shutter speed way up or drop your ISO to base levels to avoid blowing out the highlights.
Distance Is Your Secret Weapon
Here is a fact that changes everything: Subject-to-Background Distance matters more than focal length alone. Even with a modest f/2.8 lens, if you place your subject ten feet away from a brick wall, the wall will blur significantly. Move that same subject right up against the wall, and the blur disappears, regardless of your aperture.
This principle works both ways. To maximize separation:
- Move closer to your subject: The closer you get, the shallower the depth of field becomes.
- Push the background away: Ask your model to step forward. Every foot of distance between them and the trees behind them amplifies the blur.
- Use longer focal lengths: While aperture is king, a Telephoto Lens compresses perspective and magnifies background blur relative to the subject.
Try this experiment. Shoot a flower at 50mm, f/2.8, with the background five feet away. Then move the flower three feet closer to you, keeping the camera position fixed but adjusting focus. The background blur will increase dramatically without changing a single setting other than physical position.
Lens Selection: Prime vs. Zoom for Blur
Not all lenses create bokeh equally. Optical construction dictates whether your highlights turn into smooth orbs or nervous hexagons. Here’s how different types stack up when chasing that creamy look.
| Lens Type | Max Aperture | Bokeh Quality | Best For |
|---|---|---|---|
| Fast Prime (e.g., 50mm f/1.8) | f/1.4 - f/1.8 | Soft, circular at wide apertures; may show onion rings | Portraits, low light, general purpose |
| Telephoto Prime (e.g., 85mm f/1.4) | f/1.2 - f/1.4 | Extremely creamy, minimal distortion | Headshots, tight crops |
| Macro Lens (e.g., 100mm f/2.8) | f/2.8 | Very smooth, excellent for small details | Flowers, insects, product shots |
| Standard Zoom (e.g., 24-70mm f/2.8) | f/2.8 constant | Good, but less separation than primes | Events, travel, versatility |
Notice the pattern? Higher price tags usually correlate with smoother optics. Lenses like the Sony GM series or Canon RF primes use advanced coatings and aspherical elements to eliminate the harsh edges that plague cheaper glass. If you’re serious about creamy backgrounds, investing in one good prime lens beats owning three mediocre zooms every time.
Light Sources Matter More Than You Think
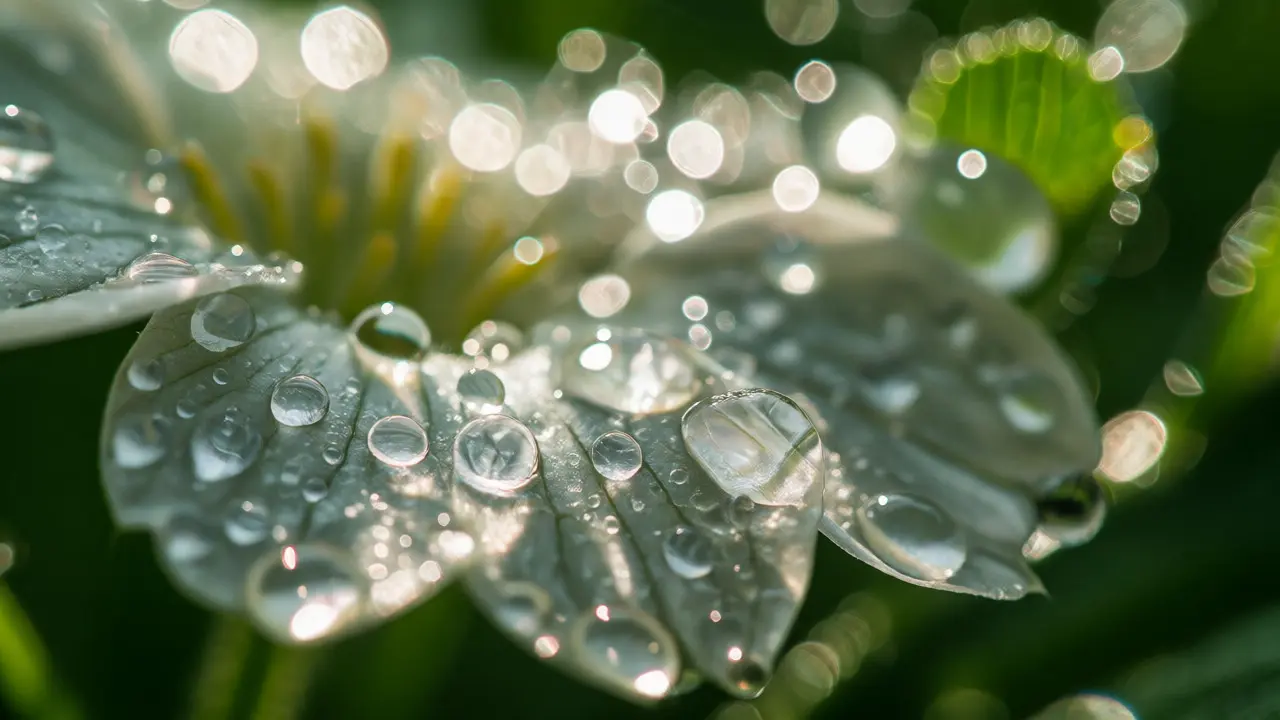
You can have the best lens in the world, but if your background is a flat white wall, you won’t see any bokeh. You need texture and points of light. Specular Highlights are the key ingredient. These are bright reflections from shiny surfaces, water droplets, or string lights.
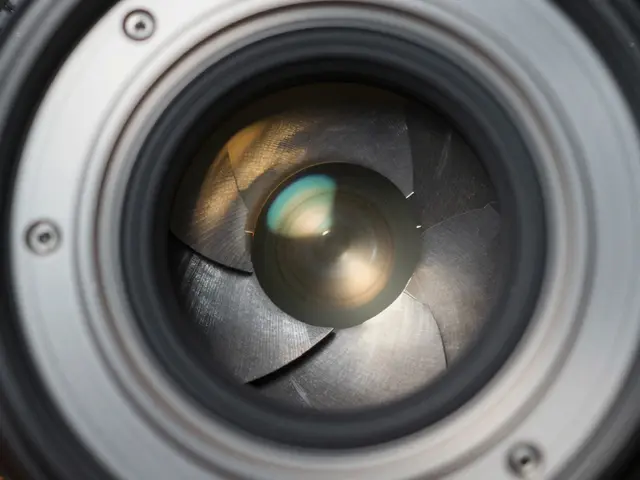
When these highlights fall outside the plane of focus, your lens renders them as discs. The shape of these discs depends on your aperture blades. A round aperture produces round bokeh balls. An angular aperture (common in older or budget lenses) creates polygonal shapes. Modern lenses with 9 or 11 rounded blades produce near-perfect circles even when stopped down slightly.
Pro tip: Look for dappled sunlight filtering through trees. Each gap in the leaves acts as a pinhole camera, creating natural bokeh balls in the background. Night photography offers similar opportunities with city lights. Just ensure those lights aren’t too close to your subject, or they’ll compete for attention instead of complementing it.
Common Mistakes Killing Your Creamy Look
Even experienced shooters fall into traps that ruin background separation. The biggest one is focusing on the wrong thing. With extremely shallow depth of field, missing focus by a millimeter means your subject’s nose is sharp while their eyes are soft. Use back-button focus or single-point AF to lock onto the nearest eye precisely.
Another issue is chromatic aberration. At wide apertures, cheap lenses often display purple or green fringing around high-contrast edges. This fringe can make bokeh look messy. Post-processing software like Lightroom or Capture One can remove this automatically, but prevention is better. Stopping down one stop often eliminates the problem entirely.
Finally, don’t ignore sensor size. Full-frame sensors provide shallower depth of field compared to APS-C or Micro Four Thirds systems at equivalent fields of view. This doesn’t mean crop sensors can’t do bokeh-they just require faster lenses or closer proximity to achieve the same effect.
Practical Workflow for Maximum Separation
Ready to put this into practice? Follow this checklist before pressing the shutter:
- Set your mode: Switch to Aperture Priority (Av/A). This lets you control depth directly.
- Choose your widest aperture: Start at f/1.8 or f/2.0. Check your histogram to ensure highlights aren’t blown.
- Position your subject: Move them away from the background. Aim for at least 6-10 feet of clearance.
- Find light sources: Position yourself so that distant lights or textured patterns fall behind the subject.
- Focus manually if needed: Zoom in on the live view screen to confirm critical focus on the eyes.
- Review and adjust: Zoom in on the playback. If the background still looks sharp, move the subject further away or switch to a longer lens.
Experiment with different distances. Sometimes backing up and using a longer lens yields cleaner results than getting uncomfortably close with a wide-angle. Trust your eyes, not just the numbers.
Does a higher megapixel count improve bokeh?
No. Megapixels determine resolution, not depth of field. Bokeh is controlled by optics (lens), aperture, and distance. A 12MP camera with a fast lens will produce creamier backgrounds than a 100MP camera with a slow kit lens.
Can I fake creamy backgrounds in post-production?
Yes, tools like Photoshop's Lens Blur filter or AI-powered masking in Lightroom can simulate bokeh. However, they often struggle with complex edges like hair or fur. Natural optical bokeh remains superior for realism and edge definition.
Why does my bokeh look hexagonal?
This happens when your aperture blades form a polygon shape instead of a circle. Older or budget lenses often have fewer straight blades. Newer lenses use rounded blades to maintain circular bokeh even when stopped down.
Is bokeh the same as blur?
Not exactly. Blur is the lack of sharpness. Bokeh refers specifically to the aesthetic quality of that blur. Two images can have the same amount of blur, but one can have "smooth" bokeh while the other has "busy" or "harsh" bokeh depending on the lens design.
Do smartphone cameras create real bokeh?
Modern phones use computational photography to simulate bokeh in Portrait Mode. While impressive, it relies on software masks and can fail with glasses or fine hair. True optical bokeh comes from large sensors and fast lenses, which phones generally lack.