You’ve probably heard photographers talk about "clean" images versus "grainy" ones, pointing at the ISO setting on their camera like it’s a volume knob for chaos. But here’s the truth most guides gloss over: ISO isn’t just a number you bump up when it gets dark; it’s a direct control over how your camera sensor amplifies light signals into digital data. If you treat it as a magic fix for low light without understanding the trade-offs, you’ll end up with muddy shadows and color splotches that no amount of editing can save. The goal isn’t to keep ISO at 100 forever-it’s to know exactly where the breaking point is for your specific gear.
The Real Mechanism Behind ISO
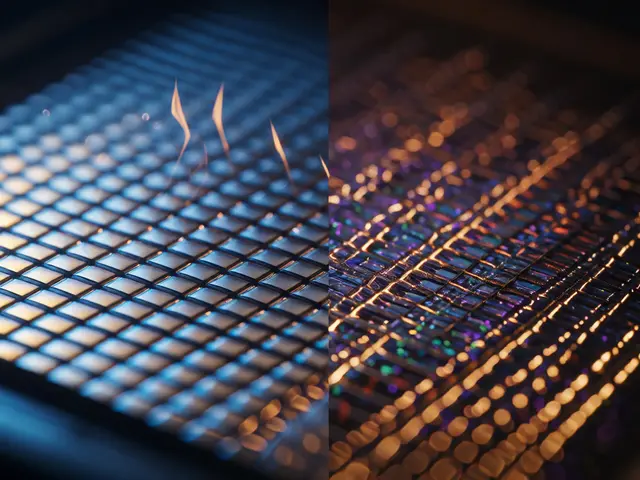
Think of your camera sensor as a bucket collecting rain (light). When there’s plenty of rain, the bucket fills quickly, and the water level is clear. That’s low ISO. When it’s barely drizzling, you have two choices: wait longer (slower shutter speed) or open the tap wider (larger aperture). If neither works, you crank up the sensitivity of the bucket’s gauge. This amplification boosts the signal, but it also boosts the static-the background electrical hum inherent in all electronics. This static is what we call noise, which appears as random speckles of color or luminance in your final image.
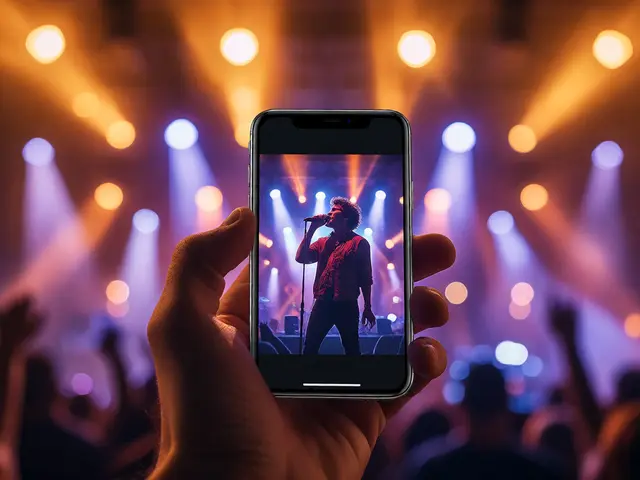
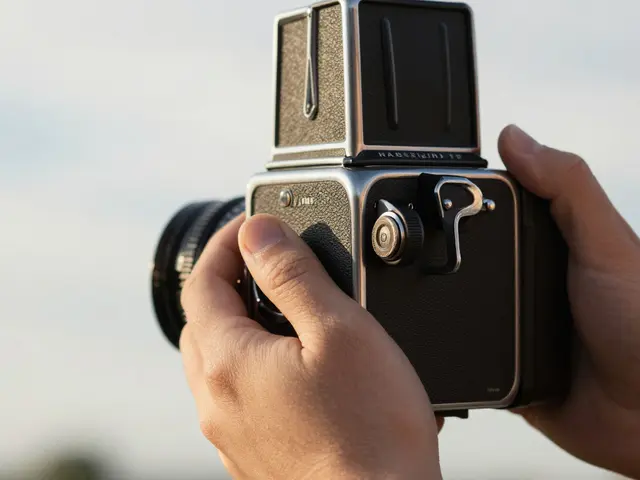
Modern cameras don’t actually change the sensitivity of the silicon itself in the way old film did. Instead, they adjust the gain applied to the analog signal before it’s converted to digital. This distinction matters because it explains why some cameras handle high ISO better than others. A larger sensor, like those found in full-frame bodies, collects more photons per pixel, meaning the signal-to-noise ratio remains higher even when amplified. Smaller sensors, like those in smartphones or compact cameras, have less light to work with, so cranking the ISO hits the noise ceiling much sooner.
Base ISO vs. Native ISO: Clearing Up the Confusion
Marketing materials often blur the line between base ISO and native ISO, leading to confusion. Base ISO is simply the lowest setting available on your dial, usually 100 or 64. It offers the cleanest possible image because no amplification is needed. However, this doesn’t mean it’s always the best starting point.
Native ISO refers to the specific sensitivity levels where the camera’s circuitry performs optimally, offering the widest dynamic range and least noise relative to other settings. Many modern cameras, such as the Sony A7 series or Nikon Z8, feature dual-native ISO capabilities. This means they have two optimal starting points-often something like ISO 100 and ISO 640. Shooting at ISO 320 might actually produce noisier results than shooting at ISO 640, because the camera has to interpolate between its native circuits. Checking your specific camera model’s review charts can reveal these sweet spots, saving you from unnecessary post-processing headaches.
| Sensor Type | Recommended Max ISO for Clean Print | Noise Characteristics | Best Use Case |
|---|---|---|---|
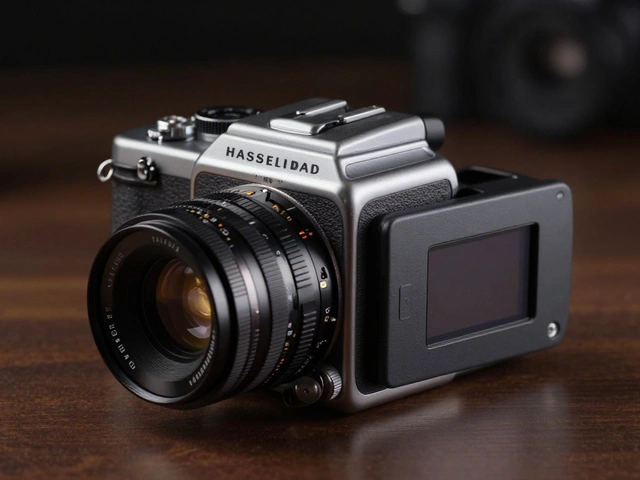
| Medium Format | ISO 3200+ | Fine grain, minimal color shift | Landscape, Studio Portrait |
| Full-Frame | ISO 6400 | Manageable luminance noise | Events, Low-light Street |
| APS-C | ISO 3200 | Visible chroma noise above limit | Travel, Wildlife |
| Micro Four Thirds | ISO 1600 | Rapid degradation in shadow detail | Daytime Hiking, Vlogging |
| Smartphone | ISO 800 | Heavy smoothing and artifacting | Casual Snapshots |
Luminance Noise vs. Chroma Noise
Not all noise looks the same, and knowing the difference changes how you edit. Luminance noise looks like film grain-it’s variations in brightness only. It affects the texture of the image but doesn’t ruin colors. Most people find luminance noise acceptable, even desirable, in black-and-white photography because it adds character.
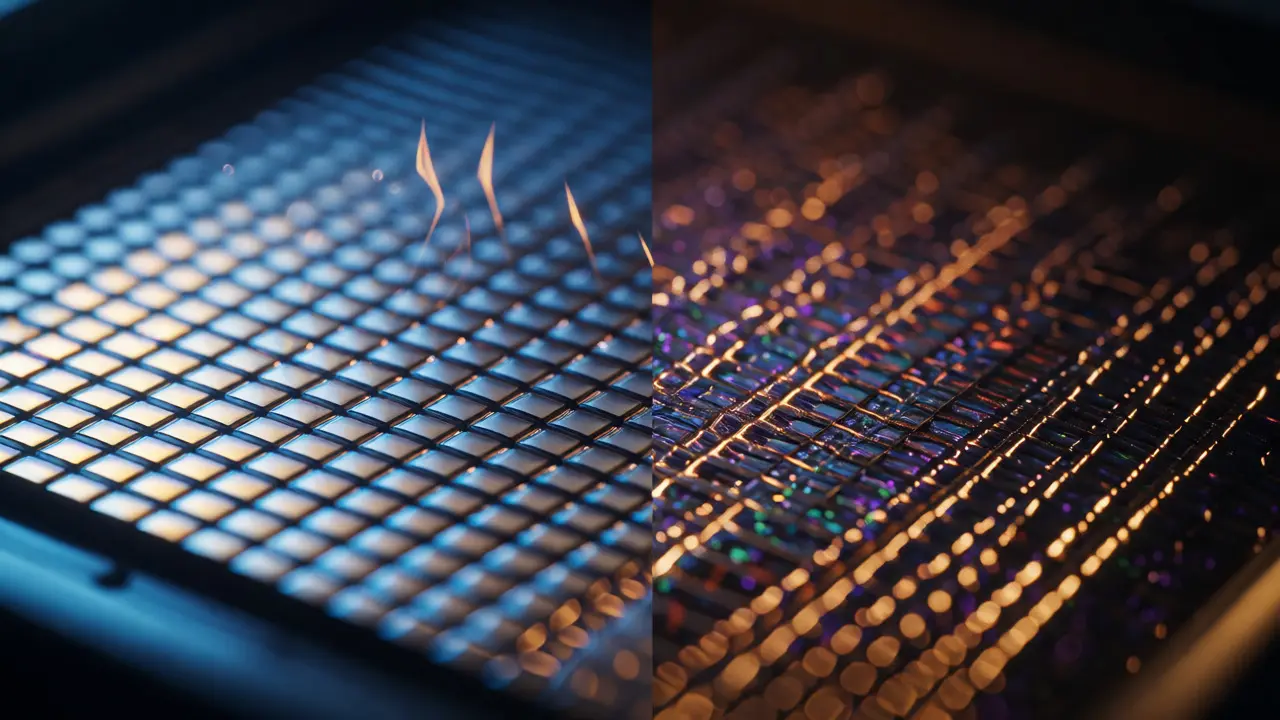
Chroma noise, or color noise, is the real enemy. It manifests as purple, green, or blue speckles in the shadows. This happens because the Bayer filter array on your sensor misinterprets weak signals during amplification. While luminance noise can be left alone or lightly sharpened, chroma noise must be reduced aggressively in software like Adobe Lightroom or Capture One. If you see rainbow speckles in your dark areas, your ISO was likely too high for the lighting conditions, or your exposure was too far under.
The Exposure Triangle Trade-off
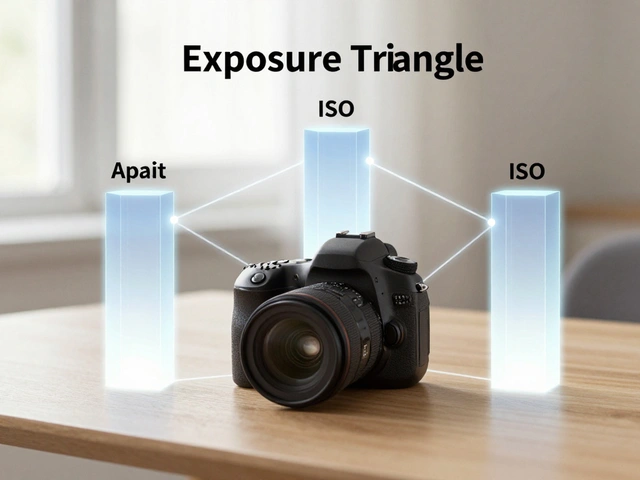
ISO doesn’t exist in a vacuum. It’s one leg of the exposure triangle, alongside aperture and shutter speed. The golden rule used to be: keep ISO as low as possible. Today, the smarter approach is: use the highest ISO that allows you to achieve a sharp image with the desired depth of field.
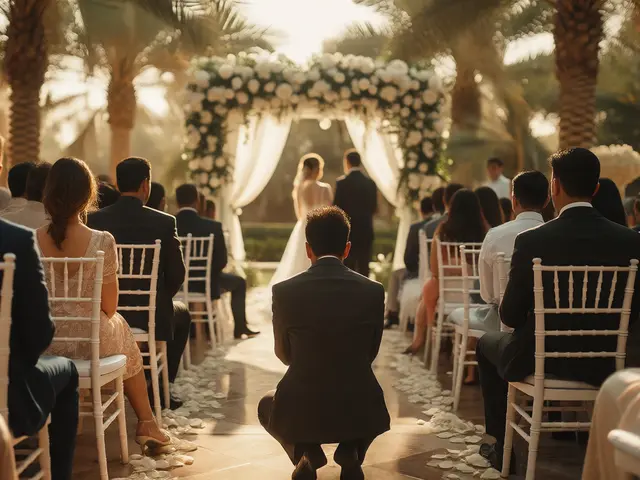
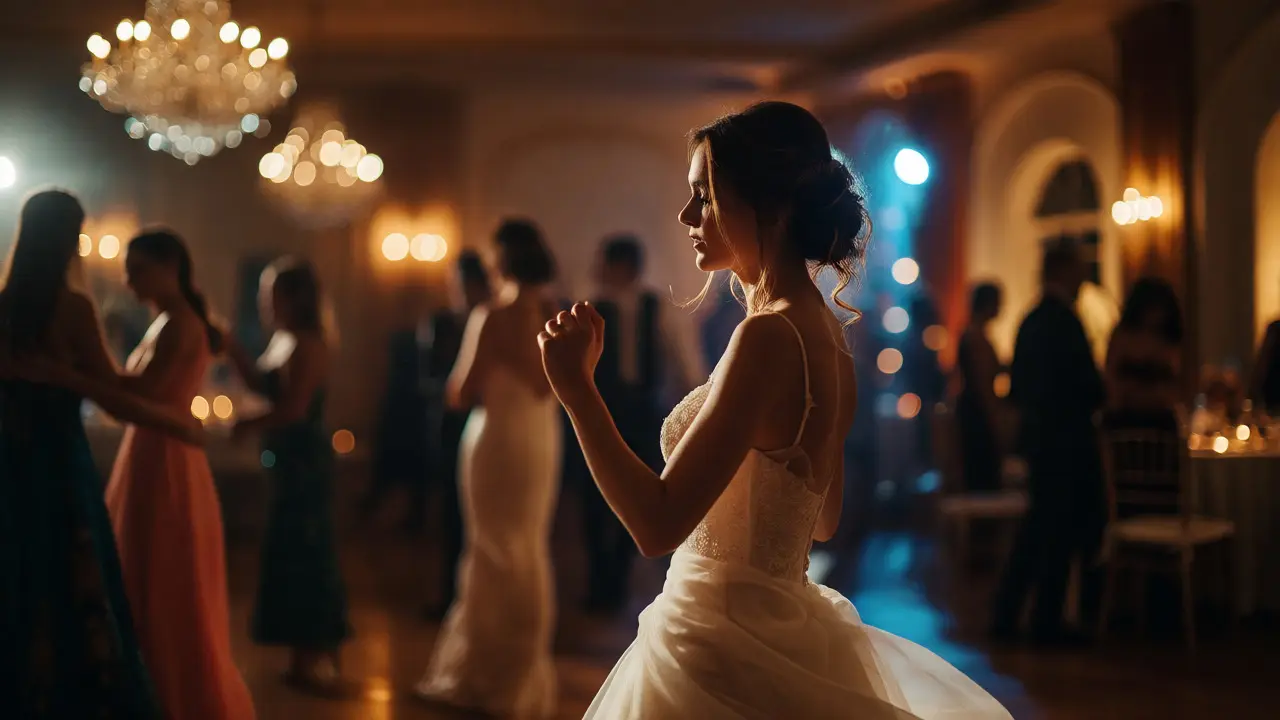
Consider a wedding reception in a dimly lit hall. You want to freeze the bride’s movement and blur the background. You need a fast shutter speed (1/250s) and a wide aperture (f/1.8). If you stick to ISO 100, your image will be pitch black. Bumping to ISO 3200 might introduce slight grain, but a sharp photo with grain is infinitely better than a blurry photo with clean pixels. Motion blur is unrecoverable; noise is manageable.
However, don’t ignore the power of getting it right in-camera. Underexposing an image by two stops and then lifting the shadows in post-production increases noise significantly more than exposing correctly at a higher ISO. This phenomenon, known as "expose to the right," suggests pushing your histogram toward the right side without clipping highlights. By capturing more light initially, you reduce the need for heavy amplification later.
Practical Strategies for Managing High ISO
If you’re shooting in challenging light, try these tactics to keep your images usable:
- Shoot RAW: JPEG files bake in noise reduction algorithms that can smear details. RAW files give you the raw data, allowing you to apply custom noise reduction profiles tailored to your camera’s specific noise pattern.
- Use Auto ISO with Limits: Set your minimum shutter speed based on your focal length (e.g., 1/focal length) and set a maximum ISO cap (e.g., 6400). Let the camera choose the lowest ISO that meets your shutter speed requirement. This prevents accidental over-amplification.
- Embrace In-Camera Noise Reduction: For JPEG shooters, enabling long exposure noise reduction can help, though it doubles your processing time. For stills, standard noise reduction is fine, but avoid setting it to "High" unless necessary, as it can erase fine textures like hair or fabric.
- Post-Processing Tools: AI-driven denoisers like Topaz DeNoise AI or DxO PureRAW have changed the game. They can rescue shots at ISO 12800 that previously looked unusable. These tools separate signal from noise using machine learning models trained on thousands of images, preserving edges while smoothing out grain.
When to Ignore the Rules
There are scenarios where technical perfection takes a backseat. In street photography, candid moments vanish in seconds. If the only way to catch the expression is ISO 12800, take the shot. The emotional impact of the image outweighs the technical flaw. Similarly, in documentary journalism, authenticity trumps cleanliness. Grain can convey urgency and atmosphere.
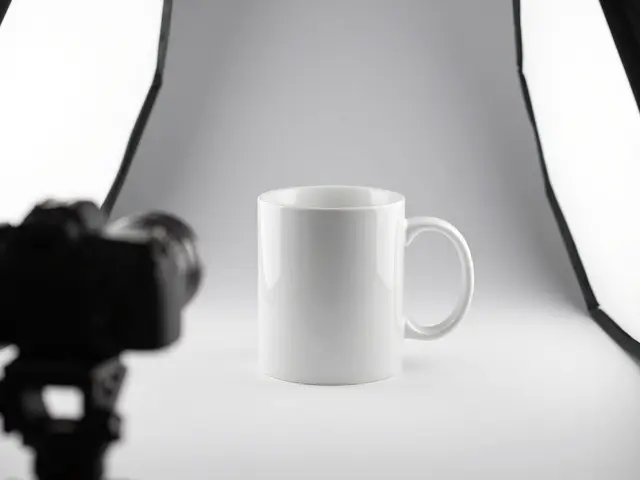
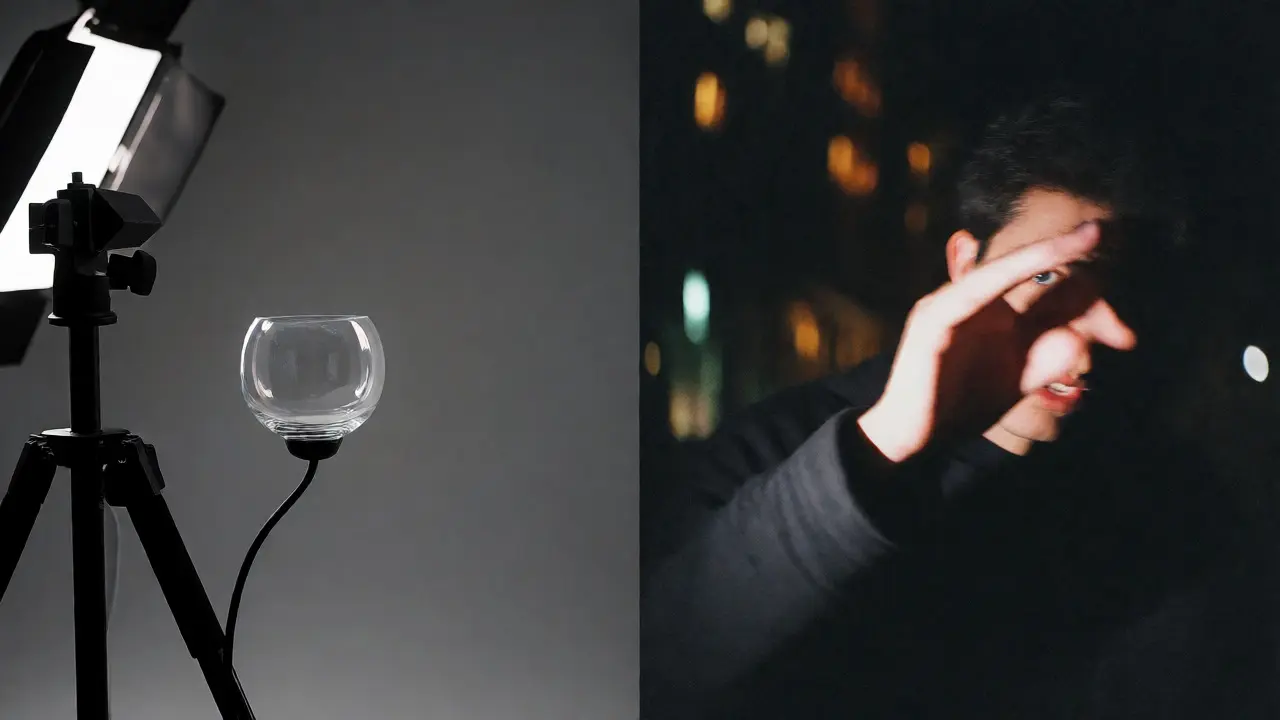
Conversely, if you’re shooting product photography for e-commerce, clients expect pristine clarity. Here, you’d use a tripod and lower the shutter speed to keep ISO at 100, ensuring every label and texture is crisp. Understanding context helps you decide whether noise is a defect or a feature.
Is higher ISO always bad?
No. Higher ISO is a tool to maintain exposure when aperture and shutter speed constraints prevent enough light from reaching the sensor. A sharp image at ISO 6400 is often superior to a blurry image at ISO 100. Noise becomes problematic only when it obscures critical details or introduces distracting color artifacts.
Why does my camera get noisy in the shadows?
Shadows contain the least amount of light information. When you amplify the signal to make shadows visible, you also amplify the electronic interference. Additionally, lifting shadows in post-production mimics increasing ISO, so underexposed photos will look noisier after editing.
What is dual native ISO?
Dual native ISO means the camera has two distinct circuits optimized for different sensitivity levels. Typically, one is for bright light (e.g., ISO 100) and one for low light (e.g., ISO 640). Shooting at the second native ISO provides cleaner results than intermediate settings because the hardware operates at peak efficiency rather than interpolating between states.
Does cropping increase noise?
Yes. Cropping reduces the total number of pixels, effectively increasing the pixel density when viewed at 100%. Since noise is distributed across pixels, zooming in makes individual noise grains appear larger and more prominent relative to the subject details.
How do I test my camera's ISO limits?
Take a series of photos of a static scene at increasing ISO values (100, 200, 400, etc.) while keeping exposure constant. Review them at 100% zoom on a calibrated monitor. Identify the ISO where color noise becomes distracting or fine details disappear. This is your personal maximum ISO threshold.