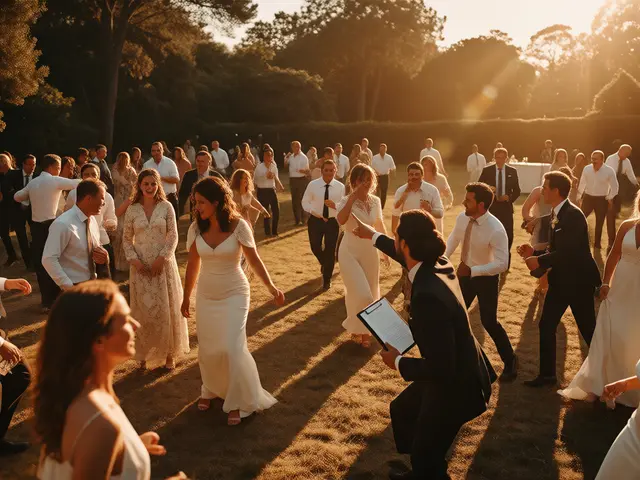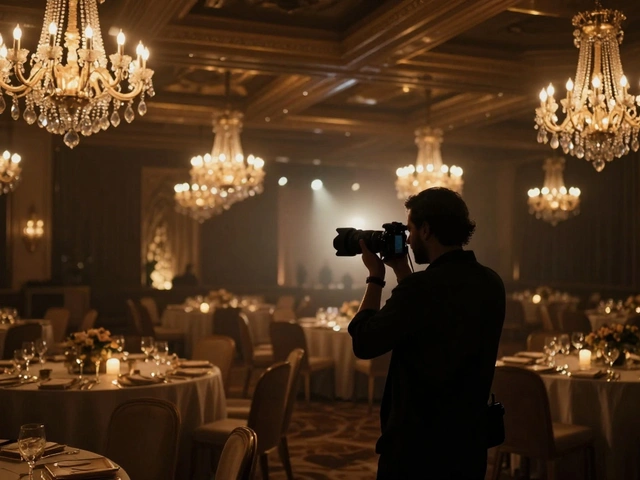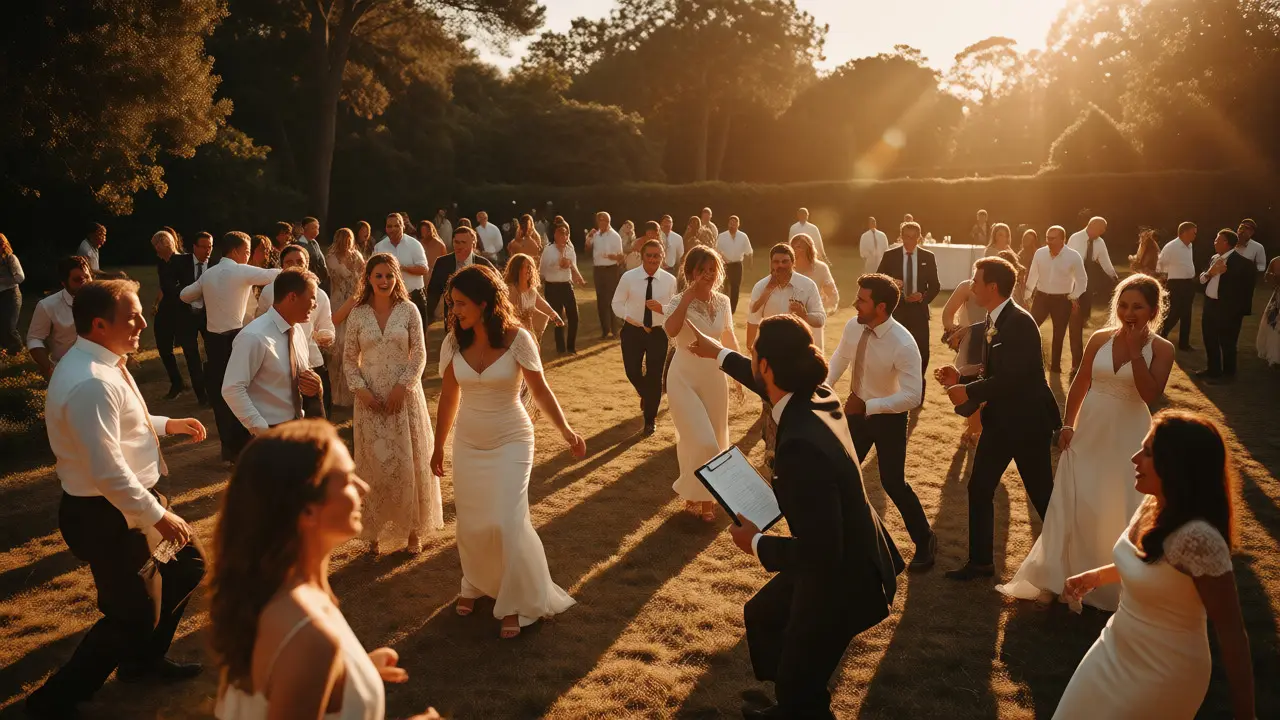
You know that feeling. The ceremony is done, the champagne has flowed, and now comes the part everyone dreads but no one skips: group wedding photography. You’re standing in a field or a banquet hall, holding a clipboard (or your phone), trying to herd 40 relatives into a neat formation while the sun sets and Uncle Bob wanders off toward the bar. It’s chaotic. It’s stressful. And if you don’t have a plan, it eats up an hour of cocktail hour that could be spent eating sliders.
The difference between a smooth portrait session and a frantic scramble isn’t luck-it’s logistics. Whether you’re a couple planning your day or a photographer trying to keep sanity intact, managing large groups is about preparation, not just posing. Let’s break down how to handle family photos without losing your mind or your light.
The Power of the Photo List
If there is one rule for successful group shots, it’s this: never improvise the combinations. You cannot stand in front of 50 people and shout, "Okay, immediate family!" and expect them to know what that means. Does it include cousins? What about the aunt who raised you? Ambiguity kills speed.
You need a written shot list. This isn't just a suggestion; it's a contract with time. Start by listing every single combination you want, from the smallest unit (the couple alone) to the largest (everyone). Here’s a typical hierarchy that works well:
- Couple Only: Romantic, intimate shots.
- Couple + Immediate Family: Parents and siblings only.
- Couple + Extended Family: Grandparents, aunts, uncles, first cousins.
- Bridal Party: Just the bridesmaids and groomsmen.
- Couple + Bridal Party: The full wedding party.
- Special Groups: College friends, work colleagues, childhood neighbors.
- The Big Group: Everyone at the wedding.
Number these lists. When you call out "List #4," everyone knows exactly where to go. No debating, no guessing. If you’re the couple, send this list to your photographer three weeks before the big day. If you’re the photographer, print it on a laminated card so it survives rain, wine spills, and nervous hands.
Assigning a Herder (The Most Underrated Role)
Your photographer should be taking pictures, not playing babysitter. They can’t run around finding Aunt Linda while also framing the shot. That’s why you need a designated "Herder." This person is usually a maid of honor, best man, or a very organized sibling. Their job is simple: they read the list, they find the people, and they get them to the spot.
Why does this matter? Because photographers charge by the hour, and their energy is best spent on lighting and composition. A good herder can cut your portrait time in half. Brief them beforehand. Tell them which groups are mandatory and which are optional. If someone refuses to come out for a photo, let it go. Chasing reluctant relatives wastes precious daylight.
| Role | Primary Responsibility | Key Tool |
|---|---|---|
| Photographer | Framing, lighting, directing poses, capturing expressions. | Camera, Lens, Flash |
| Herder | Locating guests, organizing lines, enforcing the shot list. | Shot List, Phone |
| Couple | Standing still, smiling, trusting the process. | Patience |
Taming the Large Group Shot
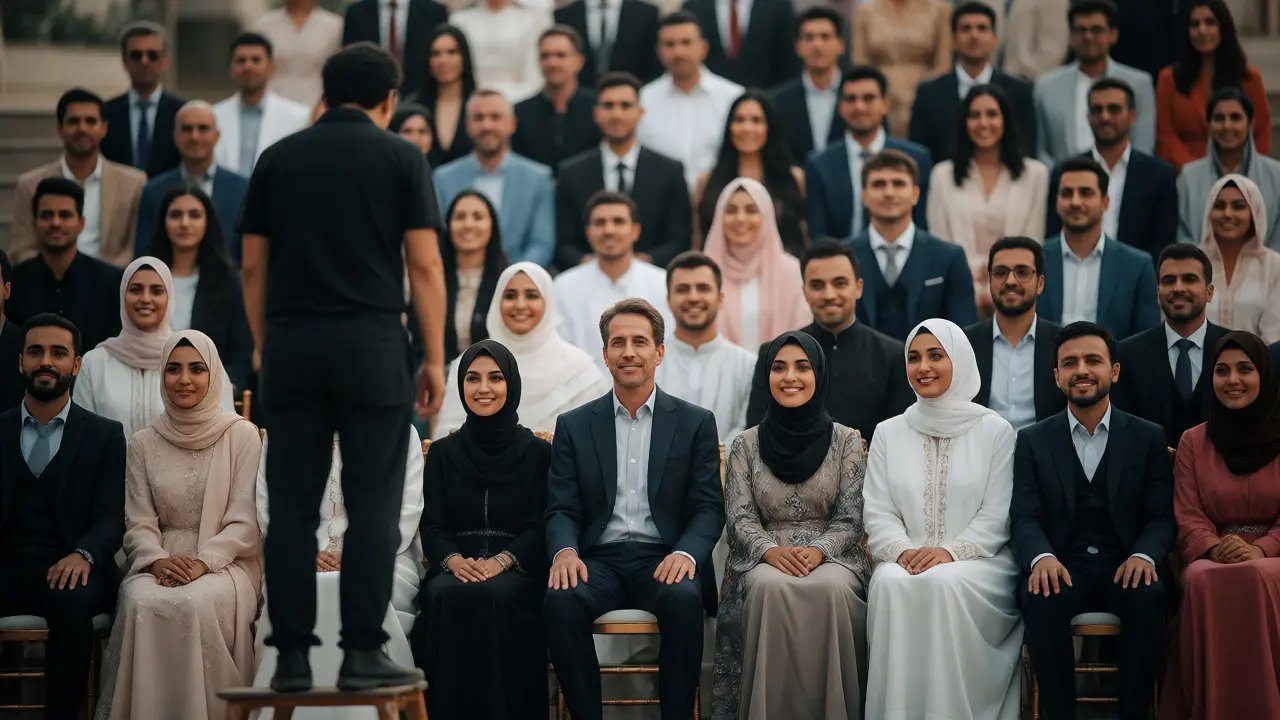
The "Everyone" photo is the hardest one to pull off. You’ve got varying heights, attention spans, and mobility issues. Trying to fit 100 people into a straight line looks like a school photo from 1995-and not in a cool way.
Use elevation. If you’re outdoors, use stairs, hills, or bleachers. If you’re indoors, use the dance floor steps or arrange chairs in rows. The goal is visibility. If Grandma can’t see over the guy in the front row, she’ll turn her head, and you’ll lose the shot. Position the tallest people in the back and the shortest in the front. For very large crowds, consider shooting from a slightly elevated angle using a ladder or a high vantage point. This compresses the crowd and makes it easier to check faces.
Another trick? Do the big group shot last. By then, most people have had a drink, the initial stiffness has worn off, and they’re more relaxed. Also, tell everyone to look at the camera and say something silly. "Cheese" is dead. Try "Money," "Pizza," or "Finally!" It forces genuine smiles because the word itself is funny.
Timing Is Everything
When do you actually take these photos? Many couples make the mistake of doing portraits immediately after the ceremony. Sure, the light might be nice, but guests are hungry, thirsty, and eager to mingle. Dragging them away for 45 minutes right after the kiss feels rude and creates resentment.
A better strategy is to split the sessions. Take the couple and bridal party portraits during "Golden Hour" (that magical hour before sunset) either before the ceremony or during cocktail hour. Save the family groups for a specific slot during cocktail hour, perhaps 30 minutes in. Communicate this clearly on your invitation or program. "Family photos will be taken at [Time] near the [Landmark]." Give people a heads-up so they aren’t surprised when you tap them on the shoulder.
If you’re shooting in November, as many couples are, remember that sunset comes early. In Portland, Oregon, the sun goes down around 4:30 PM in mid-November. You have a narrow window. Plan accordingly. If you wait until the reception starts, you’re relying entirely on artificial light, which is harder to manage for large groups unless you have powerful strobes and a skilled assistant.
Managing Expectations and Reality
Not everyone will cooperate. Someone will be late. Someone will refuse to pose. Someone will wear sunglasses indoors. Accept this. Your goal is efficiency, not perfection. If a key relative misses the group shot, don’t hold up the entire event waiting for them. Snap the picture with whoever is there. You can always do a smaller follow-up later if needed, but don’t let one missing person derail the schedule.
Also, be realistic about the number of groups. Ten combinations is already pushing it for a tight timeline. Fifteen? You’re likely cutting into dinner service. Prioritize ruthlessly. Who really matters? Usually, it’s parents, grandparents, and siblings. Cousins are nice, but if time runs short, drop the third-tier extended family. It’s better to have great photos of the core family than rushed, blurry snapshots of everyone else.
Technical Tips for Crisp Group Shots
Even with perfect organization, technical settings matter. When shooting large groups, depth of field is your friend. You want everyone in focus, from the front row to the back. A wide aperture (like f/1.8) blurs the background beautifully for couples but leaves people in the second row out of focus for groups.
Switch to a narrower aperture, around f/5.6 to f/8. This increases the zone of sharpness. However, narrower apertures require more light. If you’re shooting outdoors in November, ISO noise might creep in. Don’t be afraid to bump your ISO to 800 or even 1600. Modern cameras handle noise well, and grain is better than motion blur. Use a faster shutter speed-no slower than 1/125th of a second-to freeze any slight movements from restless kids or shifting adults.
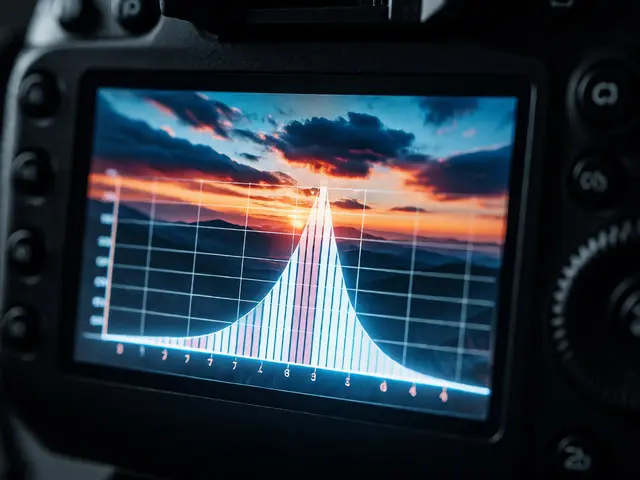
Focus on the middle of the group, not the front. With a deep depth of field, focusing on the center ensures both the front and back rows remain acceptably sharp. Check your histogram and zoom in on your LCD screen to verify critical focus before moving on.
Post-Processing and Delivery
Once the chaos subsides, the editing begins. Group shots often need extra cleanup. Stray arms, closed eyes, and awkward angles are common. Culling these images takes time. Select the best frame from each burst sequence. Look for open eyes, genuine smiles, and good posture.
Be mindful of color consistency. Different clothing colors can clash or create distracting patterns. In post-production, you might desaturate certain bright colors or adjust white balance to ensure skin tones look natural across all subjects. Remember, the goal is a cohesive album. Consistent lighting and tone matter more than individual perfection.
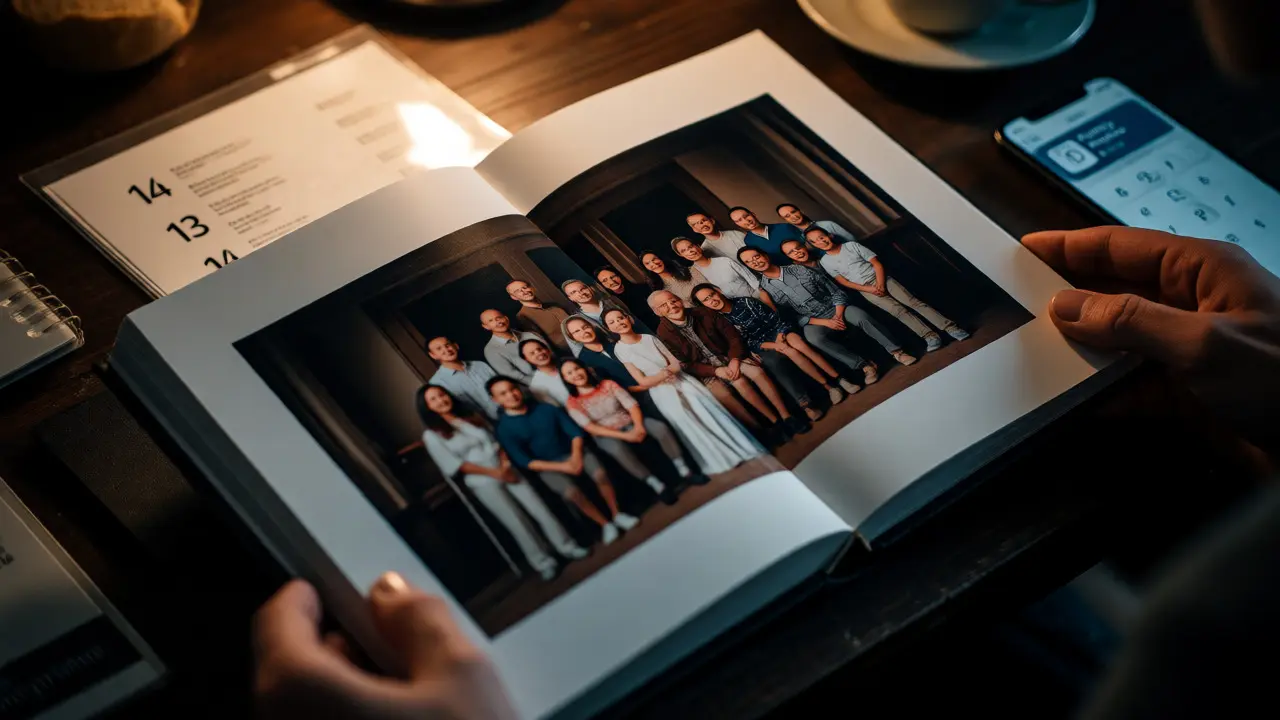
Deliver these images quickly. Families want to see themselves in the wedding album soon. Prioritize group shots in your first delivery batch. They serve as proof that everyone was included, easing any anxiety about missed moments.
How long should group wedding photos take?
A general rule of thumb is 2-3 minutes per group combination. If you have 10 groups, budget 30-45 minutes total. Add buffer time for delays. If you exceed an hour, you’re likely cutting too much into guest interaction time.
Do we really need a shot list?
Yes. Without a list, you waste time figuring out who stands where. A numbered list eliminates confusion and speeds up the process significantly. It also ensures you don’t forget important relatives.
Who should be responsible for gathering guests?
Never the photographer. Assign a trusted member of the wedding party or a family member known for being organized. Their job is to physically locate people and guide them to the shooting location based on the shot list.
What if a relative refuses to be photographed?
Respect their choice. Do not force participation. Note their absence on the list and move on. You can try to capture candid shots of them later, but don’t hold up the group session for one person.
Can we take group photos during the reception?
It’s possible but challenging. Lighting is often dim, and guests are seated or dancing. If you must do it during the reception, use off-camera flash and choose a clear area like the dance floor edge. However, pre-reception or cocktail hour is far superior for quality and ease.